Space-saving: making a bed-shelf in the IKEA style
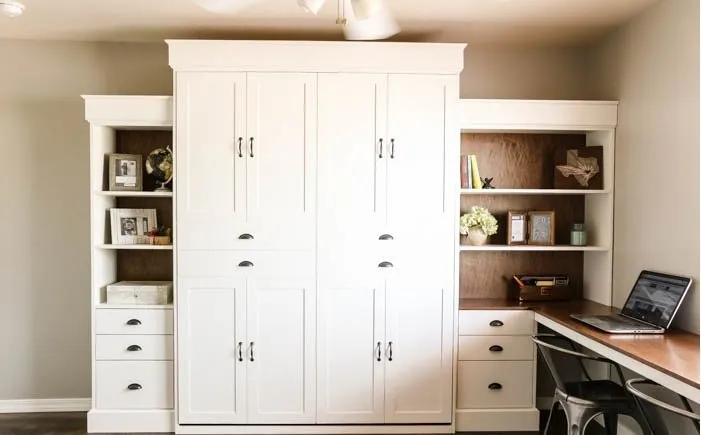
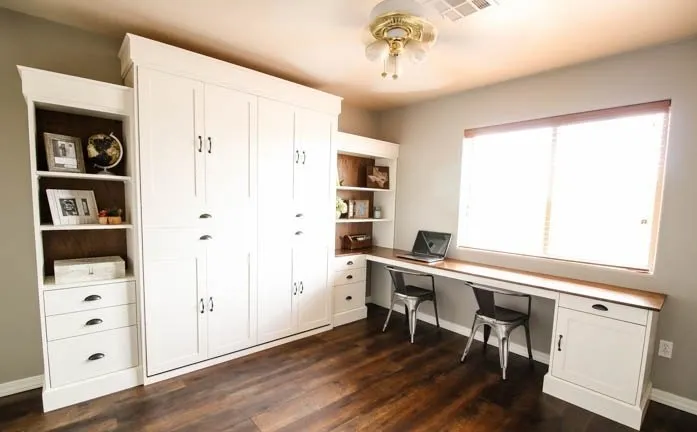
A pull-down bed hidden in a cabinet is an excellent idea for a guest room, a small apartment or studio. Such a bed is much more convenient than a roll-out sofa: it comes out already made up. Beds of this type are not very popular on the Russian market yet, but building such a structure yourself is not as difficult as it seems. See how this American couple handled the task. They left sketches with exact dimensions: you can use them or make your own calculations.
Step 1. Purchase materials
The project authors needed 12 sheets of plywood. The bed frame was made from poplar strips 3 cm wide. Shelves required boards of arbitrary size, and gas springs were needed for the lifting mechanism. Edge banding tape, hardware, primer, paint.
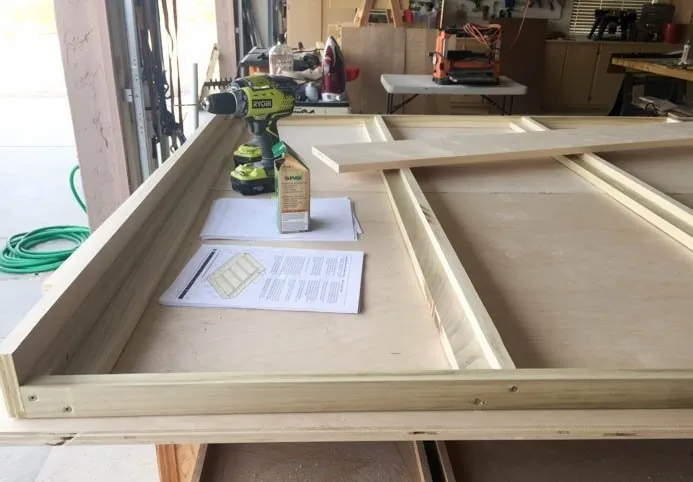
Step 2. Bed frame
First, cut all the plywood pieces to the required size. The instructions include diagrams with hints on how to do this most economically.
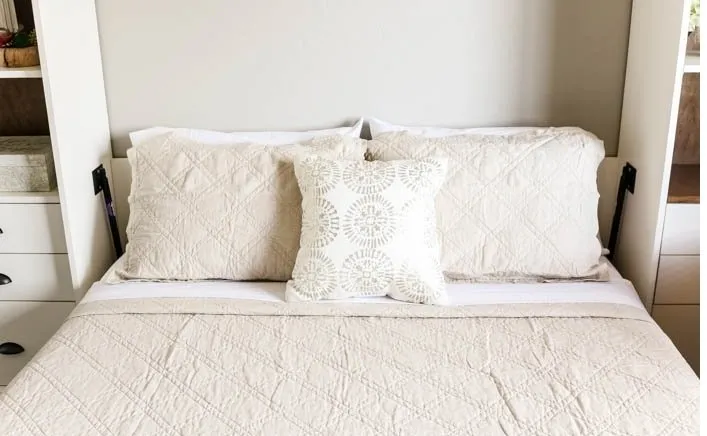
Assemble the support structure from poplar strips 2 cm wide. The mattress for this base should not be wider than 150 cm and thicker than 30 cm.
Attach a 2 cm wide plywood sheet to the support structure. Ensure that there are no nicks or scratches on the side of the plywood that will become the front of your bed-shelf. Sand and prime it if in doubt.
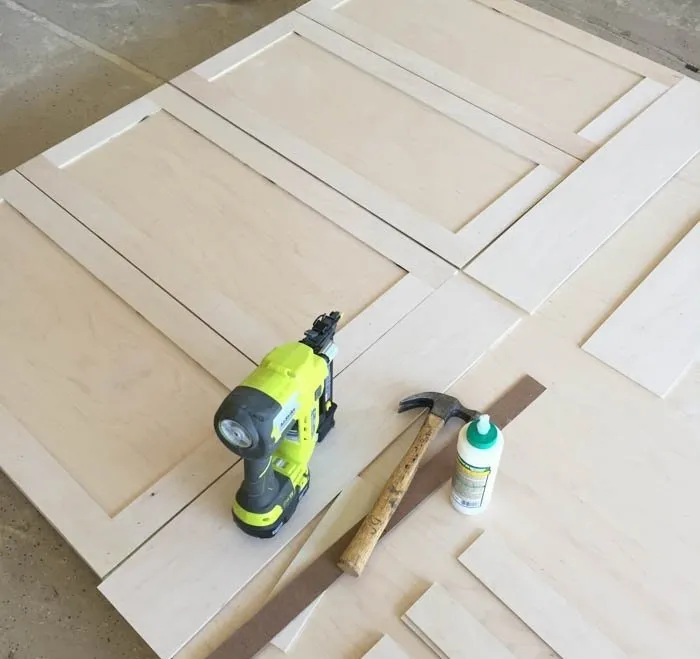
Step 3. Base-cabinet
Assemble the shelves according to the instructions. You can change the width of the shelves as needed. Apply edge banding tape to all external edges of the plywood.
You can decorate the front part of the bed as you wish: make a simple artificial facade to look like two large doors, or, as in the instruction, create an illusion of a full cabinet system using decorative panels.
Step 4. Assemble the construction
Paint the shelves and the front part of the bed and let them dry. Once the paint is dry, you can start assembly. Attach the bed base to the vertical support structure and then assemble and install the headboard.
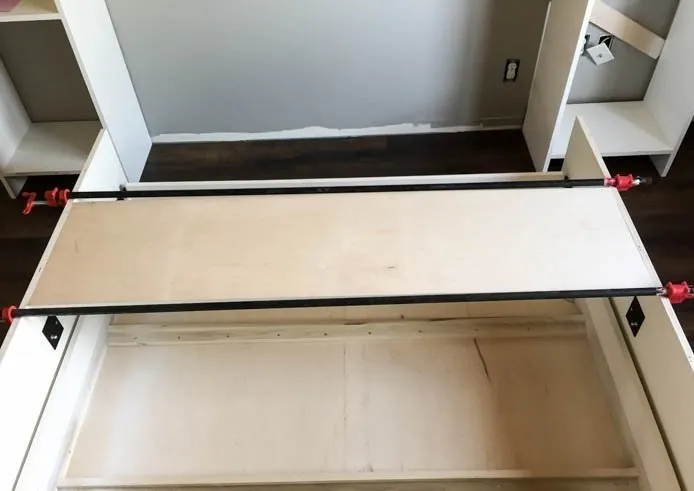
Don't forget to place a cover on the floor so that no scratches remain on the front. Attach gas springs, which allow the bed to lower and raise.

Install wooden strips on the wall to which the cabinet with a pull-down bed will be attached. Don't forget to remove the baseboard on that part of the wall where the bed will be mounted.
Securely attach the bed to the wall and add adjustable feet to it, and place a plywood sheet on the base that will serve as a support for the mattress.
Attach the shelves to the side panels of the bed box. Cover the top part of the resulting construction with decorative moldings, and the bottom — with baseboards. You can use baseboards that were used to finish the entire room, or choose baseboards that match the decorative moldings.
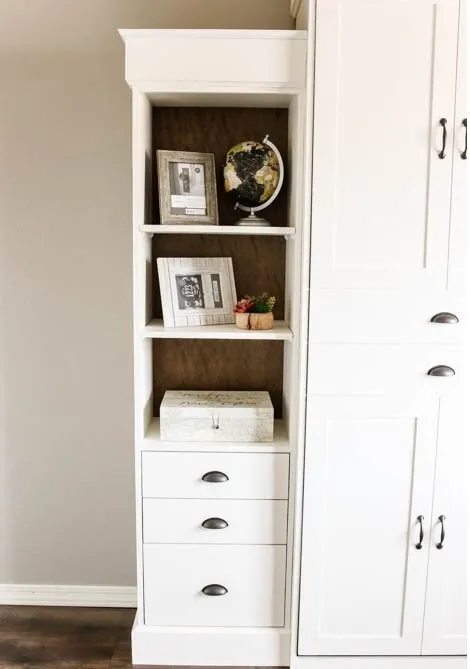
All that remains is to place a good mattress on the base and make up the bed — now you're always ready for unexpected guests.
On the cover: Inessa Ternovaya Design Interiors project
Need a renovation specialist?
Find verified professionals for any repair or construction job. Post your request and get offers from local experts.
You may also like
More articles:
 Instead of Paint and Wallpaper: 8 New Wall Coverings
 Before and After: How an Old Garage Was Transformed into a Mini-Office with a Kitchen
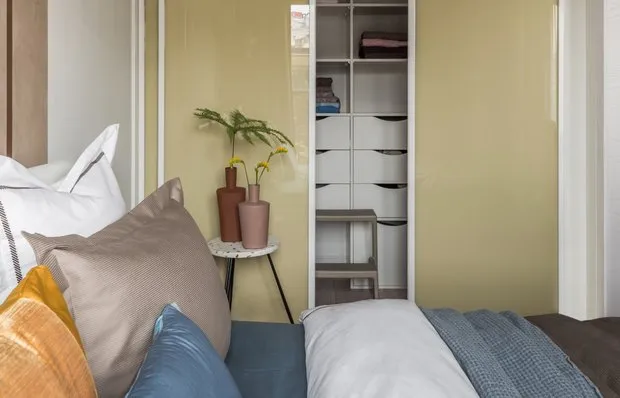 How to Store Clothes in an Apartment: 6 Tips from Professionals
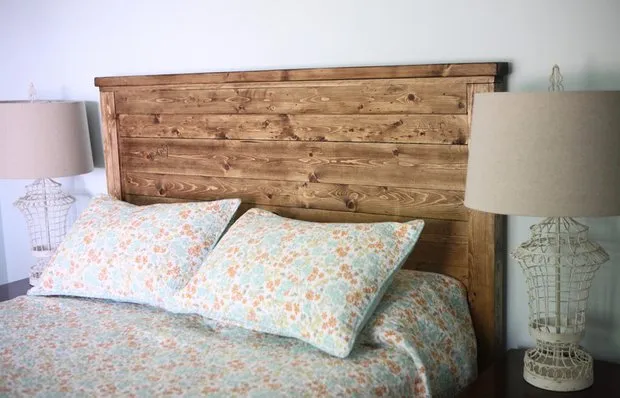 DIY Idea: Bed Headboard in Scandinavian Style Made by Yourself
 How to Create a 21st Century Office
 Classy 2-room apartment 43 sqm. 6 Cool Ideas We Spotted
 7 Super Technologies of Washing Machines You Didn't Know About
 Best Finds from the IKEA-2020 Catalog