Creating a Designer Lamp: Alina Chernyshova's Masterclass
Quickly purchase the necessary materials and tools, come up with a unique slogan, and join us – together with designer Alina Chernyshova, we create an original lamp by hand.
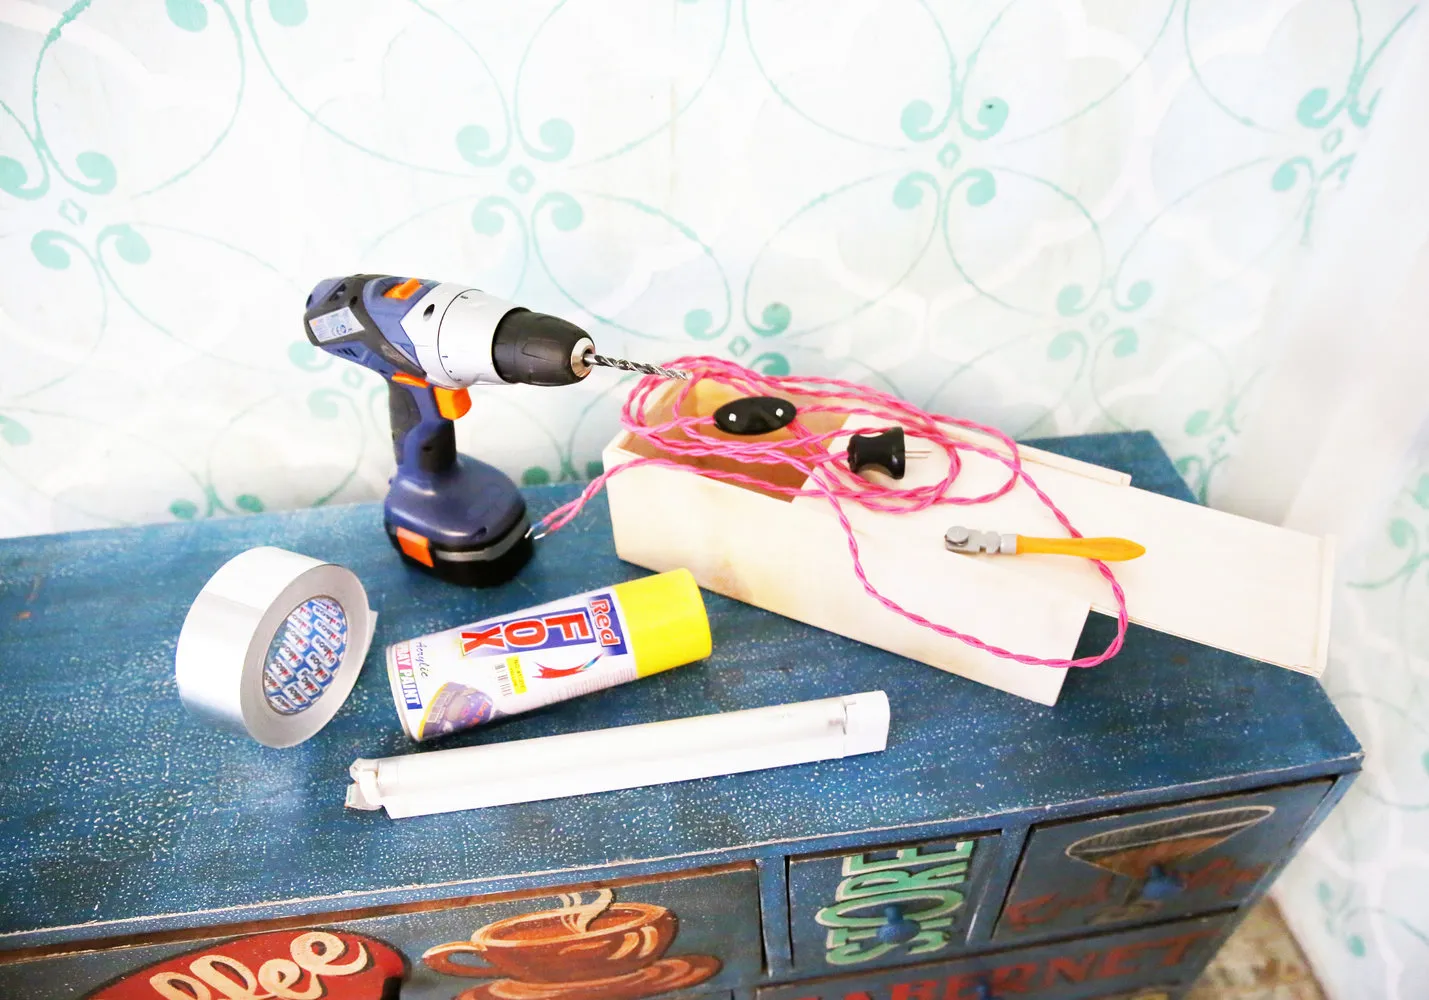
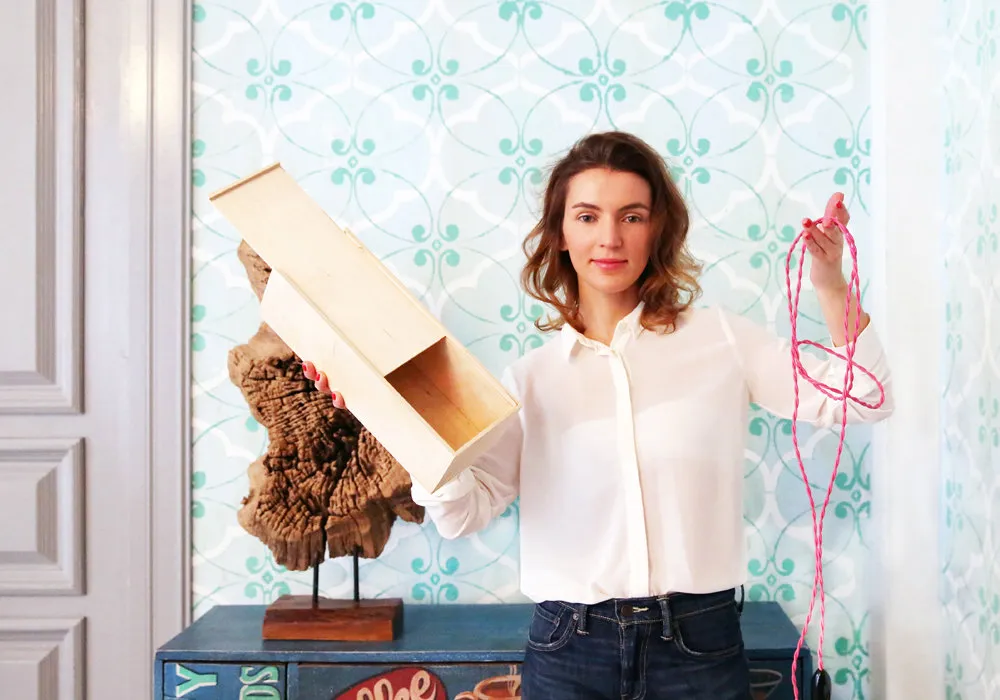
Alina Chernyshova is a designer and decorator, curator and instructor at the design school, and head of the architecture studio DomBuro. What you'll need:
- A wooden wine box – available in craft stores.
- Wire for a pendant light, with a plug and switch.
- A drill or screwdriver with a drill bit (6 mm for woodworking).
- Aluminum tape “Isospan FL Termo 50 mm”.
- Artistic aerosol paint – one can.
- 2-pin terminal block for wires with a cross-section up to 4.0 mm². The device is rated for a maximum voltage of 400 V and a nominal current of 32 A.
- Fluorescent lamp with a power of 16 W.
- Double-sided mounting tape for outdoor use.
- Glass. You can use glass plastic from ready-made frames for posters.
- Glass cutter.
- Waterproof non-washable marker.
To make this lamp, I used a ready-made set of twisted textile cables. These sets are sold in stores specializing in retro-style electrical appliances. They are usually intended for installing open wiring.
Advanced crafters can assemble such a set from individual components of their choice. For this, you need cable, a plug, and optionally a switch. Interestingly, the selection of textile sheathing for wires includes more than 20 shades for any creative idea or task.
Important: like any other copper electrical wire, textile wire has two main characteristics to consider when choosing wire for home use, apart from design. These are the number of cores and the cross-sectional area of the wire. For use inside a lamp, a wire with a cross-section of 0.75 mm² is suitable. Maximum power – 2.9 kilowatts.
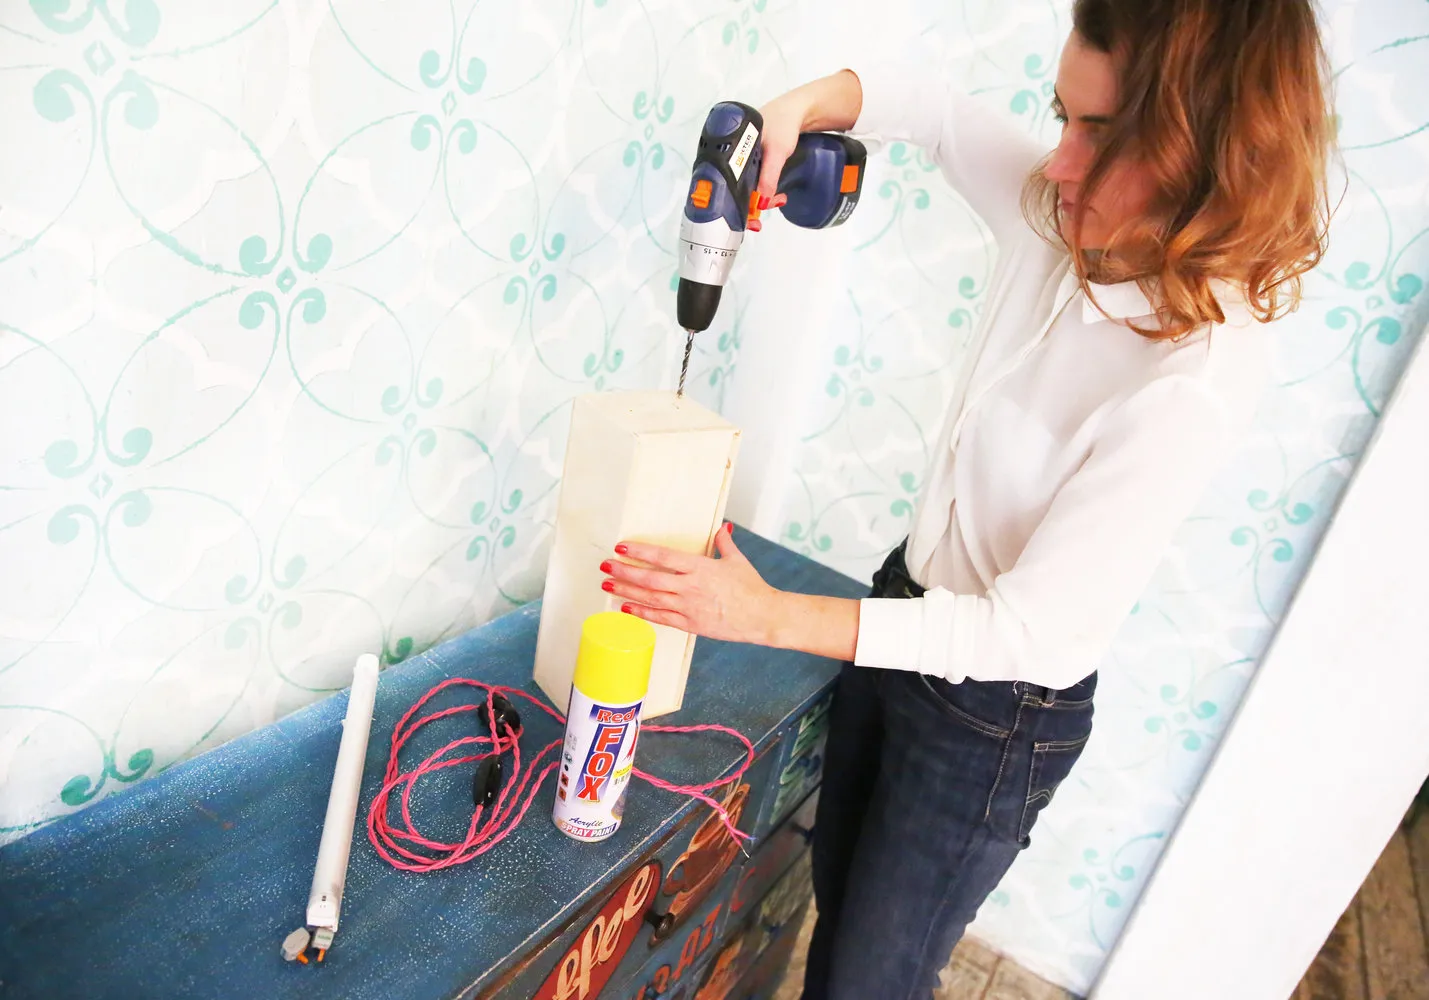
 Step 1
Using a drill or screwdriver with a 6 mm bit for woodworking, drill a hole in the wooden wine box to run the wire to the lamp.
Note that some wine boxes already have holes for handles (designed for carrying the box). Their placement is slightly offset toward the center, but if there's no option to drill a hole closer to the back wall of the future lamp, they can be used for running the wire to the lamp.
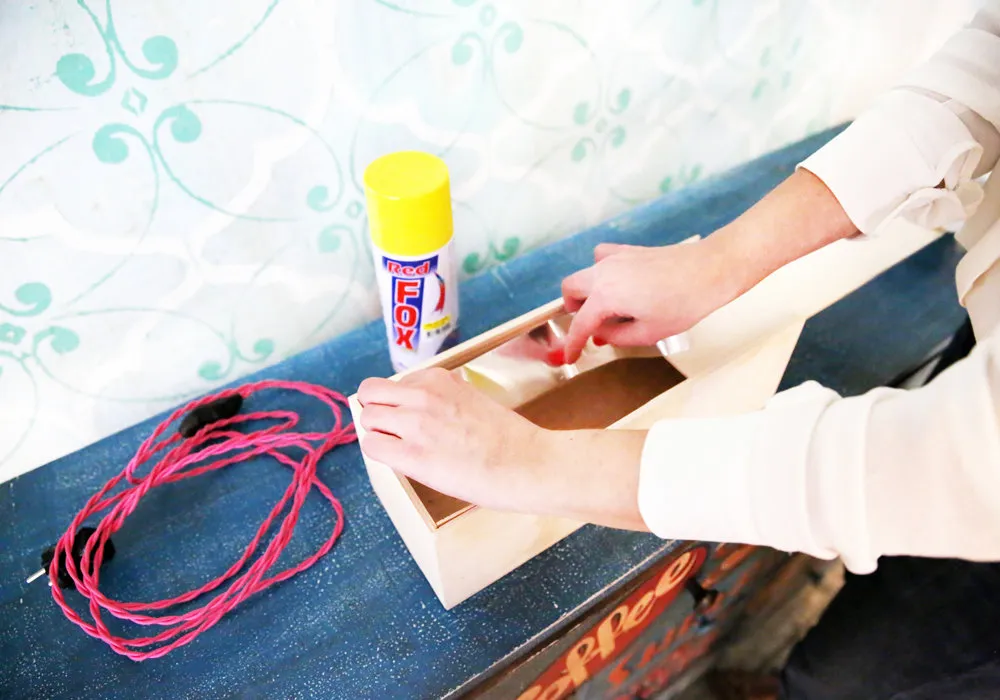
 Step 2
For enhancing the light reflection effect, glue aluminum tape to the inside of the wooden wine box. I chose “Isospan Termo 50 mm,” which was originally intended for joining thermal insulation materials during building insulation (houses, balconies, saunas, and baths).
In the case of making a lamp by hand, we're interested in the function of reflecting light with a mirror-like surface on one side and a good adhesive layer on the other, which allows easy attachment of special tape to the entire inner surface of the wine box.
By the way, the wide range of operating temperatures (from -40°C to +180°C) of this tape gives us confidence that the material is completely safe for constant contact with an electric bulb and wooden base of the lamp.
 Step 3
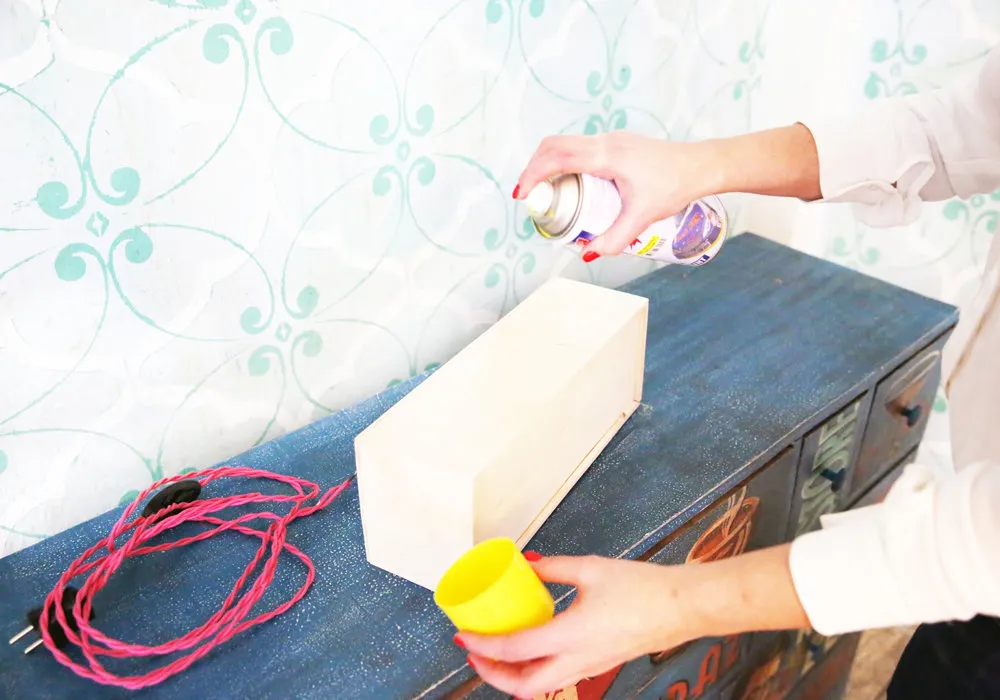
Paint the outer surface of the wine box in your desired color. The simplest and fastest way to paint is by spraying with aerosol paint. You can also paint the wooden base using more labor-intensive methods with priming beforehand. The painting method depends on the desired visual effect: full surface coverage, preserving visible wood texture, patination, and other effects. The choice is individual.
Drying time depends on the application method. In this case, the paint was applied in three layers with one-hour intervals between each layer to fix it.
Note that you don't need to paint the sliding wooden lid of the box, as we will replace it with glass later – we are making a lamp and light should pass through the front surface. At this stage, keep the lid to prevent paint from getting inside the box. After painting, remove the wooden lid – it's no longer needed in creating the lamp.
 Step 4
Considering the polarity of the wires, connect the conductors using a terminal block. This method of connection is practical and efficient, used for wires made from various materials. Mechanical wire twisting is an outdated method. I do not recommend using it, as this connection method does not meet all requirements for safe operation of electrical appliances.
 Step 5
Secure the fluorescent lamp to the inner wall of the box – the future lamp – using mounting tape for outdoor use. When choosing a lamp model, pay attention to the internal dimensions of the wine box – select the lamp accordingly. In my case, even the shortest lamp was slightly too large – I had to remove the protective cover on one side, but it even simplified connecting the lamp wires and cable using the terminal block.
 Step 6
To allow light to pass through the front part of the future lamp, we need a transparent surface that is matte so the lamp itself isn't visible, only its glow. For this, cut a piece of glass of the required size with a glass cutter and evenly coat it with aerosol paint to the desired intensity. In this case, the glass is coated with three layers of paint – this allows maintaining transparency for better glow of the lamp, but masks all technical devices inside the lamp.
Another option for making the front part of the lamp is to go to a picture framing workshop, where specialists will cut out a piece of the required size. They can also order matte colored glass, but the selection of ready-made shades is quite limited.
 Step 7
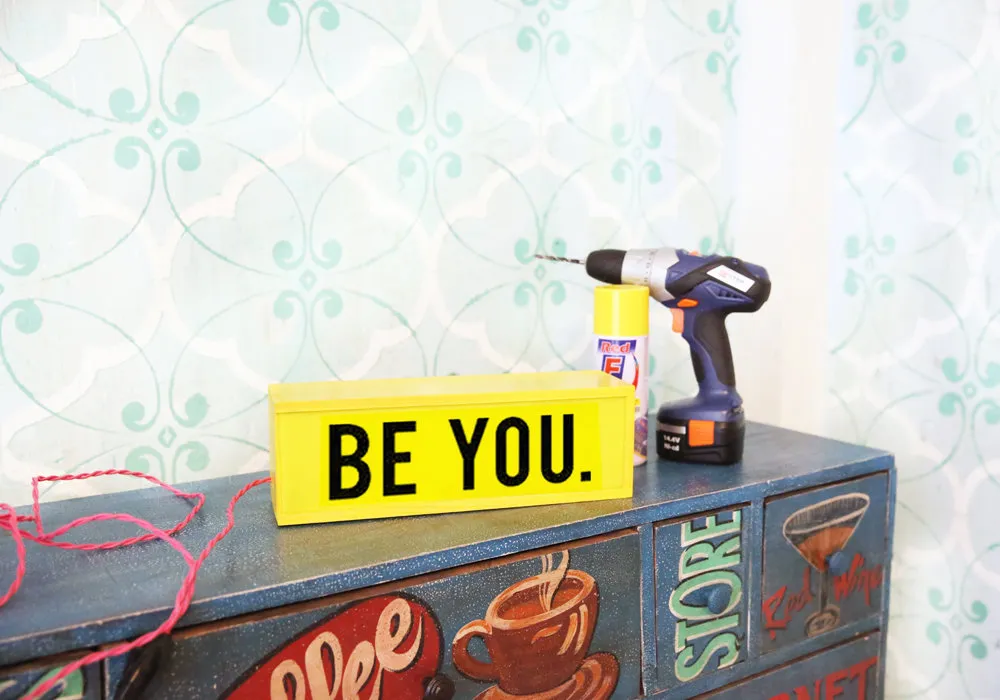
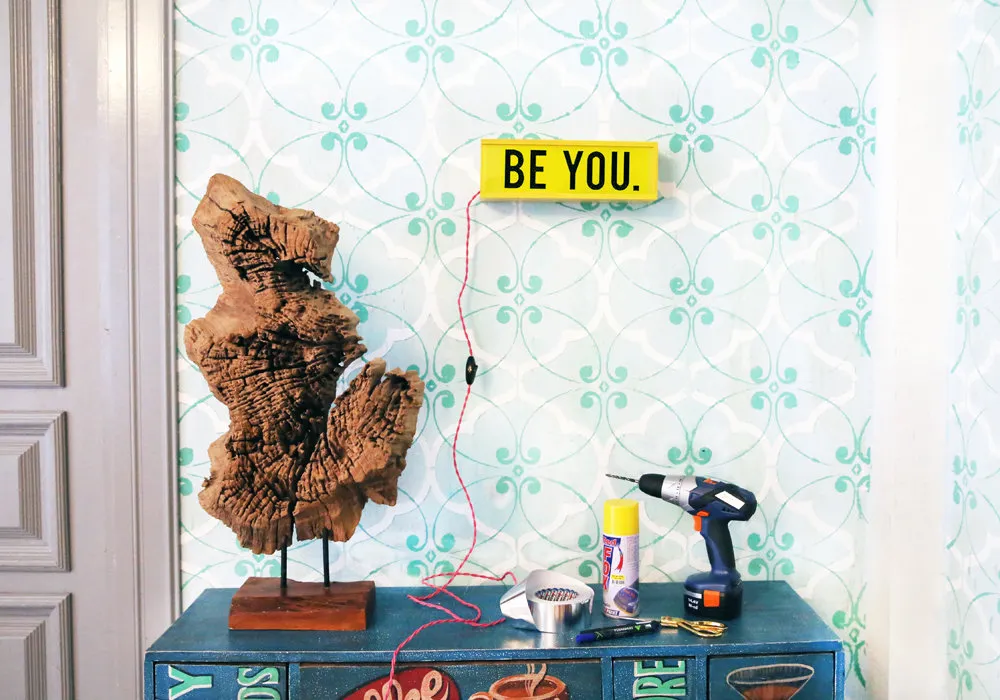
Using a waterproof (non-washable) marker, apply the desired text to the glass. The lamp is ready!
Need a renovation specialist?
Find verified professionals for any repair or construction job. Post your request and get offers from local experts.
You may also like
More articles:
 Fines, Taxes, Interest: What Will 2017 Bring Us
 3 Best Layout Options for a Rectangular Kitchen
 How to Make a Small Kitchen Comfortable: 10 Proven Ideas
 3 Kitchen Layout Options in a Panel House
 10 Best Apartment Interiors by Designers
 How to Arrange a Kitchen, Living Room, and Bedroom in a 38 Square Meter Apartment
 How to Level Walls and Ceilings Made of Gypsum Board
 Yes or No? 10 Most Popular Solutions in Interior Design