How to Level Walls and Ceilings Made of Gypsum Board
If you want to quickly and quality level walls, choose gypsum board sheets. Together with professionals, we explain the specifics of the work and material selection
Prepare walls in an apartment or on a cottage for wallpapering not only with plastering but also with gypsum board panels. Leveling joints and the base will not be a big effort if you use suitable finishing plaster and correctly perform the installation process.
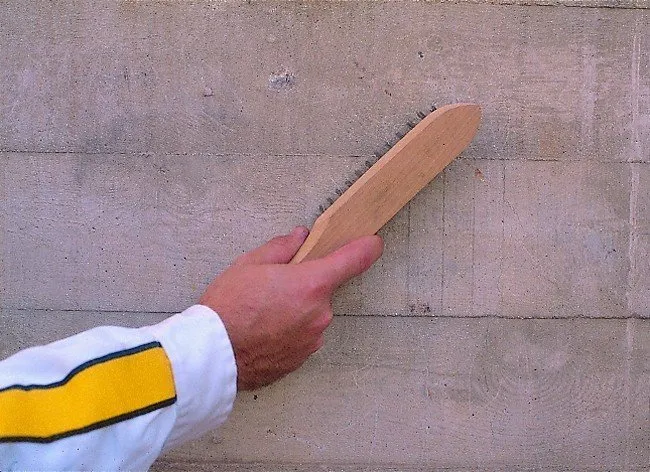
1. Preparing the Base
Remove substances that impair adhesion — grease, dust, peeling paint. The base must be dry. On gypsum board surfaces, check that the screw heads do not protrude beyond the cardboard plane. If necessary, tighten them.
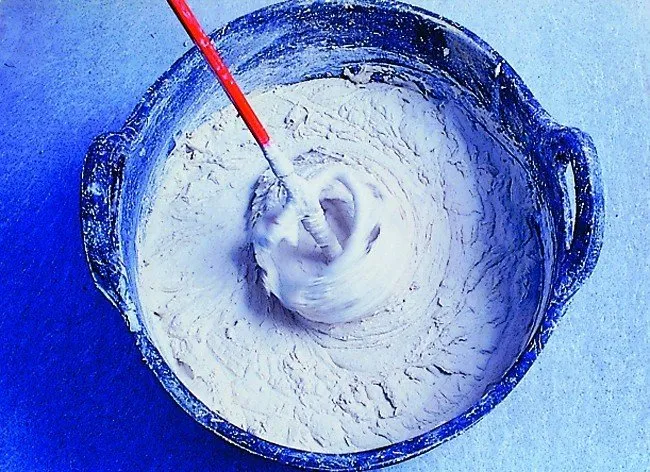
2. Preparing the Mixture
Pour precisely measured water into a bucket, add a bag of dry finishing plaster mix weber.vetonit JS, and thoroughly mix the resulting solution using a powerful drill mixer until you get a homogeneous consistency. The mixture should be used within 30 minutes from the moment water is added.
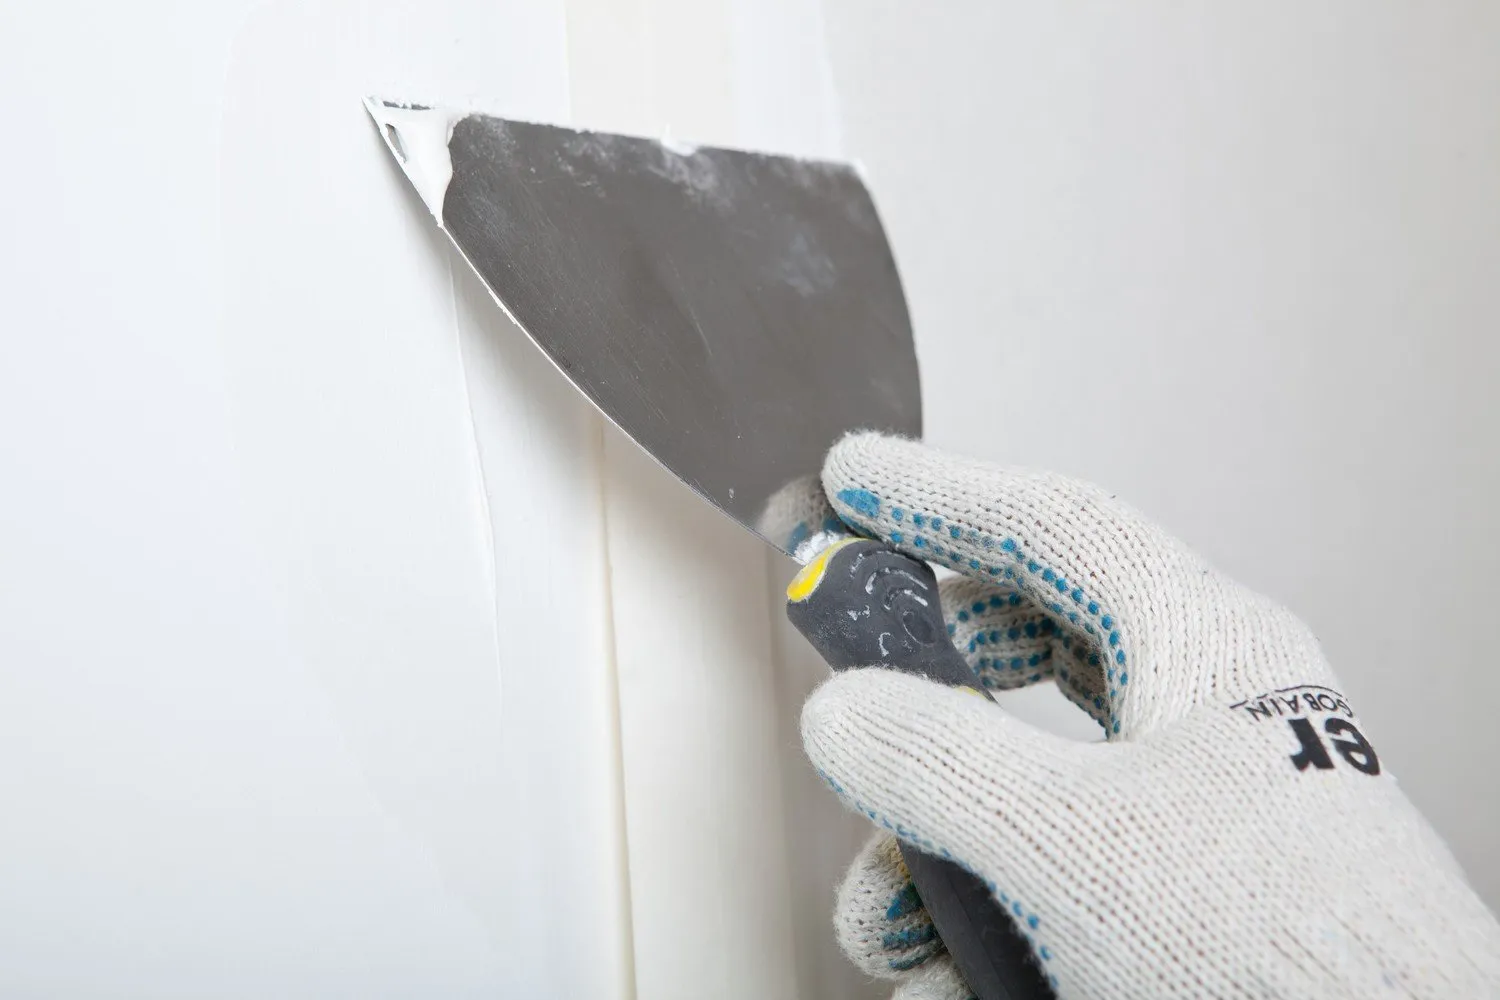
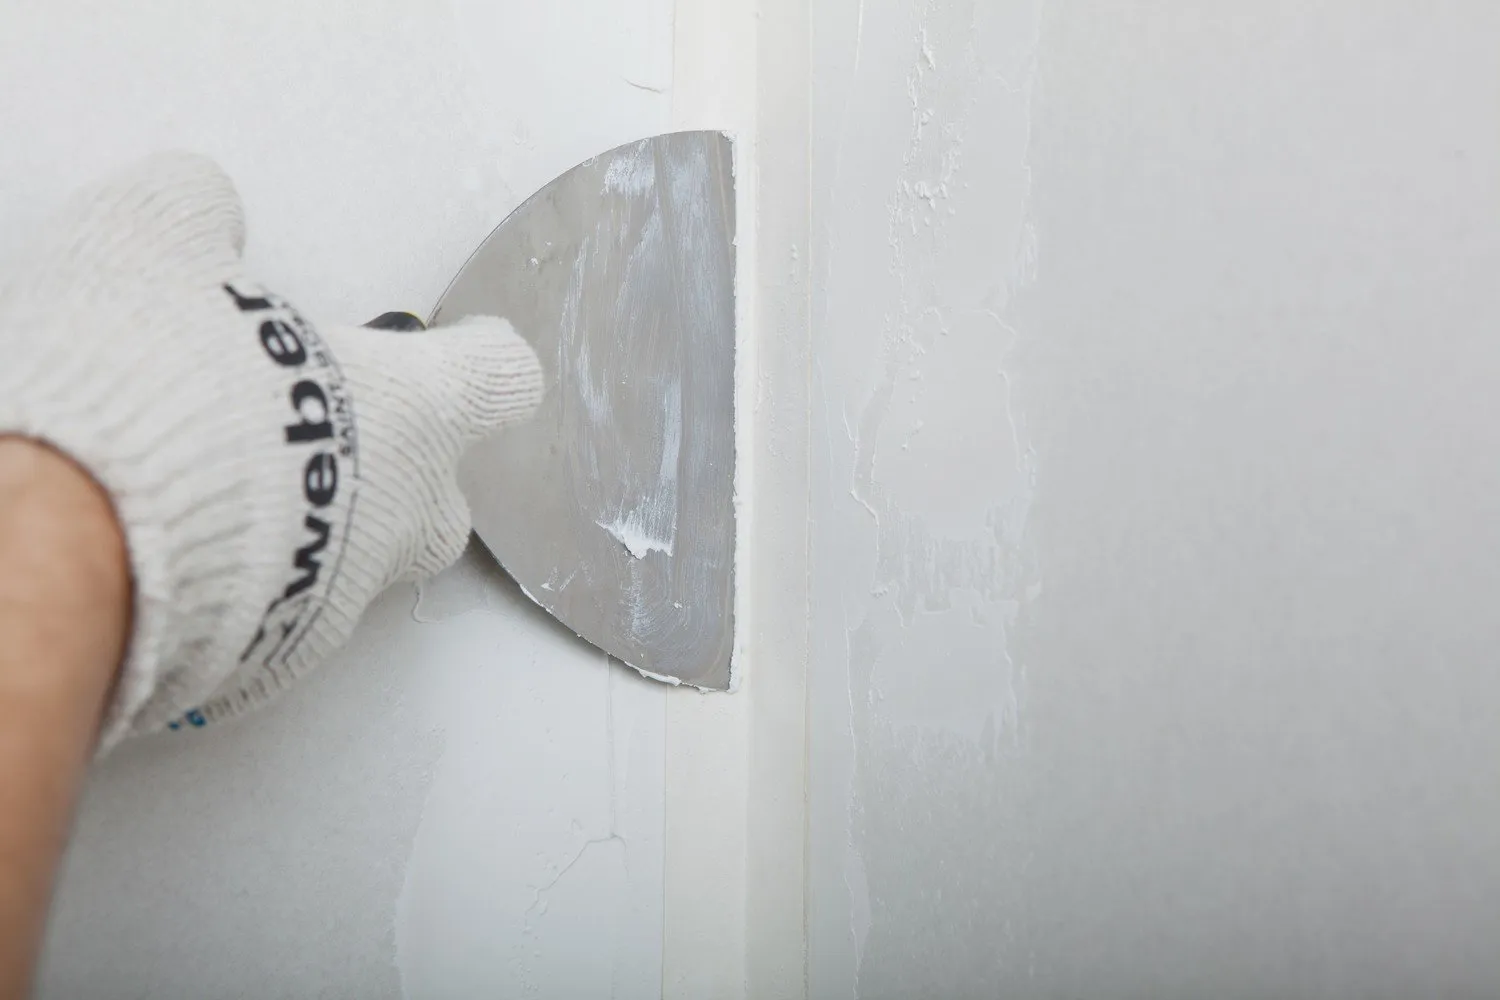
3. Filling the Joints of Gypsum Board and Full Surface Leveling
1. With a wide spatula, apply weber.vetonit JS onto the prepared base so that the mixture fully fills the joint depression and edges of adjacent panels.
2. Press the joint tape into the joint with a steel spatula 75 mm wide. Apply excess mixture over the tape. Add more mixture to the tape so that the joint is completely filled.
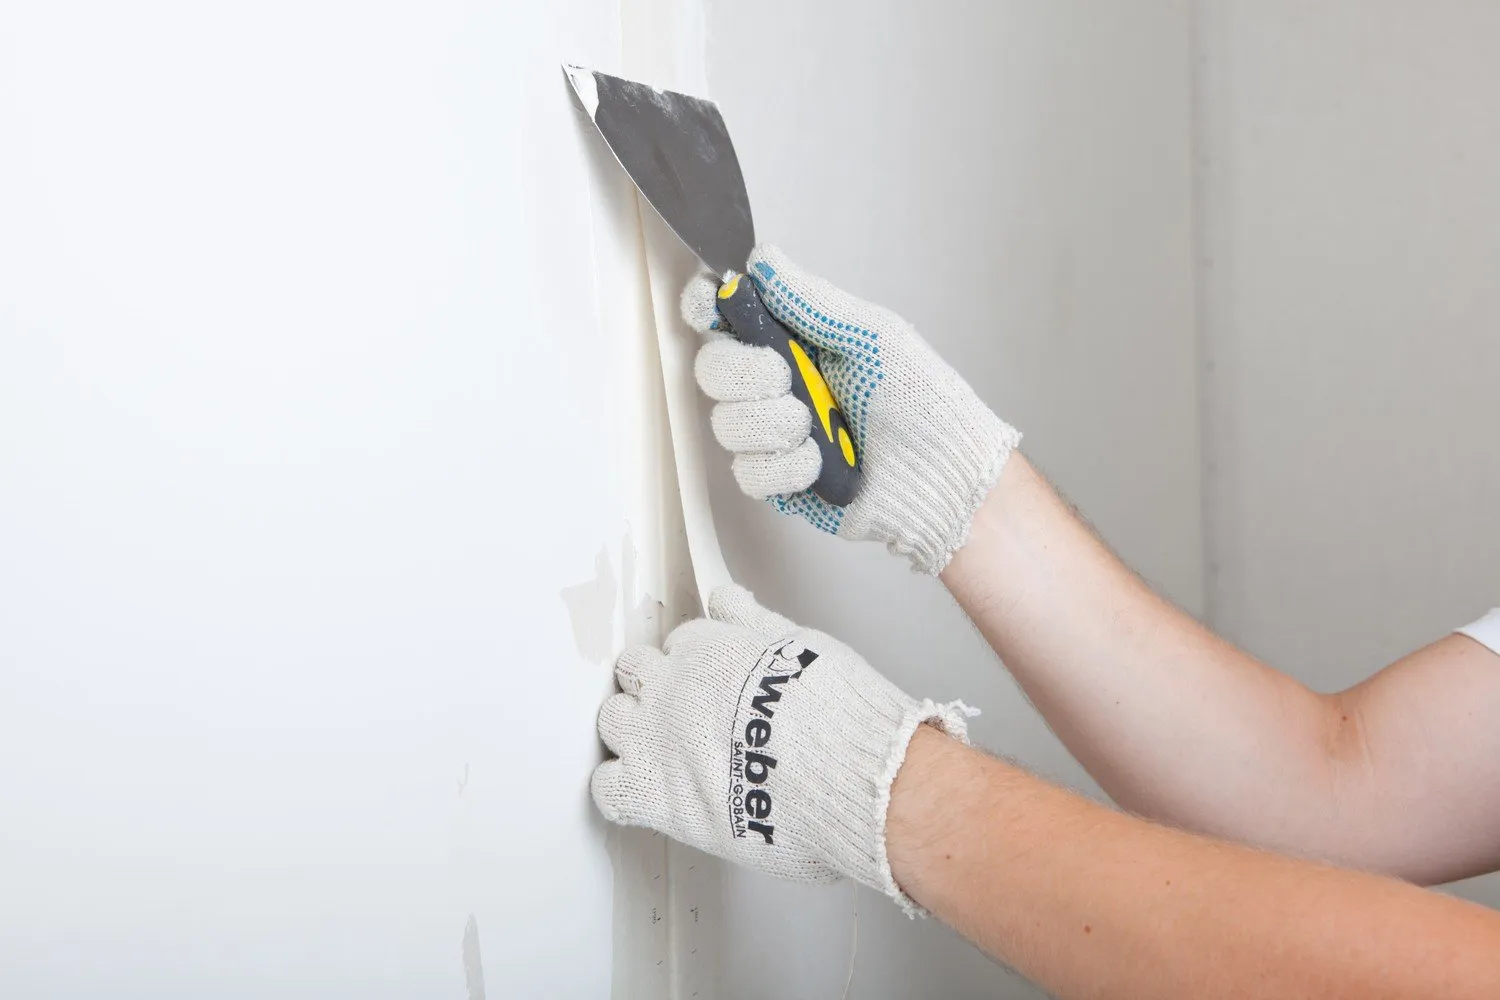
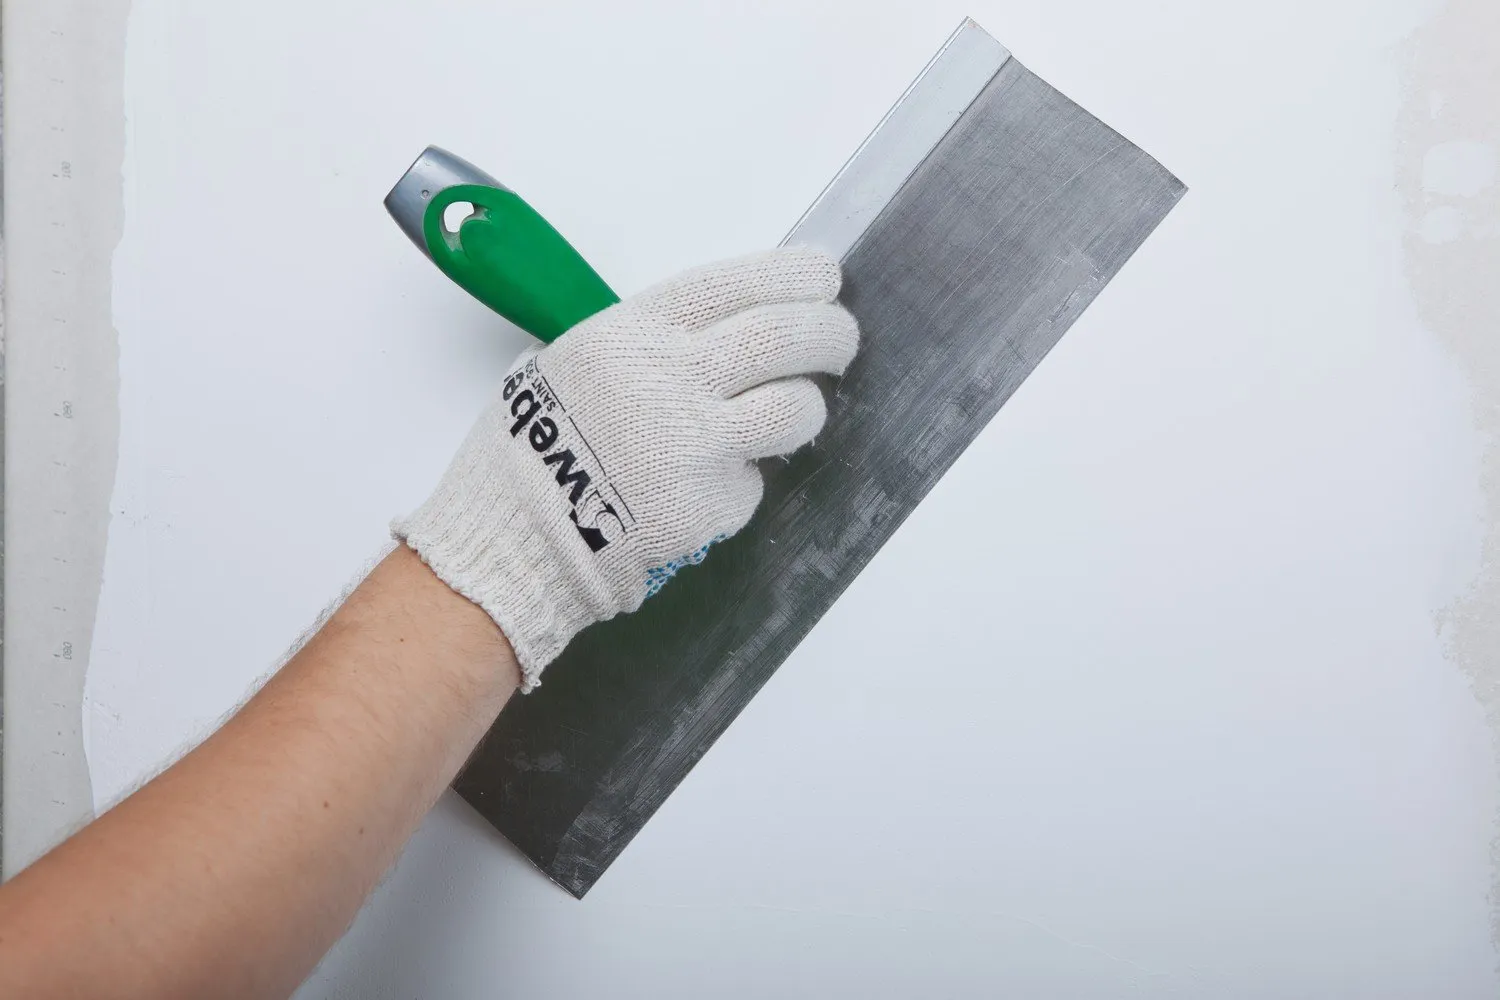
3. Fully level the joints with a wide rigid spatula to achieve a smooth surface. After the mixture dries, sand the joints with fine sandpaper.
4. Fill corners with joint tape and fill them with a large volume of weber.vetonit JS. Fold the tape along the fold at 90 degrees and press it into the joint with a spatula. Apply excess mixture over the tape.
5. Perform final leveling of the gypsum board surface using weber.vetonit LR+ or weber.vetonit JS. Apply the mixture mechanically by spraying or manually.
6. After sanding and ensuring the surfaces are ready for wallpapering.
Need a renovation specialist?
Find verified professionals for any repair or construction job. Post your request and get offers from local experts.
You may also like
More articles:
 What Is Considered Yesterday's Style in Interior Design: Part 2
 Why We Love Small-Format Tiles and Recommend Them to You
 Guide: Care for Different Types of Floor Coverings
 What Floor to Choose in an Apartment: 11 Ideas from Professionals
 New Year Decoration for One Weekend: Home and Yard
 Holiday Table Setting: 10 Ideas That Are Easy to Replicate
 Not a Boring Country House: Tips for Dacha Owners
 3 Legal Options for Replanning a Studio Apartment in a 'Brezhnev' Building