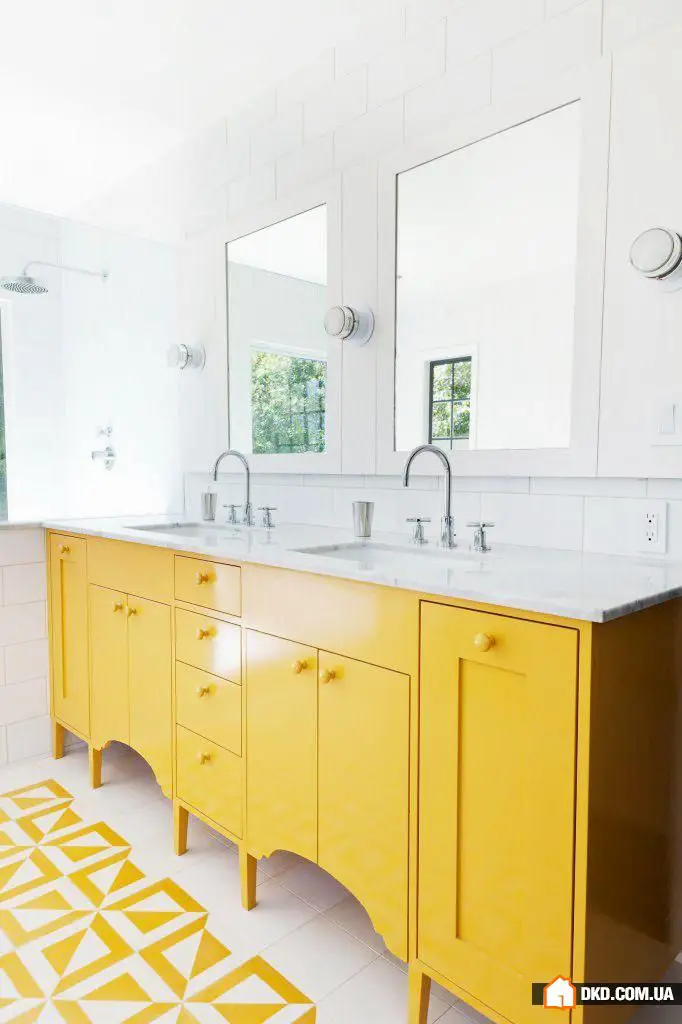
Repair in Practice: How to Repaint Ceramic Tiles
Relocating tiles on a kitchen backsplash, bathroom walls or floor is one of the most challenging tasks in DIY renovation. Few people know that instead of installing new tiles, you can repaint old ones with your own hands. Choose from smooth colors, simple patterns or delicate hand-painted designs... And we will show you how to do these works best.
Step #1: Define Boundaries
In fact, there are areas where it's better not to paint tiles – such as the floor in a bathroom or shower, and walls that are often exposed to water (such as in the same room). You can paint them, of course, but the coating will quickly flake off and peel. The floor and walls in "wet" zones can be painted around the edges, like a border.
However, the floor in the bathroom, kitchen and hallway (including ceramic granite), as well as the kitchen backsplash and walls in the bathroom and toilet that are tiled with ceramic tiles, which do not experience constant water exposure, can be painted and should be painted. After such an update, they will retain their color, shine, and pattern for a long time.
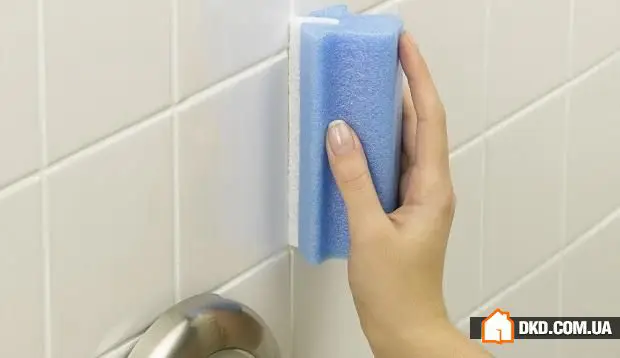
Step #2: Prepare the Surface
It is very important to thoroughly clean both the tiles and the grout. Use a stiff brush or even a metal scrubber, use an abrasive cleaning product – if the surface of the tiles is damaged, that's better. In any case, the next step is sanding with fine-grit sandpaper. This helps give the tiles a rough texture that the painting material can adhere to.
Work not only on the tile surface but also on the grout lines, to ensure even paint coverage. For faster results, you can use a sanding machine along with protective equipment – a respirator and safety glasses.
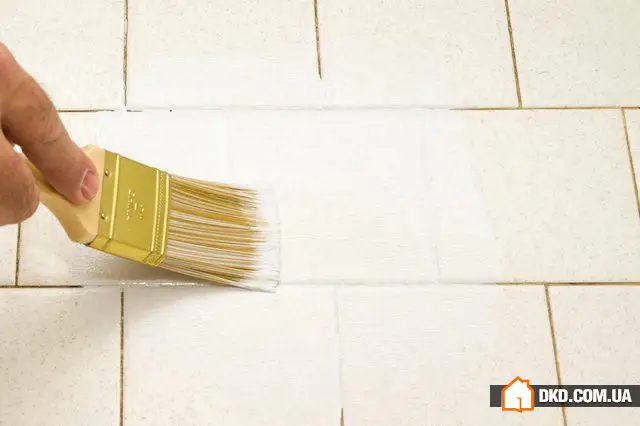
Step #3: Apply a Base for Paint
After sanding, thoroughly wash the tiles off dust and then degrease them – regular vinegar works well for this. Once the tiles are completely dry, coat the surface with a water-resistant primer with high penetration. The best results come from primers based on epoxy.
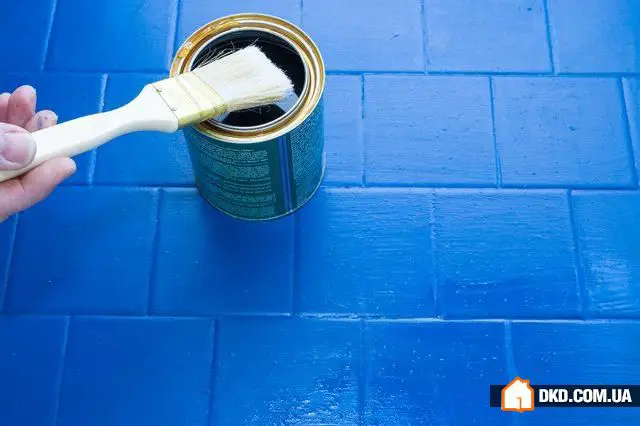
It is better to apply the primer with a brush rather than a roller. Do not try to make the layer too thin; ensure even application. Allow the primer to dry completely before painting (this will take about a day).
Step #4: Artistic Work
The best choice for painting ceramic tiles and ceramic granite is epoxy paint: it forms a wear-resistant and chemically resistant hard coating that shines beautifully. But remember that such paints take longer to dry, and the room must be well-ventilated after painting.
Some specialists recommend using oil-based paints – since they set harder on properly prepared tile surfaces. There is even a technique for using water-dispersed latex paint for painting ceramics – it's easier to apply, dries faster, and has a matte finish, unlike epoxy paint.
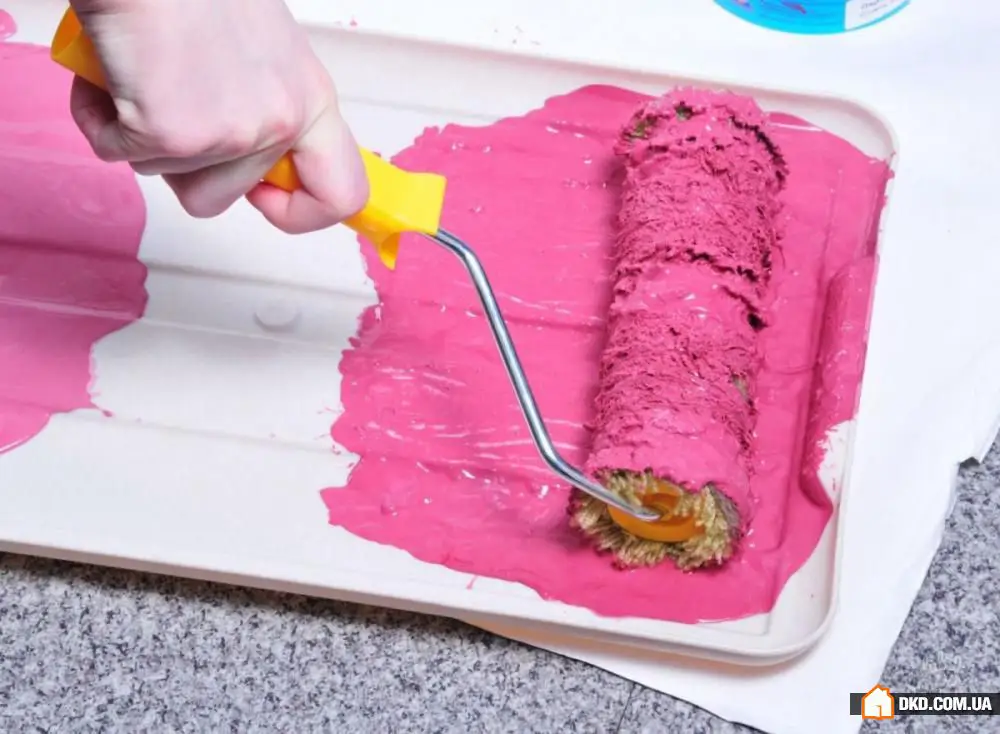
For smooth painting, apply the paint in thin layers using a foam roller. Wait for the paint to dry completely before applying the next layer (for epoxy paint, this may take about 24 hours).
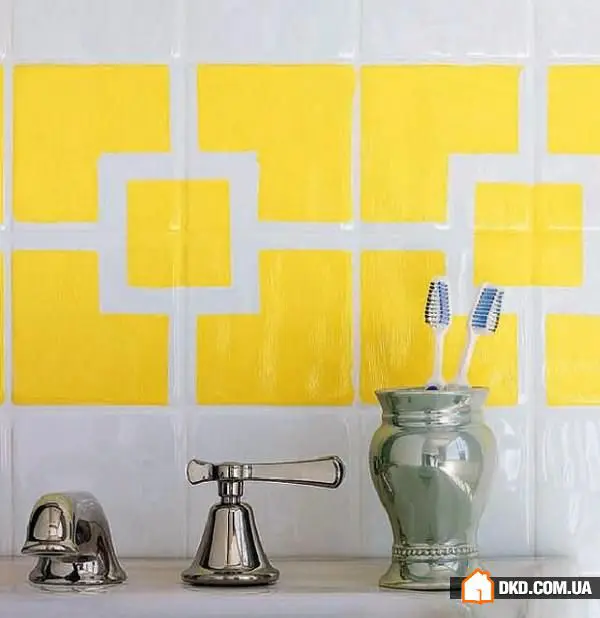
If you want to add a simple pattern or motif to the wall, use stencils and painter’s tape. You can also paint individual tiles in different colors to create various geometric patterns.
Step #5: Choose the Color for Grout
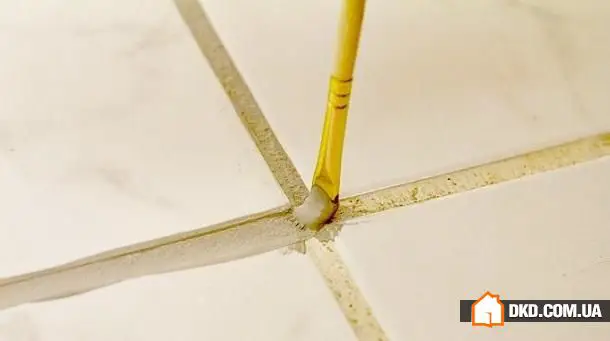
The easiest way to paint grout is to match it with the tile color. If for some reason you want a different shade, you will need to carefully tape off the painted and dried tiles with painter’s tape, then use a thin brush to paint the grout lines.
Important: If the ceramic layout requires new grout, this procedure must be done before painting. Then, paint the tiles very carefully without touching the grout lines.
Step #6: Protect the New Coating
The final protective coating that fixes the painted result is a clear water-based urethane varnish. Wait for the paint to dry completely (within 2-3 days) and apply the varnish with a brush in several thin layers, or with a roller in one thick layer. It is essential to varnish the painted tiles if you have updated the floor coating (with any paint) or used oil-based paint.
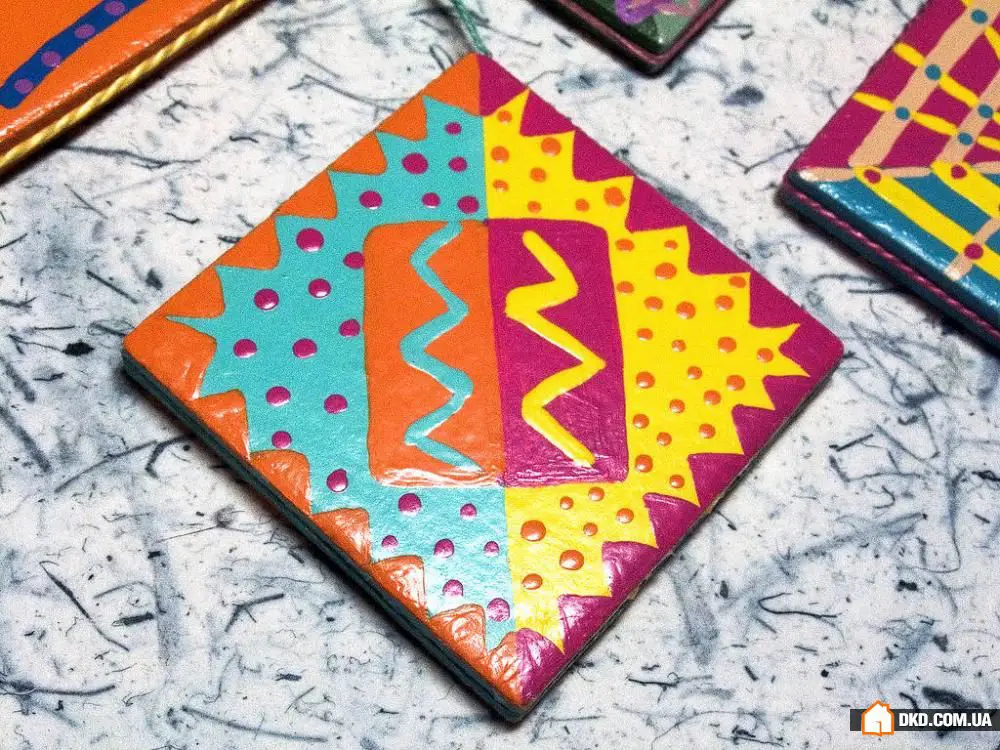
Step #7: Create Ceramic Art
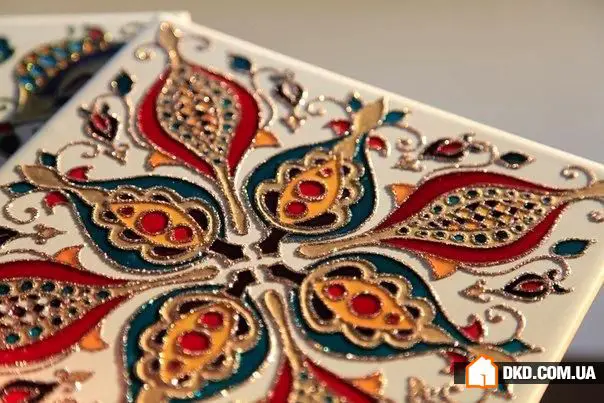
After successful painting, you can try hand-painting. Even if it's not highly artistic, you still have the opportunity to create a unique decor for walls or floors by yourself.
To prepare tiles for painting, wash and degrease the surface. It is better to treat the tiles with sandpaper. But acrylic paints for glass and ceramic (which must be used in this case) can adhere even to smooth surfaces.

The motif should be sketched on the tile surface with a pencil, then outline it with a contouring compound (or oil paint). After half an hour, when the outline has dried, fill it with color using acrylic ceramic paints. Hold the brush at a right angle to the surface and apply paint in dot motions (this is especially important for already installed tiles on walls). The paint should dry for at least 24 hours.
If you are painting tiles before the tiling process, you have the option to bake the design in a regular oven (15–20 minutes at 160 degrees Celsius) – this will keep the colors vibrant for a long time and prevent cracking.
Step #8: Use with Care
Avoid exposing painted tiles to prolonged water exposure or significant heat. Epoxy paints may crack under direct sunlight. All materials used for painting and hand-painting ceramics should not be washed with abrasive cleaners or cleaned with stiff brushes.
Need a renovation specialist?
Find verified professionals for any repair or construction job. Post your request and get offers from local experts.
You may also like
More articles:
 How to Decorate a Shared Children's Room for Boys and Girls Aged 3-7: 4 Practical Tips
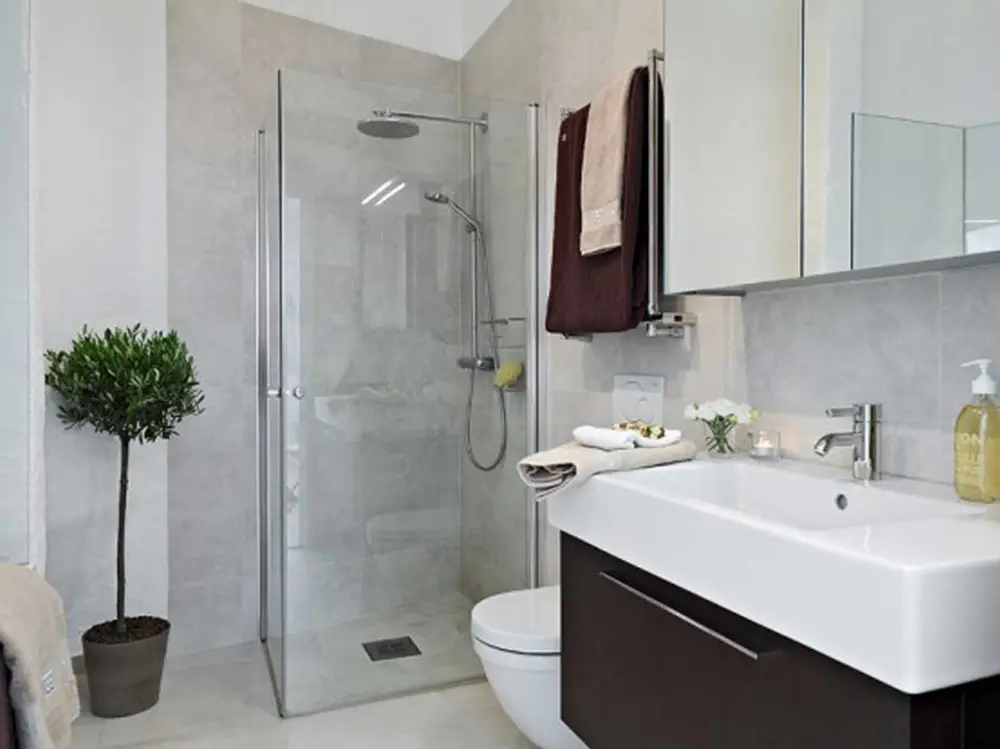 How to Do a Quick Bathroom Remodel: A Step-by-Step Guide
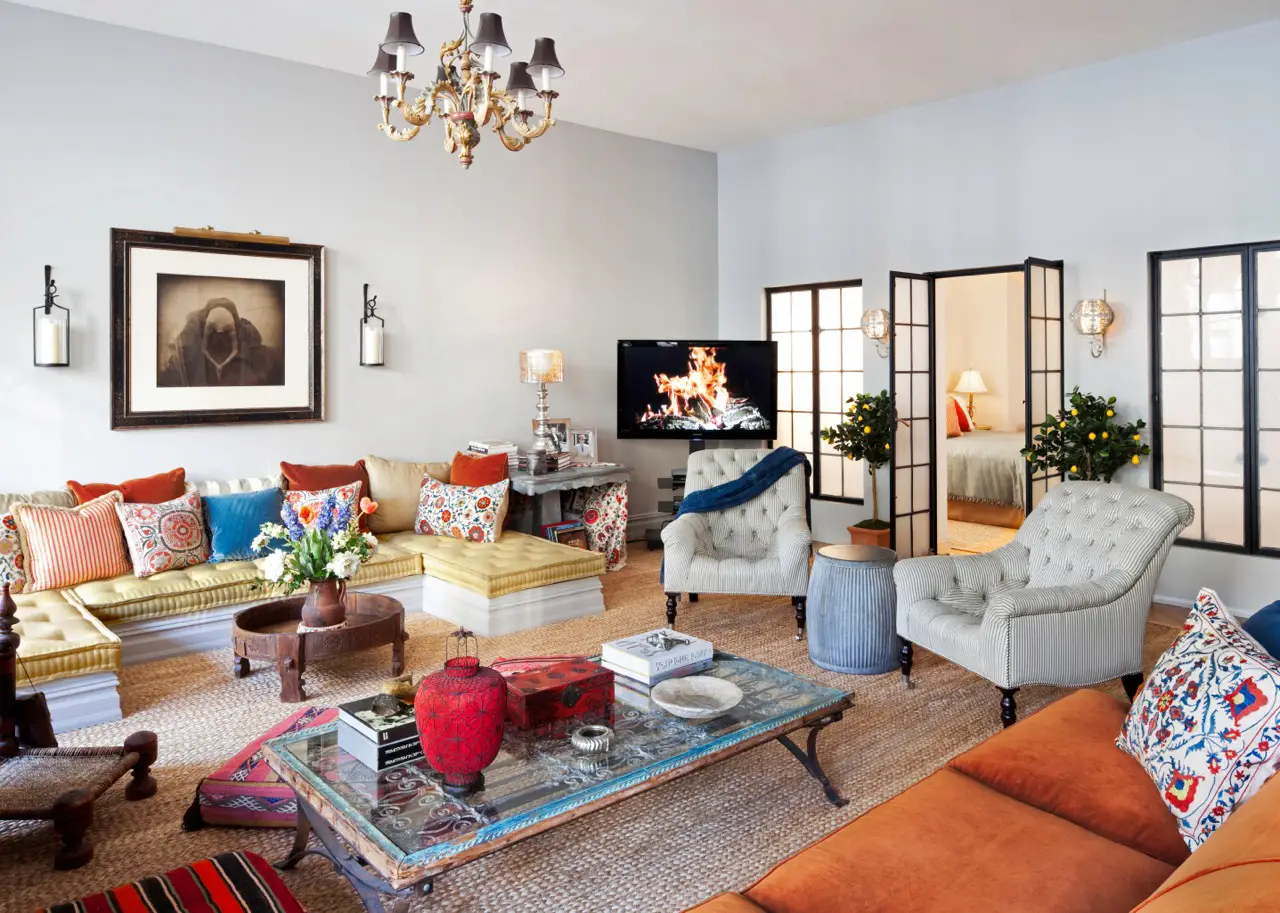 Classical Furniture in Modern Interior: 5 Ideas for Different Styles
 40 Unique Pools From Around the World
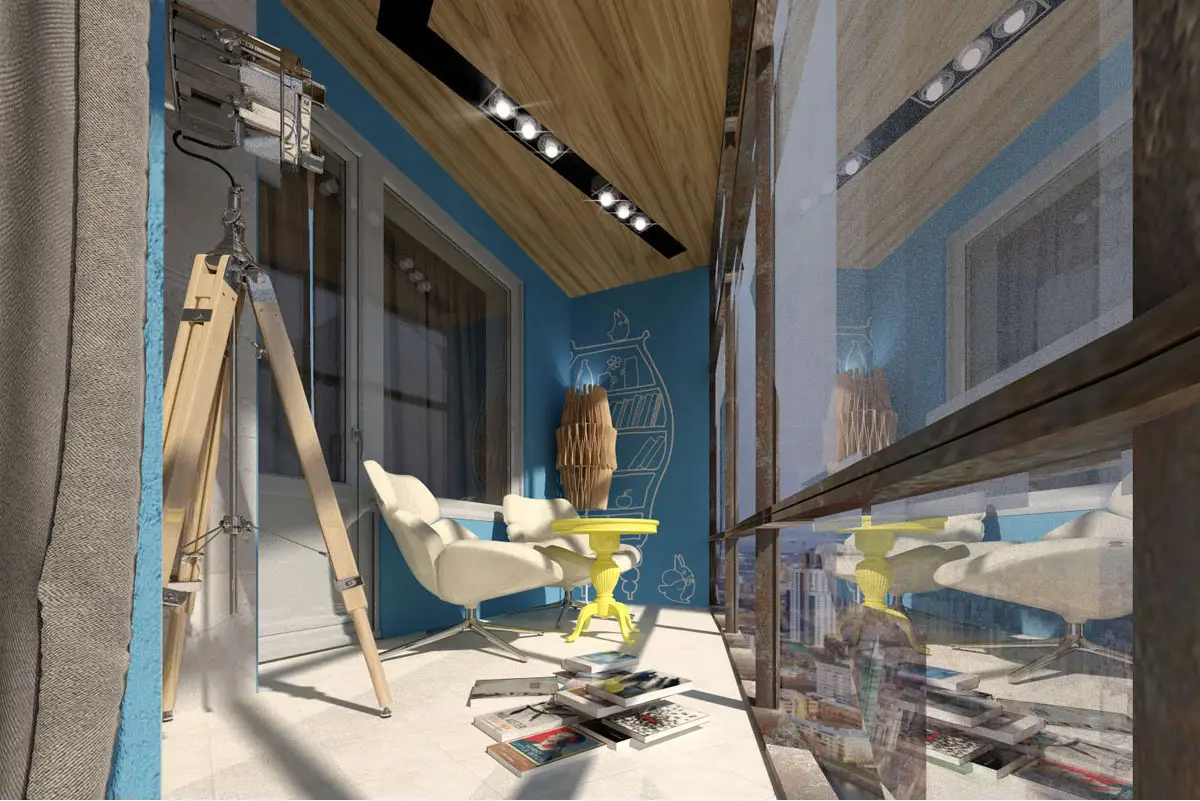 How to Arrange a Multi-Functional Balcony: 3 Best Ideas
 Cosmetic Balcony Renovation: 5 Steps and Minimal Effort
 Cozy Minimalism: Villa in Mediterranean Style in Crimea
 Strong Men, Serious Walls: 10 Best Male Interiors