Cosmetic Balcony Renovation: 5 Steps and Minimal Effort
To increase the useful area of an apartment, sometimes it's enough to tidy up the balcony and do a light cosmetic renovation there. We tell you how to transform the balcony without special efforts and expenses
If you have been storing unnecessary sports equipment and out-of-season rubber on the balcony until now, it's time to change the situation. A light cosmetic renovation can help turn the balcony into a real lounge area, greenhouse, or private office. Today we will tell you how to quickly fix defects in the finish to bring all your wildest ideas to life.
Step #1: Change the Floor
Worn and warped floors are one of the main problems in balcony finishing. Old flooring should be removed in any case: a hammer and chisel will help remove wooden planks or tiles. Level the concrete base with primer and spatula – such a surface will suit both linoleum and tiles. If the balcony door is too high, slightly raise the floor with brick masonry, lay any insulator, and also lay linoleum on top – the most economical material for cosmetic floor finishing.
However, keep in mind that linoleum will fade under constant exposure to sunlight and won't last as long as in other rooms of the apartment. To reduce this effect, you can additionally lay a carpet runner on the floor.
Step #2: Fix Wall Defects
To be honest: there are few walls on the balcony that need finishing, and this is a complete plus. First of all, cosmetic finishing of surfaces won't take much time; secondly, due to the small area, you can afford not to save on materials. The ideal option would be ceramic tiles or artificial brick: these lightweight and durable materials won't fade over time and will suit any adhesive. The only condition is that the tiles shouldn't be too large: small elements suffer less from temperature fluctuations.
However, to lay tiles, you'll need to level the surfaces. For this, plaster marked for outdoor work will do. A more budget-friendly option is painting. To prevent fading and cracking over time, choose heat- and moisture-resistant materials.
Step #3: Fix Issues with Glazing
Full replacement of glazing on the balcony is not the cheapest initiative. If such expenses are not in your plans, try to solve problems with glass and frames point-by-point. A small scratch on the glass can be removed using toothpaste: simply apply the paste to the glass and polish it with a soft cloth.
If one of the panes has cracked, it will have to be replaced. To avoid cuts from shards, carefully remove the clips, pull out the old sealant with a regular or office knife, gently press on the glass, and carefully pull it out. To ensure the new pane holds firmly in the frame, use silicone sealant and don't forget to reinstall the clips.

Step #4: Save Wooden Finishing
It's also easy to fix defects in wooden finishing. To remove peeled paint from frames or walls, thoroughly wash them off dust and use a ready-made solvent. Apply the solution with a regular painter's brush and remove the old coating using a spatula. Don't forget about safety: solvent is toxic, so you'll need to work in thick rubber gloves.
After that, if the visual quality of the wood allows, you can degrease the cladding and coat it with varnish. Bright colors will add variety to the balcony interior: if you decide to paint wooden finishing, choose acrylic or oil-based materials and apply the paint in at least two layers.
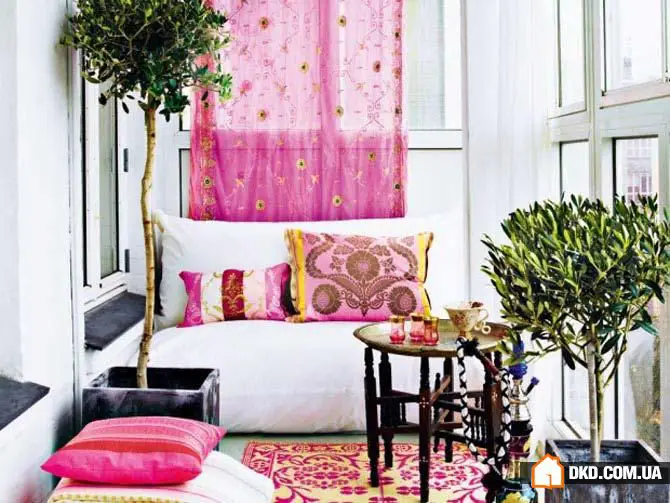
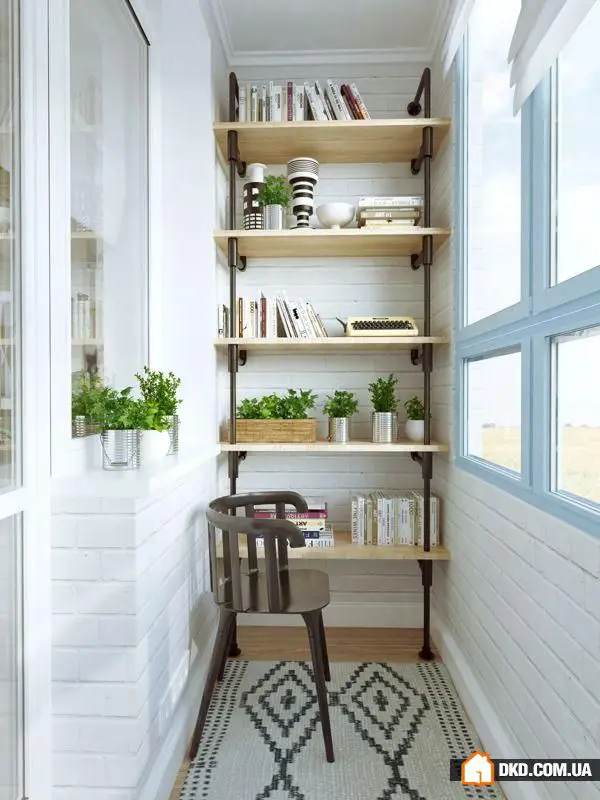
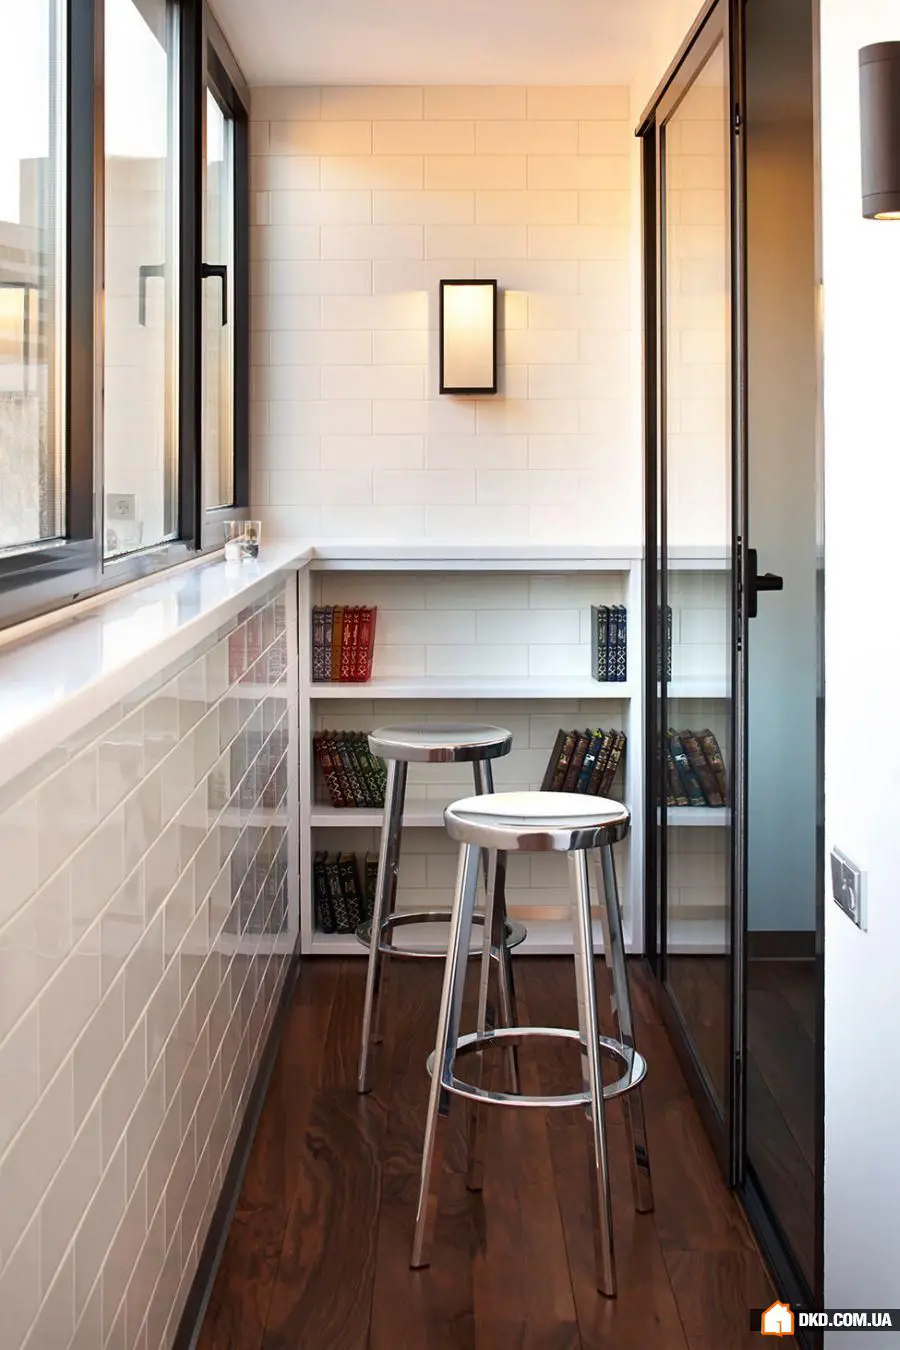
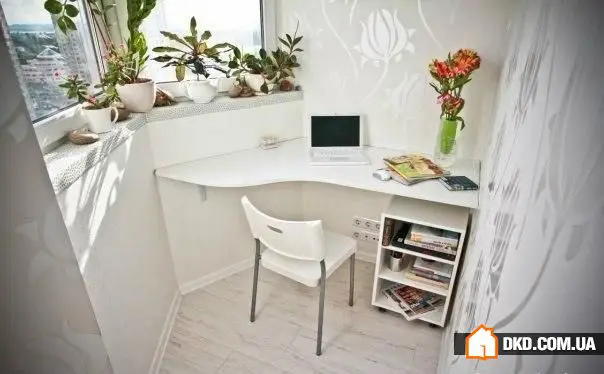
Step #5: Add Shine
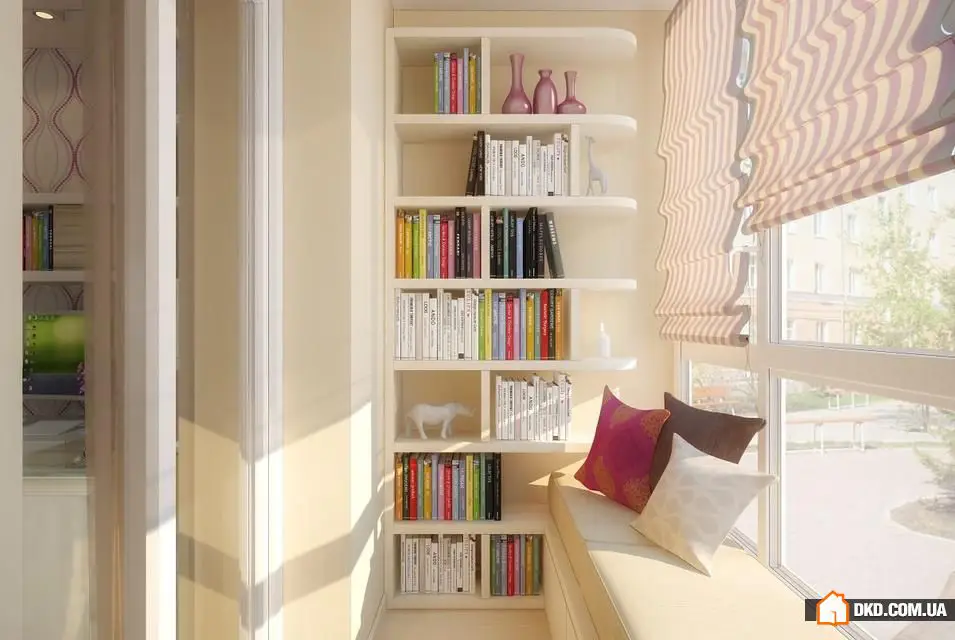
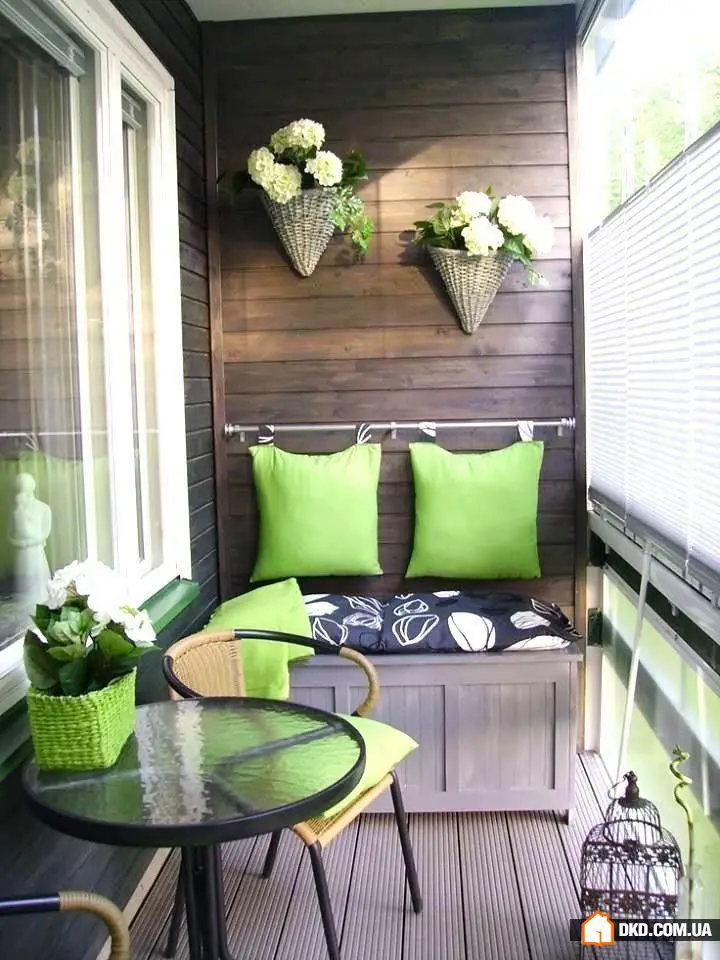
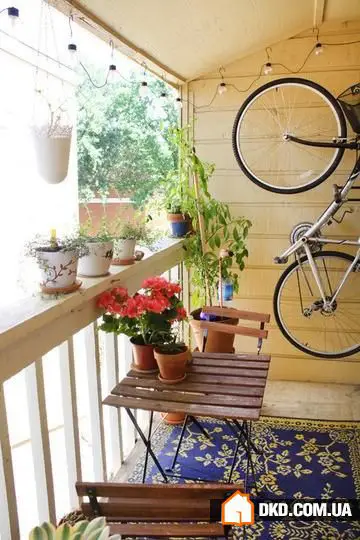
And now – the most critical moment of cosmetic renovation: decide what the renovated balcony will become. Place bikes or skis on a small area without cluttering the balcony? It's not harder than organizing supports on narrow transverse walls, and the equipment will occupy minimal space. For storage, you can use sideboards with hinged lids, chests, and tables with drawers: this way, you'll be able to combine comfort with usefulness – furniture from the lounge area will hide items that don't fit in the apartment.
A good idea is to set up a shelf or window sill along the balcony. It's easy to make it yourself from plywood or gypsum board and paint it in any color.
Need a renovation specialist?
Find verified professionals for any repair or construction job. Post your request and get offers from local experts.
You may also like
More articles:
 How to Save Electricity and Reduce Your Light Bills?
 Lifehack: 10 Fast Ways to Tidy Up Your Home
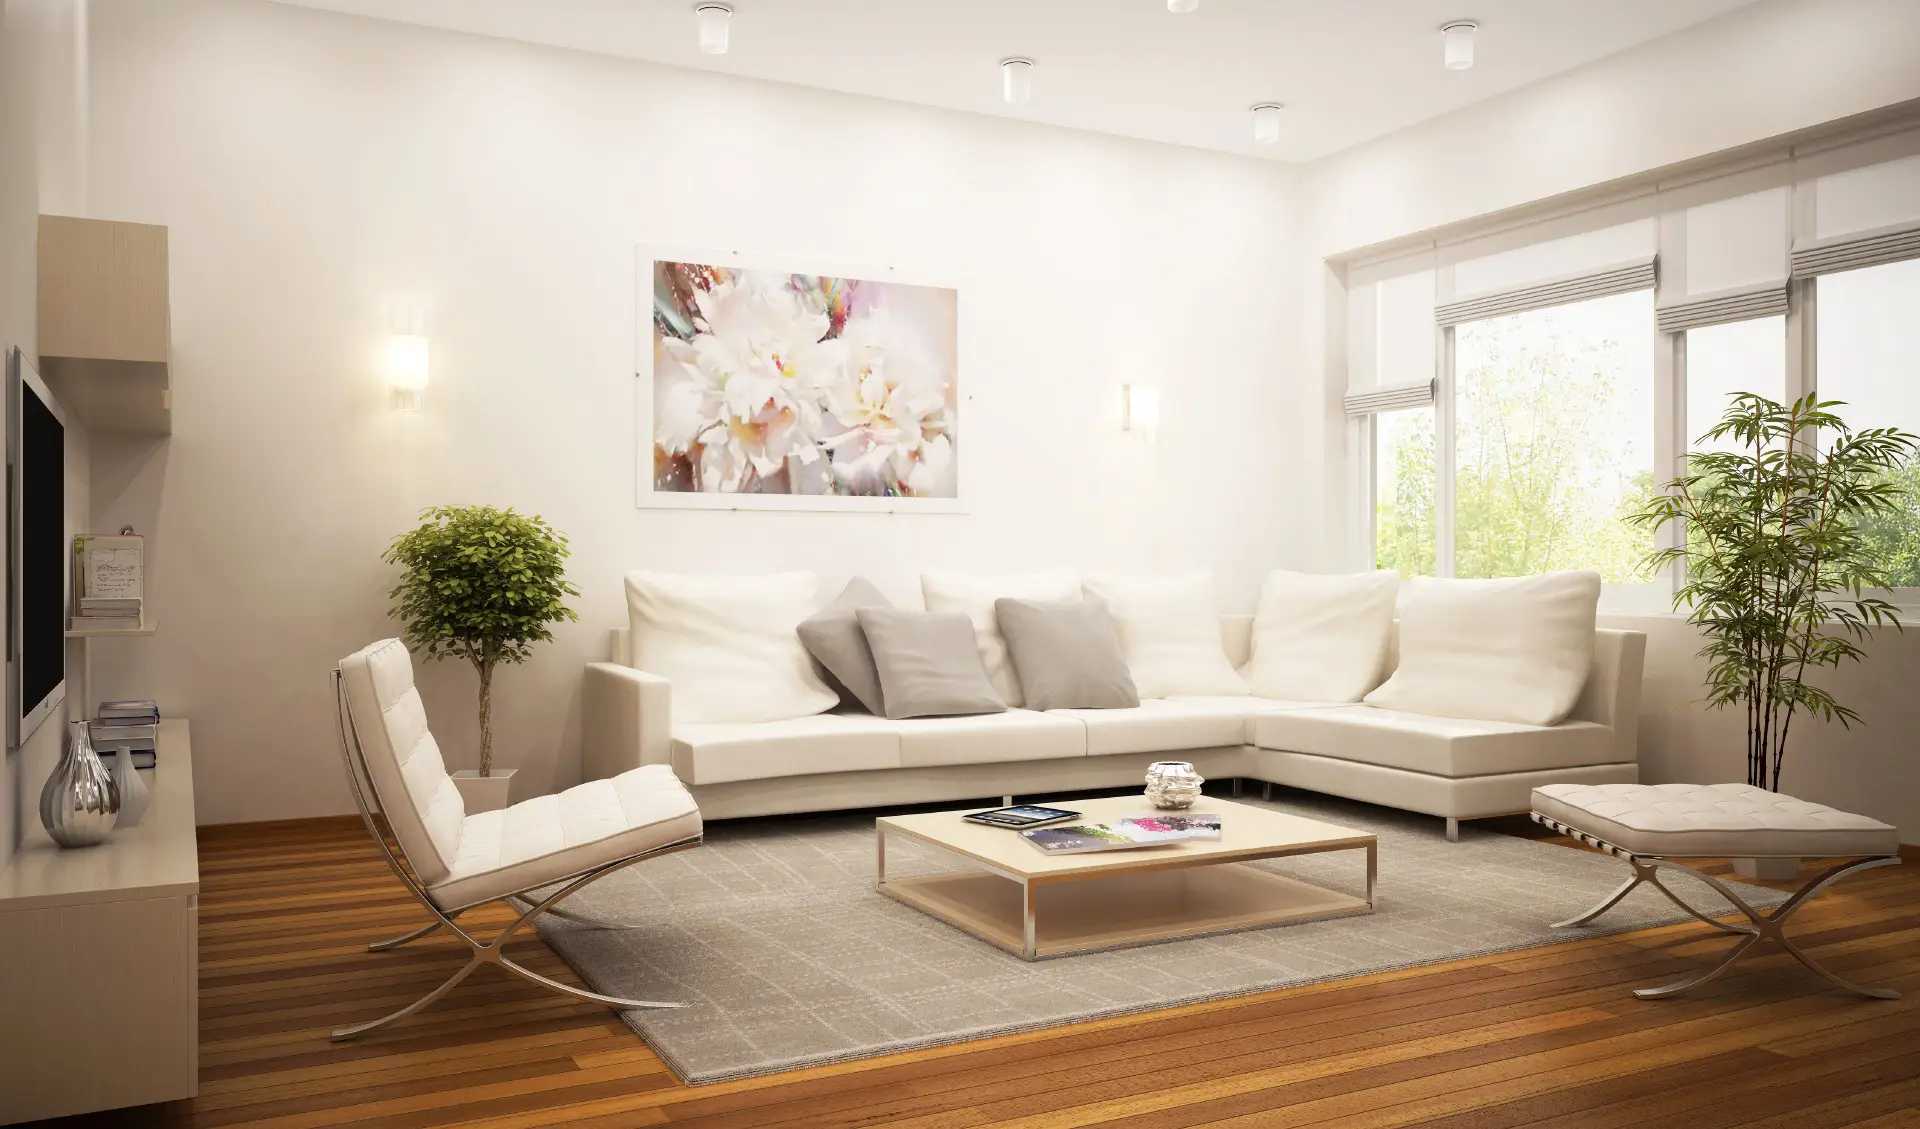 How to Do Cosmetic Renovation in the Living Room: 7 Main Steps
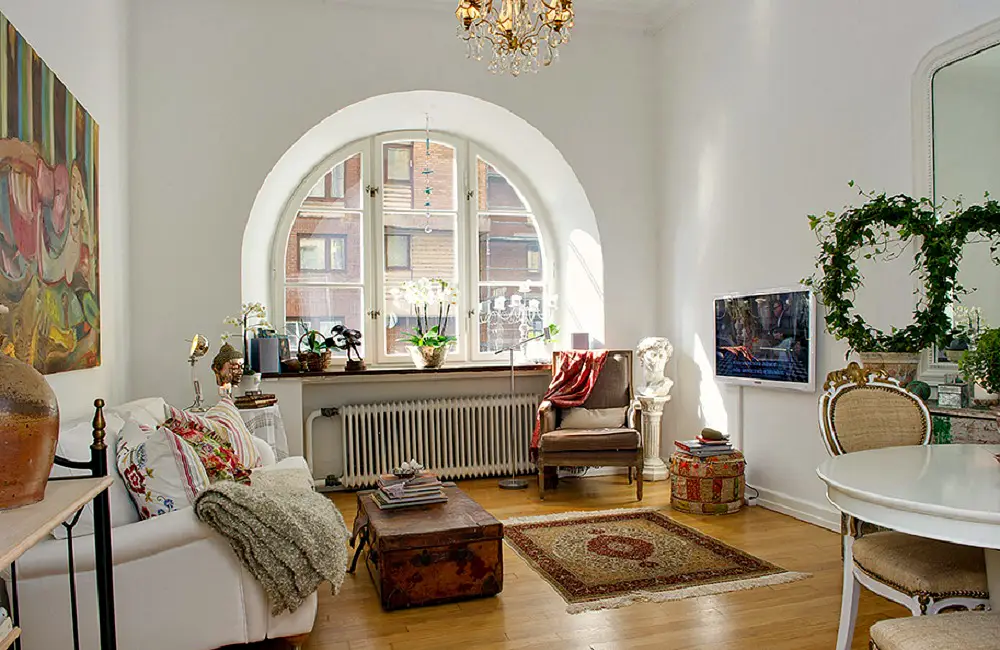 Beautiful Doesn't Mean Expensive: 5 Ideas for Budget Decor
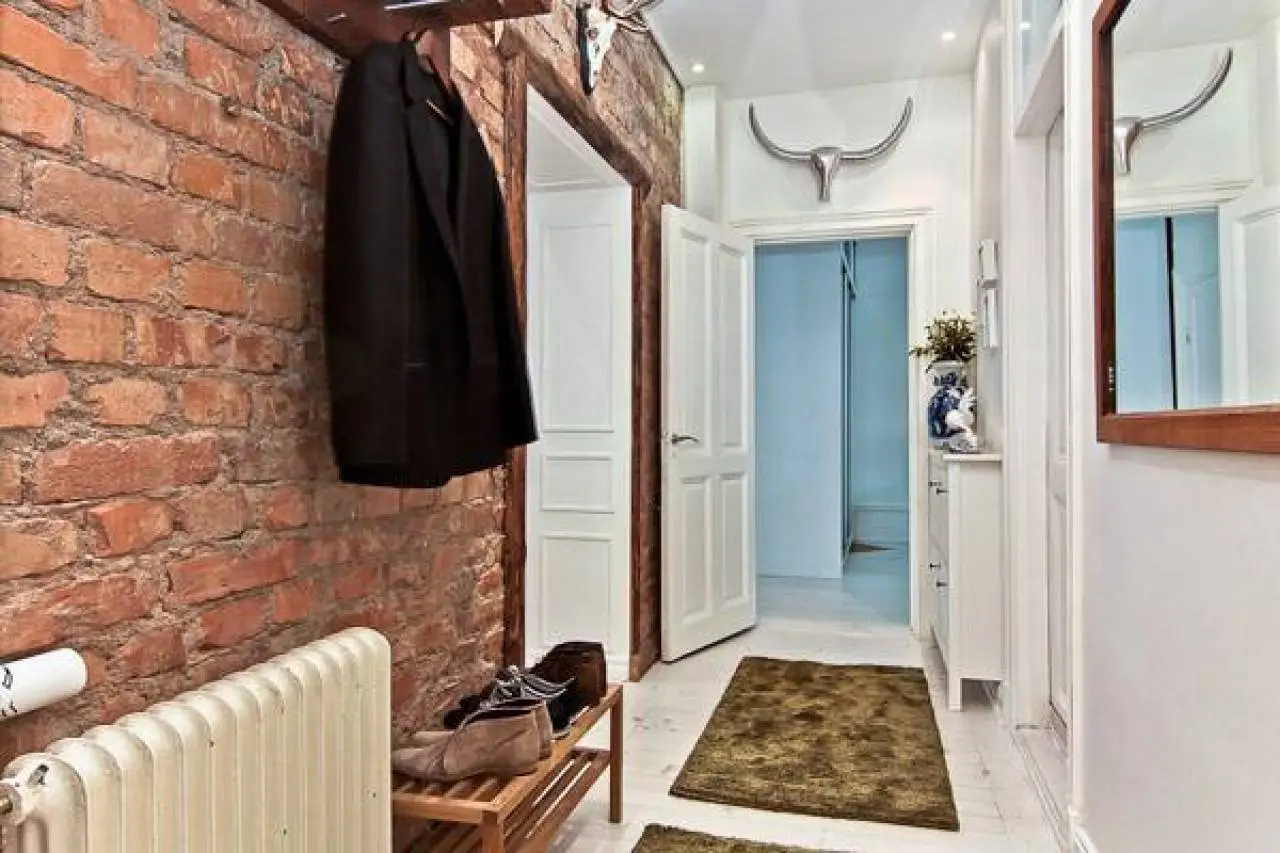 Express renovation in the hallway: 10 steps to perfect results
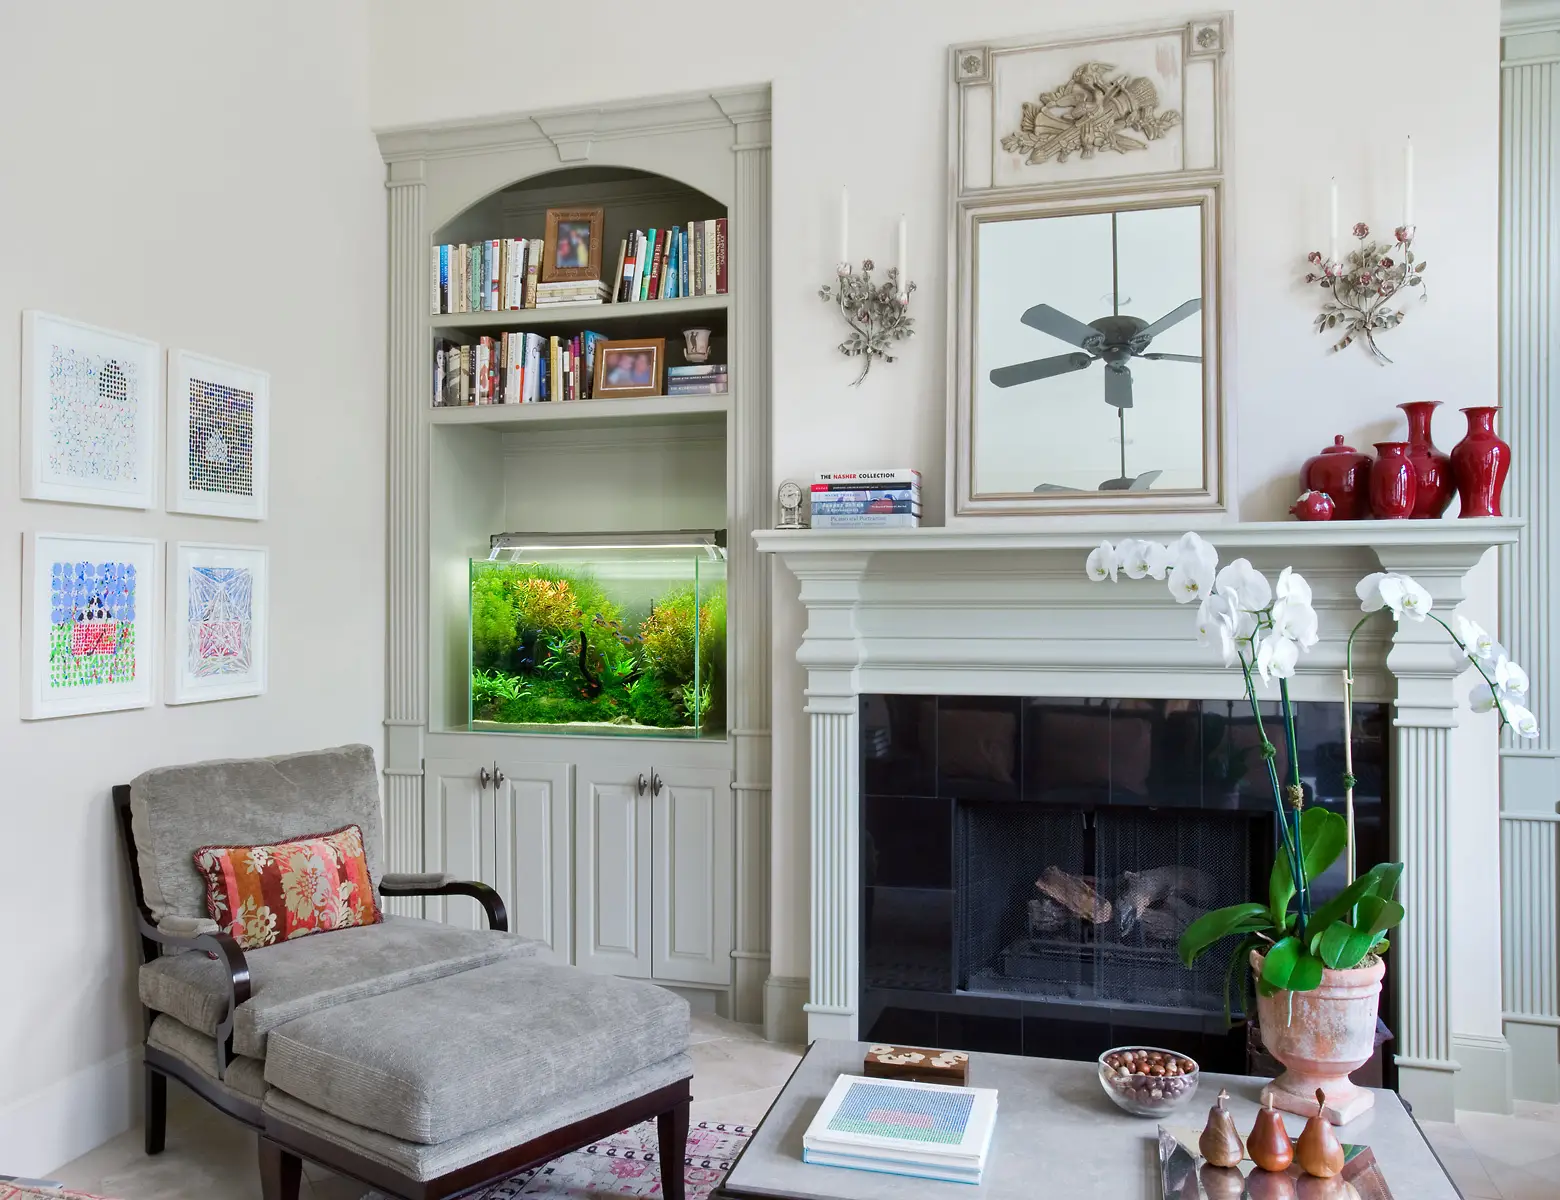 Where to Place an Aquarium in Interior Design: 5 Ideas
 How to Arrange a Bedroom According to Feng Shui: 5 Expert Tips
 35 Brilliant Ideas for Home Greening