Express renovation in the hallway: 10 steps to perfect results
It's honest to admit: it's impossible to completely redo a hallway over the weekend. However, with proper preparation and following our tips, you can transform it in just a few days.
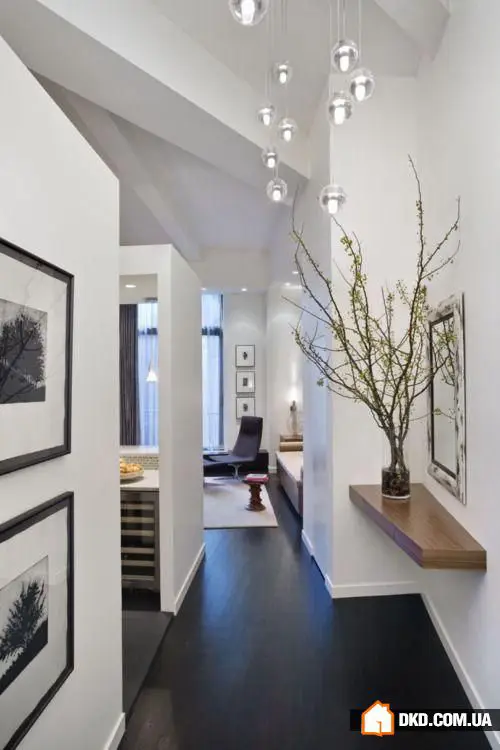
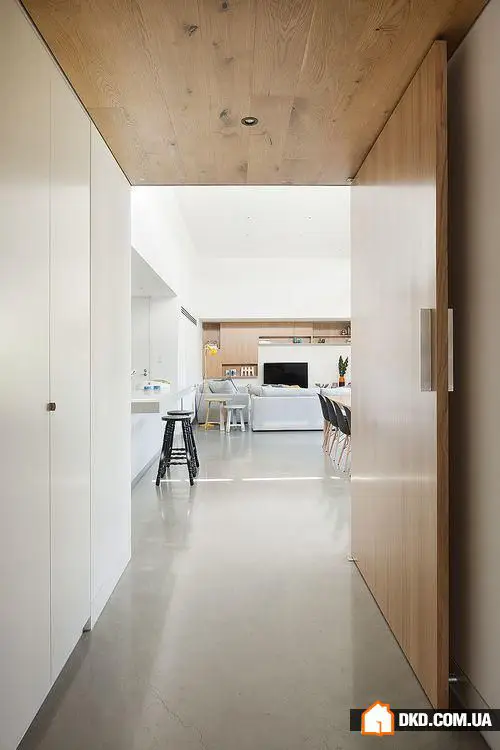
As is known, the hallway is the face of an apartment. It creates the first impression of the interior, which is equally important for guests and owners. This impression is created by just 3 moments: a consistent style, thoughtful ergonomic design of the space (usually very small!), and the quality of finishing. The more factors you can consider and plan in advance, the faster the renovation will proceed in practice. Step #1: Lighting and electrical wiring layout
Hallways in our apartments are usually tight, dark, and windowless. Therefore, it makes sense to include several bright light fixtures in the project from the start. Important: major changes in wiring can significantly delay the renovation.
Step #2: Choosing colors and textures
Purchasing finishing materials, auxiliary supplies, and tools in advance, act with the design project or photos of the rest of the apartment in mind. General recommendations are known: light but warm tones add brightness and visually expand the room. With good lighting, bright colors will look great.
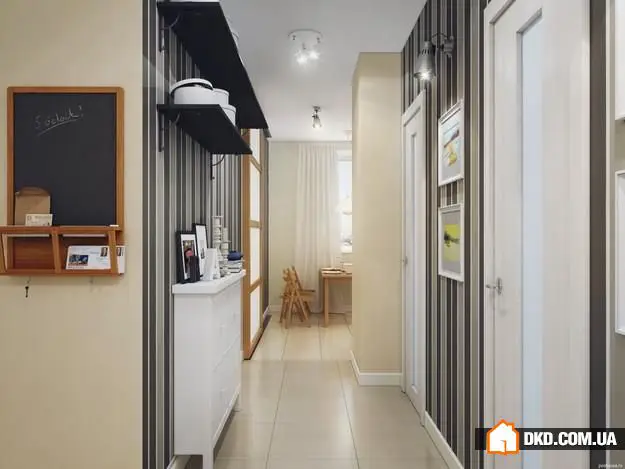
Step #3: Selecting furniture and accessories
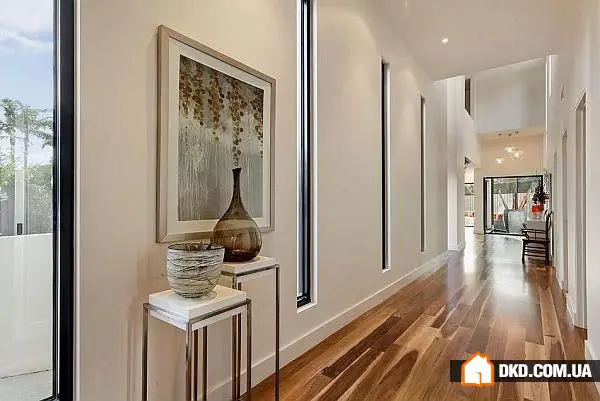
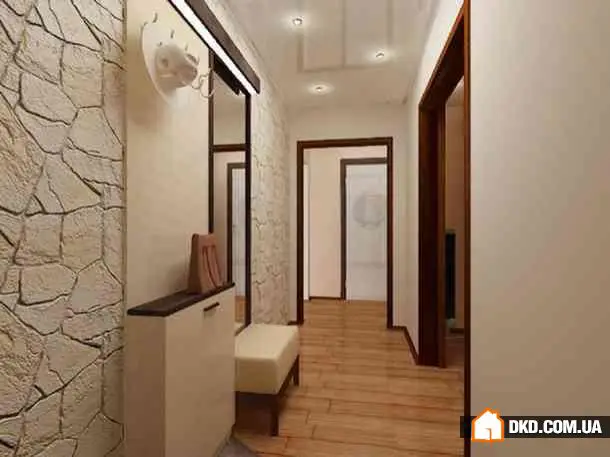
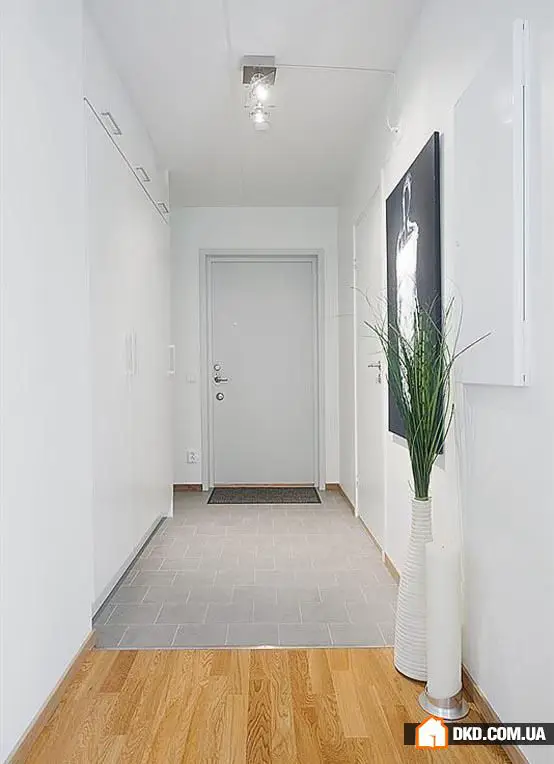
It's not necessary to plan a hallway with a large wardrobe and antresoles just because that's what everyone does. Yes, hiding many items is useful, but if there's no space, plan only a shoe rack, stool, hanger, and shelf for headwear against smooth walls and a small mirror. Storage systems can be improved in other rooms or corridors.
Step #4: Contract for self-construction
After purchasing materials and furniture, it's time to adjust the current renovation plan. Sketch the final design or layout: calculate where wardrobes and shoe racks should stand to allow all doors to open freely, whether there is enough space and light opposite the mirror. Arrange the order of work.

Step #5: Preparing the wall and ceiling for finishing
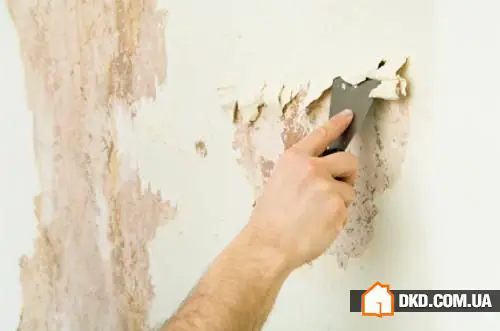
Old wallpaper can be easily removed with hot water, sharp spatulas – or even special products and steaming, in particularly neglected cases. It's better not to remove paint from walls – it’s too time-consuming. Acrylic paint applies well on a surface previously treated with the same acrylic base, and oil-based or alkyd enamel is better covered with something – wall panels or wallpaper. Remove leftover acrylic paint from the ceiling using water and a spatula. This is the dirtiest part of the job – it’s not a bad idea to lay down the floor properly and not spare water, so that you don’t have to breathe dust afterward.
Step #6: Priming the base
Both paint and wallpaper require quality primer – it's not worth cutting corners with money or time. Today there are primers that can be used to paint even laminate, aluminum, plastic, glass, and its synthetic substitutes (polycarbonate, polystyrene). It's useful to apply primer under wallpaper too – this guarantees that the finishing will not peel off, even if you're rushing to apply the panels on an untreated base. If you plan to paint or clad the ceiling, it should also be primed. Important: let the primer dry completely. This will take 1 to 3 days. For an express renovation, it might seem like a lot, but finishing work on primed surfaces is much easier, and the result will indeed be long-lasting.

Step #7: Final wall finishing
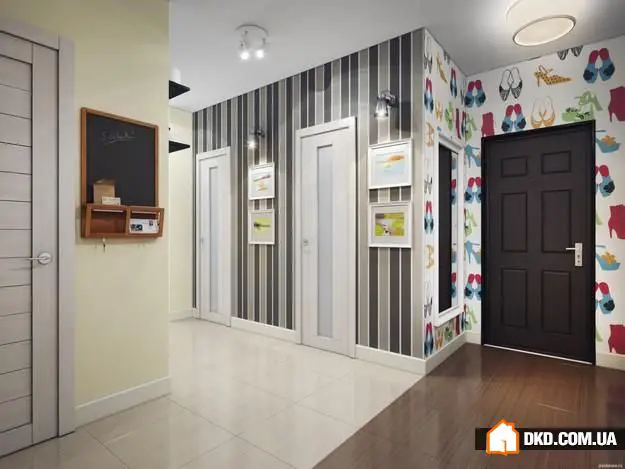
This depends on what material you chose. The fastest option is paint with a durable, washable coating that can even be cleaned with abrasive cleaning agents. Such paints dry in just a few hours – so you can finish the walls in one day, even if you need to paint three coats. With paint, you can experiment – striped walls, fun motifs applied on a light background using stencils won't take much time.
Ideal wallpaper for a hallway is vinyl (and all washable wallpapers, including those suitable for painting). Preliminary marking and using a plumb line will save time and nerves. Just like choosing the right adhesive. With sufficient experience and skill, you can try to do a quick wall cladding with plastic panels, vinyl tiles, or even laminate. However, surfaces must be flat – there's no time or precious centimeters of space in the hallway for leveling walls with plaster or gypsum board sheets.
Step #8: Ceiling finishing
The simplest and fastest is to paint the ceiling with acrylic paint based on water. In this case, ceiling work is best done before final wall finishing (just swap the steps). The ideal color is white or very light warm tones. White is usually chosen for cladding materials too. Foam and polystyrene panels are used less and less for home renovations – considered not the most eco-friendly material. But for a hallway, this option might be ideal: tiles are cheap, easy to install, and look neat. Important: before applying tiles, you don't need to remove old paint from the ceiling, but the surface must be washed, sanded, and primed for better adhesion to the glue. Also, prepare to spend time on marking: draw lines and you can apply tiles in just a few hours.
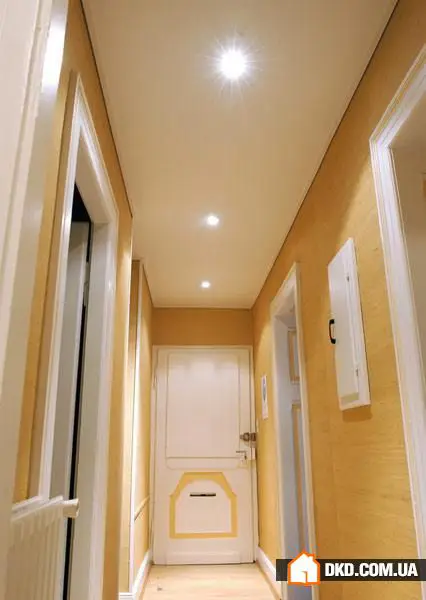
Another fast (but quite expensive) way to beautify the ceiling is a suspended structure. Glossy ceilings should be used in rooms of proper shape – rectangular or square, with small niches and short branches. In narrow winding corridors, such luxury either disappears from view or is overly eye-catching. Time will be spent mainly on measurements, accurately determining the mounting points and light fixtures, running all necessary wires, and making a frame. But the fabric itself is easily stretched in three steps. In rooms with uneven walls, there may be ugly gaps around the perimeter – you'll need to take care of cornices.
Step #9: Installing floor covering
With the floor, it's the same story as with other surfaces: choose coverings that don't require leveling the base or laying thick underlays. The finishing must be durable, washable, resistant to scratches from heels, umbrellas, and sleds. Usually, even in the smallest hallway, there are two types of floor: a transit zone near the entrance marked by ceramic tiles or budget linoleum – from which it's easier to clean dirt and dry the surface. In the wardrobe area, you can choose more demanding finishing – even laminate might work. Also consider self-adhesive plastic tiles – in a bedroom, they would look too office-like, but for a hallway, depending on the design, this option might be quite suitable.
Step #10: Five-minute readiness
We're used to thinking that the hallway is purely functional. But in reality, there's no better place in an apartment to declare your style right at the door. We spend very little time by the entrance, so a few vibrant and unexpected elements can lift the visitor's mood and not get boring or tiresome. Family photos, a floor mirror, candles, or live flowers – there are plenty of decoration options. Experiment!
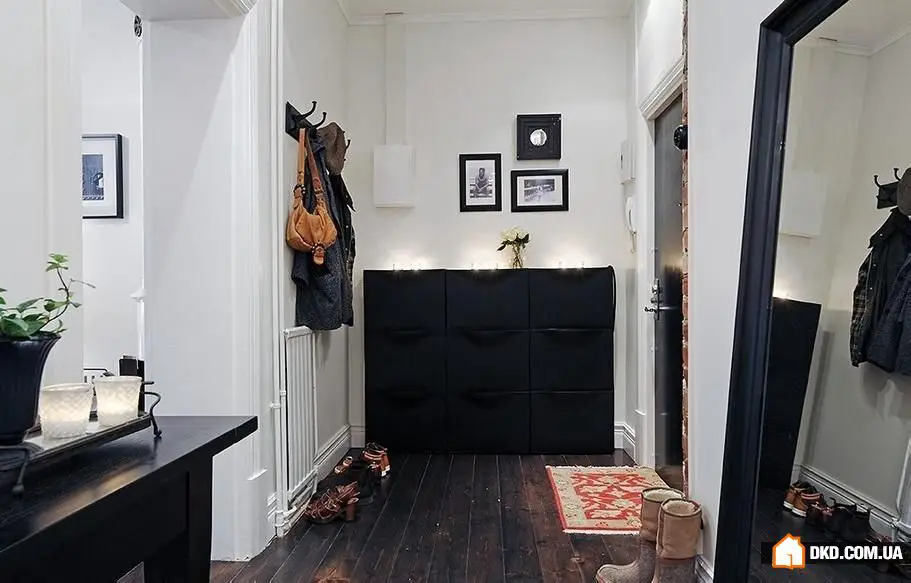
Important: avoid extremes, try not to over-decorate a small space. Place one or two expressive accents directly opposite the entrance door – and they will surely please you and your guests. Additional bonus: if the design of your hallway becomes boring to you, you can quickly change the setting – because you already know all about express renovation.
Need a renovation specialist?
Find verified professionals for any repair or construction job. Post your request and get offers from local experts.
You may also like
More articles:
 How to Decorate a House in Ranch Style: 5 Main Rules
 If There's No Room for a Wardrobe in the Bedroom: 5 Ideas for Clothing Storage
 10 Common Mistakes When Organizing Your Home
 Budget Ways to Refresh Your Interior: 5 Ideas
 How to Decorate a Dormer: 4 Steps to Creating a Cozy Atmosphere
 5 Tips to Make a Dark Room Brighter
 How to Create a Bold Interior: Real Example
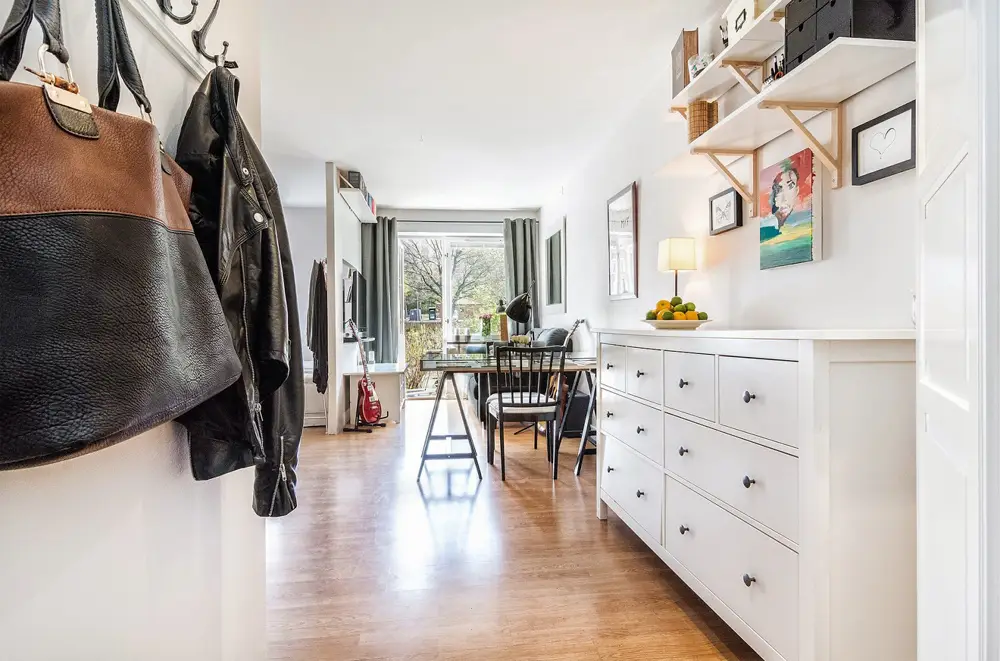 5 Useful Ideas for a Small Entryway in an Apartment