How to Do Cosmetic Renovation in the Living Room: 7 Main Steps
In small apartments, the living room usually combines the functions of several rooms, and finishing elements wear out quickly. We will tell you how to update the look of this room with minimal effort and expenses
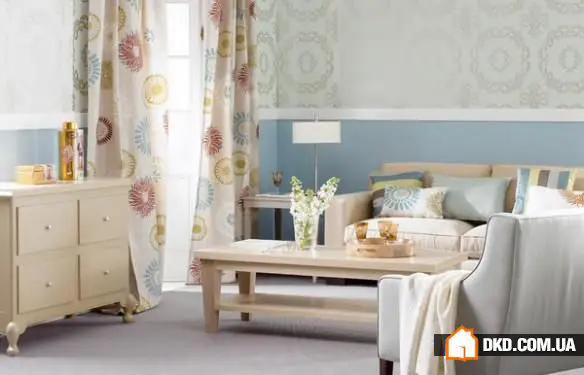
The living room is the room that most often needs cosmetic renovation. In small apartments, it sometimes serves as a dining room, a family relaxation area, a venue for friendly gatherings, and even a bedroom, which means the finishing elements of the room wear out quite quickly. Today we will tell you how to do a cosmetic renovation in this room with minimal effort and cost.
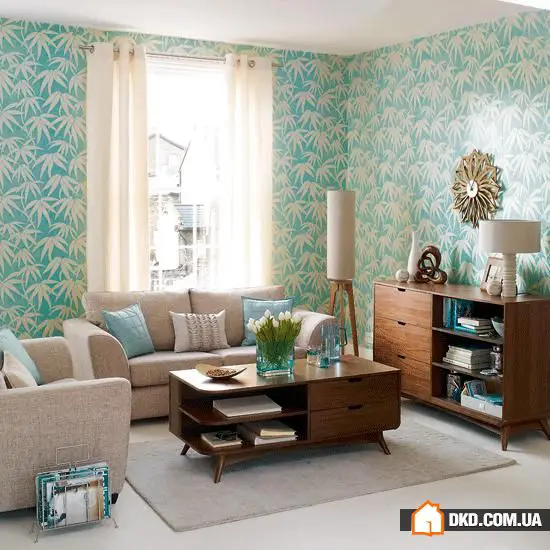
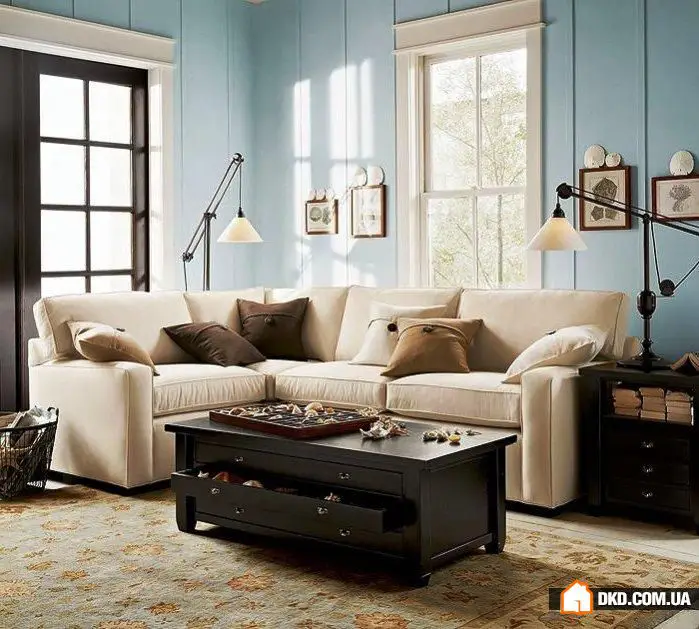
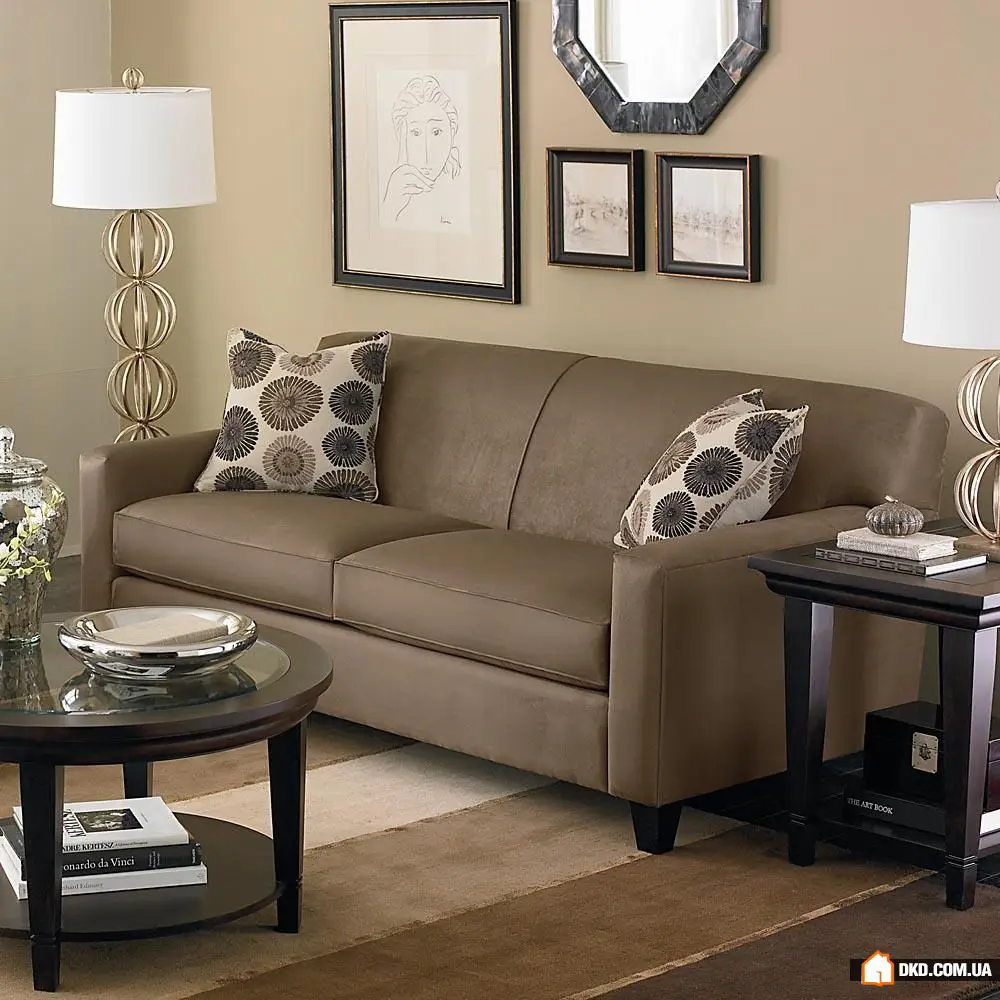
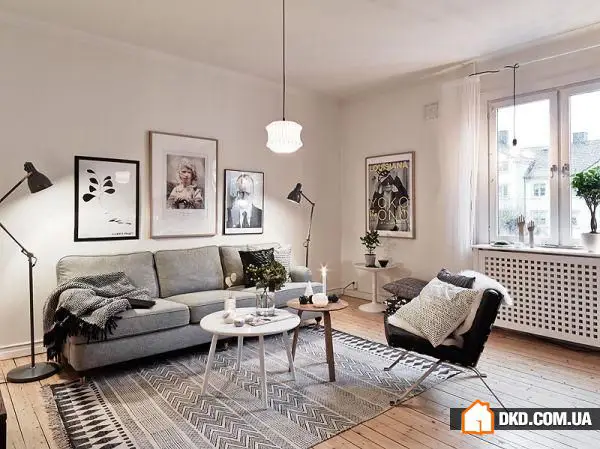
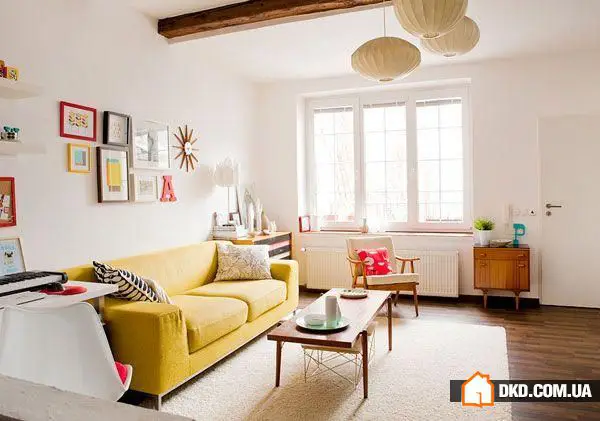
1. Refresh the Walls
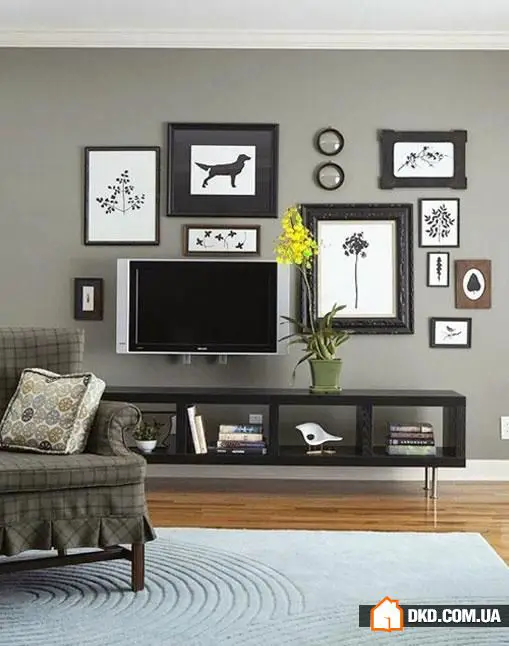
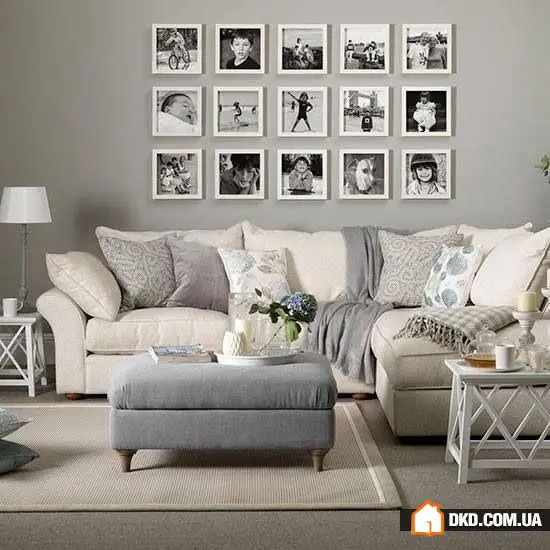
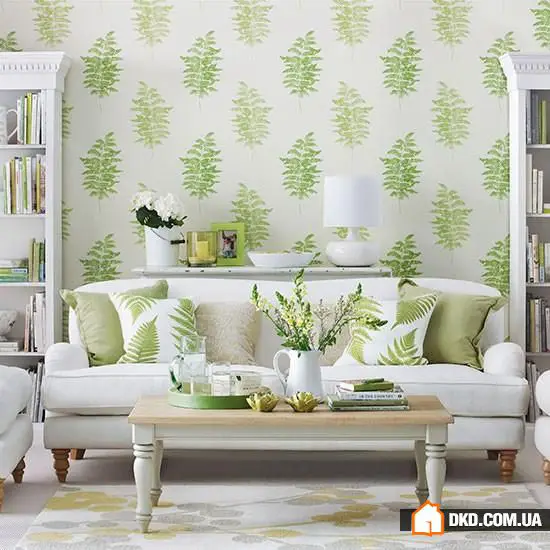
You can fix wall finishing defects both selectively and radically. Small defects can be hidden with decor (framed pictures or photo collages), while large ones can easily be covered with a strip of wallpaper. If matching finishing material is no longer available, experiment with different textures: even one strip of bright new wallpaper can look expressively in a familiar interior, and if you wallpaper one wall with large-patterned wallpaper, the room will look more spacious.
If wall finishing needs to be replaced, we recommend choosing painting or flocked wallpaper—latter ones are excellent at hiding wall irregularities. To remove old paper covering, gently moisten it with a foam roller and remove the wallpaper with a metal spatula.
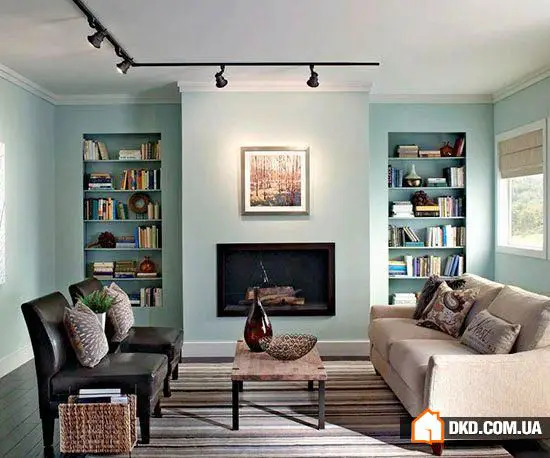
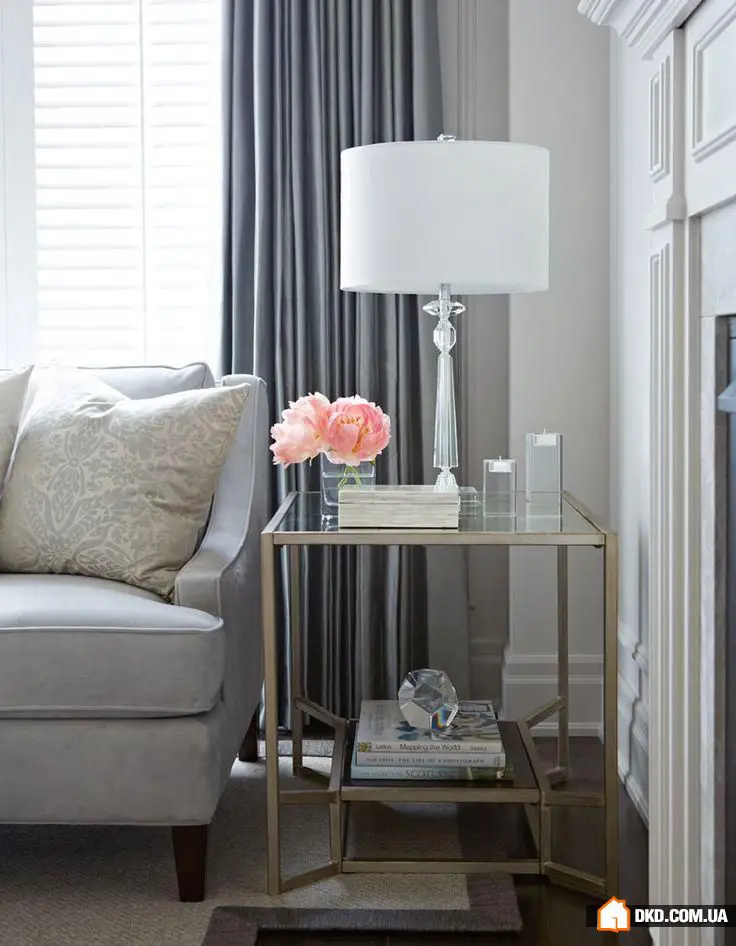
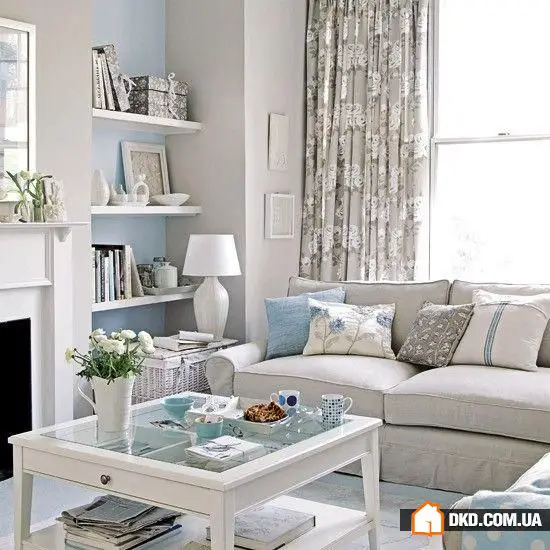
2. Create a New Lighting Scenario
If your living room lighting scenario is limited to a single ceiling fixture, it's time to change the situation. Additional lighting can be organized either by adding separate light fixtures—floor lamps and wall sconces—or using LED strip lighting, which is easy to mount under the ceiling or in a niche.
Pay attention: LED strip lighting operates on 12 volts, whereas the voltage in a socket is 220 volts, so you will need a power supply. One end of the power supply connects to the network, and the other to the strip. To attach the strip to a surface, remove the protective layer from the back of the strip and then press the adhesive side in place.

3. Update Wooden Surfaces
On wooden surfaces, whether it's floor covering or furniture, scratches and chips sometimes appear. Minor damage can be rubbed out with the pulp of a walnuts and polished with a soft cloth. For more serious defects, wax pencils can help: carefully melt the wax in a microwave, then treat the scratch area and level the surface with a rubber spatula.
If it's hard to part with old wooden furniture, it can be easily repainted. Remove the old hardware, treat the surface with fine sandpaper, apply water-based acrylic primer for wood, then coat with acrylic paint of the chosen color and varnish. To speed up the process, you can use aerosol paint, but the result will be less neat and durable.

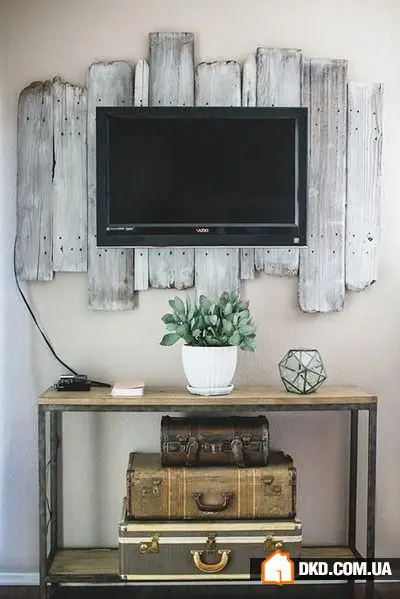
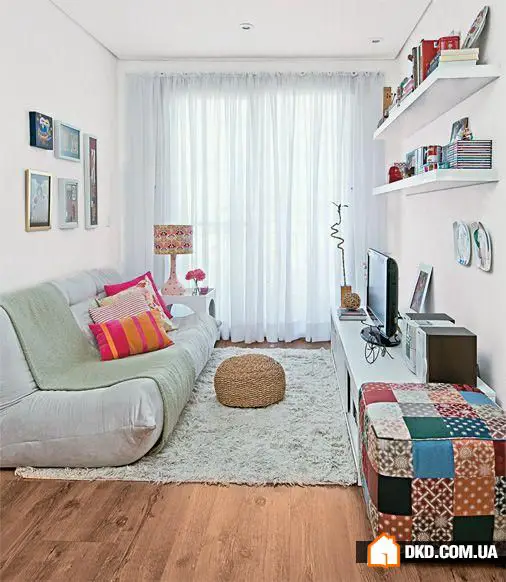
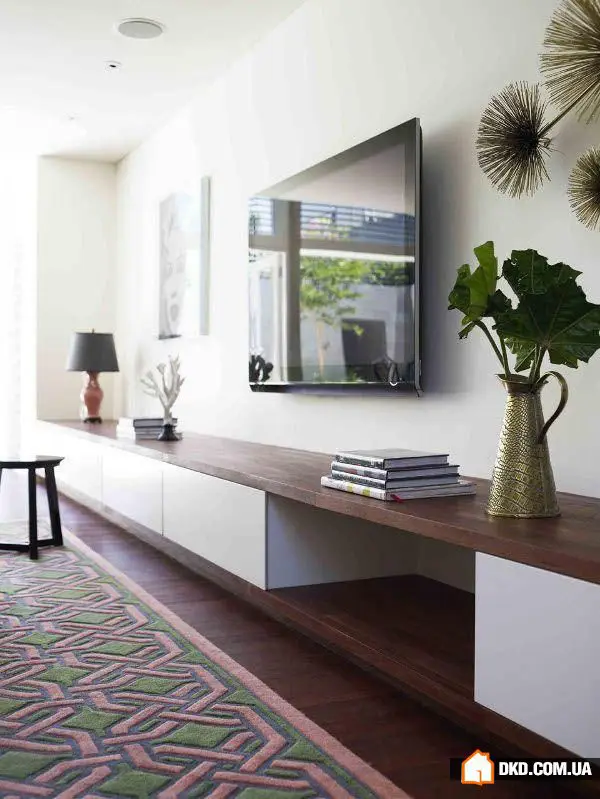
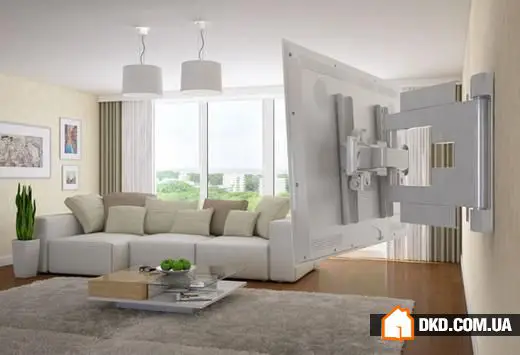
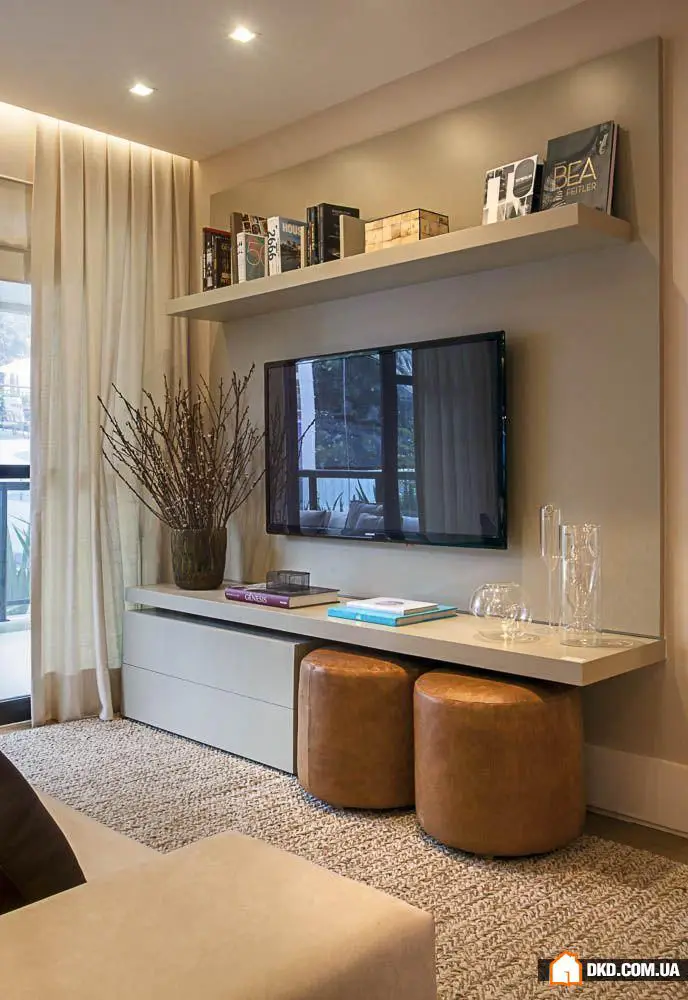
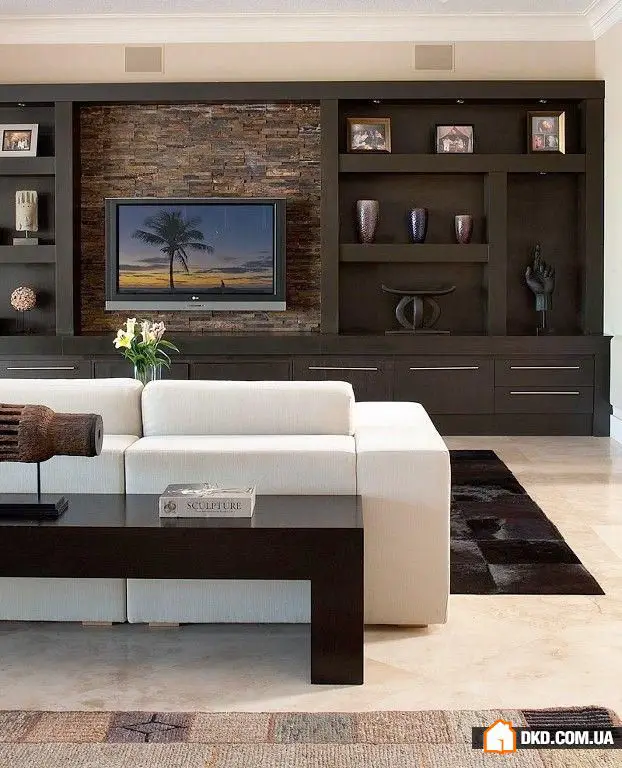
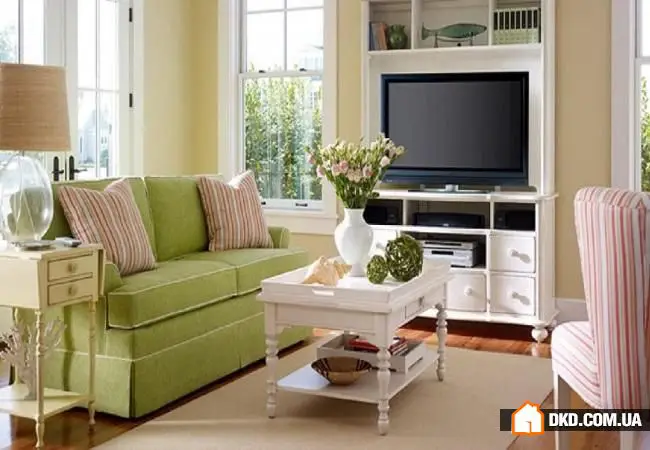
4. Mount the TV on a Bracket
A metal bracket for a TV costs approximately 2,000 to 4,000 rubles, but these expenses are fully justified: by mounting the TV on the wall, you can do without a cabinet and save space in the living room.
If you are mounting a TV with a bracket on a gypsum board wall, the total weight of the assembly should not exceed 20 kilograms. Choose the optimal position for the equipment, then drill the required number of holes in the wall and secure the bracket with screws.
5. Reupholster Soft Furniture
To extend the life of old soft furniture, it's enough to change the upholstery; in most cases, there's no need to remove the old covering—just secure the new pattern on top of the old fabric using a furniture stapler.
If the upholstery of the furniture is deeply worn, it may be necessary to replace the foam. Disassemble the chair or sofa with a key, remove furniture clips with pliers, and pull out the old foam. After laying down a new layer, secure the cover with clips and reinsert the bolts.

6. Remove Scratches from Glass
Scratches appear on the surface of glass in a sideboard or on a coffee table over time—these are easy to remove by hand. Small scratches can be rubbed with a cloth and a small amount of toothpaste or an ammonia solution made in a ratio of 500 ml water to 15 ml substance.
For more complex and deep scratches, you will need to use a drill and a grinding disc. Before turning on the drill at low speeds, apply a small amount of jeweler's polishing paste to the disc.

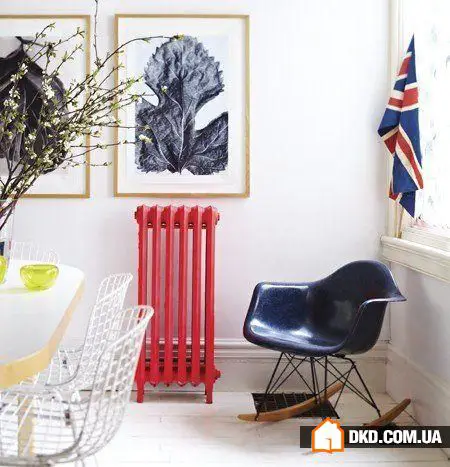
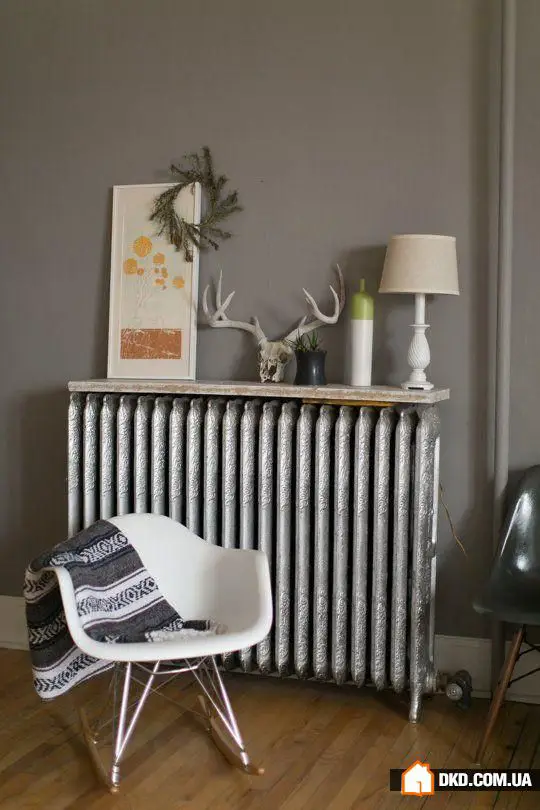
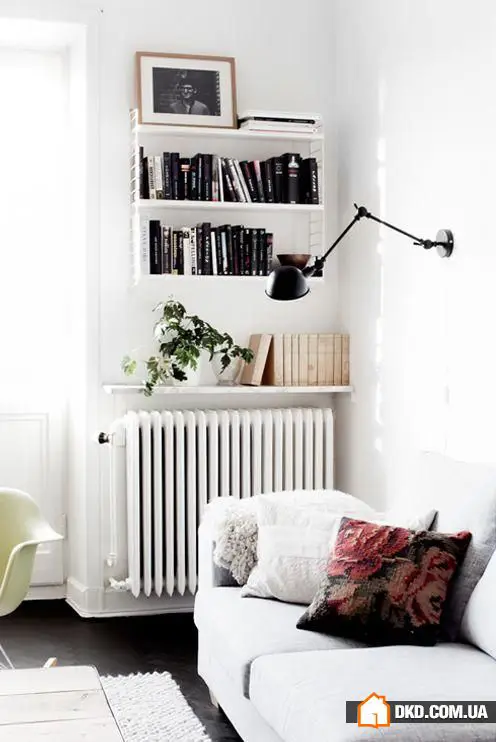
7. Bring the Radiators Back to Life
Sometimes old, worn radiators spoil the look of a living room. If you do not have the opportunity to replace the heating system, we suggest updating its appearance—for example, by removing peeled-off paint and applying a new coating to the radiator. The easiest way to remove paint is with a special solvent: apply it to the radiator surface with a painter's brush and cover it with plastic film for an hour—after that, the paint will be easy to remove with a regular spatula. Then polish the surface with sandpaper and coat it with heat-resistant paint containing metallic powder instead of coloring pigments.
If you are not ready to pick up a brush, cover the radiator with a wooden or rattan cover—just make sure that the masking structure has ventilation holes.
Need a renovation specialist?
Find verified professionals for any repair or construction job. Post your request and get offers from local experts.
You may also like
More articles:
 How to Make a Living Room Spacious: Real Example from Kyiv
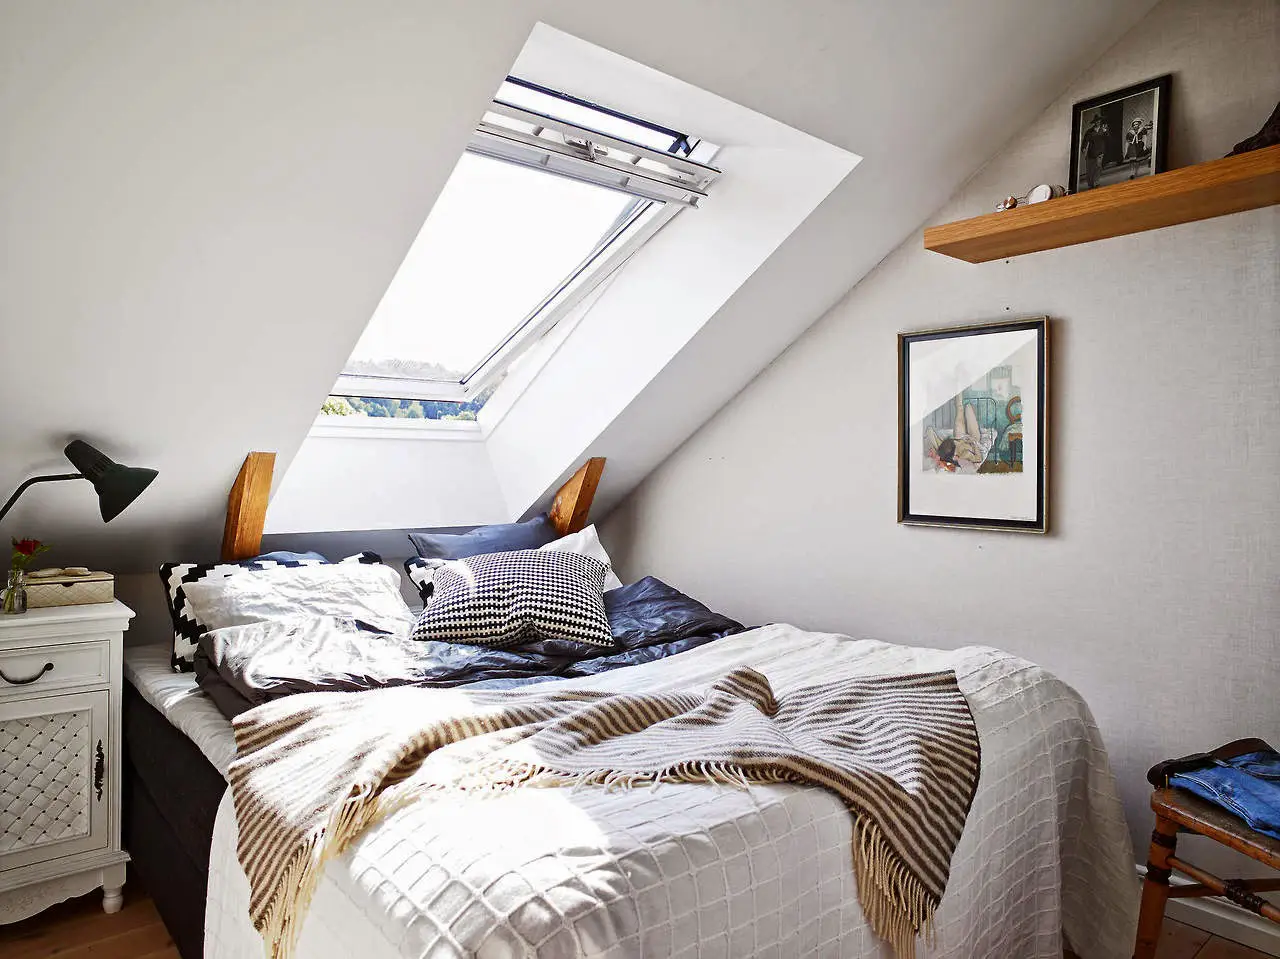 Bedrooms in Attic: 25 Inspiring Examples
 How to Decorate a House in Ranch Style: 5 Main Rules
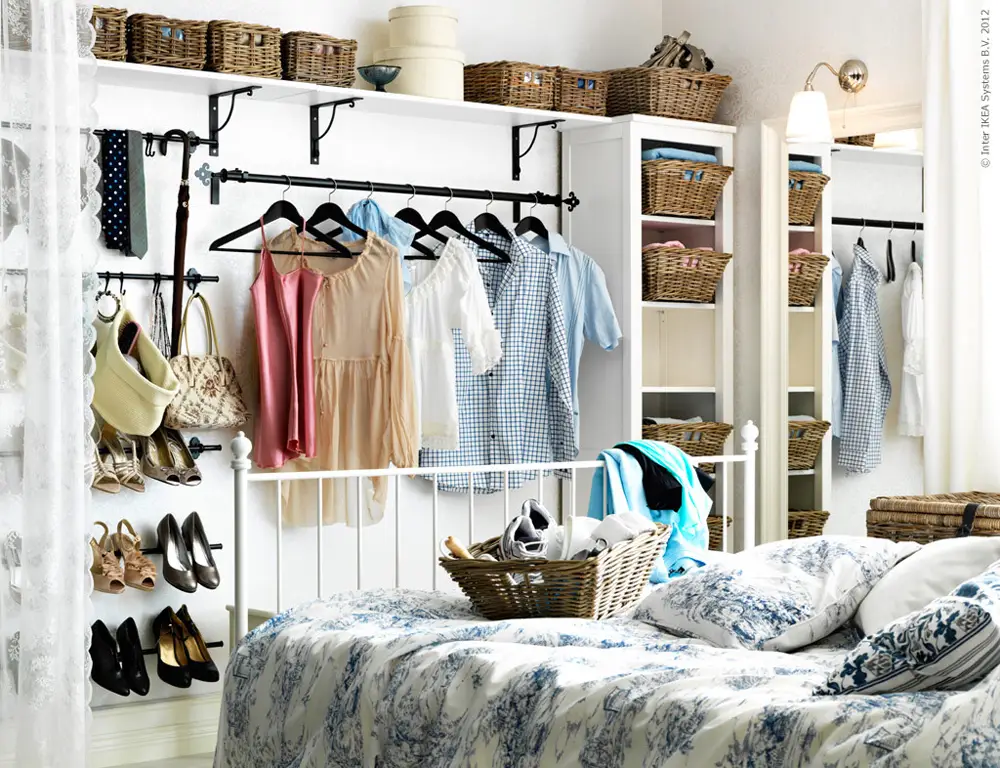 If There's No Room for a Wardrobe in the Bedroom: 5 Ideas for Clothing Storage
 10 Common Mistakes When Organizing Your Home
 Budget Ways to Refresh Your Interior: 5 Ideas
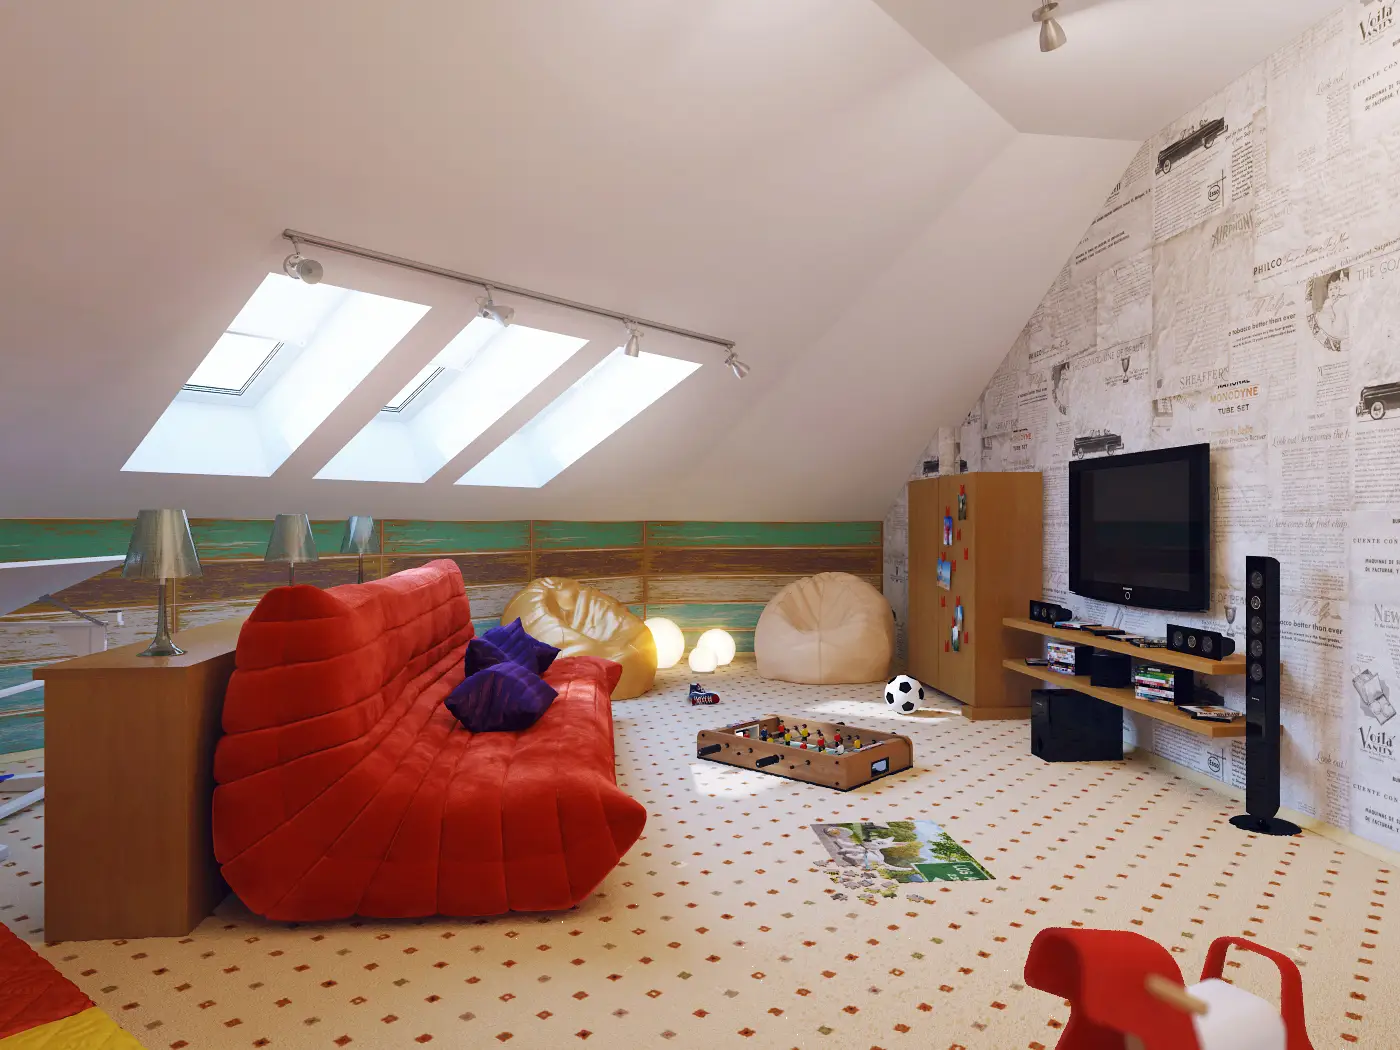 How to Decorate a Dormer: 4 Steps to Creating a Cozy Atmosphere
 5 Tips to Make a Dark Room Brighter