Repair in Practice: How to Paint a Ceiling by Yourself
Sometimes, to tackle a complex task, it's enough to break it down into simple steps. We've created a clear algorithm for updating a ceiling on your own to ensure results that will please for years.
Paint is the most common material used for ceiling finishing, especially in small apartments where every centimeter counts and wall height doesn't allow for installing suspended ceilings. Additionally, this method of finishing is the most budget-friendly: if you undertake the finishing yourself, you can limit your costs to materials only.
Step #1: Choose Materials
To paint a ceiling by yourself, you'll need a scraper for removing old coating, sandpaper or metal brush, painter's tape to protect the top part of walls from paint, brushes, rollers, and a plastic tray with a ribbed bottom. When choosing materials carefully, consider several nuances. For water-dispersible, acrylic, latex, and silicone paints, rollers made from sheepskin, goat hair, or foam will work equally well – these materials absorb and retain paint effectively. With brushes, the situation is a bit more complex: for paints containing solvents, brushes with natural bristles are suitable. However, synthetic hair brushes should be used for water-based paints: the bristles will quickly lose shape, so it's better to choose brushes with synthetic fibers.
Important to Know:
The optimal roller size depends on the surface area. For large-scale work, rollers with a diameter of 38–55 mm and length of 140–250 mm are used. Rollers with a 15 mm base diameter are suitable for painting corners.

Step #2: Choose the Finish
For painting a ceiling in a residential apartment, water-dispersible paints and thixotropic coatings are best: they don't drip from the brush and don't form runs, but evenly distribute across the ceiling. For ceilings in bathrooms and kitchens, choose paints resistant to mold and mildew growth.
White has many shades, so you don't have to stick to the color of chalk: experiment with pearl, warmed milk, or nacre tones. By the way, glossy paints visually increase ceiling height and are ideal for small apartments.
Important to Know:
Glossy paints reveal surface irregularities much more clearly than matte ones. In well-lit spaces, glossy paints should only be used on perfectly flat ceilings or you should choose water-emulsion paints with special additives that reduce the light reflection coefficient.

Step #3: Remove Old Paint
Old coating can be removed mechanically using sandpaper and a metal brush or with chemical paint removal agents. If the coating is hard to remove, don't try to make the process perfect: it's enough to treat the ceiling with sandpaper and thoroughly prime it.
Important to Know:
Water-emulsion compositions should not be applied over slaked lime or chalk: under such coatings, copper sulfate or adhesive spackle may be present. Due to chemical reactions, green spots may appear on the ceiling, so lime must be removed by rinsing with water.

Step #4: Prime the Surface
Priming the ceiling is necessary to ensure better adhesion of paint to the ceiling surface, and choosing this material is simple. Deep-penetration primer will help strengthen crumbling or loose surfaces and protect the ceiling from mold. For solid surfaces, general-purpose primer is suitable – it will reduce the number of paint layers and your costs. Special impregnation primers are ideal for wooden surfaces.
When starting work, pour the ready-mixed primer into a tray that matches the width of the roller. Then attach the roller to the extension handle (this will be useful for working on the floor rather than moving the ladder) and treat the ceiling in two layers.
Important to Know:
To check whether the surface is properly primed, try sticking a piece of tape to it. On a poorly treated ceiling, it won't hold, but on a well-primed surface, it will stick.

Step #5: Level the Ceiling
Most likely, after cleaning and priming, cracks and unevenness remain on the ceiling. First, mask the joints between ceiling panels with a layer of spackle. Then, once the first coat has dried, sand the uneven areas and apply another layer of spackle. Repeat this process several times until you're sure the surface is smooth enough. After the final coat dries, remove dust from the surface with a soft sponge.
Important to Know:
If you rush the process and don't let each layer dry properly, the coating will peel off quickly.

Step #6: Apply the Finish
Painting a ceiling should also be done in multiple layers. To ensure even paint application, roll the roller in the tray with a ribbed bottom – this will help remove excess paint.
Start by applying the first coat diluted with paint, and let it dry (the drying time should be indicated on the packaging). Then apply two more coats of undiluted material with a drying break between layers. Apply paint using a wide roller in the direction of the window: the first coat should be applied perpendicular to the light direction, and the second – parallel.
Important to Know:
If it's a renovation in a new building, choose elastic lacquer-paint materials. Usually during house settling, surfaces
Need a renovation specialist?
Find verified professionals for any repair or construction job. Post your request and get offers from local experts.
You may also like
More articles:
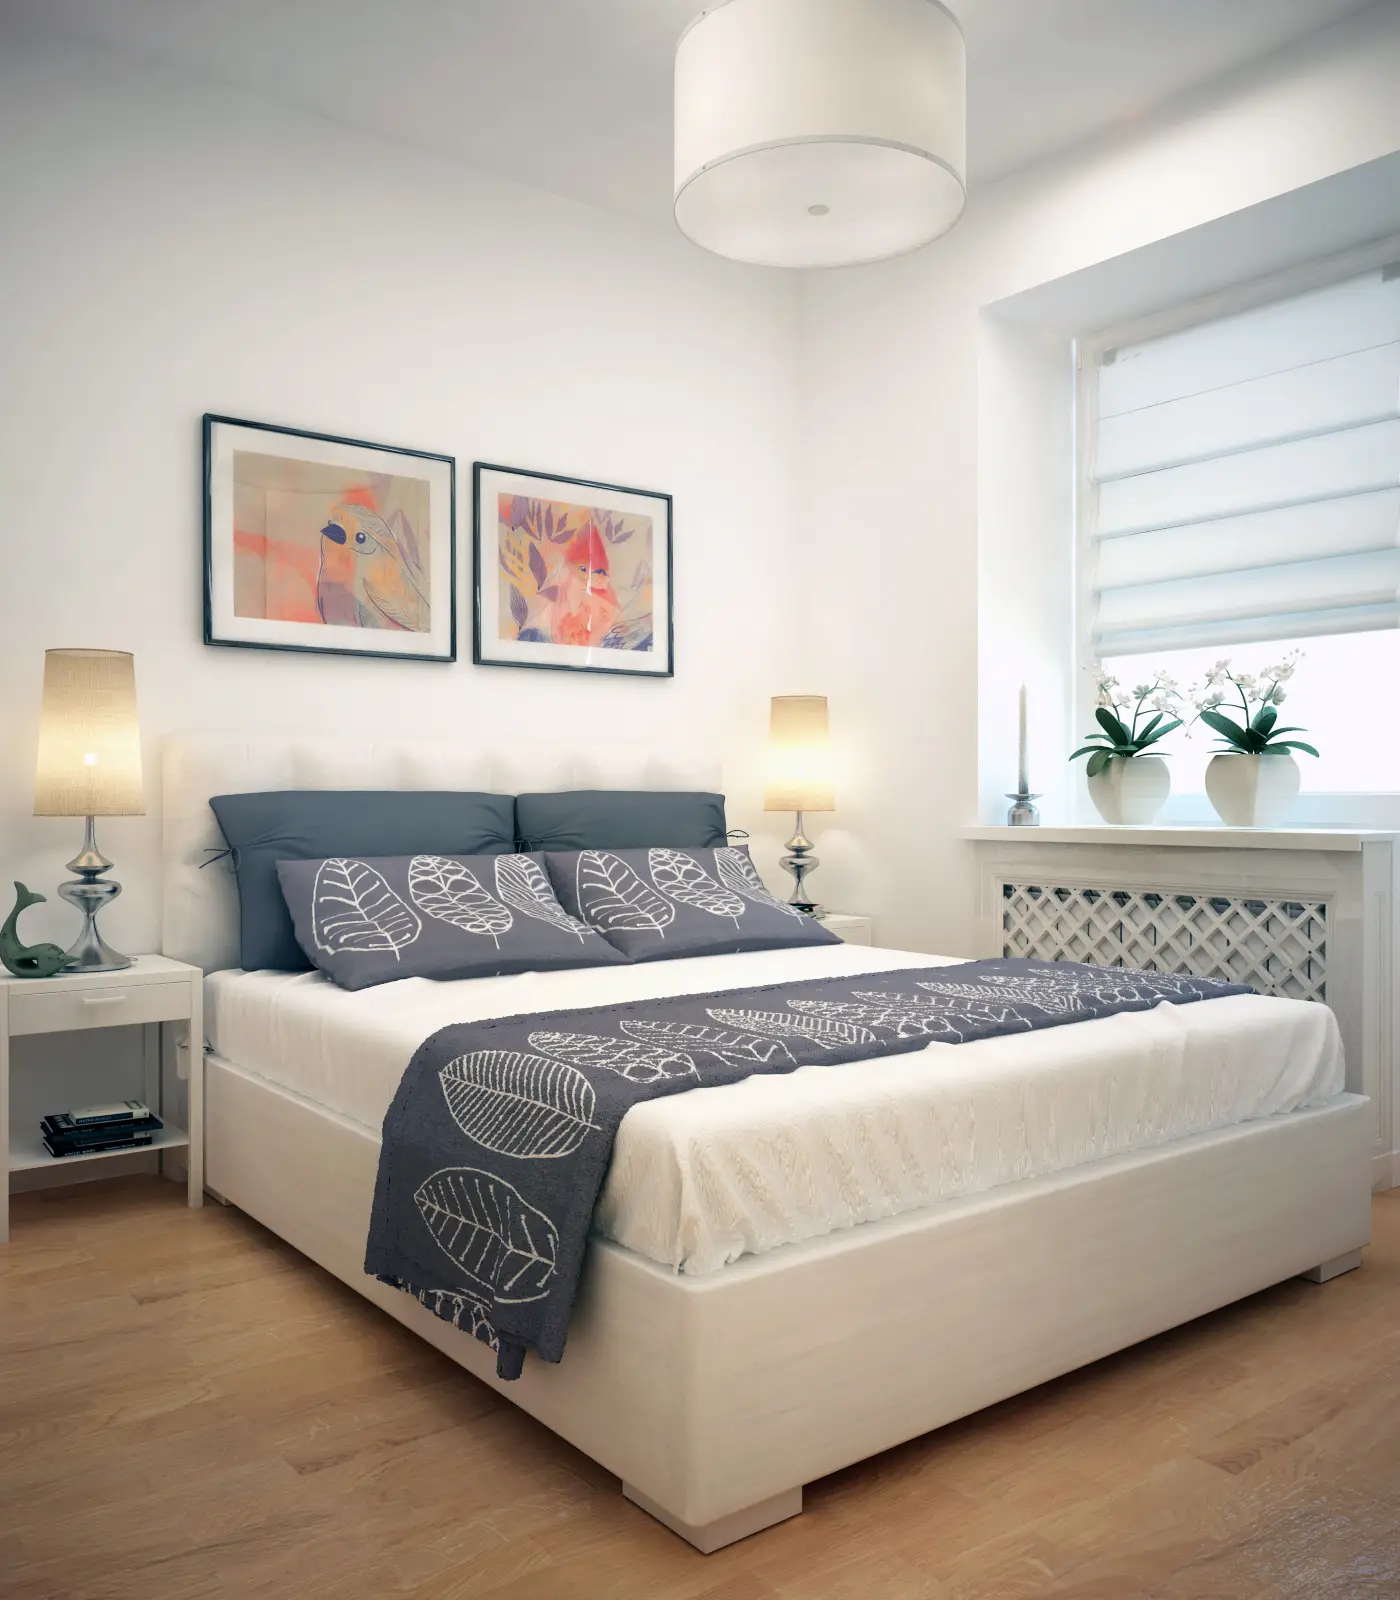 How to Do Cosmetic Bedroom Renovation: 8 Key Tips
 How to Refresh Interior Without Renovation: Best Ideas
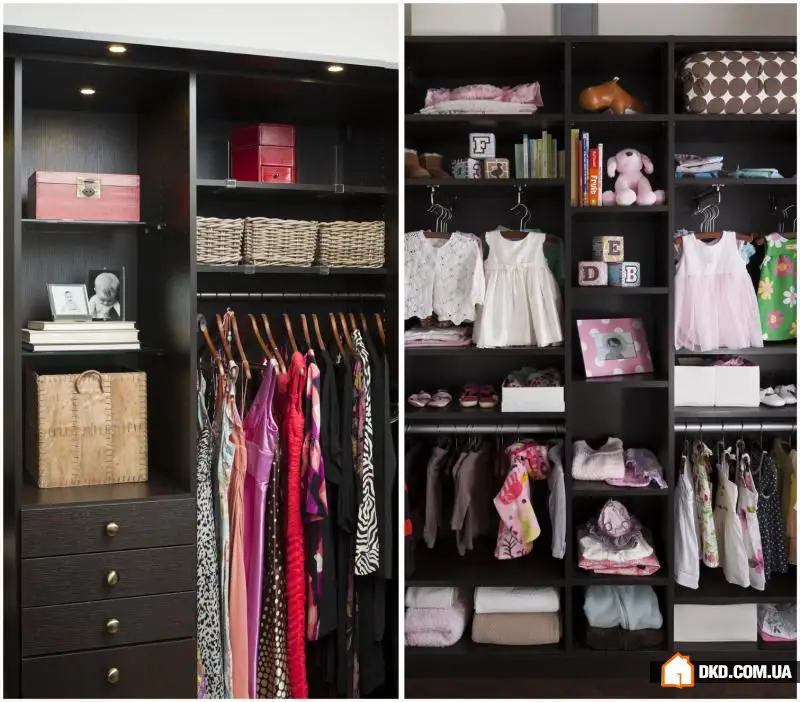 52 Exciting Ways to Organize Your Entire Home
 How to Avoid Relocation: A Successful Example of Zoning
 How to Arrange a Living Room According to Feng Shui: 5 Expert Tips
 55 Stunning Bathroom Designs from Artisan Tile and Bathroom Studio
 50 Shades of Gray: Kitchen-Dining Room in Modern Style
 How to Save Electricity and Reduce Your Light Bills?