How to Do Cosmetic Renovation in the Hallway: 5 Key Tips
Transforming your hallway by yourself is not difficult: all you need is to follow simple tips on material selection, space organization, and lighting installation.
The hallway is one of the most problematic rooms in a house. This is where street dirt accumulates, so finishing materials must withstand frequent cleaning; additionally, problems with artificial lighting and storage are acute, especially in small apartments. We have gathered several important tips for cosmetic renovation of hallways that will help you organize the space with maximum benefit.
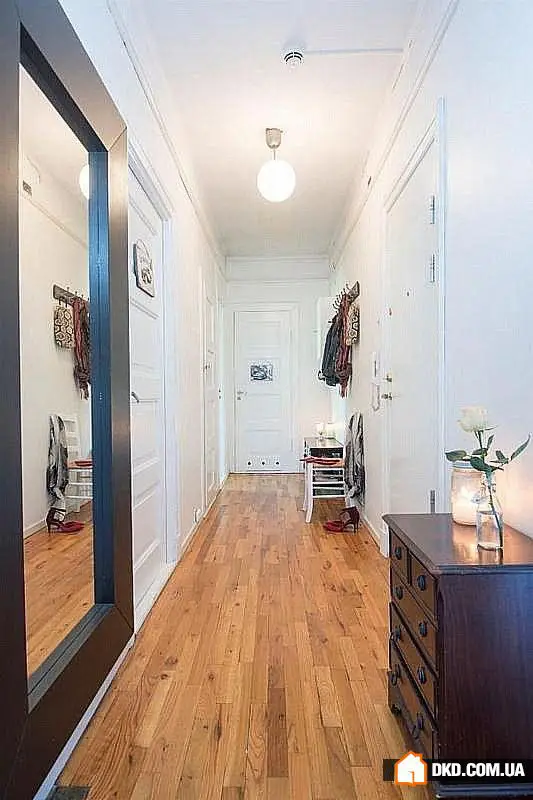
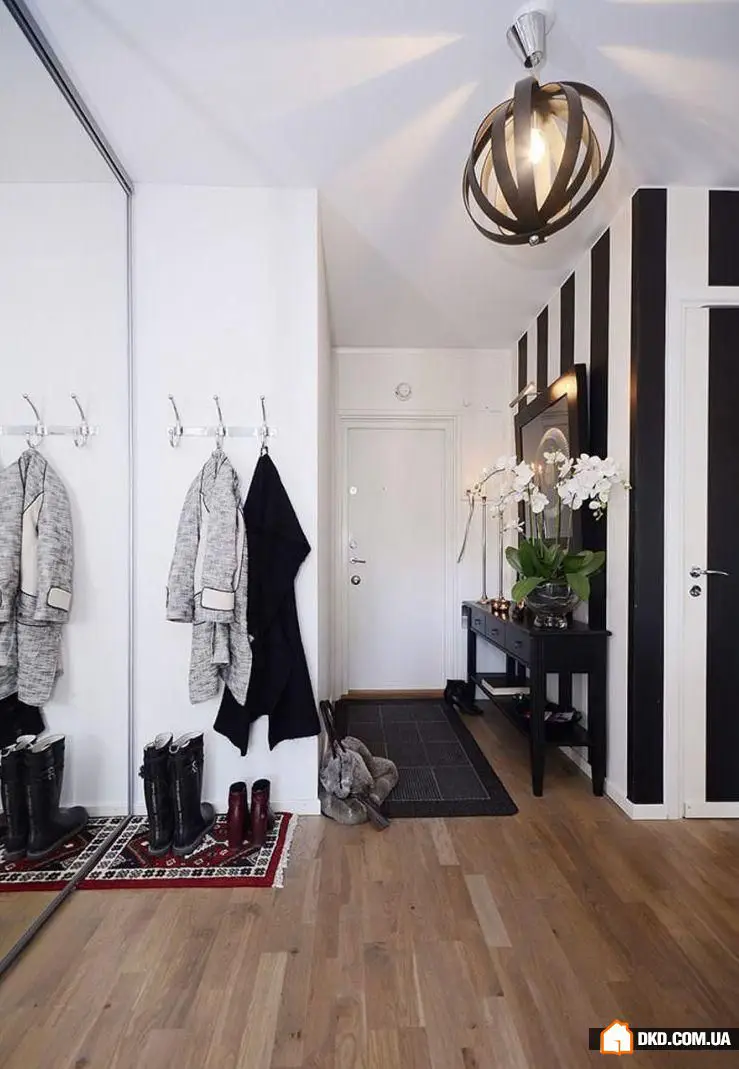
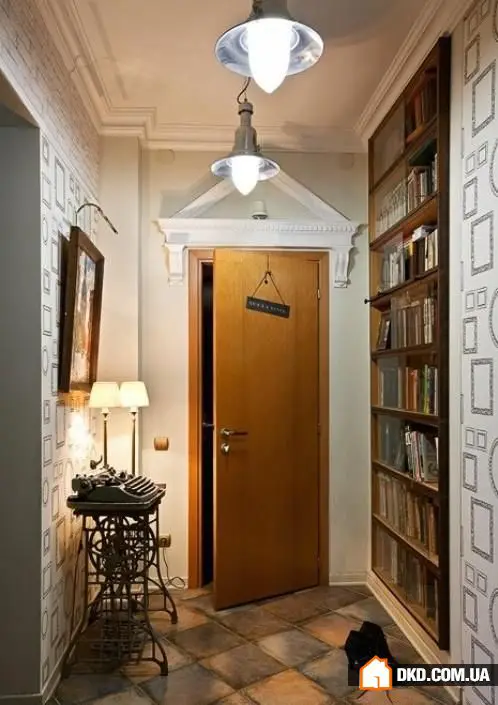
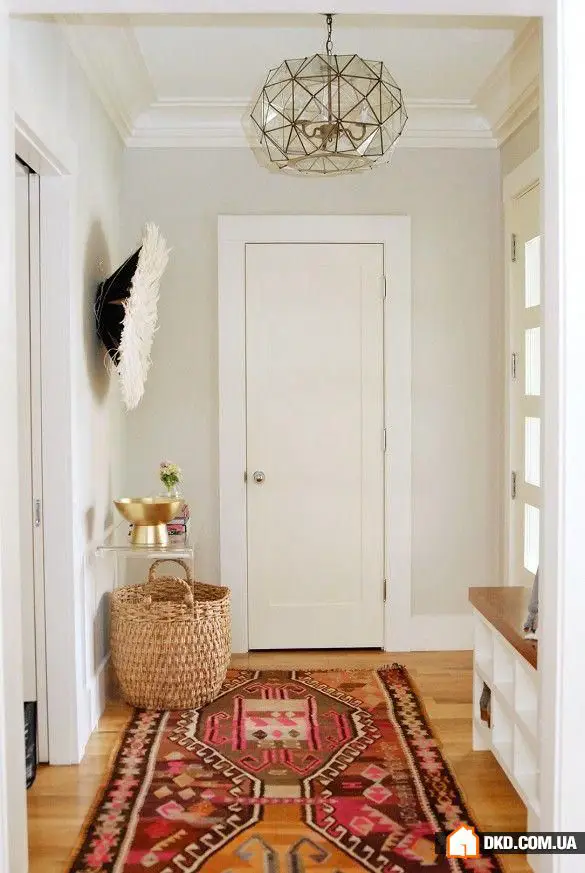
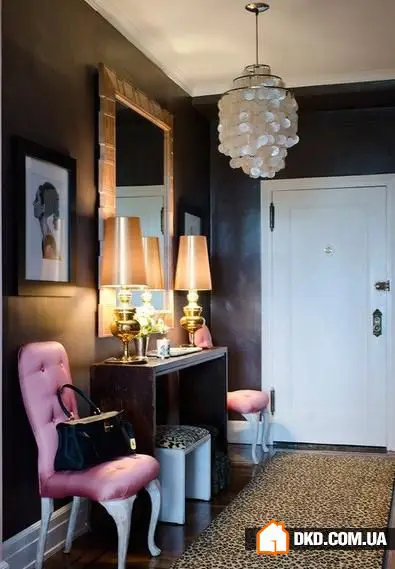
Tip #1: More Light
The hallway is one of the darkest rooms in an apartment: due to the lack of a window in the entrance area, you need a powerful source of artificial light. Moving the ceiling light fixture is a labor-intensive task that requires professional electrician help, but you can replace the chandelier yourself. If you plan to hang it from a hook, a drill will come in handy: near the point of cable exit, drill a hole with a diameter of no less than 8 millimeters and secure the hook using a plug or expansion anchors. There is also a simpler way: to hang a ceiling chandelier without a hook, use mounting plates with several holes for attachment.
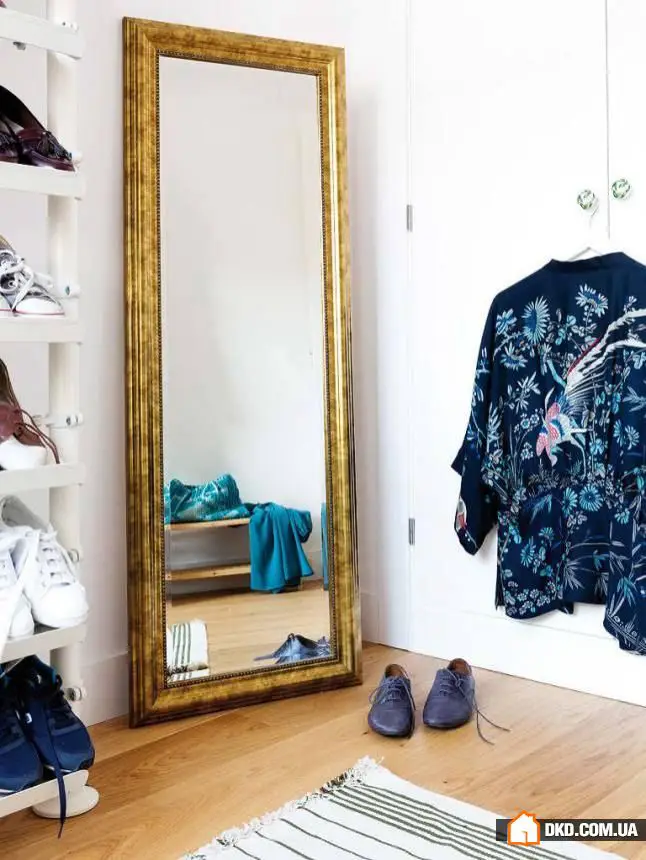
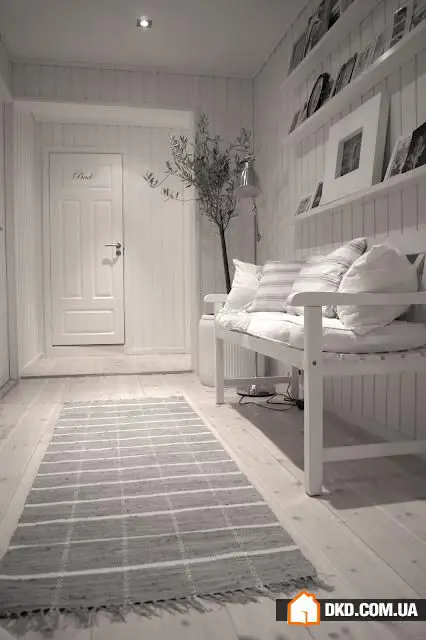
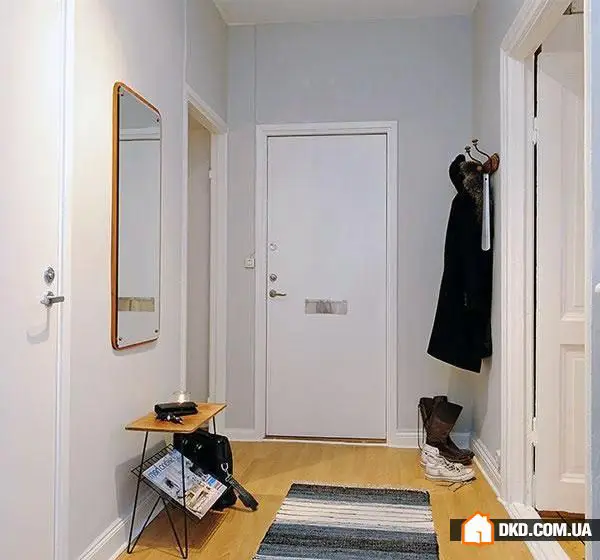
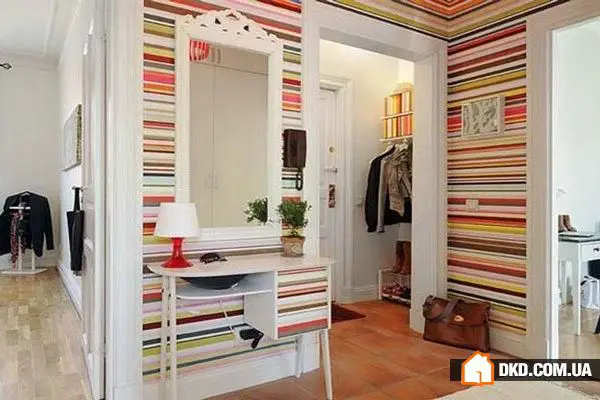
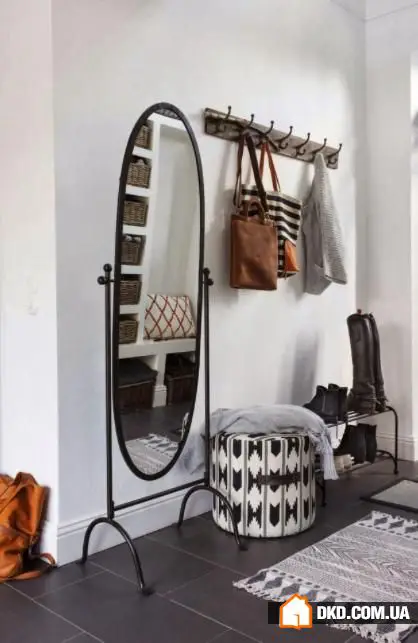
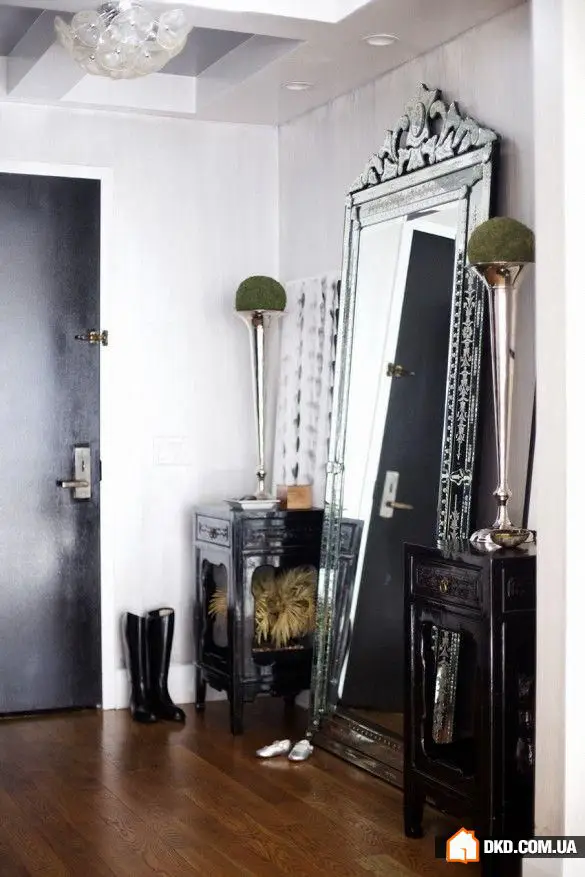
Usually, one central light fixture or several spotlights are enough for a small hallway. A budget-friendly way to make the hallway brighter is to hang a large mirror that reflects light.
Tip #2: Say Goodbye to Paper Wallpaper
Paper wallpapers quickly get dirty even in living rooms, not to mention the entrance area. If you're ready to replace the covering, moisten the wallpaper with a roller and remove layer by layer using a spatula. As an alternative to paper, vinyl or felt wallpapers can be used which are easy to clean.
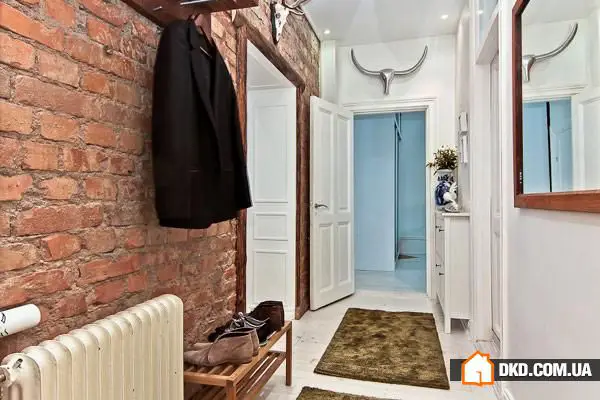
Planning to paint a wall? Choose washable paints that tolerate wet cleaning and temperature fluctuations well: acrylic and latex materials are easy to apply to plastered surfaces, concrete, brick, gypsum board, and even wood. If desired, you can combine materials in the hallway: decorate the lower part of the wall with a more durable and easily washable coating, and the upper part with something less robust but more aesthetically appealing.
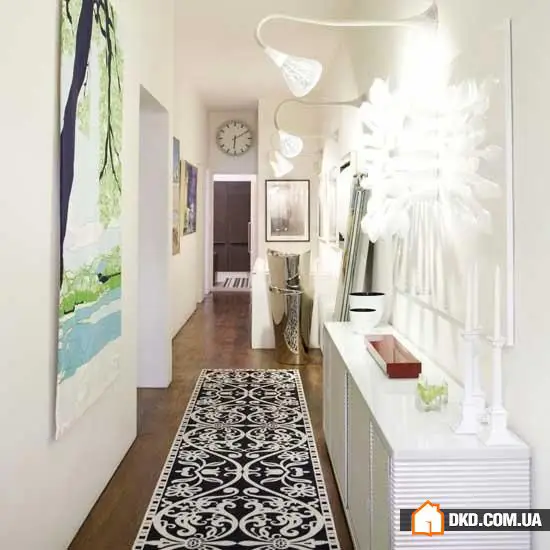
Tip #3: Choose a Durable Floor for Cleaning
In spring and autumn, the hallway floor needs to be washed more frequently, so it should be resistant to moisture. A reasonable option is to cover the worn floor with linoleum: it lies well even on untreated surfaces. Hard-wearing carpet runners effectively trap dirt.
Another easy-to-maintain but less budget-friendly option is tiles or ceramic granite. However, they can only be laid on a cement-concrete screed that needs to dry for quite some time and will prevent you from using the hallway. We suggest a compromise solution: cover only part of the floor near the entrance door with tiles, and use another material for the rest of the space.
Tip: Large-size ceramic tiles will optically reduce the room. Small tiles, on the contrary, create an illusion of expanding space.

Tip #4: Remove Scratches from the Door
The entrance door can be called the face of the apartment, so fixing its defects is an important step in cosmetic renovation. If there are scratches on a metal door, use metal putty: fill the damage and lightly sand it with fine-grit sandpaper. If the scratch is not deep, you can paint it with shoe cream.
You don't have to replace the old interior door - it's much easier to repaint it. The easiest way to remove old paint is with a construction hair dryer and spatula, then repaint the door in a suitable color or coat it with varnish.
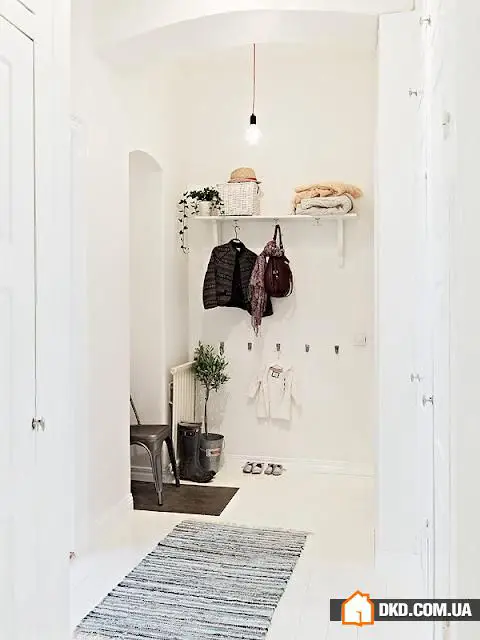
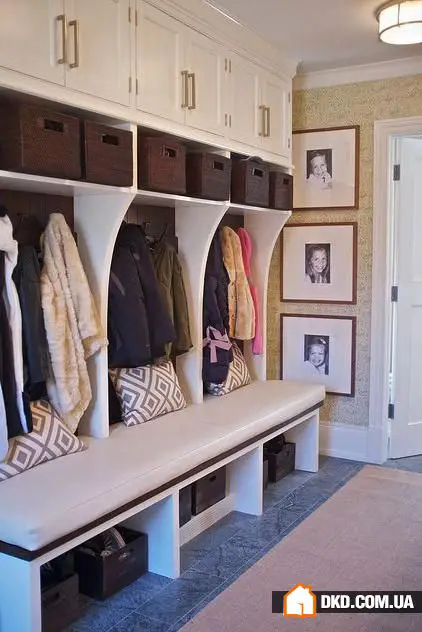
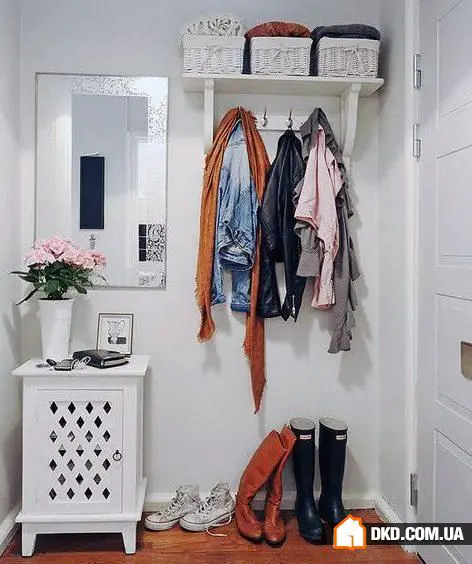
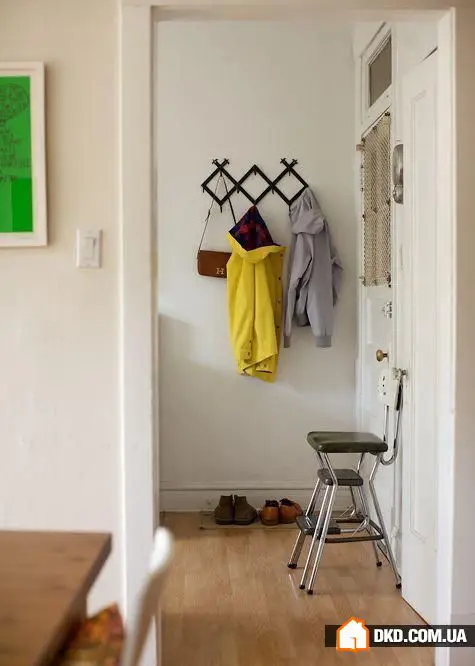
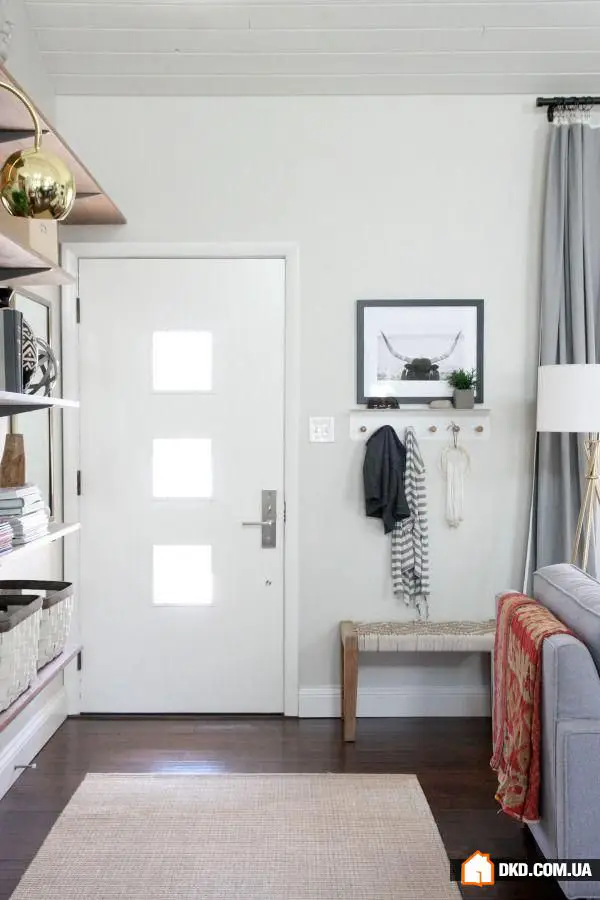
Tip #5: Organize Storage Systems
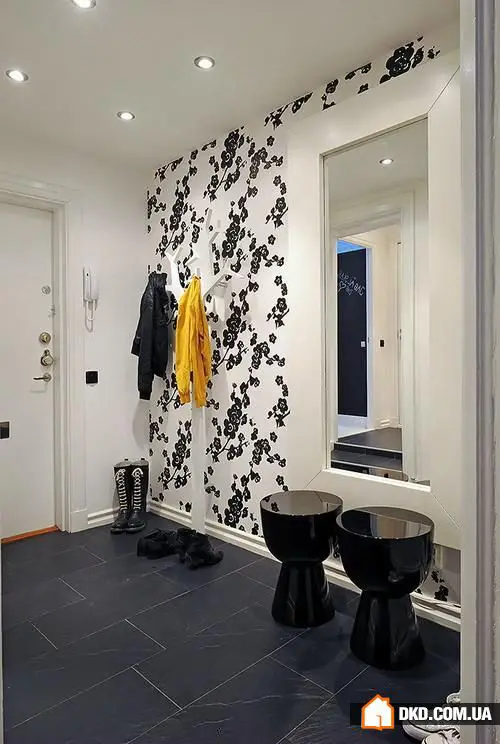
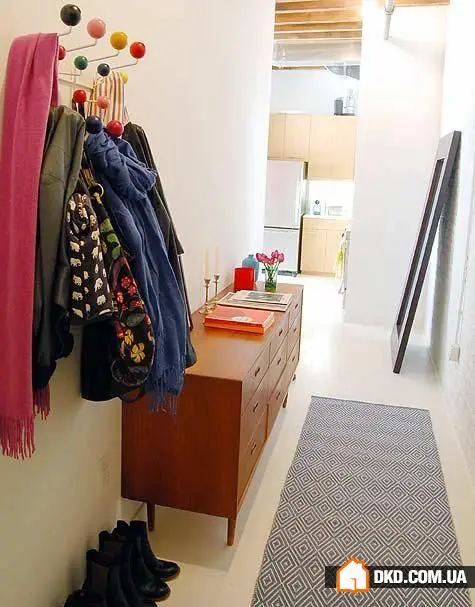
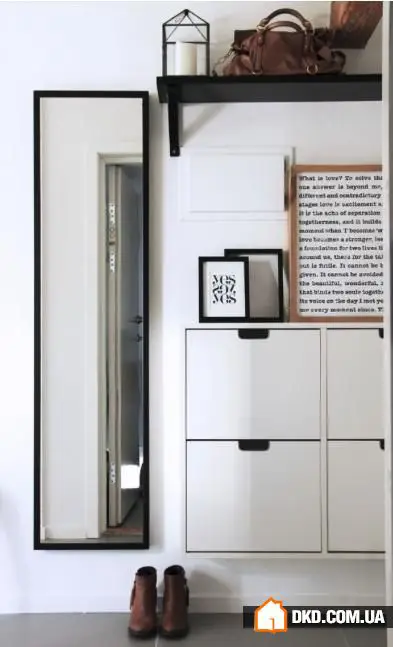
Properly placing storage systems in the hallway is an important step toward creating a well-thought-out entrance zone. If you have a long and narrow hallway, arrange furniture along one wall or limit yourself to hooks for coats - these can be attached using strong double-sided tape to avoid drilling into the wall. For a small square hallway, an angular cabinet would be suitable.
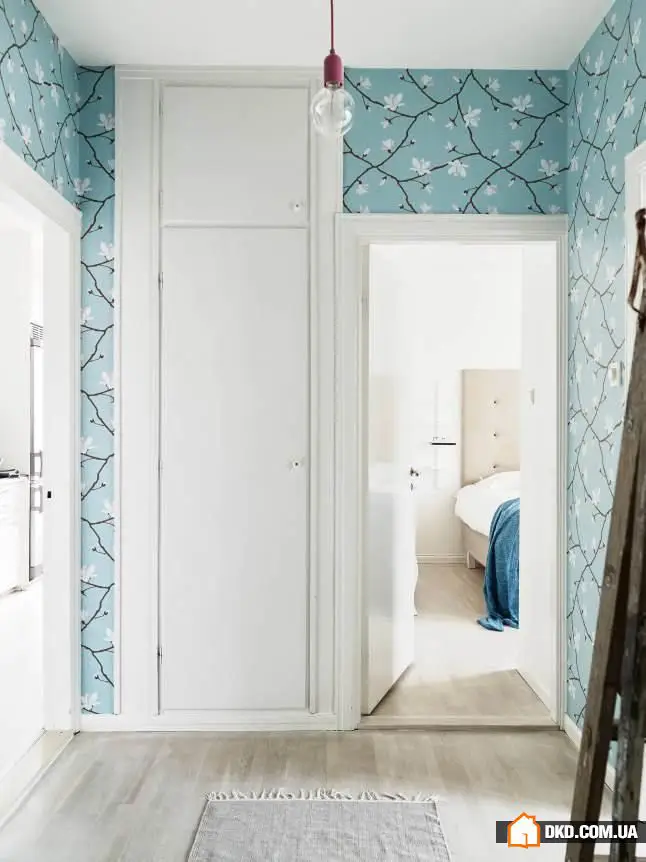
In conditions of space-saving, use the space above the ceiling: secure a shelf for storing seasonal items and accessories at the top using liquid nails.

Need a renovation specialist?
Find verified professionals for any repair or construction job. Post your request and get offers from local experts.
You may also like
More articles:
 Concrete Wall in Interior: 4 Ideas, 20 Best Examples
 How to Do Cosmetic Bathroom Renovation: 7 Essential Tips
 How to Furnish an Apartment with High Ceilings: Example from Kyiv
 31 Crazy Useful Ideas for Your New Home
 How to Combine Kitchen and Living Room in a Small Apartment: A Successful Example
 On Your Spot: How to Make a Cup Stand Yourself
 5 Original Ways to Finish Ceilings That You Will Love
 What to Do If Your Room Is Tiny: 10 Tips from Designers