Restoration of a bath by yourself
If the bathtub has lost its original appearance over time, covered with embedded rust stains, cracks, and chips, there's no need to rush to buy a new one. You can restore the bathtub yourself – the process will be less expensive, and the result will allow you to enjoy it for many years, giving it a new life. How to restore a bathtub yourself? Today, several main technologies exist for restoring bathtubs and giving them their original or even improved appearance:
If the bathtub has lost its original appearance over time, covered with embedded rust stains, cracks, and chips, there's no need to rush to buy a new one. You can restore the bathtub yourself – the process will be less expensive, and the result will allow you to enjoy it for many years, giving it a new life.

How to restore a bathtub yourself
Today, several main technologies exist for restoring bathtubs and giving them their original or even improved appearance:
- acrylic insert;
- restoration with liquid acrylic (self-pouring bathtub);
- painting with enamel.
Each of these methods delivers excellent results; differences lie in materials used, application techniques, and accordingly, in cost.
Acrylic insert: a bathtub within a bathtub
This method of plumbing restoration is the most expensive, but the result is transformative: the bathtub will look completely new, and its heat retention ability will improve significantly. With this restoration, the lifespan exceeds fifteen years.
Acrylic inserts are sold separately and come in standardized sizes, so this method is suitable only for classic-shaped bathtubs.
Here is the restoration process in steps:
- prepare the bathtub (scraping, degreasing, removing the frame);
- mark the positions for drain holes on the insert;
- apply special polymer two-component foam over the entire surface, and seal drain areas carefully with a sealing compound;
- install the insert into the bathtub and level it;
- drill the drain holes and install the frame;
- fill the bathtub with water to allow settling and secure fixation.
That’s it. After one day, drain the water – the bathtub is fully ready for use.
Restoration with liquid acrylic: self-pouring bathtub
This method is labor-intensive and time-consuming, but more cost-effective and very popular among professionals and DIY renovators alike. The process of restoring a bathtub using liquid acrylic goes as follows:
- first, the bathtub is prepared: remove the frame, clean the surface with abrasive, and degrease;
- pour the liquid acrylic along the edges, letting it flow down and fill all imperfections, forming a perfectly smooth and glossy surface;
- any drips are leveled and removed with a special tool;
- after full drying (usually on the fourth day), install the frame and the bathtub can be used.
Coating the bathtub with enamel
This method is designed for old cast iron or steel enameled bathtubs. If, over time, rust spots, embedded dirt, cracks, or chips appear on the enamel surface, there’s no need to rush and spend money on buying and installing a new bathtub. With a little effort, you can restore an old bathtub in just one day.
What you’ll need:
- bathtub enamel;
- cleaning powder;
- abrasive (sandpaper);
- primer;
- brush.
Once everything is prepared, you can begin the restoration process. First, remove the old enamel. Use a special powder (must be chlorine-free) and apply it to the surface. Then, clean the bathtub from the old enamel layer using abrasive and waterproof sandpaper.

After completion, carefully remove all debris and thoroughly rinse even the smallest particles. Then, degrease the cleaned surface thoroughly – otherwise, the new enamel may crack.
Before applying new enamel, prime the bathtub. The type of primer depends on the enamel and is specified on the packaging; make sure the surface is completely smooth and free of damage (chips, bubbles) after this step.
Prepare the new enamel according to the manufacturer’s instructions and apply it evenly using a natural-hair brush. After applying the first layer, wait 10–15 minutes for it to dry, then apply the second, final layer.
Finally, a tip on caring for the restored bathtub surface. The most important thing is to avoid aggressive chemical cleaners. In short – do not use cleaning agents containing abrasives or acids. The ideal option for restored surfaces is using liquid dish soap or foamed laundry detergent without bleach.
Need a renovation specialist?
Find verified professionals for any repair or construction job. Post your request and get offers from local experts.
You may also like
More articles:
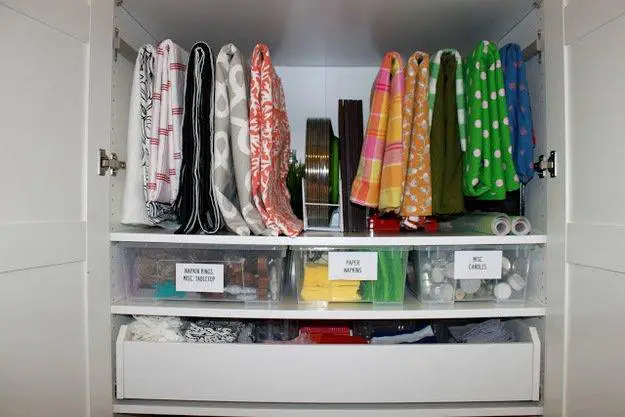 Where to Store Home Textile: 5 Useful Ideas
 How to Choose a Color Palette for the Bedroom: 10 Expert Tips
 How to Furnish a Small Apartment: 5 Tips, 25 Examples
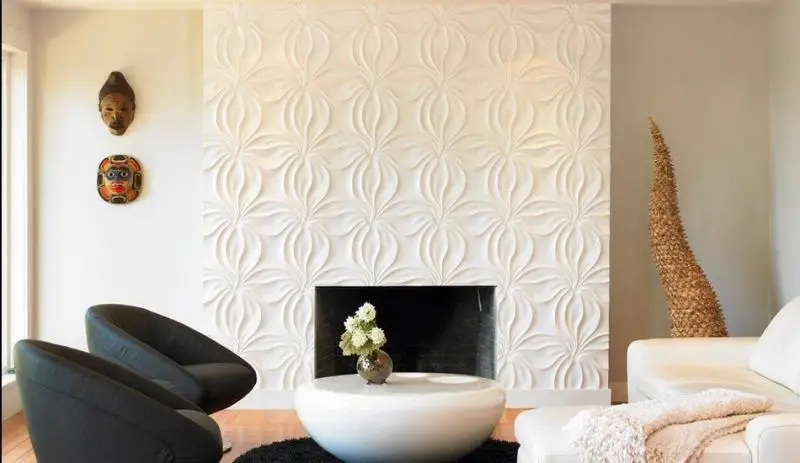 Wall Decor in Modern Interior: 4 Techniques and 40 Examples
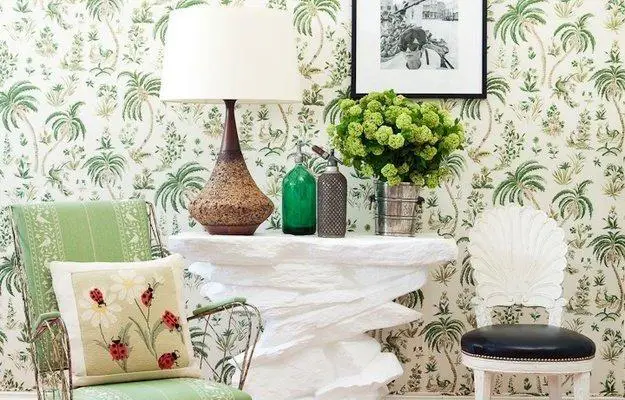 How to Update Your Interior for Summer: 11 Effective Techniques
 How to Combine a Living Room and Bedroom: Layout, Zoning, Furniture Selection
 How to Care for Plastic and Wooden Windows
 How to Increase a Small Apartment: 9 Tips with a Real Example