Kitchen for 5 Thousand Rubles: How to Make a Stylish Cabinet Yourself
How to Replicate This Budget Hack and Save Tens of Thousands
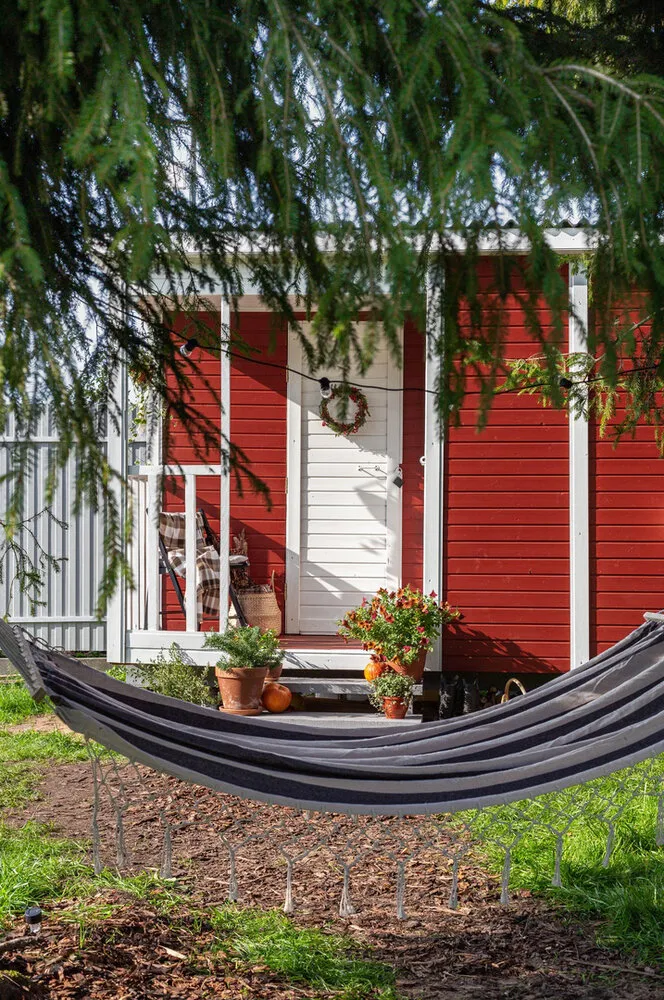
A kitchen cabinet in a showroom starts at 50 thousand rubles for the simplest option. Designer Aida Beglova made a stylish kitchen for a dacha for just 5 thousand rubles. The secret is using a furniture board instead of MDF, linen curtains instead of cabinet doors, and a bit of creativity. It turned out better than store-bought, and in many ways even better. We explore how to replicate this budget hack and save tens of thousands.
 Main Points from the Article:
- Materials Cost 5000 Rubles — furniture board, varnish, fasteners, linen fabric;
- Countertop from Furniture Board is stronger and more beautiful than standard MDF;
- Linen Curtains Instead of Cabinet Doors — stylish, practical, and easy to wash;
- Assembly Takes Weekend with basic skills and tools;
- Similar Kitchen in a Store Would Cost 40–50 Thousand Rubles.
Ready-made kitchens are designed for standard sizes in standard apartments. But if you have an unconventional space, you’ll either pay extra for custom dimensions or compromise on comfort.
In a 14-square-meter apartment, every centimeter counts. A kitchen of specific dimensions was needed that fits exactly into the designated corner and doesn’t clutter the space.
Plus, ready-made kitchens for dachas are often made from cheap materials — thin MDF, plastic doors, flimsy hardware. They last a few years before starting to fall apart.
A DIY kitchen made from quality materials will last decades and cost ten times less.
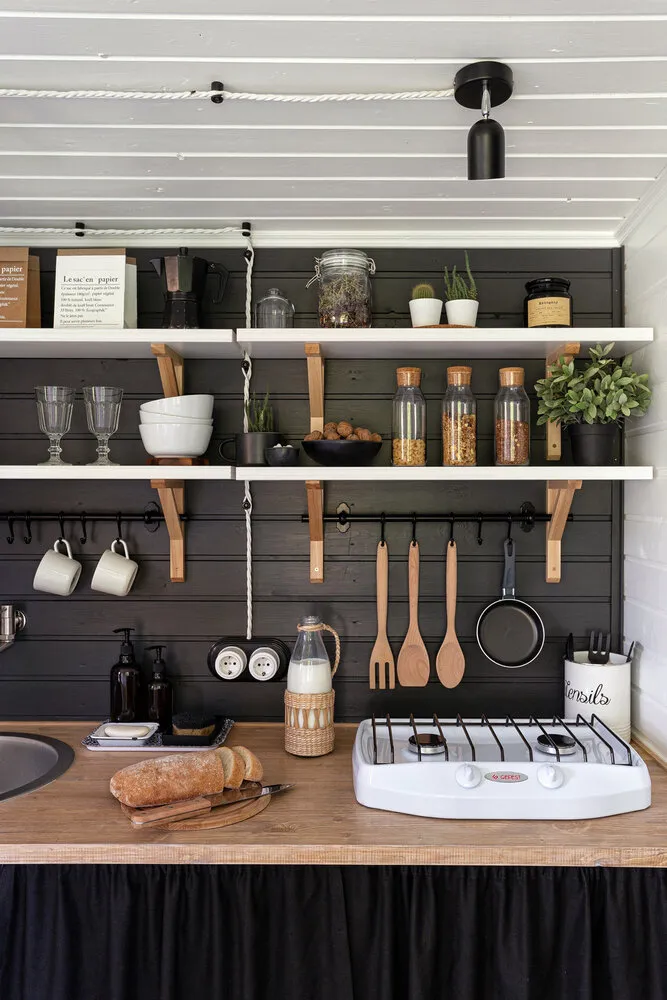
Materials: Where to Save, Where Not toCountertop — Furniture Board of Pine: 2500 Rubles: This is the base of the entire kitchen. Furniture board is stronger than MDF, more beautiful than plastic, and cheaper than natural stone. Size 200x60 cm — enough for a small kitchen with room to spare.
Coating — Varnish in Two Layers: 800 Rubles: Aida used two types of varnish for maximum protection. The first layer is penetrating, the second is protective. The countertop resists water and hot pots.
Frame — Lumber and Fasteners: 1000 Rubles: A simple frame structure made from 50x50 mm lumber. No complex joints — all on screws and metal brackets.
Curtain — Natural Linen: 500 Rubles: Fabric was bought with a margin — 3 meters. Linen washes well, doesn’t fade, and looks stylish in any interior.
Hardware — Hooks, Cord: 200 Rubles: The curtain is attached to regular cord stretched between frame supports. Simple and reliable solution.
Total: 5000 Rubles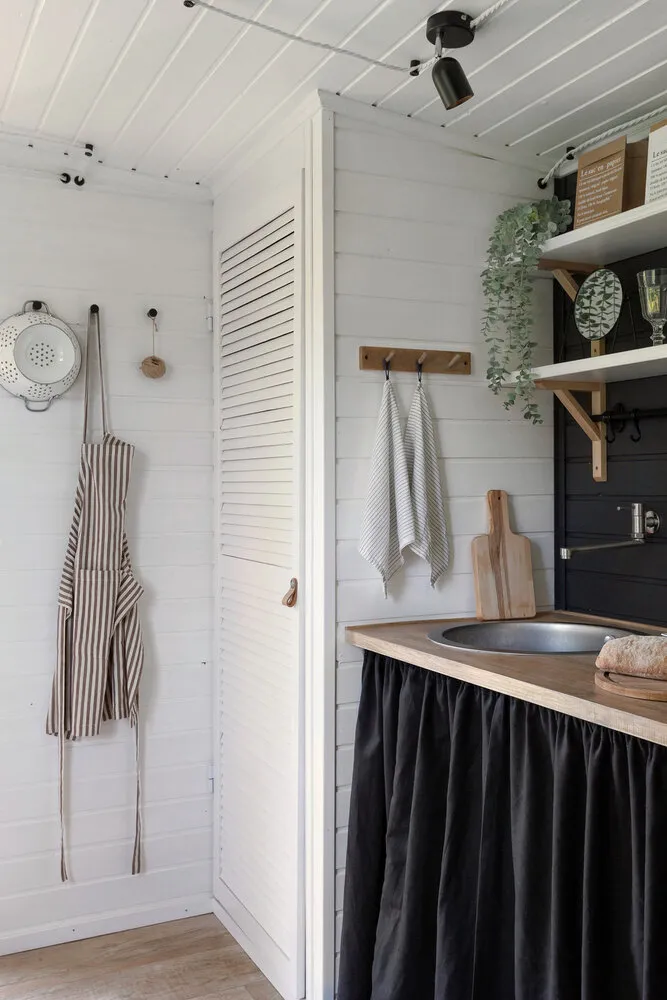 Tools: What You Need for the Project
If you don’t have tools, you can rent them or borrow from friends. It’s not necessary to buy them for a one-time project.
Necessary Tools:- Drill with a Set of Bits;
- Power Drill;
- Saw or Circular Saw;
- Polishing Machine or Sandpaper;
- Brushes for Varnish;
- Tape Measure, Level, Pencil.
- Router for Edge Processing;
- Clamps to Secure Parts;
- Cutting Saw for Precise Cuts.
Most operations can be done with basic tools. The key is not to rush and measure multiple times.
Step-by-Step Instructions: From Sketch to Finished KitchenPhase 1: Planning and Sketch
- Measure the space, define kitchen dimensions. In Aida’s project, it's an L-shaped structure 120 cm long and 60 cm deep.
- Draw a sketch with dimensions. Plan the placement of sink, stove, storage systems. Account for water and electricity supply.
Phase 2: Preparing Materials
- Cut the furniture board into required sizes. This can be done at a store — usually free if you buy materials.
- Smooth all parts. First coarse sandpaper, then fine. The quality of sanding affects how the varnish will lay.
Phase 3: Assembling the Frame
- Assemble the base from lumber. A simple rectangular frame reinforced with diagonal braces. All joints are on screws and metal brackets.
- Check geometry — diagonals must be equal. Otherwise, the countertop will not lie flat.
Phase 4: Installing the Countertop
- Attach the furniture board to the frame with screws from below. It's important not to pierce through the countertop — calculate screw length with a margin.
- Process edges with a router or sand manually. Round sharp corners — safer and more attractive.
Phase 5: Varnishing
- Apply the first layer of varnish. Let it dry according to instructions on the can. Lightly sand with fine sandpaper.
- Apply the second protective layer of varnish. Important to work in a dust-free room, otherwise debris particles will remain on the surface.
Phase 6: Installing the Curtain
- Tension the cord between frame supports at a height of 10–15 cm from the floor. Hang linen curtain on hooks or eyelets.
- The curtain should easily slide aside for access to stored items.
 Modification Options for Different Needs
The basic structure can be adapted for various needs and room sizes.
- For City Apartments: Instead of linen curtains, make sliding doors from the same furniture board. More expensive but more elegant.
- For Large Kitchens: Increase dimensions and add upper cabinets. The principle is the same — furniture board plus a simple structure.
- For Humid Spaces: Use moisture-resistant varnish or wood oil. It’s essential to treat the ends — that’s where moisture enters.
- For Frequent Use: The countertop can be protected with glass or special film. Less attractive but practical.
 Storage Systems: What’s Hidden Behind the Curtain
Maximize space under the countertop.
- Shelves from the Same Furniture Board: Make 2–3 levels depending on the height of dishes. Adjustable shelves are more convenient than fixed ones.
- Baskets and Containers: Plastic or metal baskets simplify organizing small items. Slide out like drawers but cost less.
- Hooks on the Inner Side of the Frame: For towels, brushes, cloths. Use every centimeter of useful space.
- Slide-Out Drawers: If the budget allows, add a couple of drawers on guides. Convenient for tableware and small dishes.
The furniture board with varnish coating is low-maintenance but has some nuances.
- Daily Cleaning: Wipe with a damp cloth and dry immediately. Varnish doesn’t like standing water.
- Protection from Heat: Always use trivets under hot pots. Varnish can whiten due to high temperature.
- Renewing the Coating: Every 2–3 years, refresh the varnish coating. Light sanding and a new layer of varnish — like a brand new kitchen.
- Washing the Curtain: Linen can be washed at 40 degrees Celsius and dried unfolded. Ironing is not necessary — slight wrinkling only adds charm.
Cost:
- DIY — 5000 rubles;
- Purchased of similar size — 40–50 thousand.
- DIY — furniture board, quality varnish;
- Purchased — MDF, plastic coating.
- DIY — 10–15 years with proper care;
- Purchased — 3–5 years depending on quality.
- DIY — easily repaired or modified;
- Purchased — hard to find spare parts, expensive repairs.
Time to Make: Weekend entirely plus time for varnish drying. If there’s no experience, it might take a week.
Necessary Tools: Without a basic set, the project is impossible. Rent or purchase will increase the budget.
Room Requirements: Varnishing must be done in a dust-free environment. A dacha isn’t always suitable — it’s full of dust and insects.
Limited Design Options: Complex shapes and configurations can’t be made by hand. Only simple geometry.
 Alternatives for Those Who Don’t Want to Make It Themselves
If you don’t have the hands, there are compromise options.
- Custom Kitchen from the Same Materials: A carpenter will make it according to your sketches. Cost — 15–20 thousand rubles. More expensive than DIY but cheaper than a store.
- Ready-Made IKEA Modules: You can build a kitchen from separate cabinets. Simple assembly, reasonable price, but limited size options.
- Used Kitchen with Modifications: Buy a cheap used kitchen, change the countertop and doors. Savings plus unique design.
Aida Beglova’s project shows that a beautiful and functional kitchen doesn’t have to cost as much as an airplane wing. A bit of creativity, quality materials, and skilled hands create magic. And a savings of 45 thousand rubles is a pleasant bonus to pride in your own work.
Need a renovation specialist?
Find verified professionals for any repair or construction job. Post your request and get offers from local experts.
You may also like
More articles:
 6 Ideas We Spotted in a Microstudio Inside a Communal House
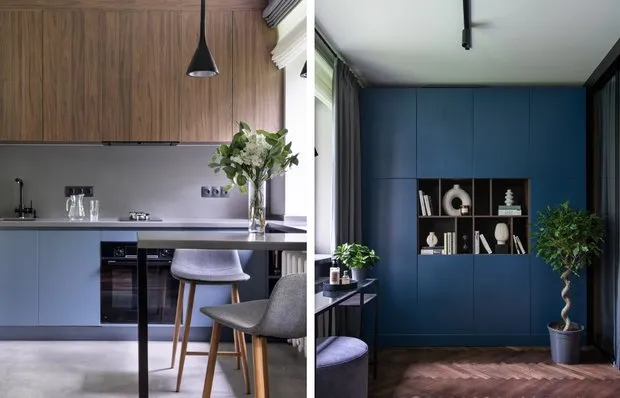 8 Ideas from a Stylish 30 m² Khrushchyovka That You Can Replicate Too
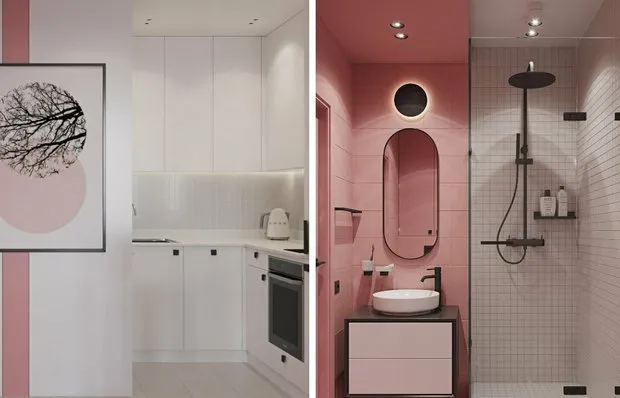 8 Ideas We Spotted in a 33 m² St. Petersburg Euromansion
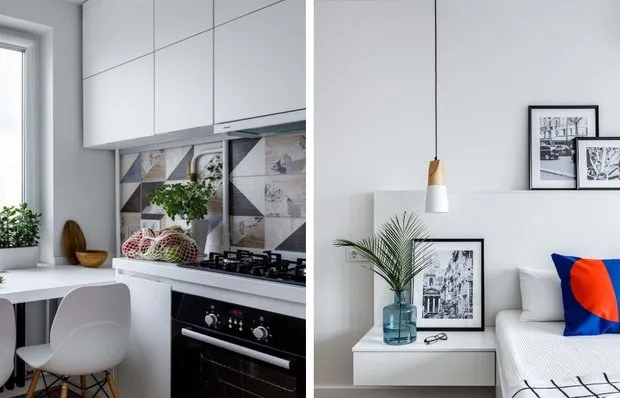 7 Solutions for a 32 m² Studio in Moscow That Will Inspire Your Renovations
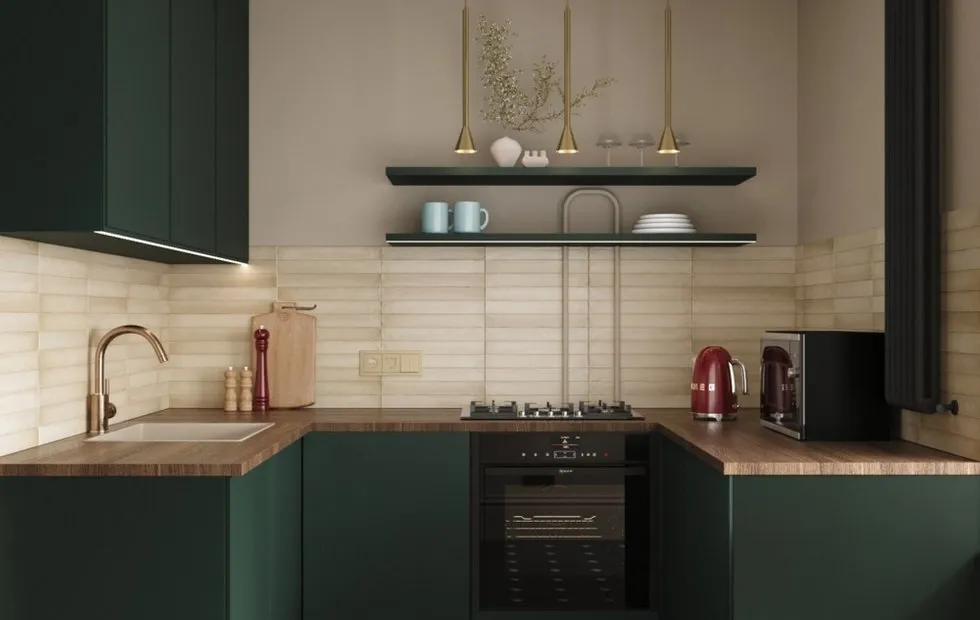 Repairing a Brezhnev-Era Apartment for 300 Thousand Rubles: Transforming a Typical Two-Room Flat into Stylish Living Space
 How Designers Hide Outlets: 7 Secrets That Will Change Your Home
 Stalinist Skyscrapers: How Soviets Built Tall Buildings Without Modern Technology
 Communal Living as a Trend: What to Learn from the Soviet Experience of Shared Housing