Top-6 Kitchens Without a Designer That You Liked in 2022
The Coziest and Most Functional Projects Created by Yourself
For many, the kitchen is the heart of the home. Here, warm dinners and gatherings with loved ones take place, so the space must be thought out to the smallest detail. Our heroes decided not to seek help from designers: they created amazing interiors with great features. We've collected the kitchens that impressed you the most.
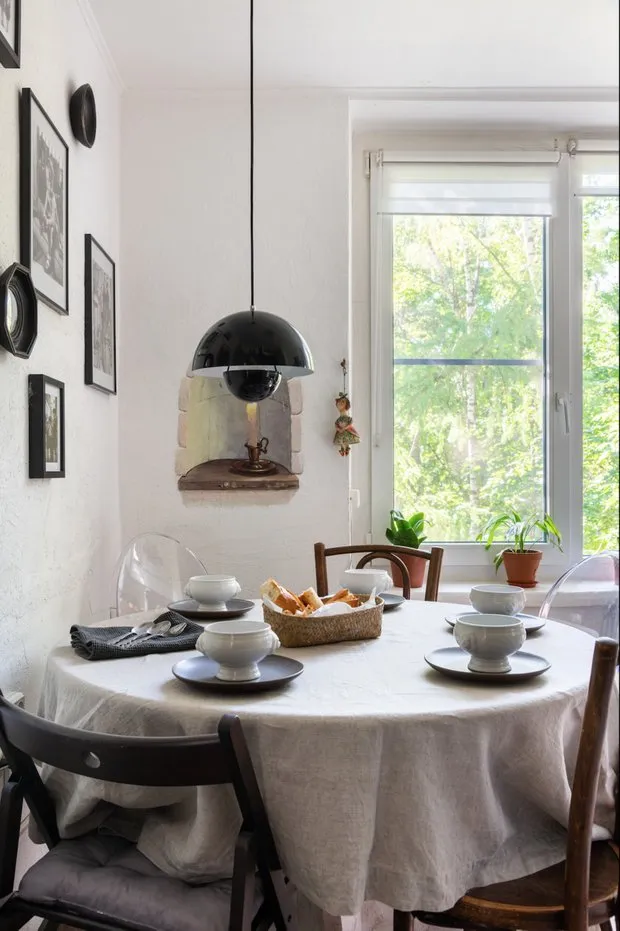
Stylish 5.5 sq. m Kitchen in a Khrushchyovka
The kitchen area of Tatiana is only 5.5 sq. m. Despite its small size, for our heroine the kitchen is the center of attraction in the house. This became the basis of the design. Light palette was used in finishing to make the interior feel airy. Decorative plaster was applied to the walls: this solution saved time and eliminated doubts about durability.
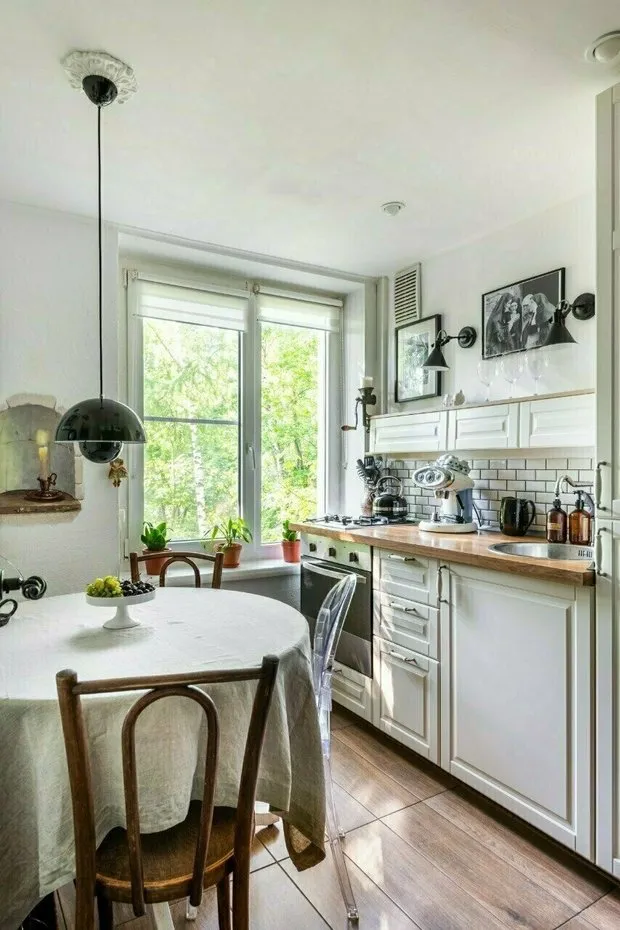
Following minimalism principles, the cabinet was made without upper cabinets. The built-in refrigerator was hidden in a corner to allow more light into the room. All storage is placed in lower drawers.
Even a dining area fit on such a small space: a round table was chosen — it can accommodate more people, and it also looks natural. Decorative mirrors and posters on the walls contributed to the look.
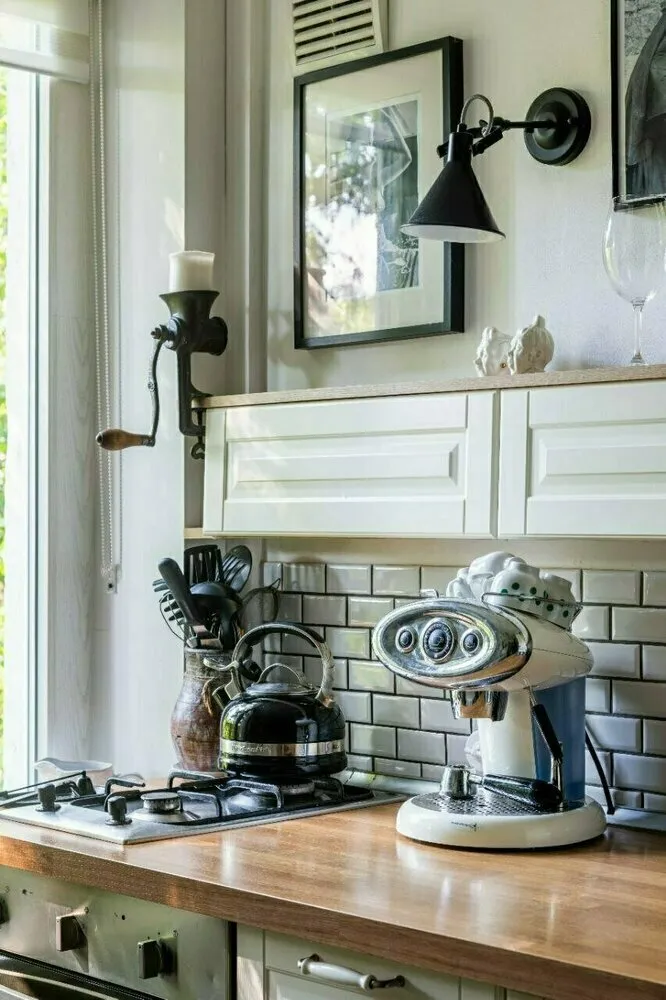
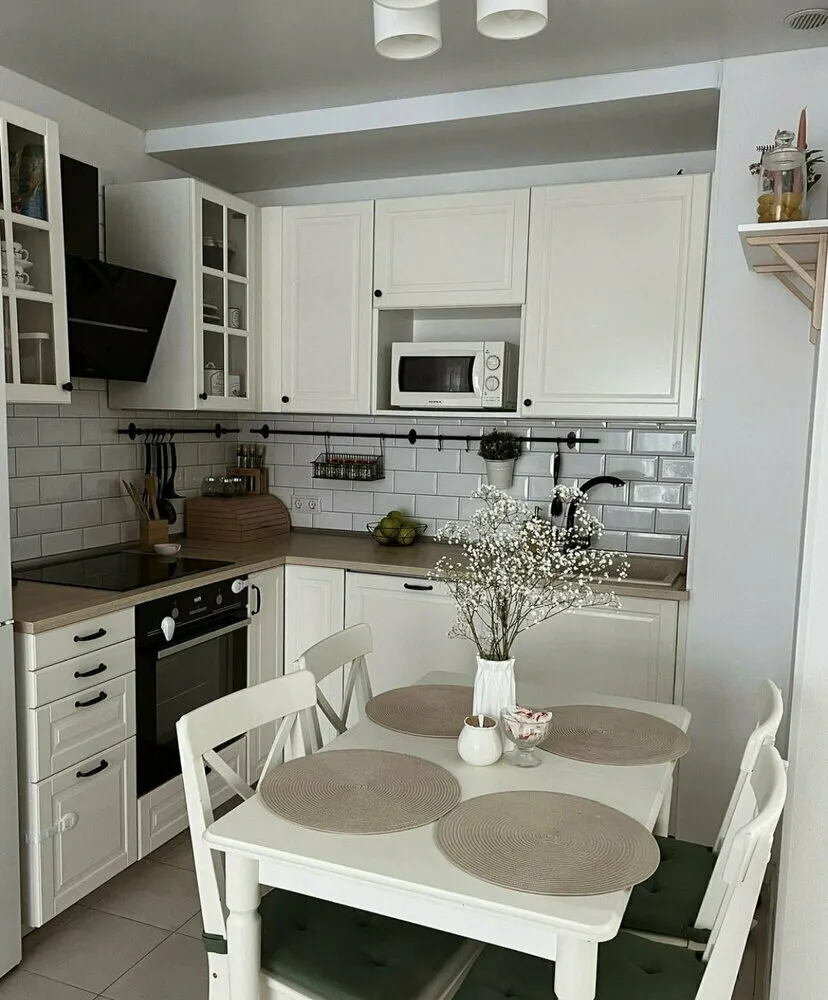
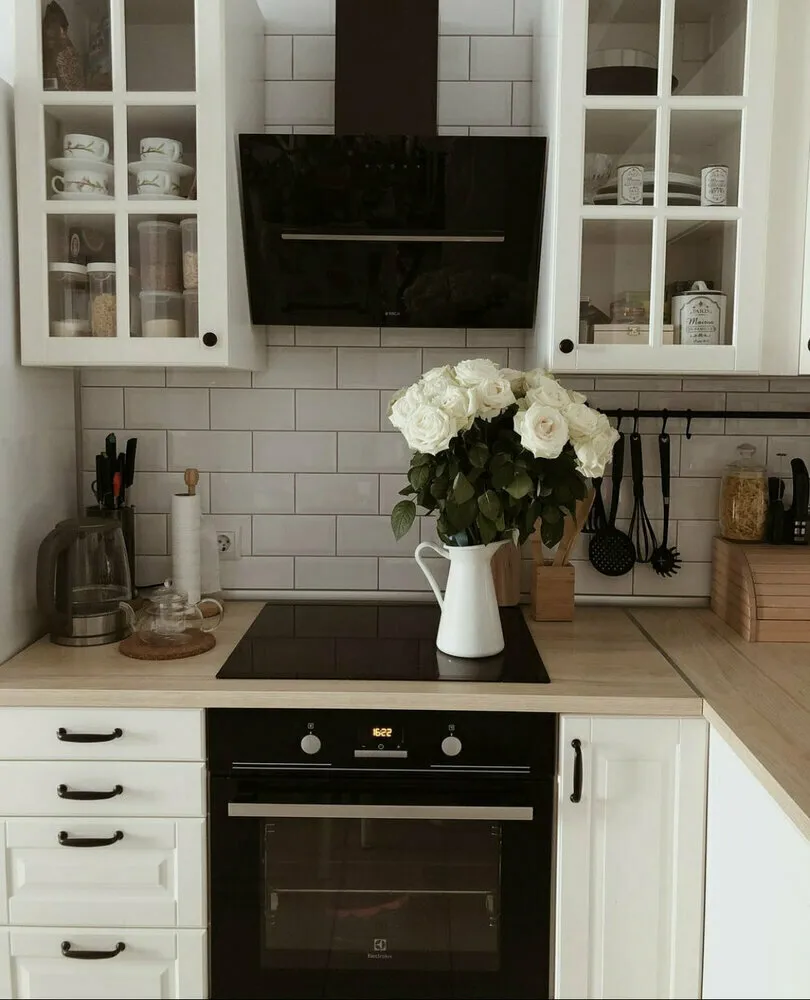
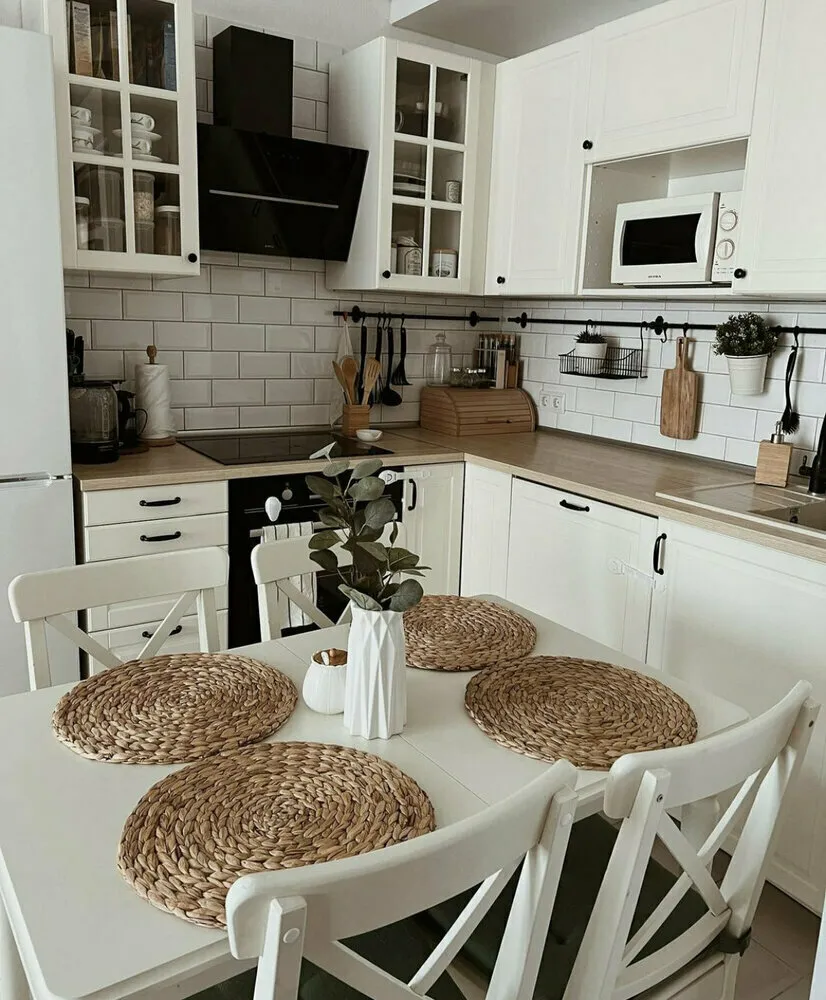
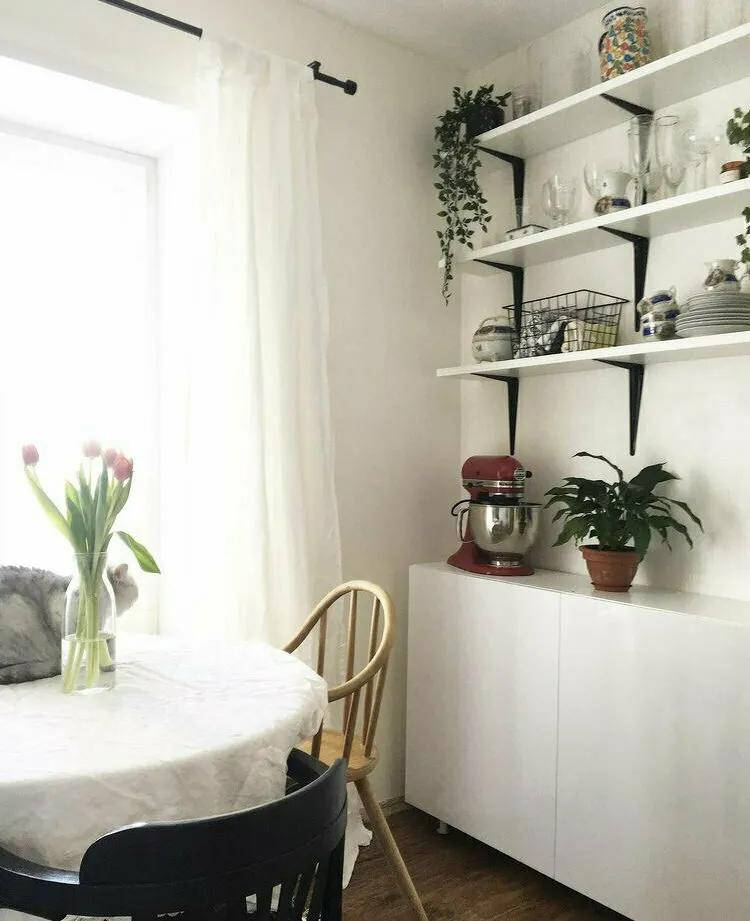
Great Storage Solutions in a Provence-Style Kitchen
Cozy Kitchen in a Country House
Aся and Maksim designed their house in an American style themselves. From the beginning, our heroine understood that she wanted a sink by the window and a kitchen island. Her dreams came true: the cabinet was custom-made, planned with precision down to the millimeter.
The island was built by themselves: six standard floor cabinets were joined together and attached to the floor — this created a great 140x160 cm model. The induction cooktop was placed here, but sometimes there weren’t enough outlets for additional appliances.
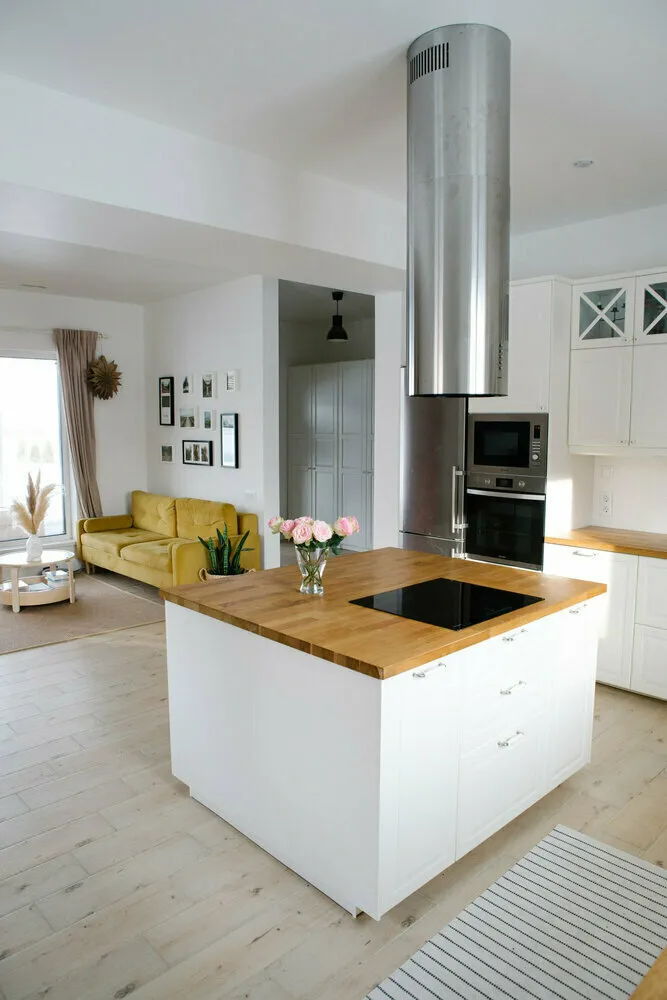
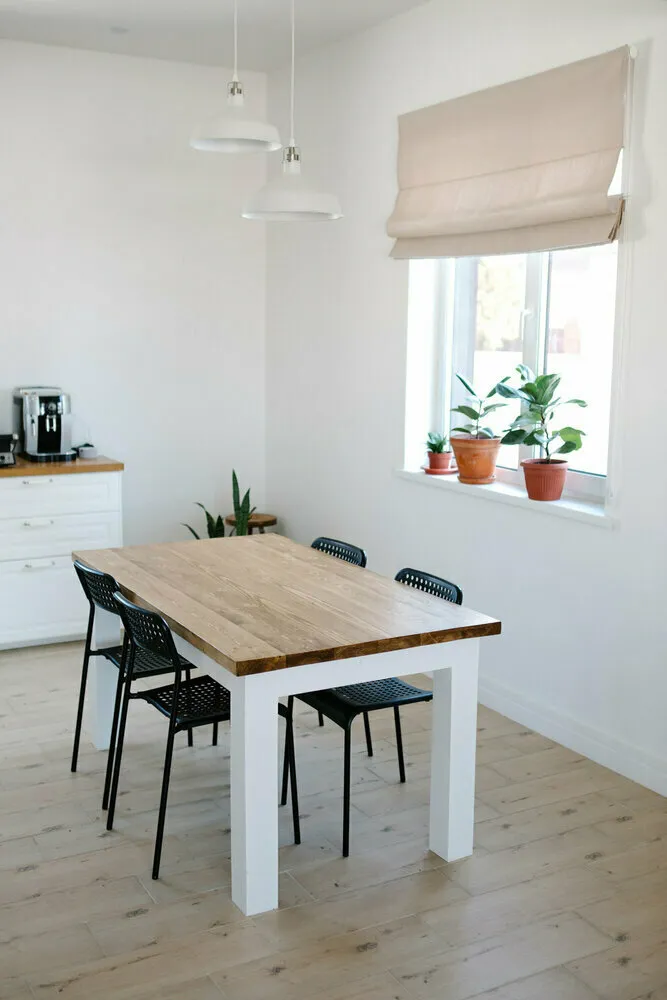
The dining table was also made by hand: leftover boards and timber from construction were used. The countertop was coated with lacquer.
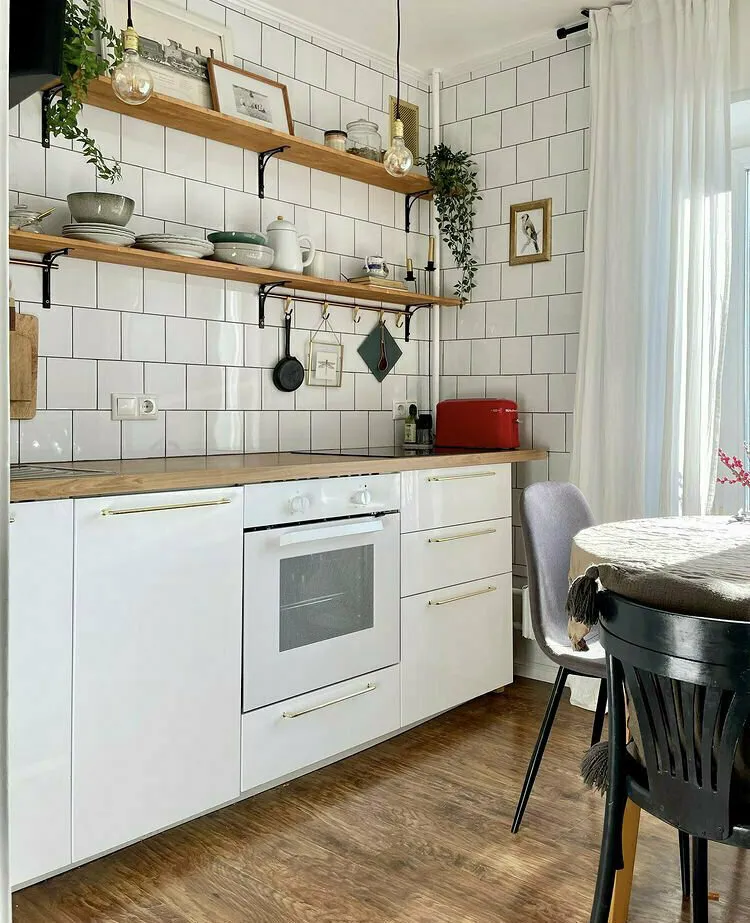
Budget-Friendly Kitchen in Paneling
Tanya and her husband made the kitchen as part of the first stage of renovation. They chose to paint walls instead of wallpapering them. To save time and money, they opted for drop ceilings. The floor had budget laminate that performed well under usage.
The kitchen was ordered from a domestic manufacturer, but there were mistakes: the cabinet sizes weren't accounted for — they made a panel instead. A gap formed between the countertop and the wall — a towel rack was placed there. They opted for open shelves instead of upper cabinets.

Tanya repainted the refrigerator herself from gray to white, but was unhappy with the result, so they covered it with self-adhesive film. By the way, the kitchen's functionality is divided: there’s a panel where the stove, coffee machine, and extra storage space are located — these items aren't used daily.
Scandi Style with Developer's Renovation
Olya and her husband were setting up their apartment with a developer’s renovation. The kitchen is the most Scandinavian corner in their home. The kitchen itself was custom-made, while the finishing was done by the developer — tiles on the floor and wallpaper on the walls. The backsplash was done with “calf” tiles.
All drawers had childproof locks to prevent children from opening them. Among convenient features is a drawer with a door like a harp and rotating shelves. There was even space for a dishwasher and built-in microwave.
Olya warns against mistakes: they laid tiles before installing the kitchen, so they had to make a corner — it doesn’t look very nice. First install the countertop, then lay the tiles.
Kitchen in a Stalin-era Apartment with an Unusual Solution
On Lena's kitchen, gas and water were originally on opposite walls: the layout was not changed because technically it’s hard to reconfigure. When asked if it's convenient to live on such a kitchen, our heroine answered simply: No, if the kitchen is the only place for cooking and eating. In Elena's case, the dining area was separated.
For the “semi-island,” the owner fought long: first in a company (they didn’t give guarantees for the structure because Elena came up with it herself), then at home — her husband asked to return the parts. Initially, the heroine didn’t really want an island and bar stools: she only cared about drawers.
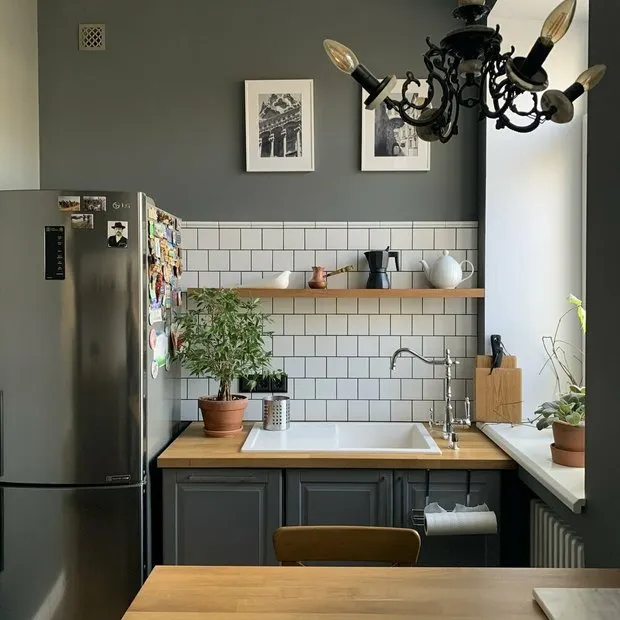
Even though ergonomics enthusiasts might find this kitchen a nightmare, Elena tried to make everything as convenient as possible under the existing conditions.
Transformation of a Kitchen with Grandma's Renovation
Initially, Olya’s kitchen was in very poor condition: bad laminate, “Soviet calf” tiles, and an old ceiling. During demolition, it was discovered that the wiring was very outdated — the electrical system had to be replaced. All flaws were fixed, and when choosing a style, they opted for Scandinavian.
They bought a cabinet: countertop made of MDF, glossy fronts that are easy to maintain. For the oven, they chose an unusual placement: it’s located at a distance. Storage was made open — shelves instead of cabinets. The walls are thin, so they didn’t dare to take risks.
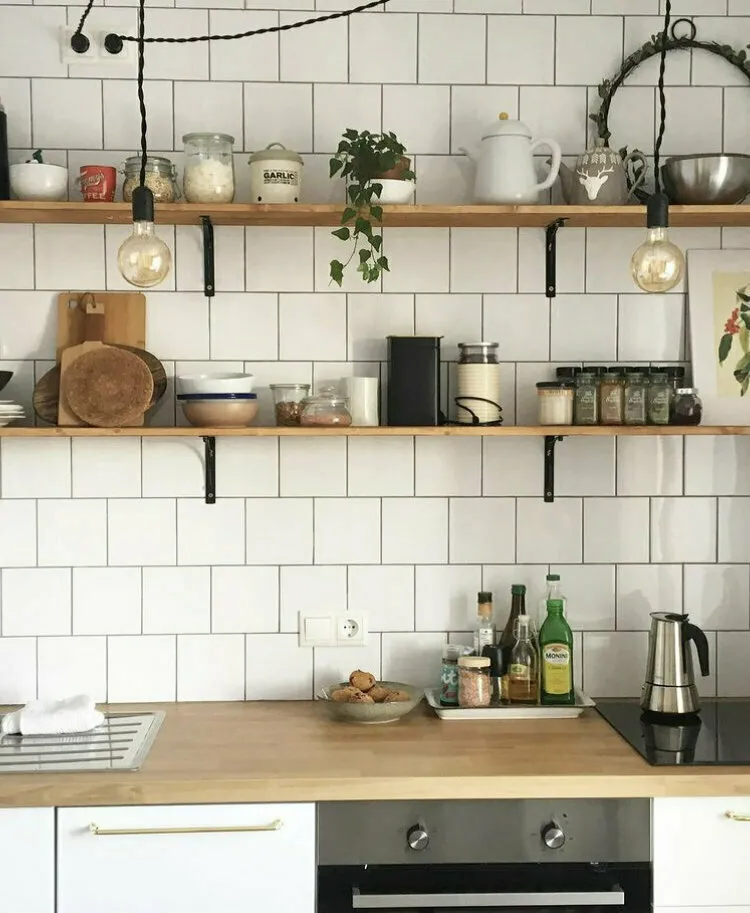
Additional light sources were also installed reluctantly: originally, several outlets for cabinet lighting were supposed to be mounted here — but they couldn’t be installed because the tiles were already laid, and they had to be removed in this way.
Need a renovation specialist?
Find verified professionals for any repair or construction job. Post your request and get offers from local experts.
You may also like
More articles:
 Complex Beige Multi-Layer Interior of a 55 sqm Studio Apartment
 Trend 2023 — rattan furniture: 10 very beautiful items
 Top 15 Most Popular Chair and Table Models
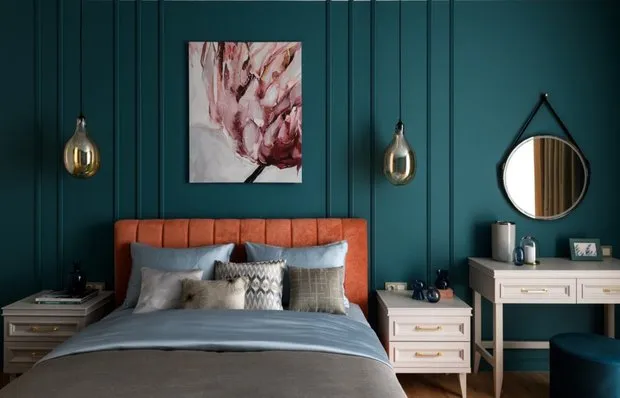 7 Ideas for a Bedroom That We Spotted in a Very Beautiful Project
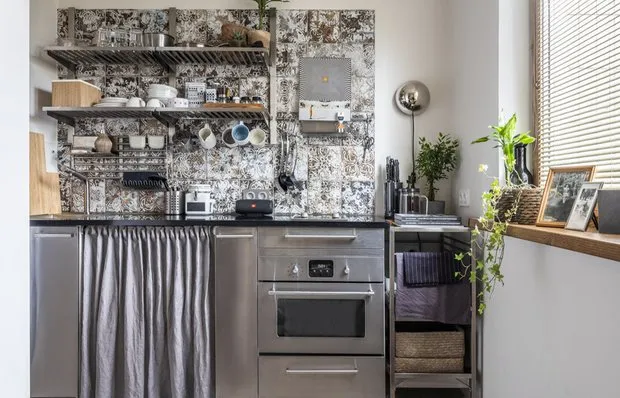 8 Budget Ideas for a Stylish Creative Interior
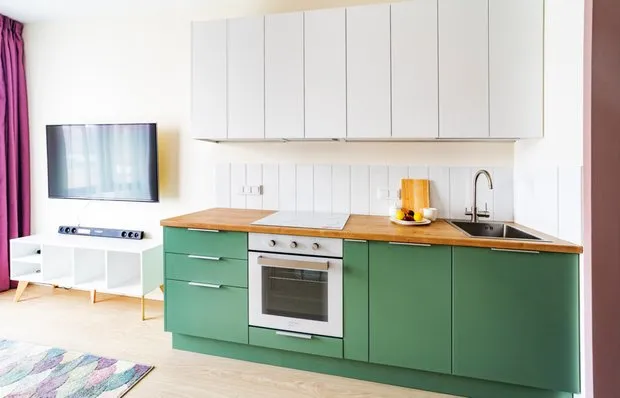 Charming and Affordable Renovation in a 40 m² Euro-Double
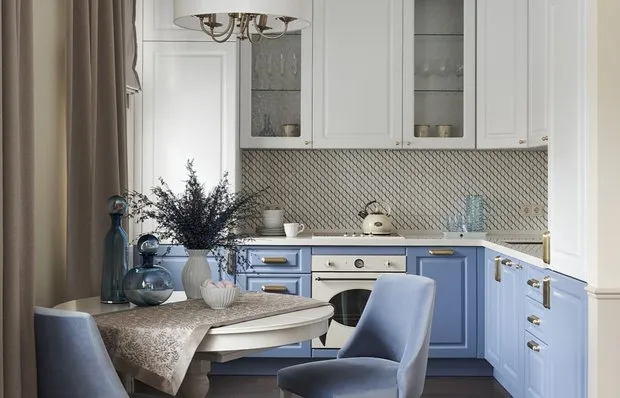 How to Stylishly Renovated a 65 m² Apartment in a Brick Five-Story Building
 Most Beautiful Lighting Fixtures for Your Interior: Top 10 Products