Floor screed with expanded clay: pros and cons
Share on Twitter
Post to Blog
Send by Email
In case of significant height differences in the floor, when it is necessary to hide communications running through the floor or if you wish to use tiles, laminate or parquet as a finishing layer, floor screed with expanded clay is an ideal solution for floor organization. And here is why.
What is expanded clay?
Expanded clay is a material made from foamed and fired clay. It is a porous, lightweight, extremely strong and environmentally clean construction material. Visually, expanded clay looks like granules of various fractions often in round or oval shape.
Floor screed with expanded clay is a reliable solution for long-term floor durability.
Expanded clay concrete screed: stages of work
Let's consider the method of organizing a screed from expanded clay concrete.
Preparing the surface
- clear the floor base of dust and construction waste;
- mask holes and recesses in the floor with cement-based plaster;
- lay waterproofing (can be laid as film or liquid mastics insulation).
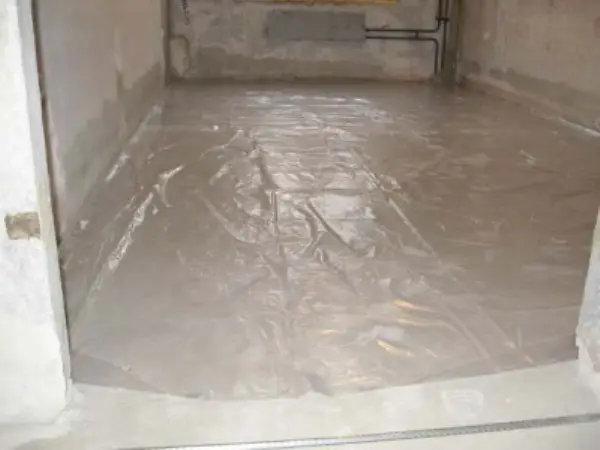
Photo 1 — Waterproofing layer
Level marking, installing guides
- On walls, using a laser or regular construction level, make marks corresponding to the required height of the future screed. Expanded clay screed can occupy from 3 to 15 cm.
IMPORTANT! In the corners of the room, the lines indicating the level of the screed, drawn by you, must match with minimal deviation.
- Guides should be installed along the lines, placing guide rails (can use ceiling profiles) approximately 60 cm apart from each other. Correctly fix the guides with plaster—cement mix dries longer.
Expanded clay filling
Expanded clay is filled between guide rails and leveled with a trowel/ruler. Note that the space between the top level of the expanded clay filling and the top level of the guides must leave at least 2 cm, i.e., the layer thickness of expanded clay should be lower than the guides—this height will later be filled with cement screed.
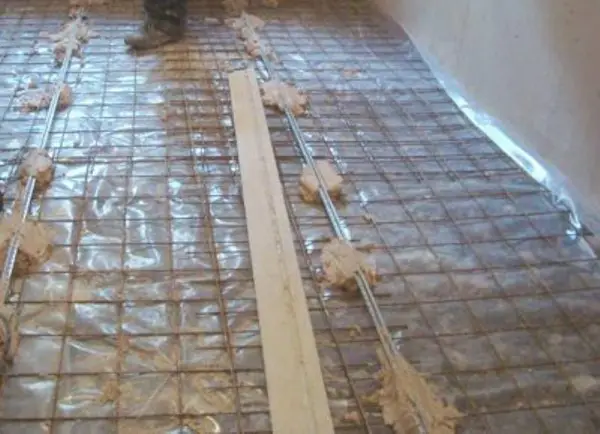
Photo 2 — Installing guides
Installing cement screed
- Evenly cover the surface of expanded clay with so-called "cement milk" (mix clean cement and cement-sand mixture in equal proportions with a large amount of water), slightly tamping the expanded clay. Simultaneous pouring and compaction of expanded clay is needed so that the material granules don't float to the surface of the screed later. However, this is still not a screed.
IMPORTANT! Floor screed with expanded clay done by yourself can only be installed after one day of drying the "cement milk".
- After preparing the cement-sand mixture, pour it between guides, leveling with a ruler (take into account the calculated height of the finished floor). The consumption of the mixture, if the layer thickness is 2 cm, is 50 kg/m².
- How long does this mixture take to dry? At least 14 days until fully set, but after one day, when the mixture just sets, remove the guides, filling the created voids with the mixture (guides can be left in place if expanded clay was laid under the guides). Minor unevennesses of the screed can be filled with cement mortar if necessary.
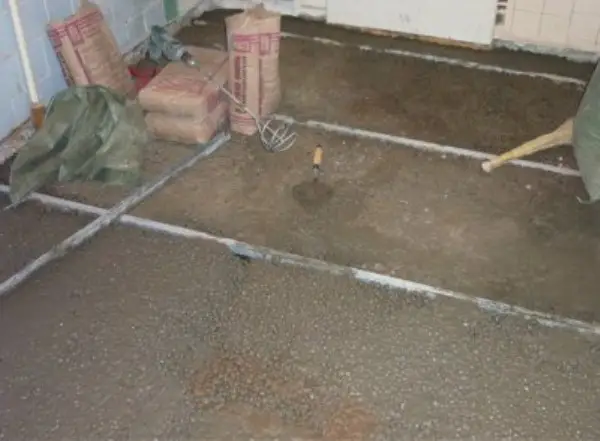
Photo 3 — Filling expanded clay with guides
IMPORTANT! Light pedestrian loads on the floor surface will be ready to bear after 2 days. Finishing layer should only be laid after two weeks. The cement composition will fully harden after 28 days.
This method of organizing floor screed ensures better sound and thermal insulation. The advantage of the method is that such a screed can easily be done by oneself.
Before making a screed with expanded clay, make sure you have enough floor height for filling the granules and pouring the cement mixture.
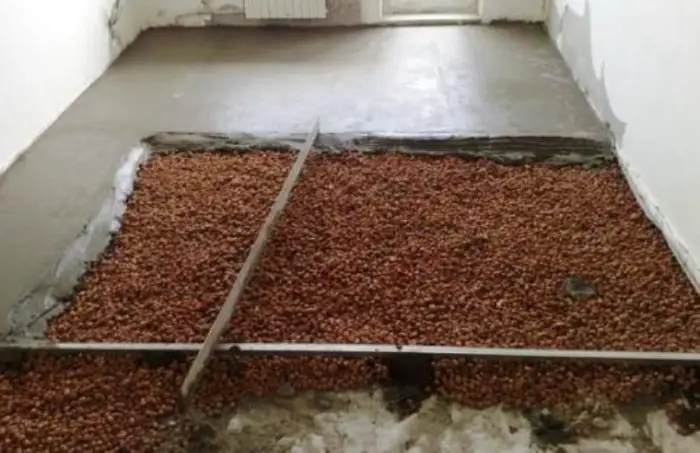
Photo 4 — Gradual pouring with cement mixture
Floor screed with expanded clay: VIDEO
$ Expanded clay screed: material costs
Average cost of materials for setting up such a screed:
- expanded clay filling - from $6.5/40 liters;
- waterproofing film - from $0.8/meter linear;
- edge tape - from $5.7/roll;
- guides - from $0.9/3 meters;
- cement - from $4.7/25 kg.
$ Floor screed with expanded clay: labor costs
- in Moscow - from 235 rubles/m²;
- in Kiev - from 52 UAH/m².