How to Apply Liquid Wallpapers to the Wall
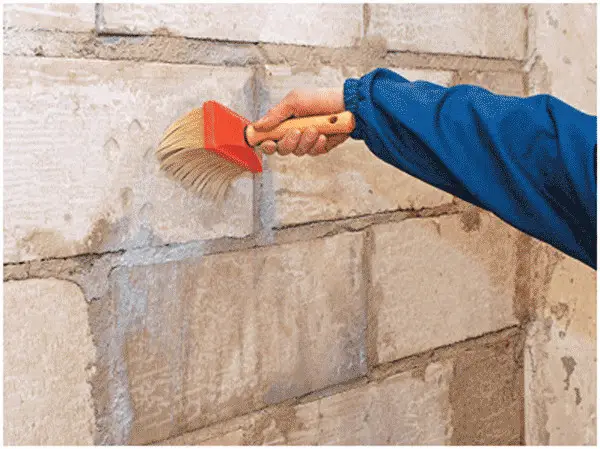
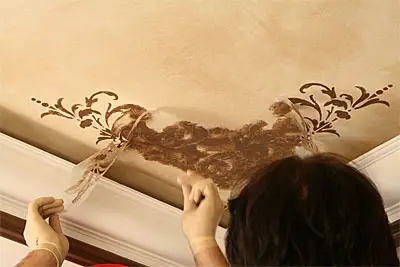
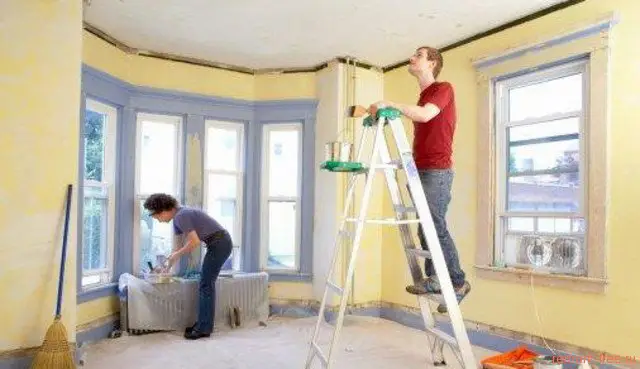
Photo 2 — Liquid wallpapers application on the wall
Wall Preparation for Liquid Wallpapers
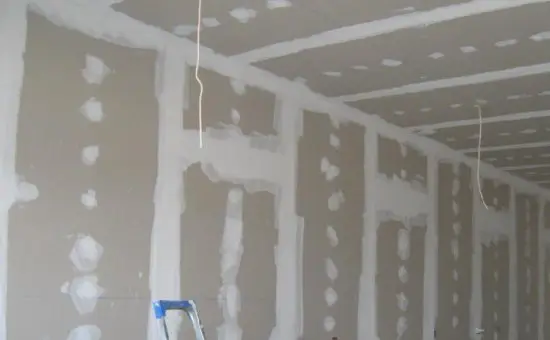
Photo 3 — Wall preparation
Priming under liquid wallpapers is a mandatory requirement and a guarantee that the wallpapers will have the appearance and properties typical for liquid wallpapers: color palette preservation, unchanged over time, strength characteristics, enhanced sound and thermal insulation, and low moisture absorption.
The preparation technique depends on the surface to which liquid wallpapers will be applied. This is due to the fact that different materials interact differently with water — a universal solvent.
Here are the key points to consider when applying wallpapers:
- on gypsum board: prime the entire surface, as taped joints can absorb significantly more moisture than gypsum board; therefore, 2–3 primer layers level out these inconsistencies;
- on paint: depends on what lies under the paint and the thickness of the paint layer; in general, if paint was applied professionally, priming is not required; for better results, apply liquid wallpapers within the first 24 hours after painting;
- on whitewash: good priming is needed after removing the whitewash;
- on MDF: to neutralize possible uneven moisture absorption, 2–3 primer layers are necessary;
- on wood: even if it's high-quality solid wood, priming is still required because moisture absorption and wood structure are uneven across the surface;
- on concrete: a strong concrete surface must be isolated from liquid wallpapers using primer;
- on oil-based paint: depends on the paint layer thickness, but remember that oil-based paint itself is an effective primer;
- on plywood: the general rule is that the thicker the plywood, the better; however, it must still be primed 2–3 times regardless.
Especially note that all items prone to corrosion — nails, screws, rods, boxes, panels, corners — and which are intended to be hidden under liquid wallpapers, must be pre-coated with a protective layer, such as PФ enamel or latex paint.
Some specialized primers, such as ALPINA from CAPAROL, are specifically recommended for liquid wallpapers. However, keep in mind that a good substitute for quality primers can be oil-based paint. Negative feedback has been received about CERESIT primers. Rough surfaces, if properly protected, can be used directly under liquid wallpapers, but for smooth surfaces, it is recommended to apply a primer with quartz dust before application. Possible options include DUFA Q815, SUPRIM-GRANIT, CERPLAST. Alternatively, use regular primer with marble (same quartz) dust or finely sieved sand. Sometimes it's advisable to use PVA glue — adding it to emulsion paint can significantly improve adhesion to the surface.
Tools for Applying Liquid Wallpapers
Remember that liquid wallpapers are a type of decorative plaster, meaning any professional plasterer’s toolkit is suitable for applying liquid wallpapers.
Most commonly, rolling is the primary method for manual application of liquid wallpapers, where a trowel is used to apply the wallpaper to the desired thickness on walls or ceilings, and a roller is used to create the desired pattern.
However, note that liquid wallpapers (i.e., applying with roller, spray gun, or sprayer) should be applied depending on consistency, pattern complexity (if any), and the area to be covered.
For large surfaces, a sprayer plus compressor setup is suitable. For truly large areas, using a hopper (a type of spray gun) is more efficient. This is not only beneficial for productivity but also when using a colorant (pigment for liquid wallpapers), ensuring a uniform color across a large area. Otherwise, standard trowels and brushes remain essential for applying primers, cleaning, and painting individual surface sections.
How to Make Liquid Wallpapers
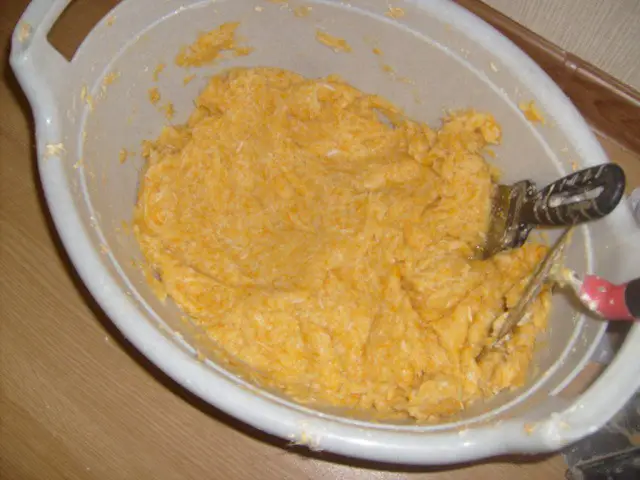
Photo 4 — How to make
As mentioned earlier, the application technique defines many elements of successful usage; however, making liquid wallpapers is comparable to laying the foundation of a new house. The liquid wallpapers discussed here have a standard composition and can be made at home. Use in this case implies relatively small coverage areas, and the specific brand or manufacturer (COTEX, SILK PLASTER, SENIDECO, SILKCOAT) does not matter. So:
The dry content of the liquid wallpaper packet is placed into a larger container; however, always review the manufacturer’s instructions before mixing.
For a standard package, approximately 5 liters of water at normal hand temperature are needed, as mixing is done manually; water is added to the container with the wallpaper material.
The dry material is thoroughly mixed with water by hand (for some types, using mixers or blenders is strictly prohibited).
Mixing should be accompanied by gradual water addition — about one cup at a time; this helps achieve the right consistency for easy application on walls or ceilings.
The mixture must absorb sufficient water, so it should be left in water for several hours (or overnight); these technical features, like those related to priming, should be considered during planning.
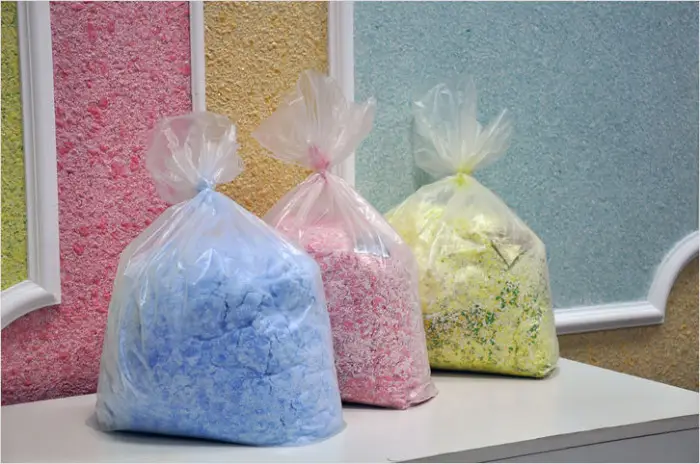
Photo 5 — Wallpaper variety
It’s important to understand that wallpaper preparation should be in whole packages: each package contains everything needed for proper preparation, so splitting one package is not allowed. Typically, package labels indicate the recommended dry mix volume per coverage area, but a common practice is using one package (1 kg) for 5 square meters. Due to volume expansion when mixed with water, experienced painters and plasterers recommend using a slightly larger dry mix volume. This becomes especially important if repairs or installation work in the room are not yet complete and additional patching may be needed.
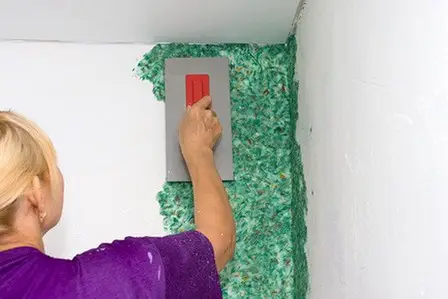
Photo 6 — Liquid wallpapers application on the wall
Application of liquid wallpapers — video demonstrating several techniques (how to use a trowel, roller, and hands to create decorative wallpapers)
How to Apply Liquid Wallpapers Correctly
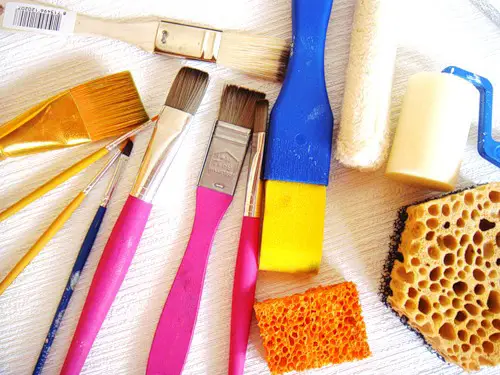
Photo 7 — How to apply
Generally, liquid wallpapers, whose application technique imposes no additional requirements, are applied with a trowel. The traditional method of applying liquid wallpapers is nearly identical to working with plaster; however, the process has some specific characteristics.
The correct way to apply liquid wallpapers does not press them down like in plastering, but leaves the surface slightly porous after application on walls or ceilings. Some professionals compare the process to spreading crumbs on bread — excessive pressure causes crumbs to break, and the wallpaper loses its appearance.
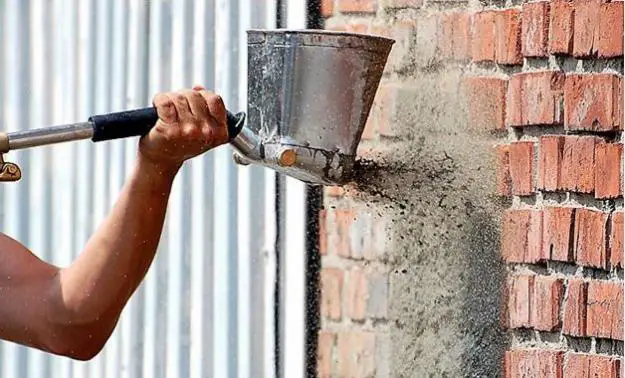
Photo 8 — Liquid wallpapers application
How to Install — Video: How to Do It Yourself
Standard thickness for liquid wallpapers on flat surfaces is 1–2 mm. This is the answer to the question of how to apply liquid wallpapers correctly — uniformly. If the surface has unevenness, protrusions, or cracks, consumption increases. Corners and other structural protrusions on walls and ceilings also increase consumption and affect the uniformity and even thickness of the applied material. Working with liquid wallpapers requires that the trowel moves naturally and does not hinder even application — it should be held at an angle (approximately 20° relative to the working surface), allowing the material to be "squeezed" in the direction of movement.
The production process for wallpaper coating is such that applying too thin a layer will not preserve the surface texture, while too thick a layer causes significant material waste. Applied patterns should integrate seamlessly into the surface and form a unified whole with the rest of the coating. Lighting also affects how to apply wallpapers accurately — light should come from the side, allowing the worker to continuously see the surface and all its imperfections. A spotlight or simple portable lamp is sufficient for this.
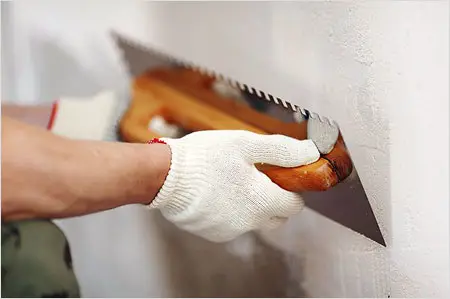
Photo 10 — Applying liquid wallpapers
A very important point is choosing the area for applying liquid wallpapers. This means you cannot prepare the mixture and apply only part of it to a wall or ceiling — you must always cover the wall or ceiling entirely. Only then can you achieve a perfectly seamless, smooth surface with uniform consistency, color, and pattern.
Typically, after applying liquid wallpapers, the surface is lightly sprayed with water to achieve even texture. This applies only to the surface and does not affect the appearance of wall or ceiling finishes regarding joints, seams, bulges, or depressions. Therefore, even application and correct calculation of the required volume for a given area are the greatest challenges for beginners.
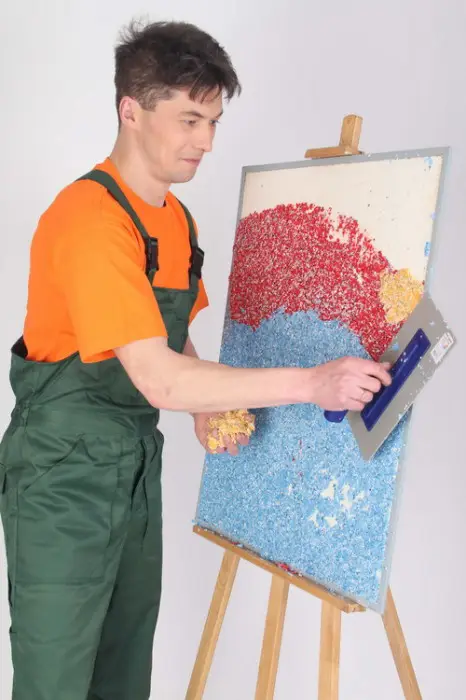
Photo 11 — Applying liquid wallpapers
Decorative Liquid Wallpaper Masterclass
http://www.youtube.com/watch?v=vCI4uc7l44E
For decorative purposes, glitter, fabric particles, and other additives can be incorporated into liquid wallpapers. Depending on the properties, concentration, and combination of additives, various textures can be achieved. Importantly, in this case, not only the decorative aspect but also the strength, insulation, and other properties can be modified.
FAQ and Care Tips for Liquid Wallpapers
Liquid wallpapers (repairs are not typically planned, but possible) can be protected and their lifespan extended. First, liquid wallpapers can be coated with lacquer. This option is often used when wallpapers are used as kitchen backsplashes, making the question "can liquid wallpapers be washed?" irrelevant. In this case, maintenance becomes simpler: they can be washed and even cleaned with detergents. As for painting liquid wallpapers, it is not advisable — you could simply paint the walls or ceiling without using liquid wallpapers.
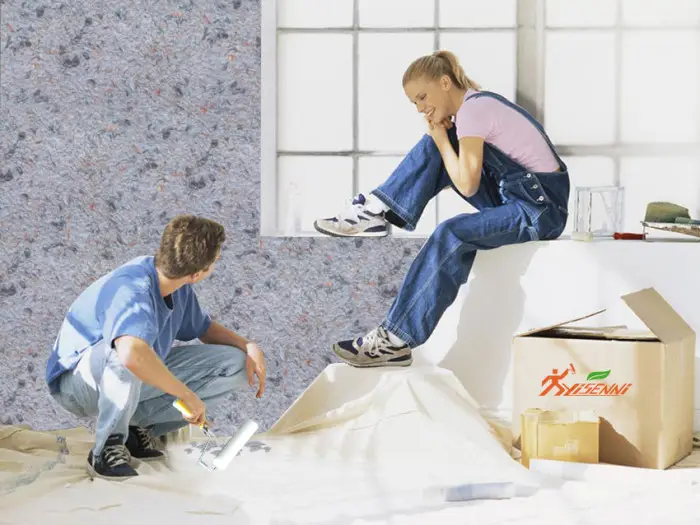
Photo 12 — Questions and care details
There are no difficulties in removing liquid wallpapers, for example, in a specific area, or how to work with them during repairs. In most cases, water is sprayed manually on the area where wallpapers will be removed (a water-based paint sprayer can also be used); then, the top layer is carefully scraped off with a trowel or other tool and set aside separately. After work completion, the removed layer is rehydrated with water and reapplied to the original location. Liquid wallpapers removed from walls or ceilings can be stored for a long time without losing any properties.
How to Apply Liquid Wallpapers on the Ceiling: Special Considerations
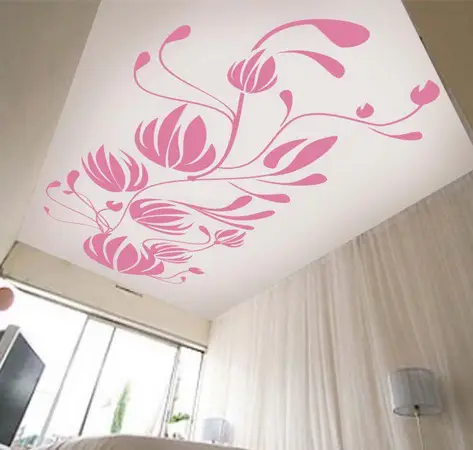
Any professional applying liquid wallpapers will say that they are applied to the ceiling the same way as walls, with only one difference: do not apply a mixture with particles of varying sizes to the ceiling — the smaller the particles, the easier they are to apply. How to lay liquid wallpapers (video tutorials are below) manually and using a sprayer (which requires a compressor) can be found in various guides, but when working on ceilings, a primer layer must be applied first, allowed to set, and only then apply the main layer of liquid wallpapers.
How to Apply Liquid Wallpapers on the Ceiling (Video)
It is also recommended to use 1 kg of dry mix for a larger area than walls — the weight of wallpapers applied to the ceiling should be less than that on walls. This is especially important in rooms requiring additional drying. Also, it is recommended to heat the room when air temperature is below 10°C; a heater should be used, operating not only before but also after applying liquid wallpapers.
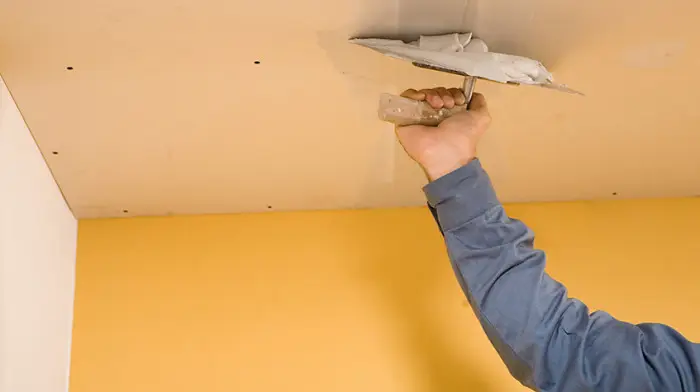
Photo 13 — Applying wallpapers to the ceiling
Prices for Materials and Labor for Liquid Wallpapers
The price for liquid wallpapers is generally consistent across most suppliers; moreover, since this type of material has almost no expiration date — it does not degrade — large contractors and construction companies are major buyers. This fact suggests a lower price when purchasing materials together with labor (which may include wall preparation and painting, plastering, etc.), meaning when the contractor uses their own materials and performs the installation. For reference on material and service pricing, below are basic figures (brand-name wallpaper starts at $15–20 USD) for two major cities:
- Kyiv: price of liquid wallpapers — from 50 UAH, cost of application per 1 sq. m — from 50 UAH;
- Moscow: price of liquid wallpapers — from 300 RUB, cost of application per 1 sq. m — from 300 RUB.