DIY Idea: Pumpkin Candle Holders Made by Hand
Step-by-step tutorial
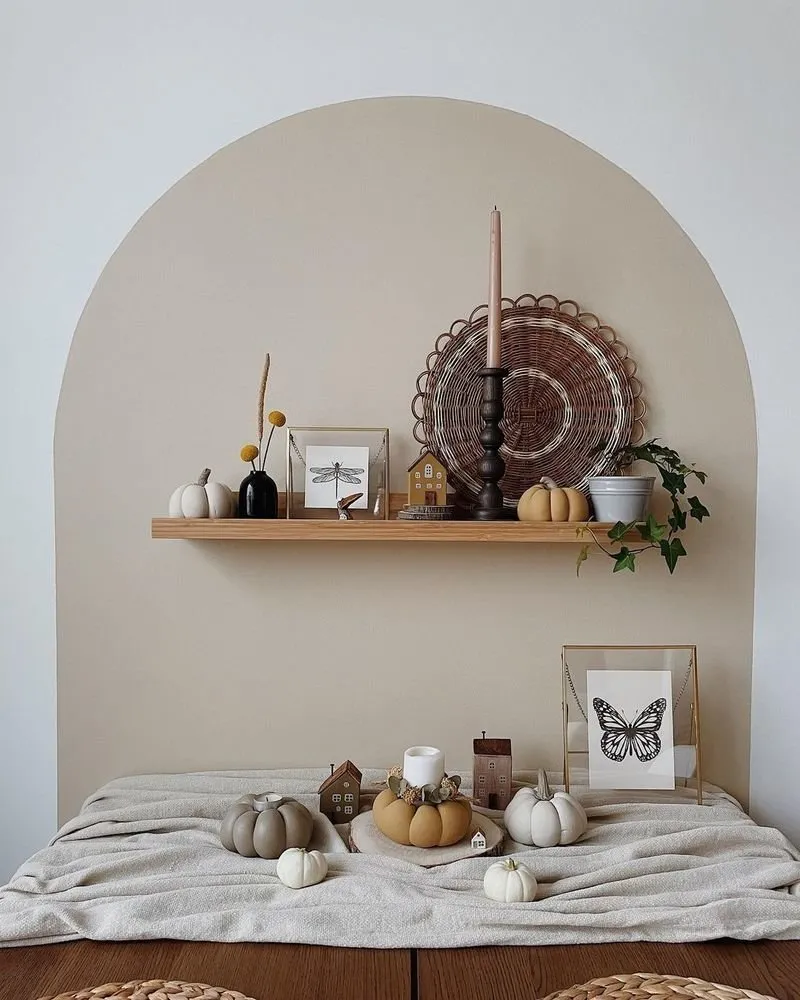
Blogger and homeowner of a beautiful apartment, Olga Zhdanova, shares how to make a cool fall decor option—pumpkin-shaped candle holders by hand. Detailed instructions below.
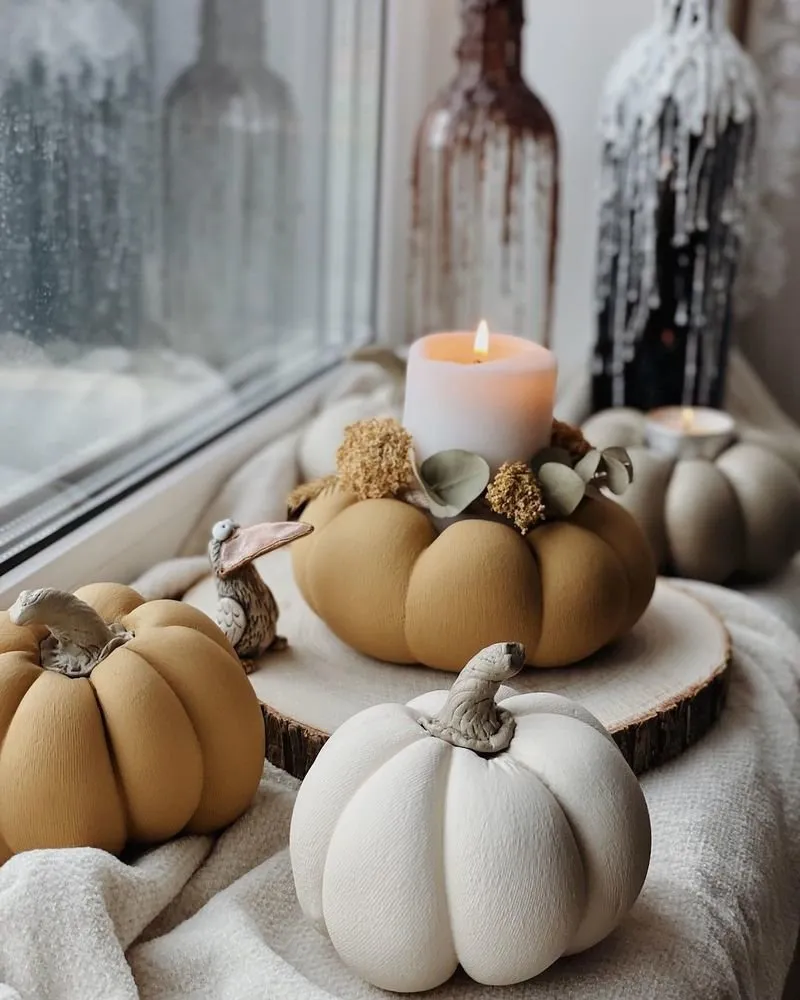 You will need:
- Rotband, plaster or cement;
- Cotton socks or tights;
- Ribbon for tying;
- Paint.
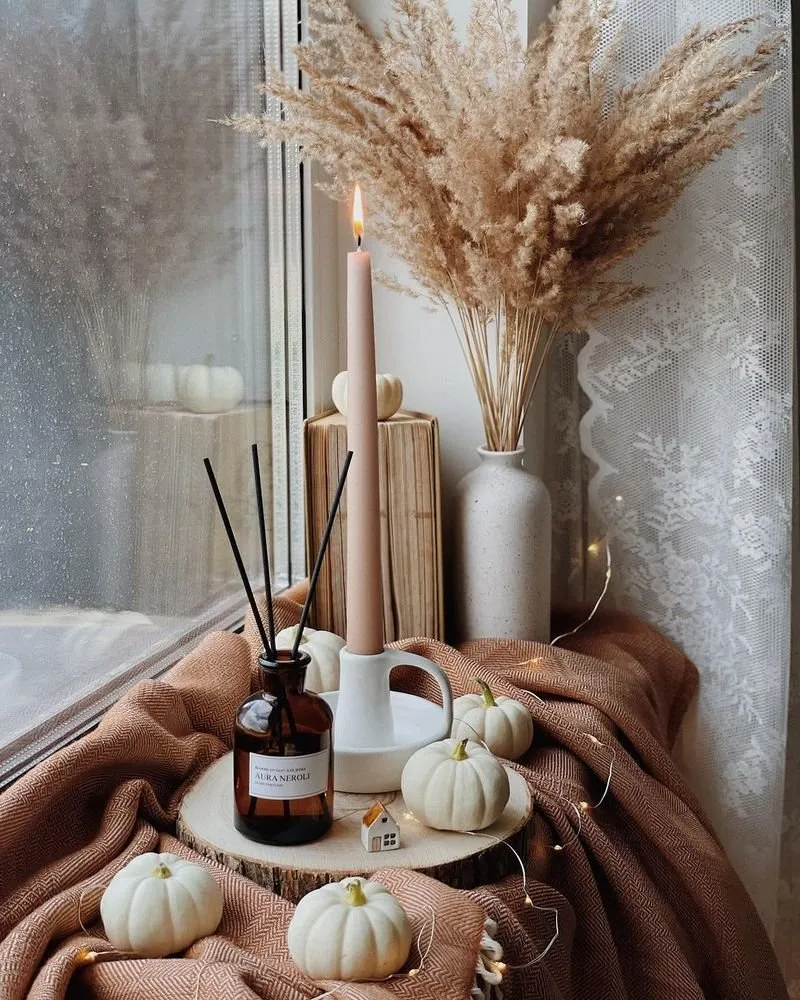 Step 1:
Mix rotband, plaster or cement with water until it reaches a consistency similar to thick cream. Pour into a cotton sock and tie the end securely. Wrap with string as shown in the photo, and leave to dry for a full day.
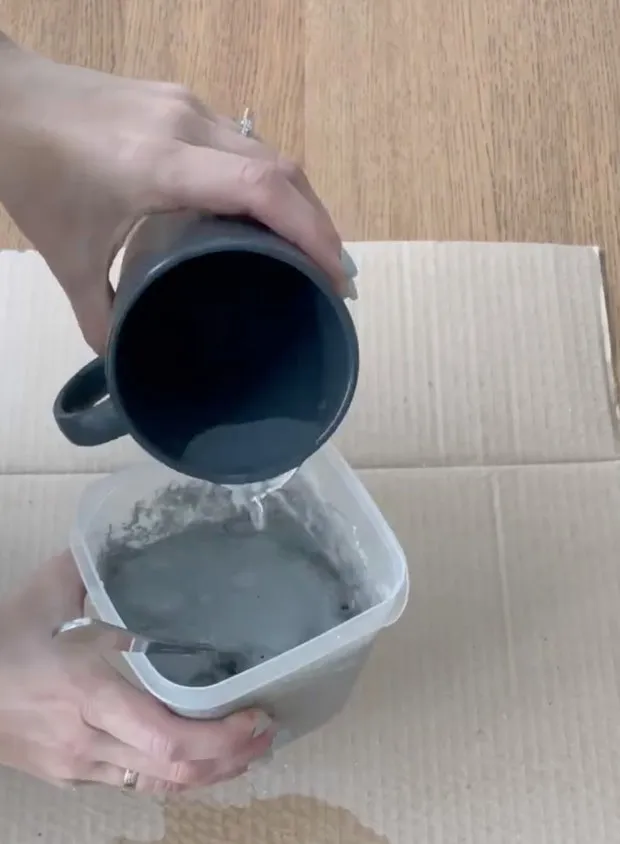 It's better to mix small batches for each pumpkin, as rotband hardens quickly and you may not finish making several at once.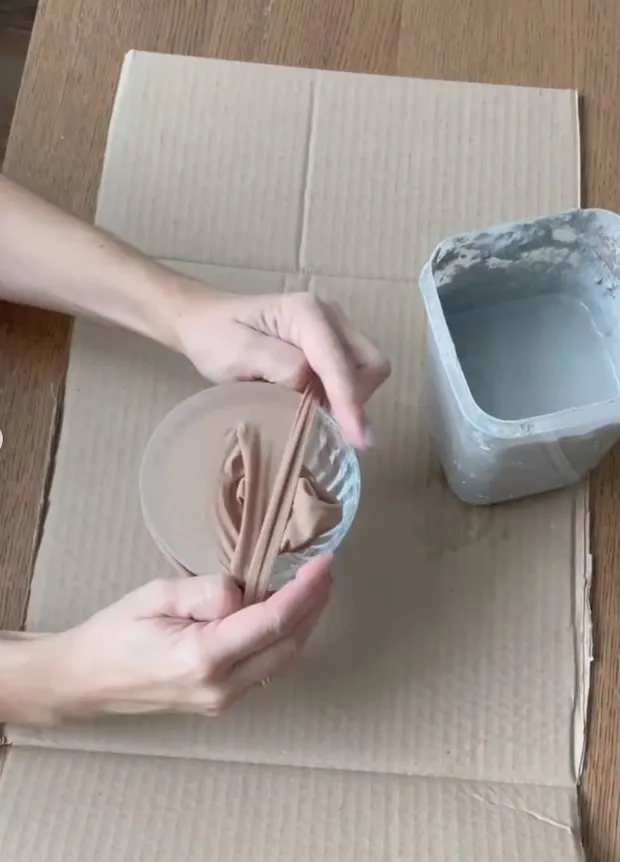
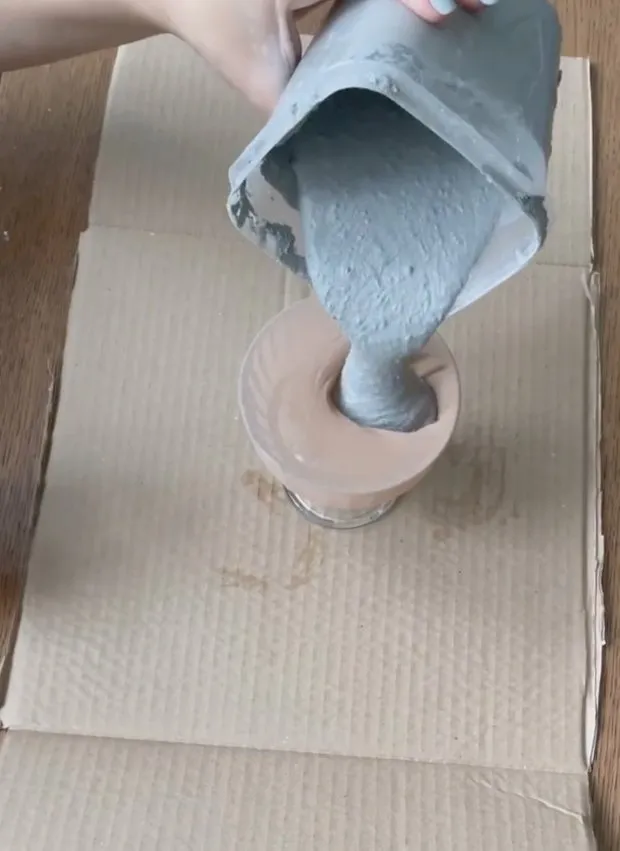
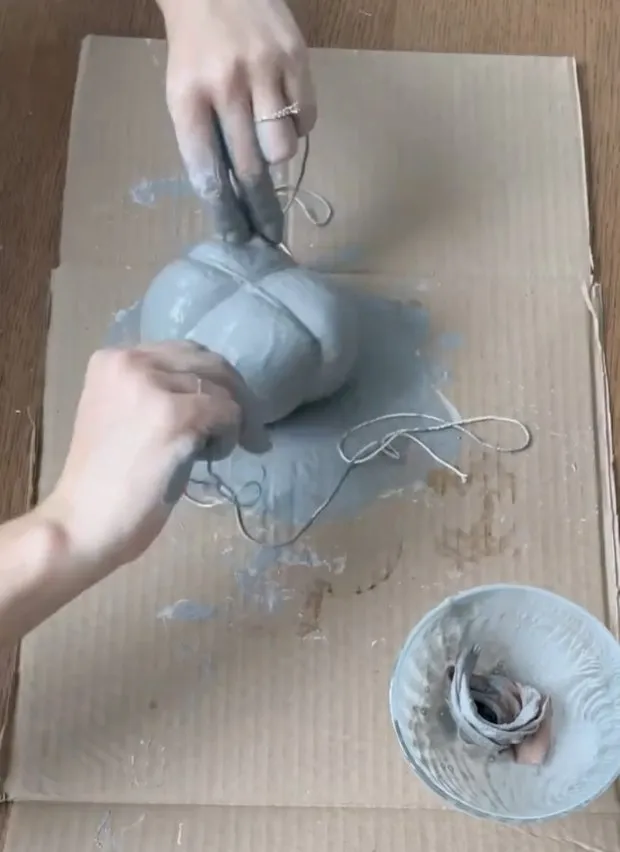 To create a depression for the candle holder, gently press a glass or cup onto the top after tying. When rotband is just beginning to harden, it remains very malleable and easy to shape into a pumpkin form. Alternatively, place a disposable glass inside the pumpkin before tying.
Step 2:
Once the pumpkins have dried, remove the outer layer. Optionally sand any rough edges with sandpaper. Then begin painting.
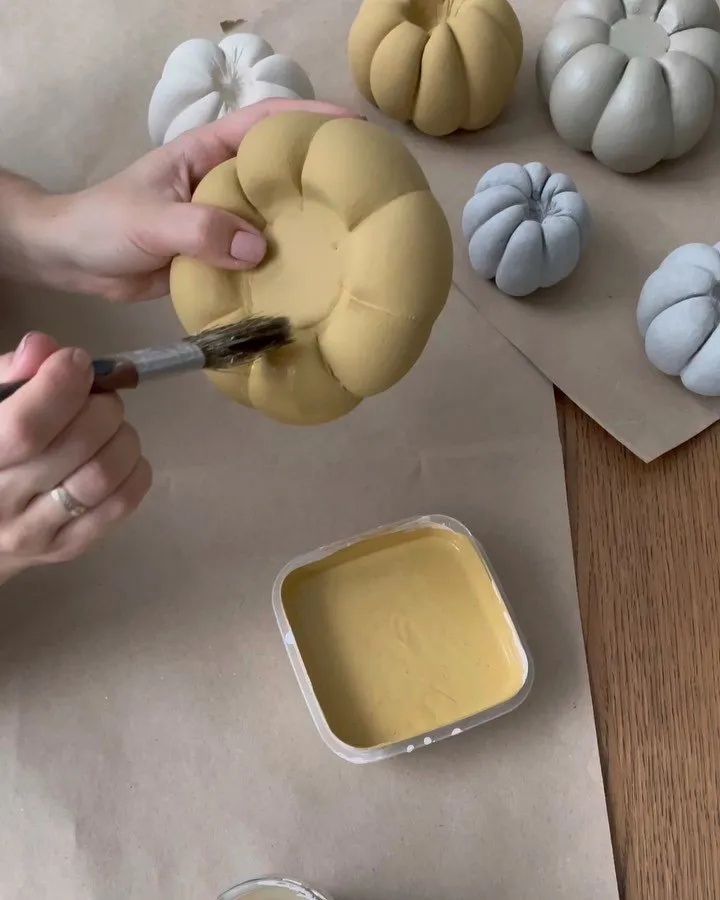
Tails can be made in any way: from jute rope, rolled from parchment paper, dried real pumpkin or zucchini tails. You can also sculpt them from self-hardening clay and then paint.
 Step 3:
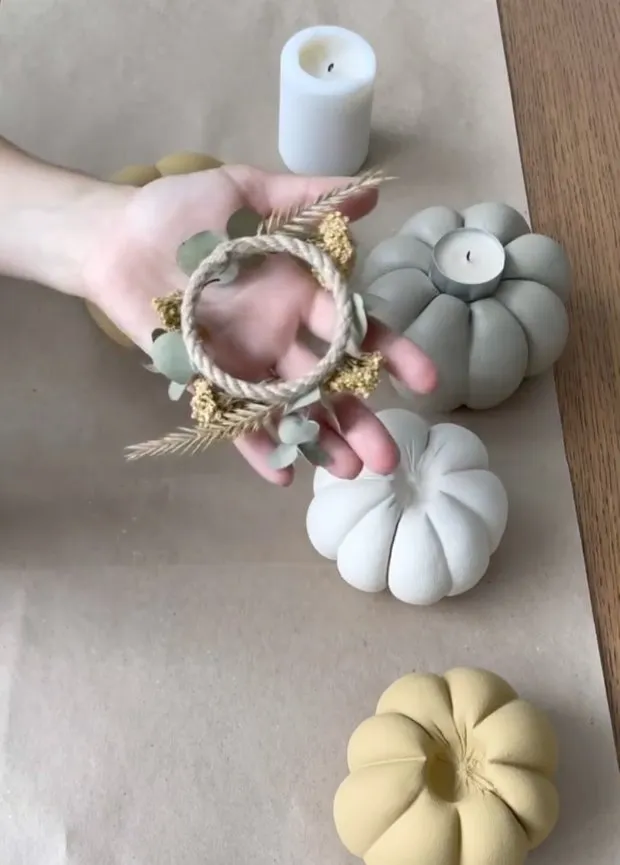
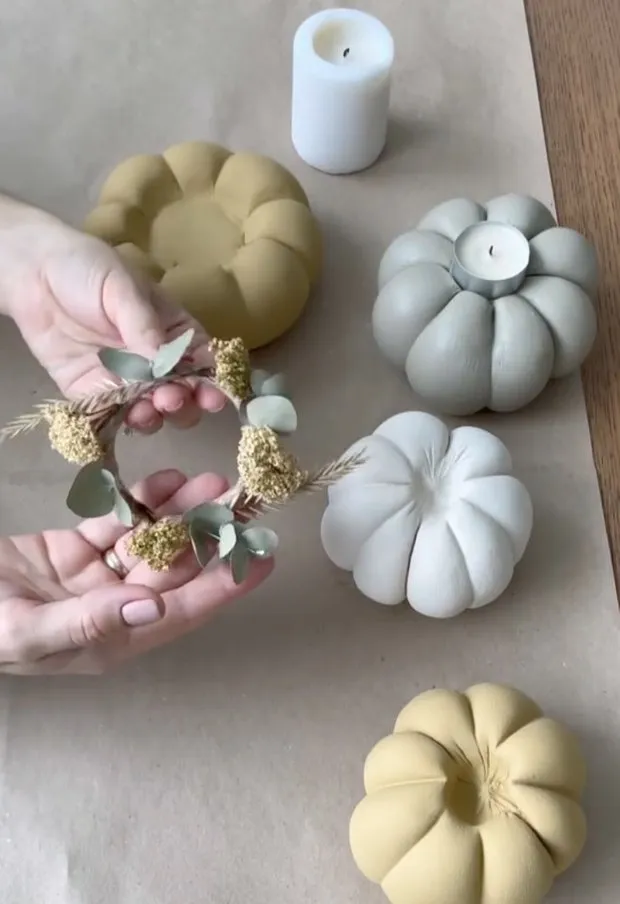
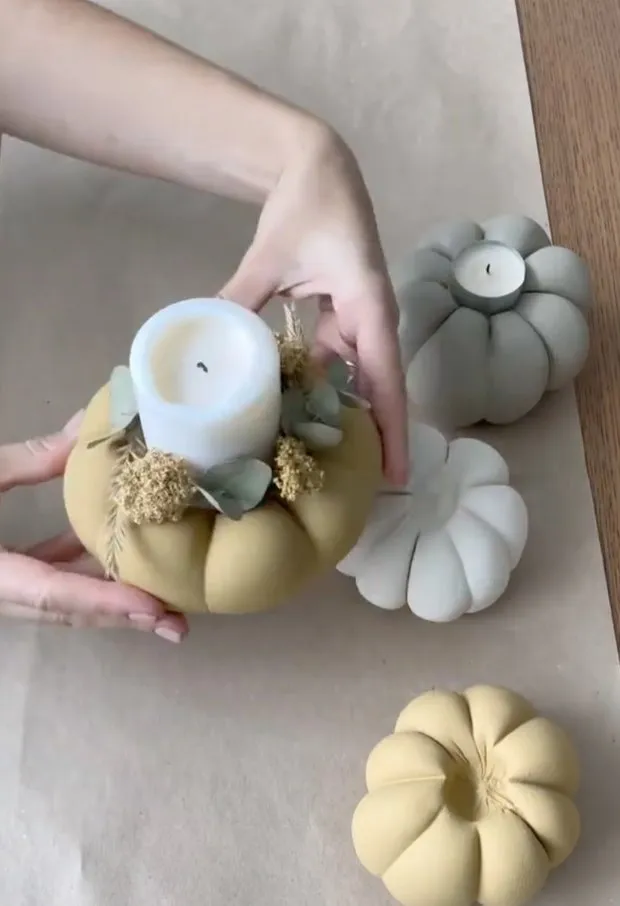
Mini wreath: Make a ring from jute rope, glue the ends together, and then attach any dried flowers on top.
You can also make larger pumpkins, shaped like planters, and decorate your front porch or garden with them.
 All materials provided by Olga Zhdanova (@jdanova_at_home)