3 Cool DIY Ideas We Spotted on an American Blogger
We share how to make a work desk, bathroom organizer, and curtain rod yourself
The blogger Paper & Stitch Britney Melhof constantly decorates her home and comes up with new things that can be made by hand. We're sharing our finds with you.
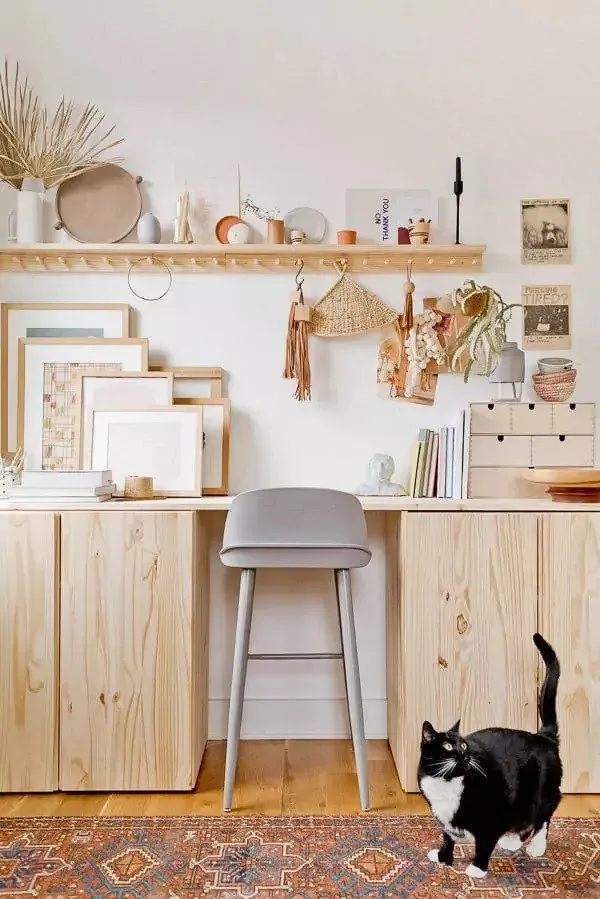
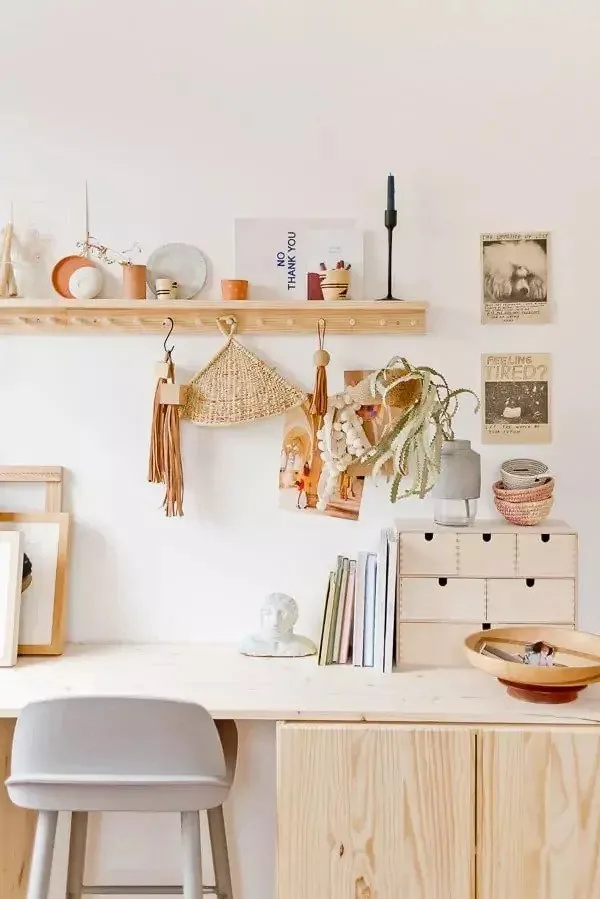
Work Desk from IKEA IVAR Cabinets
You can combine a convenient worktop and necessary storage systems — if you use suitable IKEA IVAR cabinets as the base.
 You will need:
- 2 IKEA IVAR cabinets;
- a wooden panel or a pre-made kitchen countertop of the required length;
- an assembly tool kit for the cabinet;
- a drill and screws.
What to do:
- Assemble the IVAR cabinets according to the instructions.
- Place the assembled cabinets along the wall and determine the necessary space between them for a chair and legroom. Measure the distance from one cabinet edge to another.
- Measure the countertop and adjust its length if necessary. If you calculate the required dimensions in advance, you can cut the wooden panel at the store when purchasing.
- Secure the countertop to the cabinets using screws.
- Finish the desk with varnish or paint if desired.
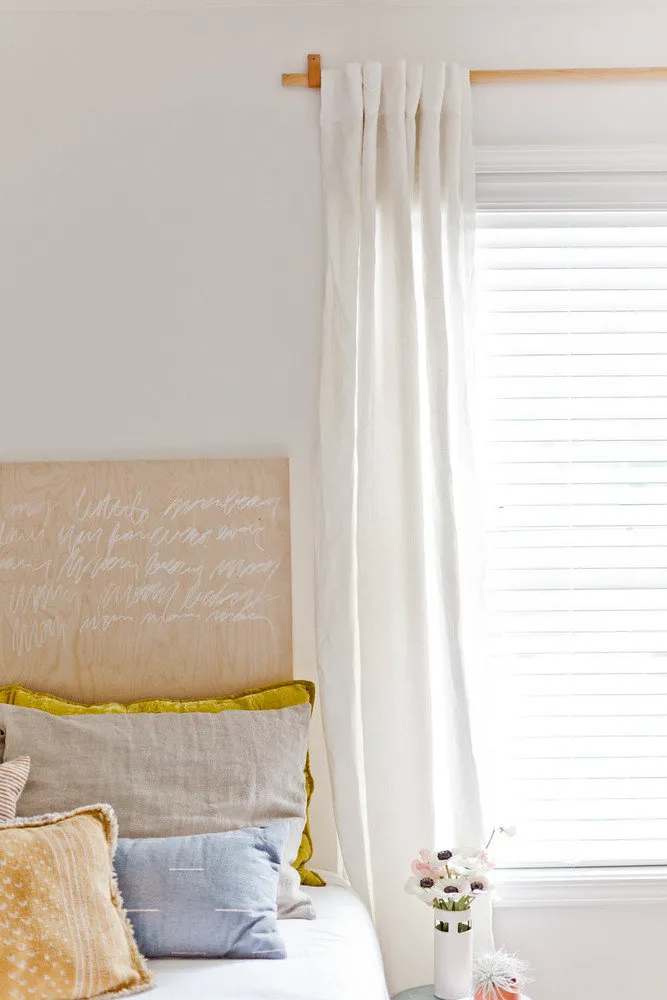
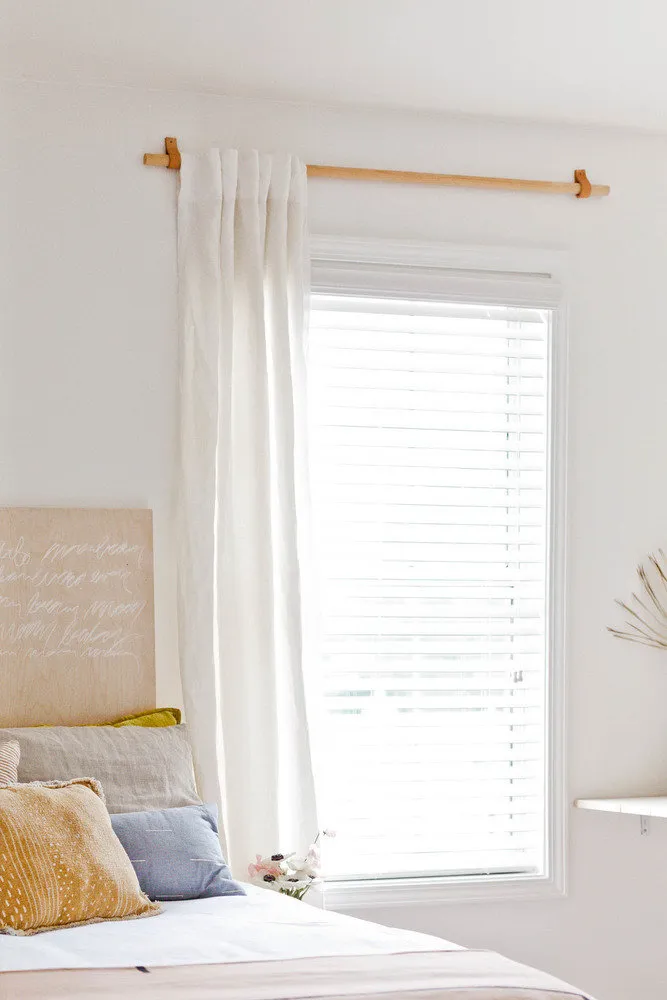
 Curtain Rod Made by Hand
We got inspired by Britney to make a curtain rod for a narrow window by hand. It will take just a few minutes.
 You will need:
- a wooden rod;
- 2 handles for OSTERNES cabinet or two narrow pieces of leather;
- a builder's level;
- a hammer and nails.
What to do:
- Check that the rod's length is a few centimeters longer than the window on both sides.
- Use the builder's level to mark where the leather holders for the rod should be placed.
- Secure the holders, thread the rod through them — the curtain rod is ready.
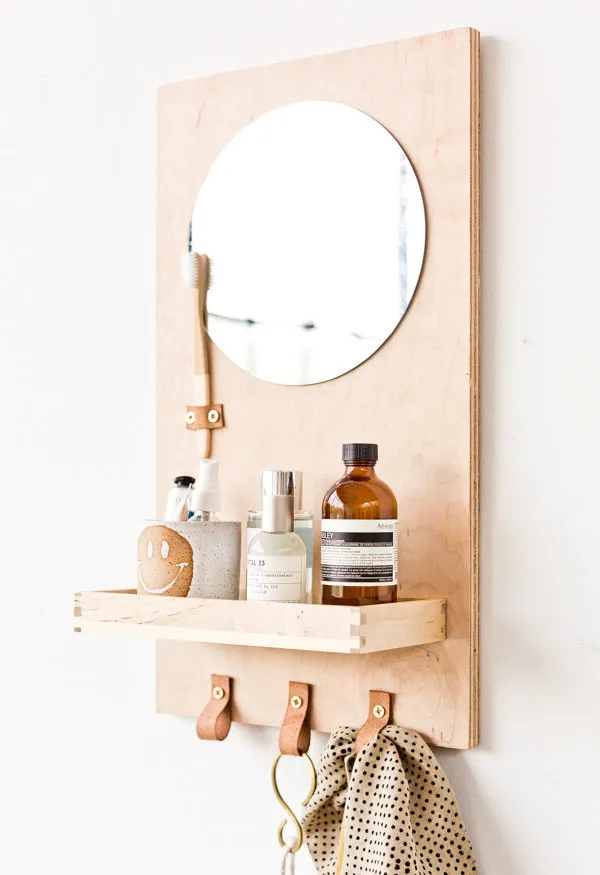
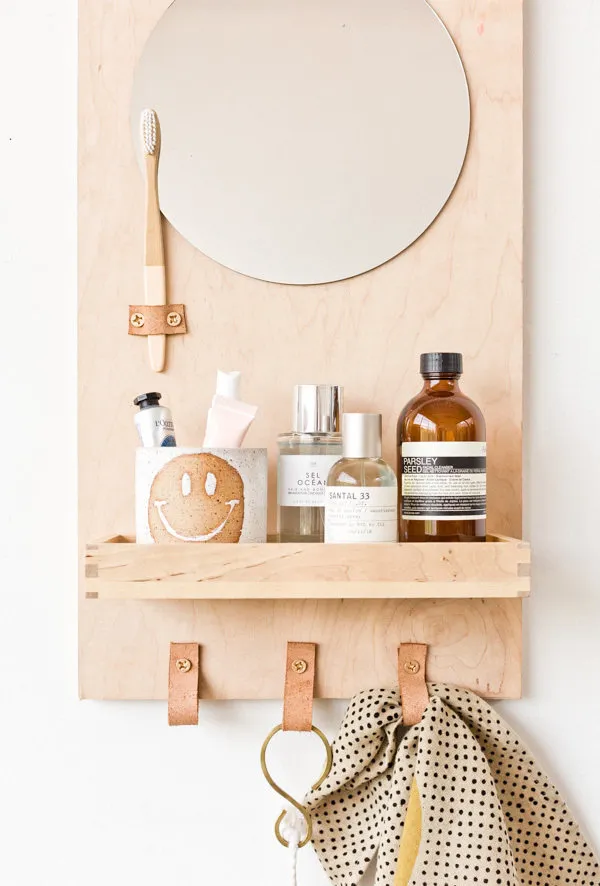
 Bathroom Organizer
This organizer is useful for placing small towels and cosmetic bottles.
 You will need:
- a sheet of plywood;
- a small wooden tray;
- a small round mirror;
- narrow strips of leather;
- a glue gun;
- a drill and screws;
- a ruler and pencil for marking.
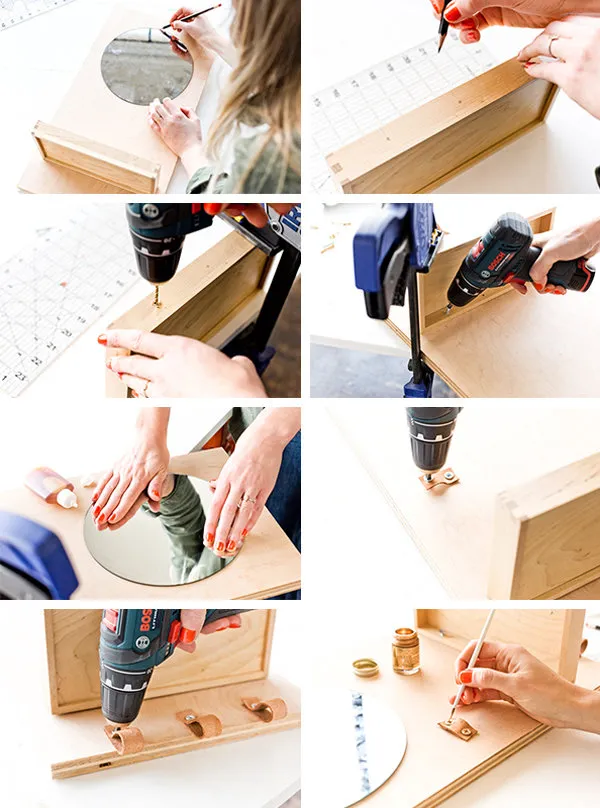
What to do:
- Determine the size of the base from plywood.
- Place the tray, mirror, and hooks on the base. Mark the attachment points with a pencil.
- Start with the tray and secure it to the base with screws.
- Then make holes for all planned hooks.
- Glue the mirror to the plywood using a glue gun.
- Attach the hooks to the base.
Need a renovation specialist?
Find verified professionals for any repair or construction job. Post your request and get offers from local experts.
You may also like
More articles:
 10 Cool Finds from IKEA Under 1000 Rubles
 Colors That Haven't Had Time to Get Old: Example from Sweden
 This Cottage Is Almost Russian, But It's Swedish. What's the Difference?
 Kitchen in Panel House: 6 Examples from Projects
 Refurbishing an Old IKEA Table: Step-by-Step Guide
 What Does the Perfect Apartment for a Large Family Look Like?
 Luxury Apartments with Minimalist Design
 Guide: 3 Small but Very Comfortable Apartments