With this guide, you can easily do bathroom renovation yourself
Doing a quick bathroom renovation yourself can cause many problems in the future. Together with Timur Abdrahmanov, we explain how to do it without professional help and not regret it.
Timur Abdrahmanov — EXPERT, founder and general director of the design renovation service Tim & Team, design studio 'Studio 3.14'
Preparation for renovation is important
Decide on the door opening. If you plan to keep the doors, they must be removed along with the frame to avoid damage. Then remove old coatings from all surfaces: wallpapers, paint, tiles, panels. Perform demolition of plumbing and other equipment. Remove old electrical wiring.
At this stage, check all surfaces for defects: walls, ceiling, floor and door frame. Also inspect the plumbing fixtures. Once all issues are addressed, proceed to an approximate assessment of the actual scope of work.
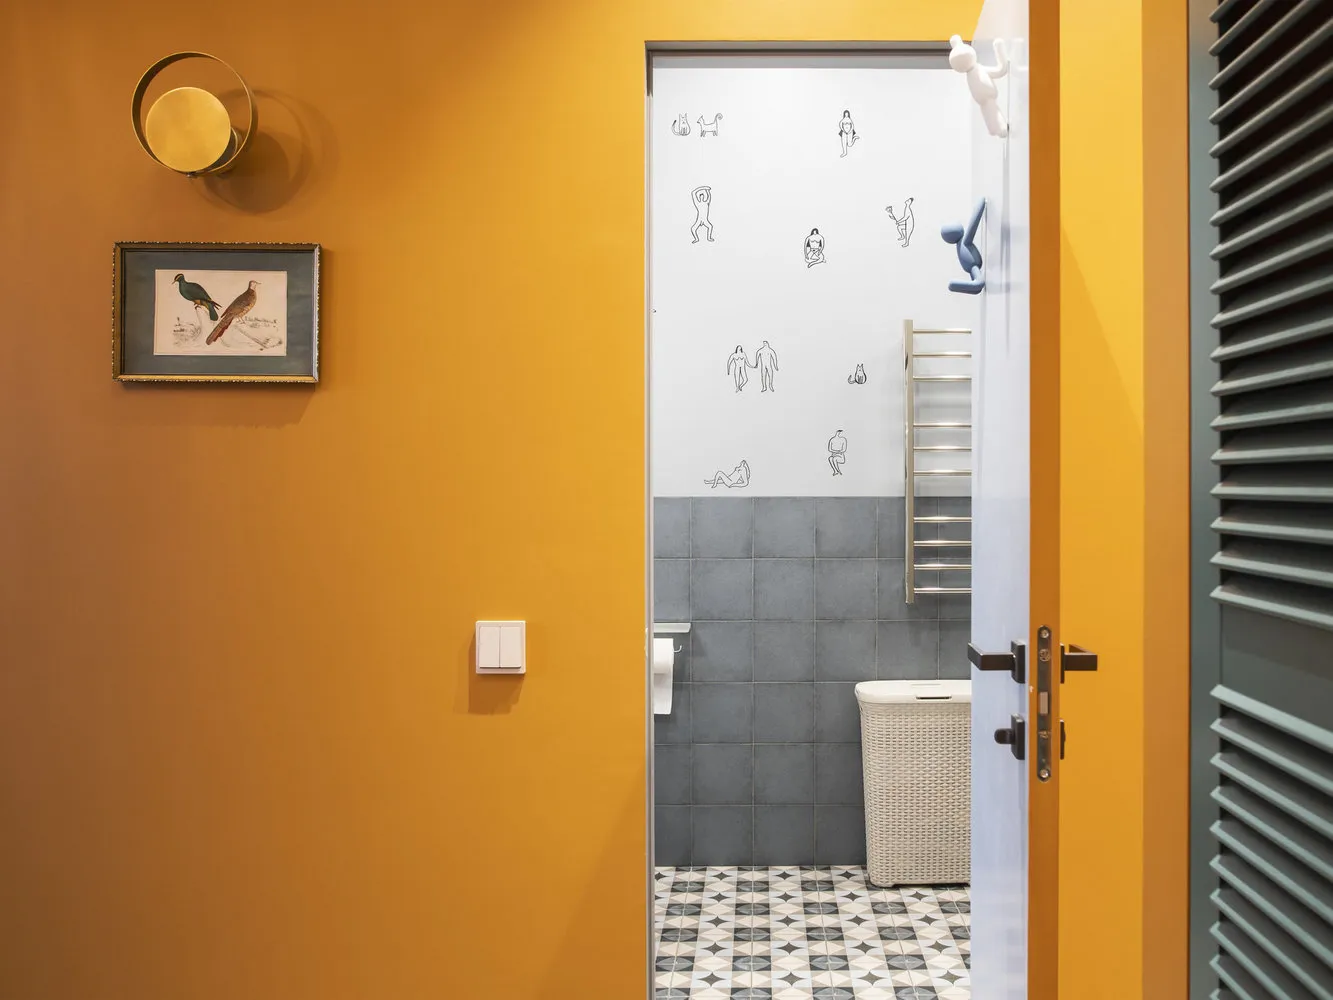
Design: Stone Arch
Tips: How to remove paint
Determine its type: regular or water-emulsion. With the first type, it's simple. Thoroughly moisten the required surface with warm water. Once regular paint swells, start removing it with a spatula down to the plaster. Be careful with sharp edges of the spatula to avoid damaging the plastered surface. Also, important note: do not let paint dry — keep moistening it.
Water-emulsion paint that can be removed with a sander is better taken off immediately. It's dusty but fast work. Cover the door opening with plastic and use a splitter with safety glasses. If such an option is unavailable, use the tried-and-true method with newspapers. Attach one layer of newspaper to painted walls. Use PVA or wallpaper adhesive. After drying, peel off the newspapers from the wall with a spatula. They will come off together with the paint layer.
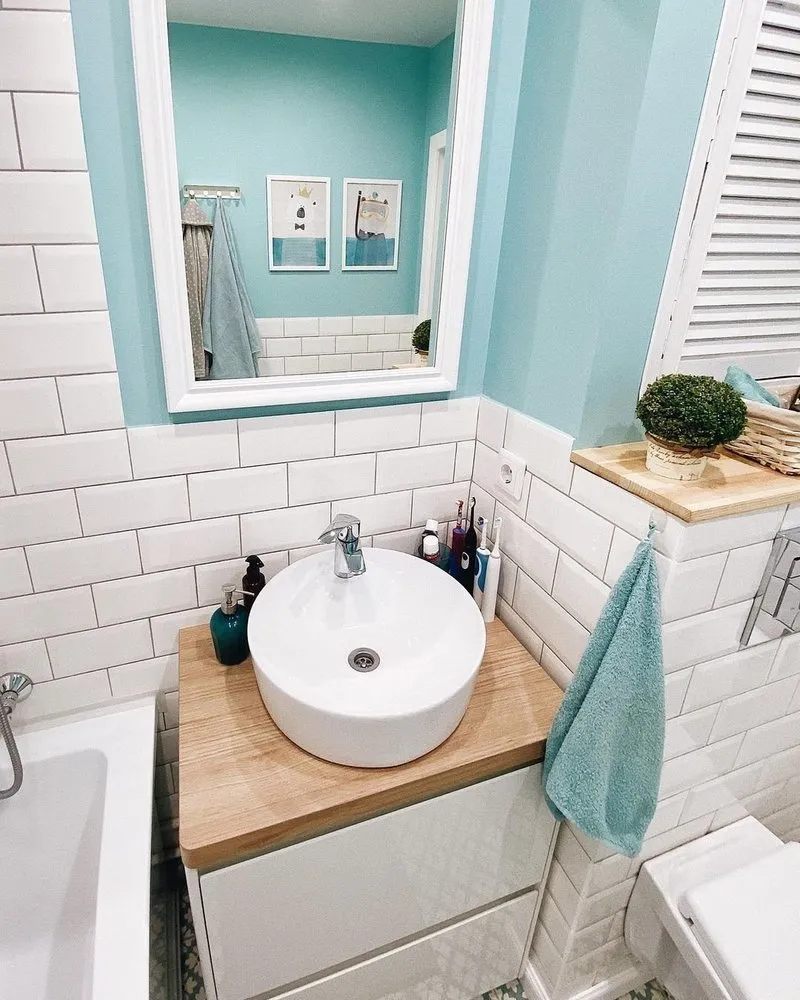
Design: Natalia Panferova
Leveling surfaces
Floor
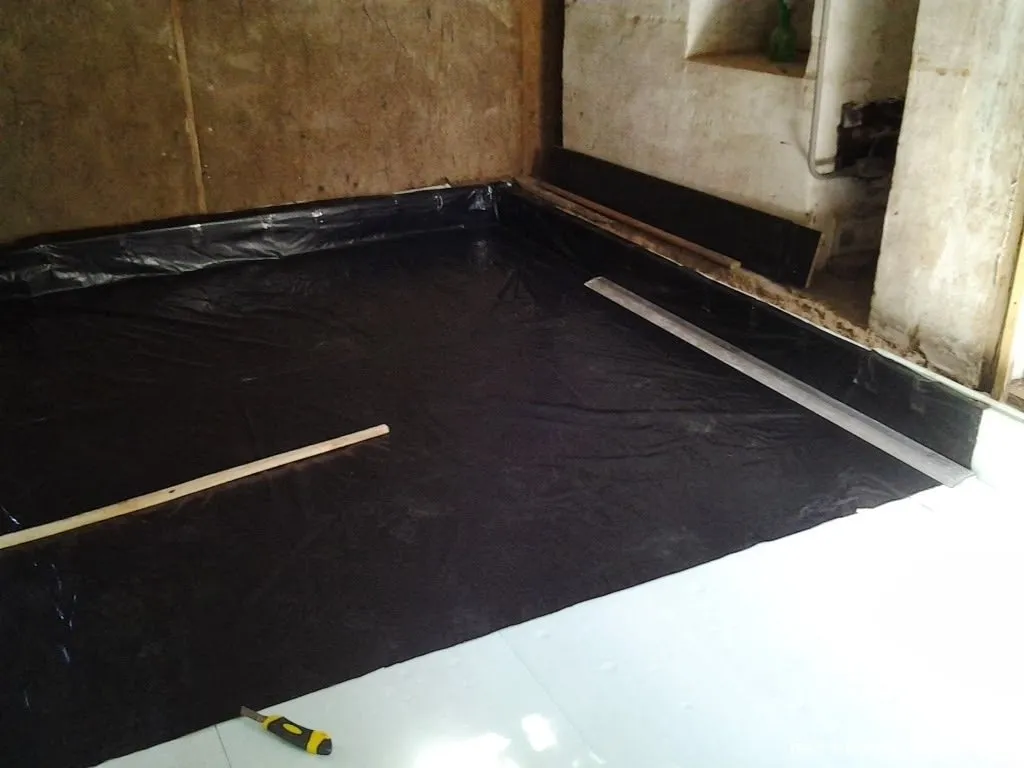
Old flooring must be removed along with all inner layers. Then apply waterproofing with special mastics or rolled materials and level with dry mixes. Remember that plaster mixes must be based on cement. In conditions of high humidity, they retain their properties longer.
Lowering the floor level in a bathroom is not worth it. Modern safety systems prevent leaks by automatically shutting off water supply when needed. Also, bathrooms can be fitted with doors having a sealed bottom seam.

Walls
Wall surfaces must be perfectly leveled in all directions. For accuracy, check with a plumb line or ruler. Otherwise, there's a risk that the shower cabin or bathtub won't fit in the corner or tile joints will shift. After the spackle dries, treat walls with universal primer.
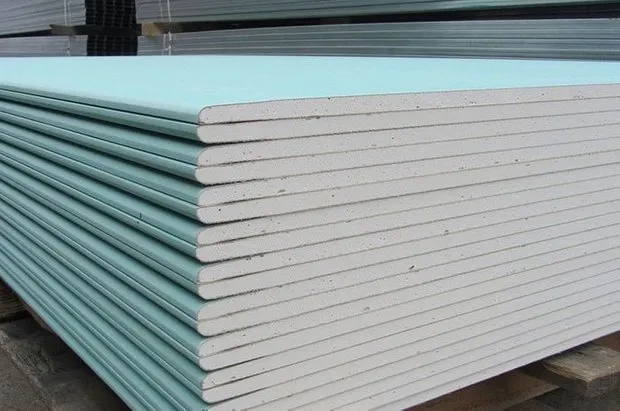
If space allows in the bathroom, you can level using moisture-resistant green gypsum board. Just don't forget to fully treat it with waterproofing compounds and water-resistant primer.
Pros: material is easy to mount to aluminum profiles even for beginners. Surface becomes perfectly flat.
Cons: material reduces room area by 4 cm from each wall. Not recommended for small bathrooms.
Tip: How to ensure bathroom tightness
Waterproofing must be laid on the floor overlapping the wall edge by 5–10 cm. The resulting 'bowl' shape made of special material will prevent water spread in case of an accident.
It's advisable to choose plumbing fixtures, furniture and mirrors for the bathroom in advance.
On the cover: design project by Stone Arch
Need a renovation specialist?
Find verified professionals for any repair or construction job. Post your request and get offers from local experts.
You may also like
More articles:
 Swedish Ideas for Your Garden That Are Easy to Replicate
 Shop Before Summer Ends: IKEA Summer Sales
 What to Plant in July on the Dacha: Experts Share Their Tips
 9 Cool Ideas Inspired by a Sunny Studio Apartment
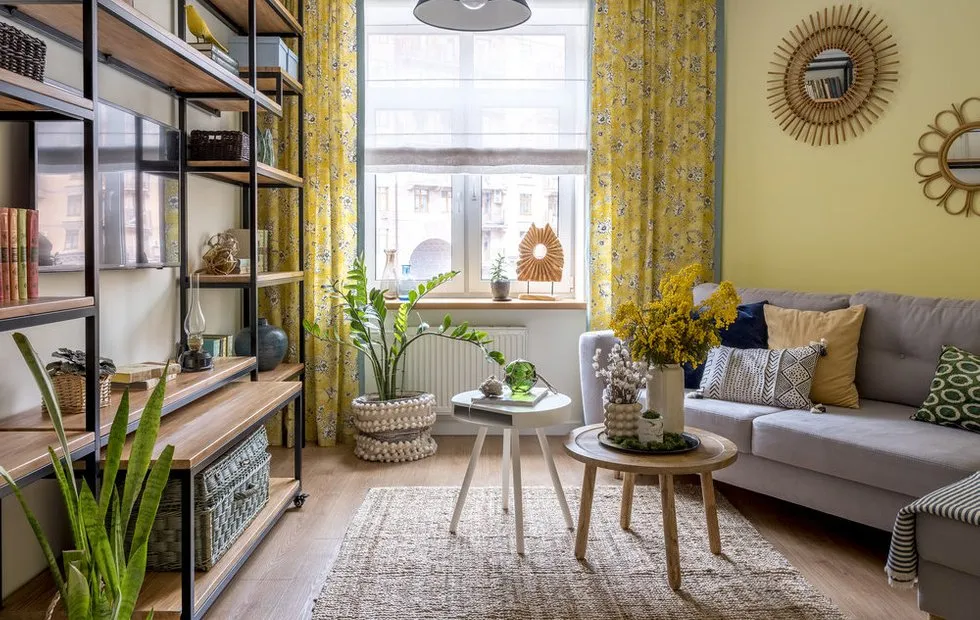 7 Classy Apartments Where Summer Reigns All Year Round
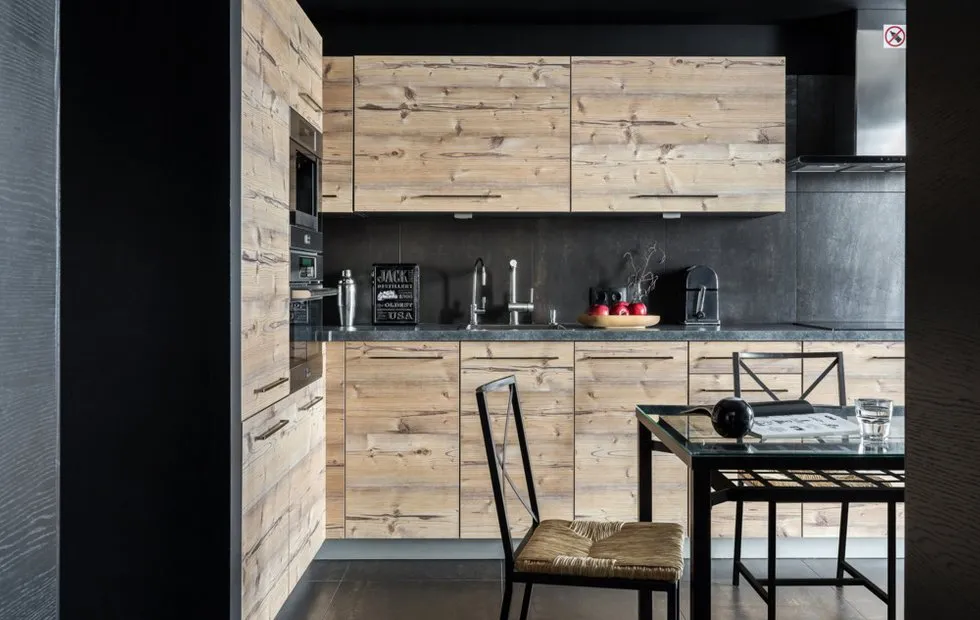 Reconfiguration of a Studio Apartment with a Bedroom in the niche: how it was
 House with practical layout that you will love
 Apartment with sauna: example from Sweden