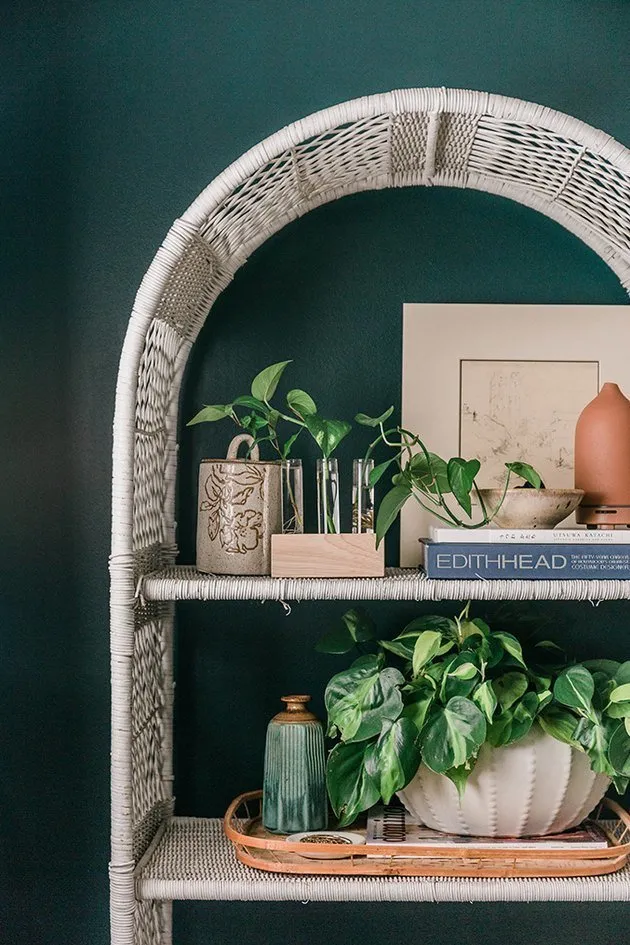
DIY Hack: How to Make a Stylish Plant Stand
A great idea to expand your home greenhouse and do it as budget-friendly as possible
The easiest way to increase the number of indoor plants without extra costs is vegetative propagation (cutting). Besides, summer is the most suitable time for this.
If you're put off by pots with sprouts arranged on windowsills, we'll show how to make a stylish stand for them yourself. We also share useful tips on growing them.
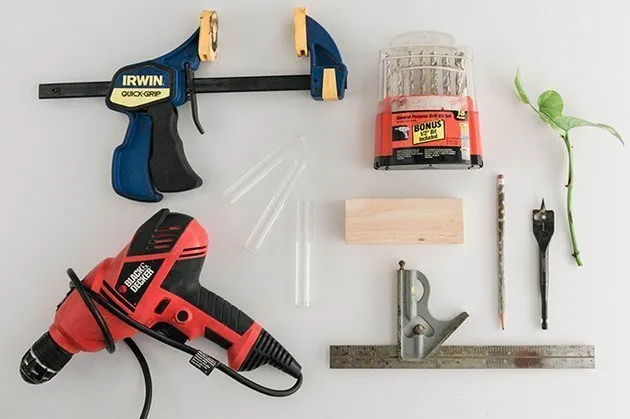
You will need:
- glass test tubes;
- wooden blocks (about 5 cm thick and 10 cm long);
- ruler;
- electric drill;
- 1 thin and 1 blade drill bit of 25 mm;
- manual clamp for woodworking;
- medium-grit sandpaper;
- waterproof acrylic lacquer;
- plant cuttings.
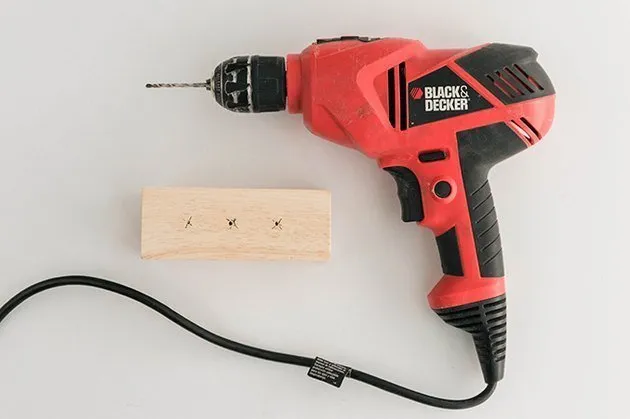
Mark three points in the center of the upper part of the wooden block using a pencil and ruler. The distances between them should be equal, and the margins from the edges should be 2–2.5 cm.
Secure the block tightly to the working surface using a clamp. Then drill three holes with the thin drill bit at the previously marked points.
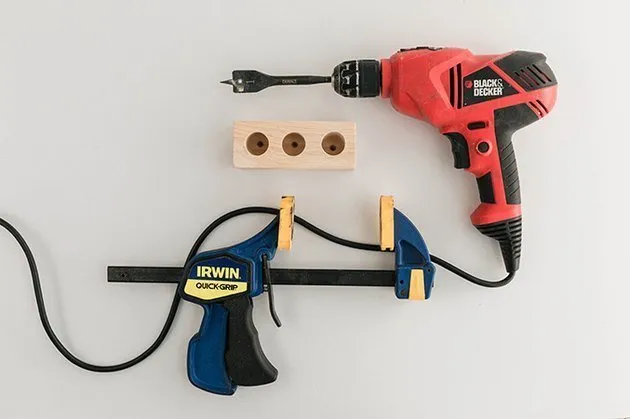
Replace the thin drill bit with a blade one and make recesses about 4 cm deep.
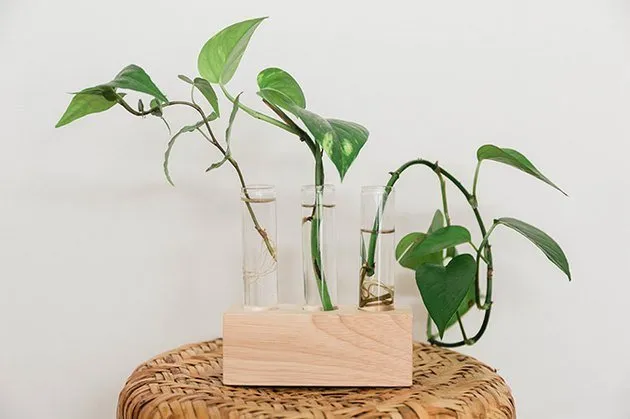
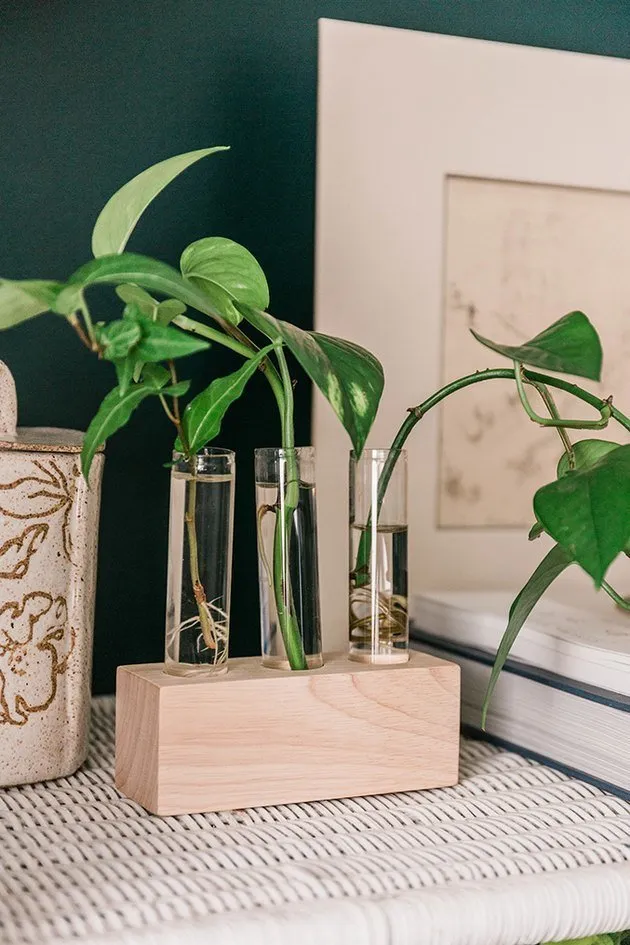
After sanding the wooden block with sandpaper, coat it with waterproof acrylic lacquer. Now you just need to place the glass flasks into the holes — and your stylish plant propagation stand is ready!
Plant Growing Tips:
Cuttings of good quality are obtained from lateral branches that do not grow too actively.
Trim the cutting with scissors or a craft knife.
Make the cut right under the node (thickened area on the stem where a leaf grows).
Take cuttings no longer than 10–15 cm.
Remove the lower leaves from the branch and cut off the top to help it root rather than grow upwards.
Cuttings should receive not very bright and indirect light — this promotes maximum root growth.
Regularly refill the water in flasks if the level drops below the plant nodes. Cuttings can be transplanted into soil in 4–8 weeks.
Plant the ready propagated cuttings into fresh garden soil and follow watering guidelines for each specific plant.
Source: Hanker
Need a renovation specialist?
Find verified professionals for any repair or construction job. Post your request and get offers from local experts.
You may also like
More articles:
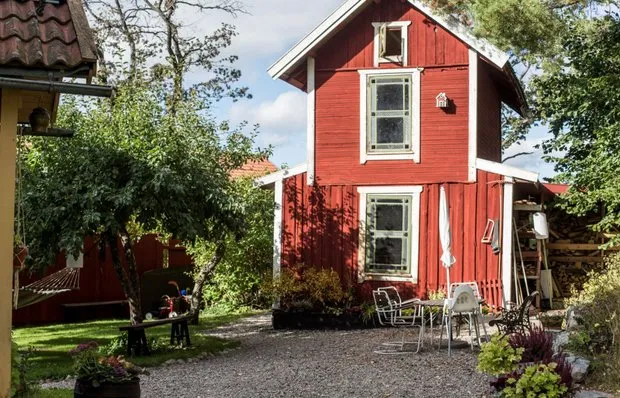 Swedish Cottage with Interior That's Easy to Replicate
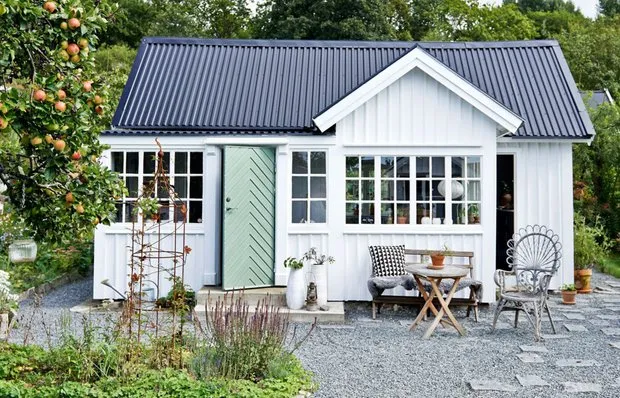 Home and Cottage: What to Do During May Holidays?
 Studio Redesign with Large Kitchen and Bedroom
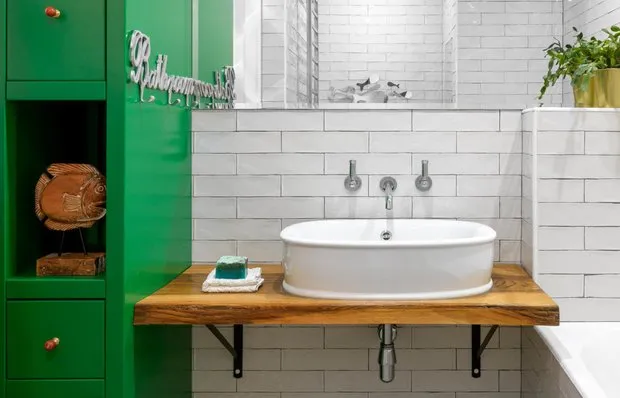 How to Save Money on Bathroom Renovation: 9 Tips
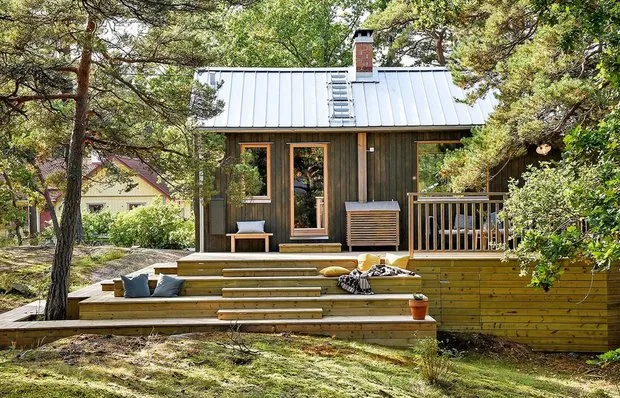 6 Small and Cozy Country House Kits
 10 Things from IKEA's Summer Collection You'll Love
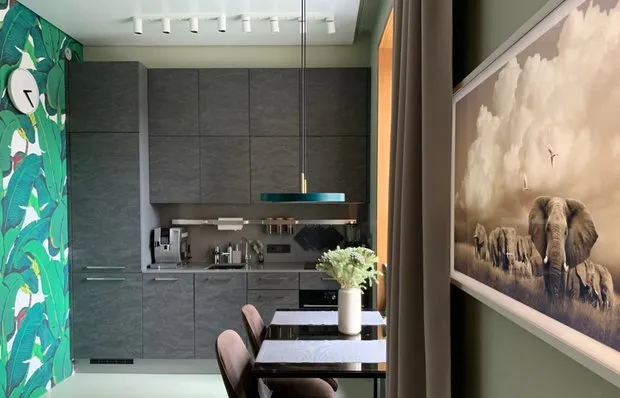 13 Cool Ideas for a Small Studio
 How to Grow Seedlings: Personal Experience + Instruction