Repurposing an Old IKEA Table: Step-by-Step Guide
We got this interesting idea from Trisha Spraus on the Hunker website. If you support mindful consumption, don't rush to throw away old items. They can always be refreshed!
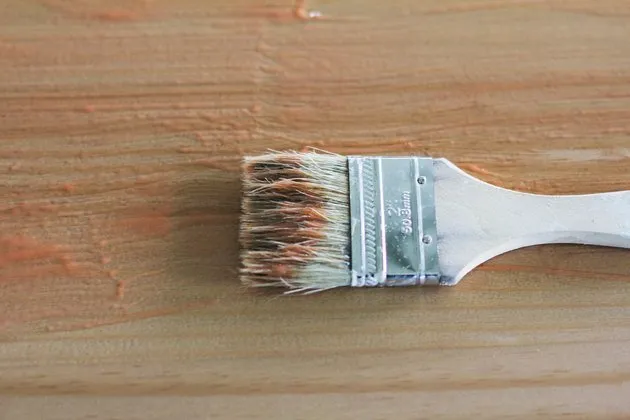
 What You'll Need:
- IKEA ALCERSTORP Table;
- Protective film;
- Rubber gloves and safety goggles;
- Clear lacquer;
- Brush and spatula;
- Steel wool or sponges;
- Solvent and degreaser;
- Clean cloth and paper towels;
- Wire brush;
- Sandpaper or sanding machine;
- Stain;
- Wood shellac;
- Wood wax.
 Starting the Work
Select a room where you'll be comfortable working — it should ventilate well. Lay down protective film on the floor to shield it from stains. Then put on goggles and gloves.
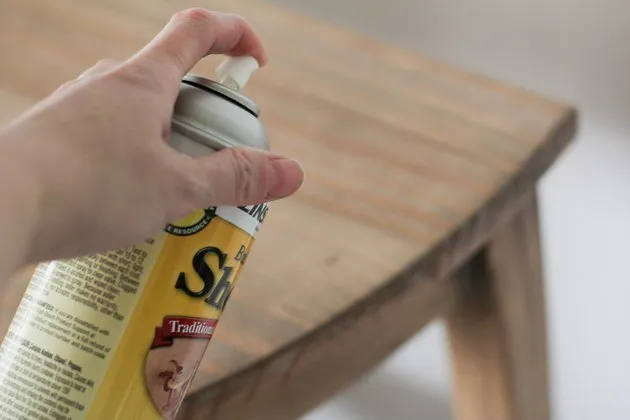
To remove paint, you can use special products — it's convenient when they can be applied with a sprayer. Follow the instructions on the packaging (for better results, wait some time).
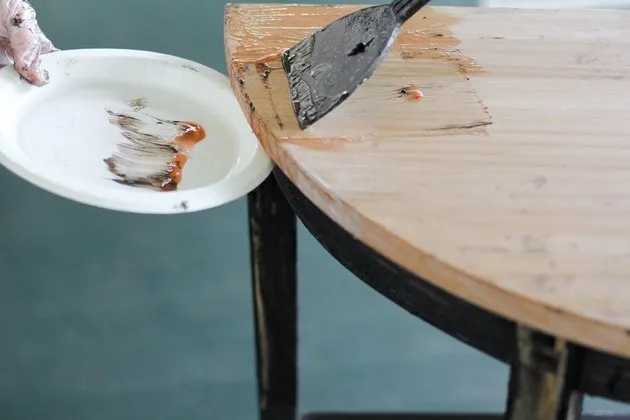
 Removing Old Paint from the Tabletop
Use a spatula and carefully scrape off the paint, trying not to damage the surface. For convenience, hold a paper plate or piece of cardboard.
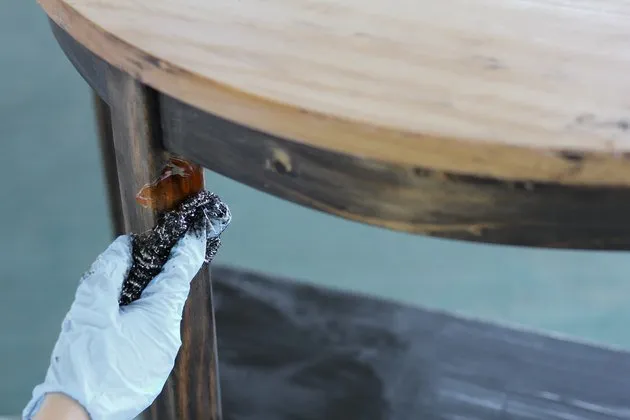
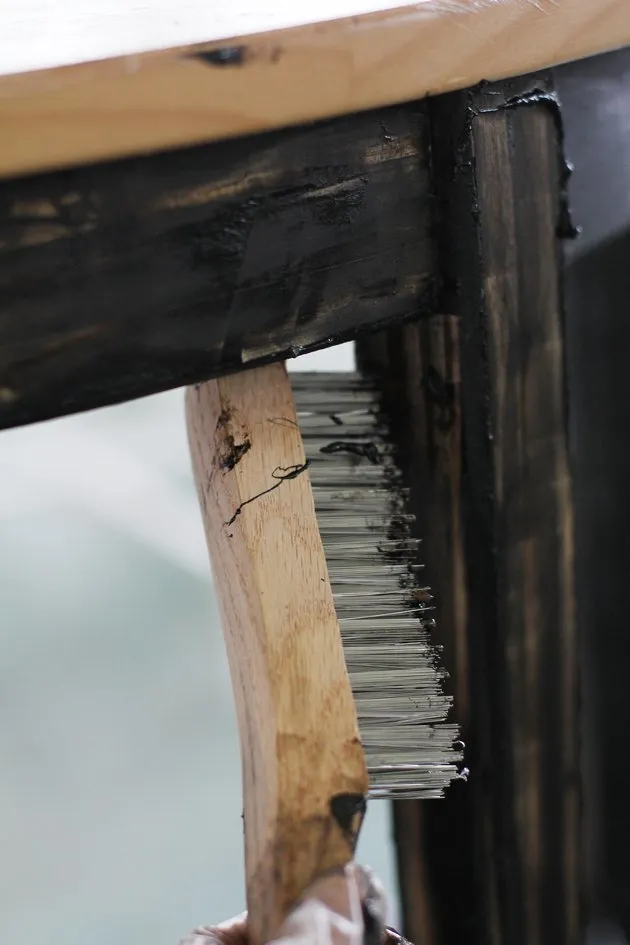
 Now, the Legs
Apply the product to the desired area and go over it with steel wool. You can also alternate between solvent and degreaser to prevent the surface from becoming sticky.
For hard-to-reach spots, use a wire brush. Then go over the entire surface once more with degreaser and dry it thoroughly.
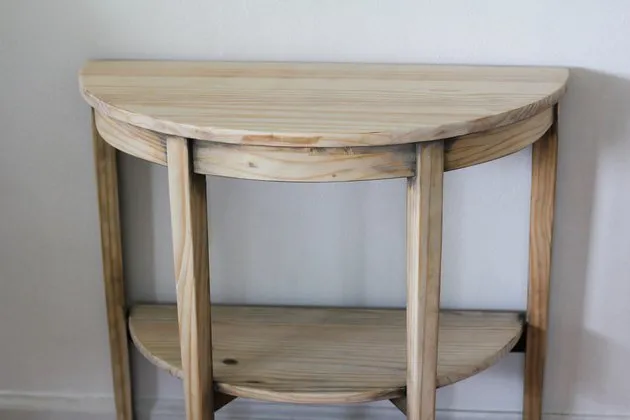
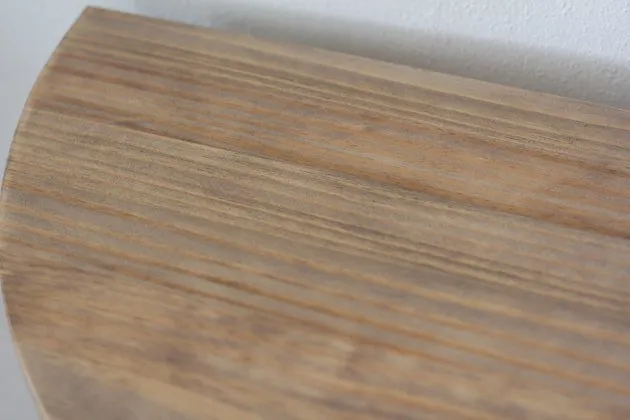
 Sanding the Surface
To save time and effort, use a special sanding machine. But don't despair if you don’t have one — the same can be done with regular sandpaper.

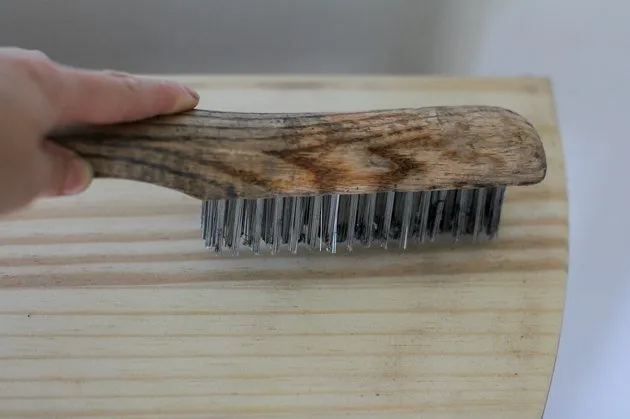
 Aging the Wood
If you want to achieve a natural look, vigorously go over the entire table surface with a wire brush.
 Applying the Stain
Shake the container well before use, then apply a small amount of stain to the surface using a brush.
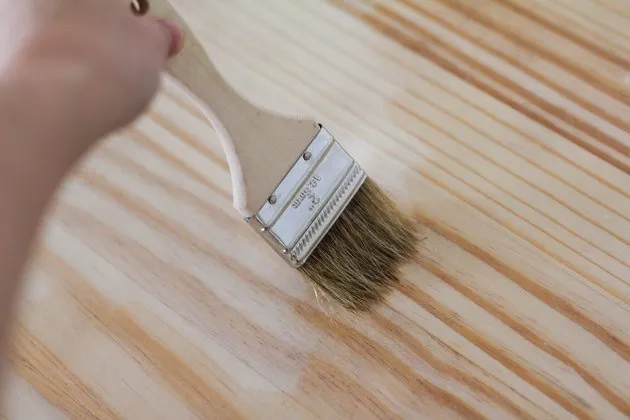
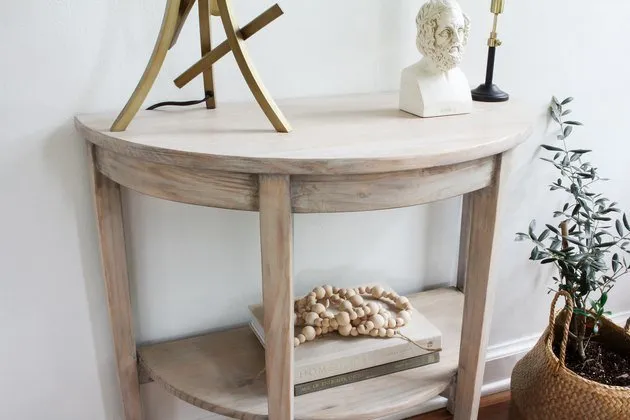
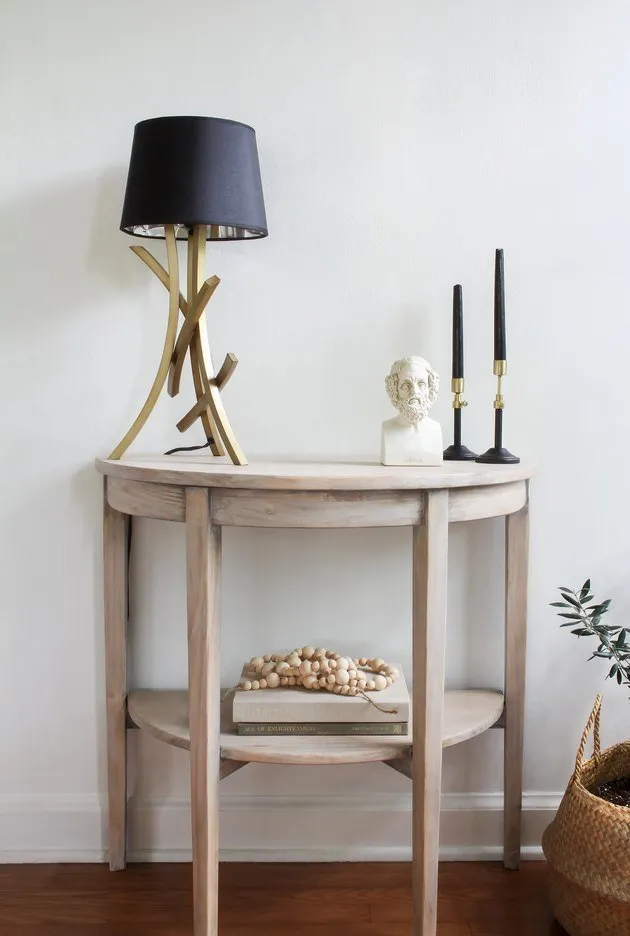
If you want a cooler tone (like in the photo below), choose stain with a gray undertone. Let the surface dry for several hours.
 Applying Shellac
It will act as a barrier between the stain and wax and help achieve the exact color you want. Unlike stain, shellac dries quickly — in just a couple of minutes, you can continue.
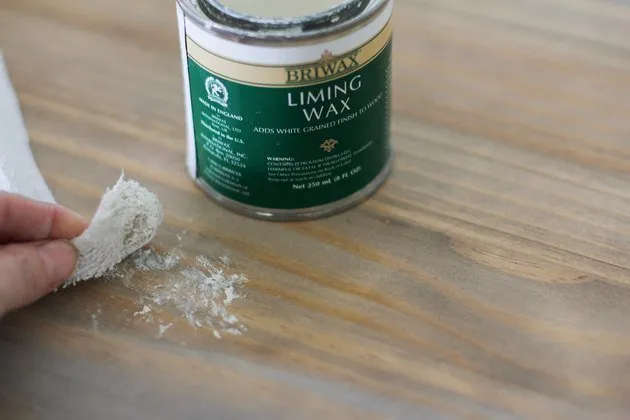
 Applying Wax
For this table, lime wax was used. Go over the entire surface and remove excess. It's thanks to the wax that you’ll achieve a white-washed wood effect.
If desired, you can mix the wax with degreaser to make it more transparent.
 And Clear Lacquer
The final touch, and the table is ready!
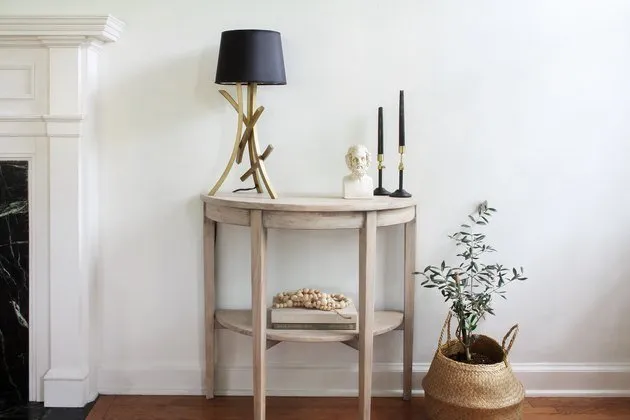
And another great renovation you'll love
Transforming a boring IKEA dresser in just a few hours.
Need a renovation specialist?
Find verified professionals for any repair or construction job. Post your request and get offers from local experts.
You may also like
More articles:
 Tips for Those Who Love Guests but Live in a Small Apartment
 Kitchen of the Future: What to Expect and What's Available Today
 Shop Before It's Too Late: Christmas Decor in IKEA
 9 Cool Interior Design Hacks for Your Home
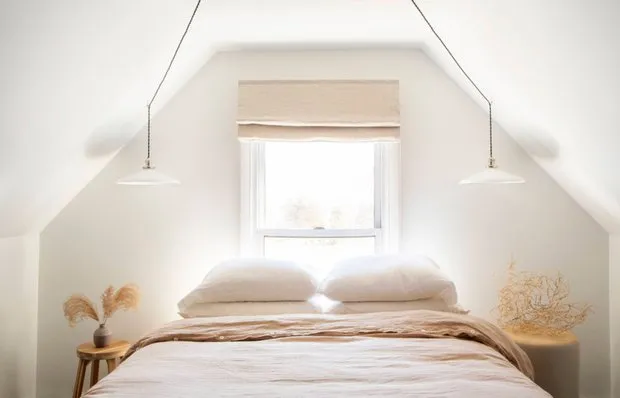 Before and After: Renovating an Old Bedroom in the Attic
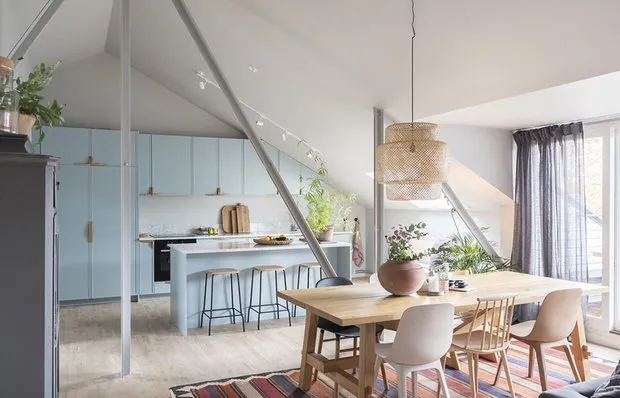 Fairy Tale Apartment on a Roof in Sweden
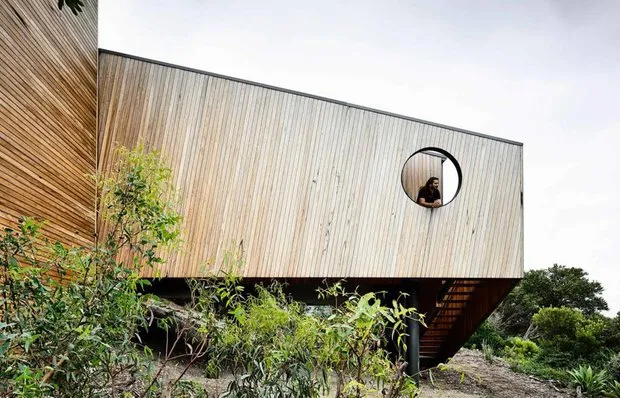 House Made of Eco-Friendly Materials on the Australian Coast
 Studio Relocation for a Young Woman: 3 Variants