There can be your advertisement
300x150
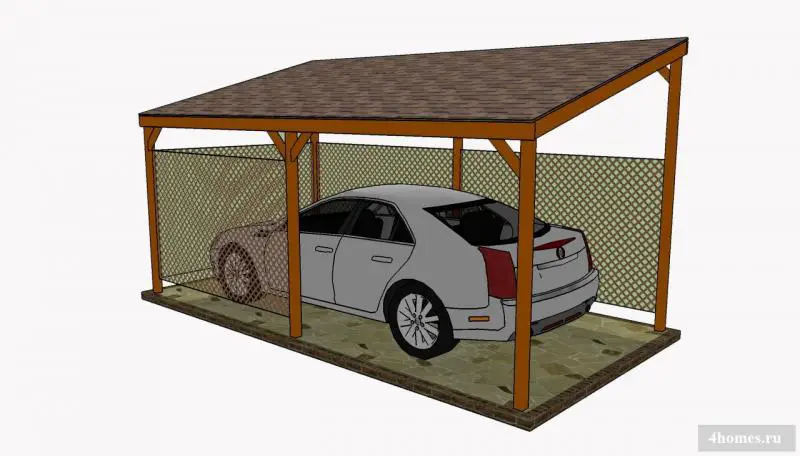
Single-slope roof DIY guide
Single-slope roofs are highly popular in regions where local conditions lead to a shortage of timber, lumber, or strong winds. The lack of quality building timber and Atlantic storms made the single-slope roof the most common solution in Northern Europe, Scandinavia, and Iceland. Practical Northerners calculated the volume of wood saved by switching from two- or four-slope roofs to single-slope ones, and decided to build most structures using this method.

Roofing step by step
Installing a single-slope roof is only slightly different from installing a two-slope one. The base is still a guide beam, or maürlat. If the top reinforcing belt of the building is poured well, it's not necessary to run the maürlat along the entire perimeter; it’s enough to place its segments under the supporting legs of the truss structure.
Between the maürlat, floor joists for the ceiling of the top floor (or attic floor) are installed. The standard spacing between joists is 0.8–1 meter. The joists are typically made from timber with a cross-section of 100x100 mm or 100x150 mm. The spacing and section size depend on the load the roof will impose, as well as the weight of any equipment installed in the attic space. If the attic will be used as a storage room or not used at all, the joist spacing can be slightly increased. However, if you plan to create a habitable attic space with regular use, the spacing should be tighter.
Vertical posts must be installed on the horizontal joists to support the rafters. When choosing the location for the posts, find the optimal balance between the width of the room under the roof and the structural reliability of rafter support. The closer the post is to the center of the rafter, the more efficiently the load from the roof will be distributed.
Rafters are attached to the end of the joist where it rests on the post. The rafter must be notched into the joist to prevent slipping under the weight of the entire roof. The rafter, post, and joist should form a right triangle. Rafters and joists should extend beyond the house wall by 0.7–1 meter, creating a roof overhang to prevent rainwater from running directly under the foundation.
To increase structural rigidity, it's recommended to connect the center of the rafter to the maürlat with a gusset plate in one or two locations. This strengthens the entire roof and improves resistance to snow and wind loads.
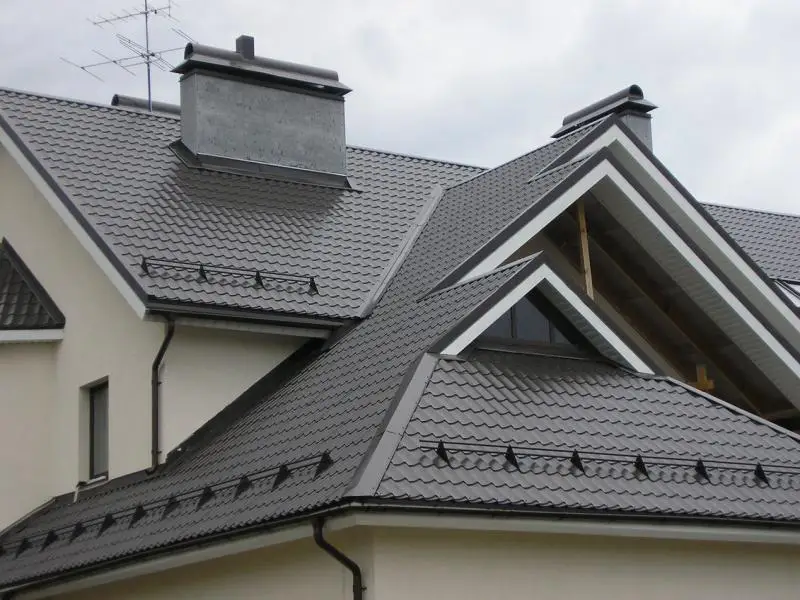
Roof covering
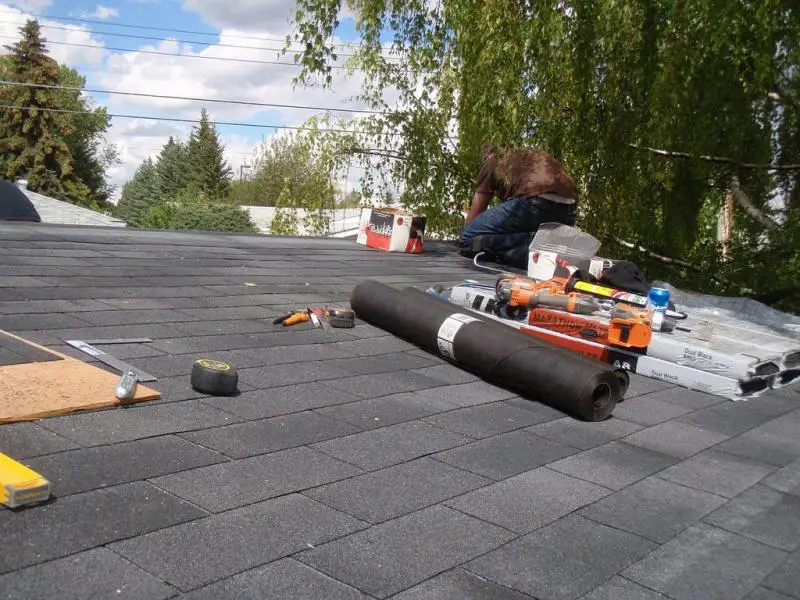
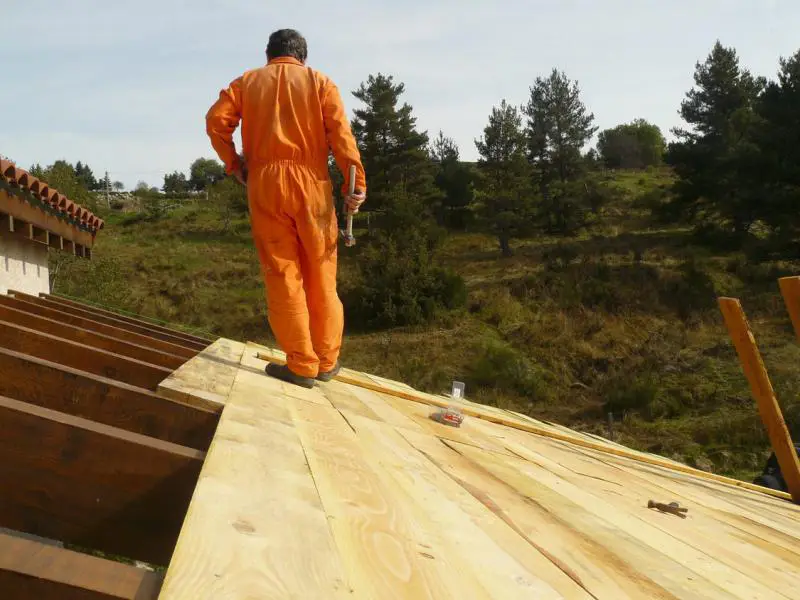
The base for attaching any roofing material is the sheathing. Depending on the type of roofing material, the sheathing can be solid (e.g., made from oriented strand board or moisture-resistant plywood) or spaced (as in the case of untrimmed boards or battens).
Solid sheathing is used for small, modular roofing materials attached independently to roof slopes. This includes bituminous shingles, ceramic, or polymer-sand tile roofing, among others.
Spaced sheathing is suitable for metal roofing, onduline, and other sheet-type roofing materials. The spacing of the spaced sheathing is typically 50–70 cm.
After the sheathing is installed, a vapor barrier membrane is laid with a 15 cm overlap between sheets. It can be fastened with a standard construction stapler. Insulation material (e.g., fiberglass or basalt wool) is placed between the rafters, and a vapor barrier membrane is installed beneath the rafters, also fastened with a stapler.
The vapor barrier must be installed according to the manufacturer’s recommendations. Single-slope roofs are typically oriented with the slope facing the leeward side to maximize protection from driving rain.