There can be your advertisement
300x150
How to Build a Gabled Roof
A gabled roof is rightly considered the most economical structure when compared to any other option for creating a living or functional space in a private home—be it an elevated second floor or a full attic. Although savings come at the cost of convenience, as sloped attic walls impose restrictions on furniture placement and interior finishes, and make the room's decoration quite specific.
In this article, we will cover all aspects of building a gabled roof: how, from what materials, and in what way to construct it so that it remains budget-friendly and performs its protective function for many years, shielding the structure from weather elements and completing the building’s exterior design.

Key Components of a Gabled Roof
Structurally, all roof elements can be divided into the wall plate (mauertalat), rafters, supports (posts), and horizontal beams—these form the load-bearing structure. In addition to these, roofing felt, waterproofing membrane, and insulation (if the under-roof space is heated) should also be considered.
The wall plate, also known as the bearing beam, is laid along the top perimeter of load-bearing walls and distributes the roof’s total weight evenly across the wall surface, preventing excessive point pressure. Despite its alternative name, the wall plate is not always a solid beam—it can also be made from a log or a steel I-beam, especially if the roof has a metal frame.
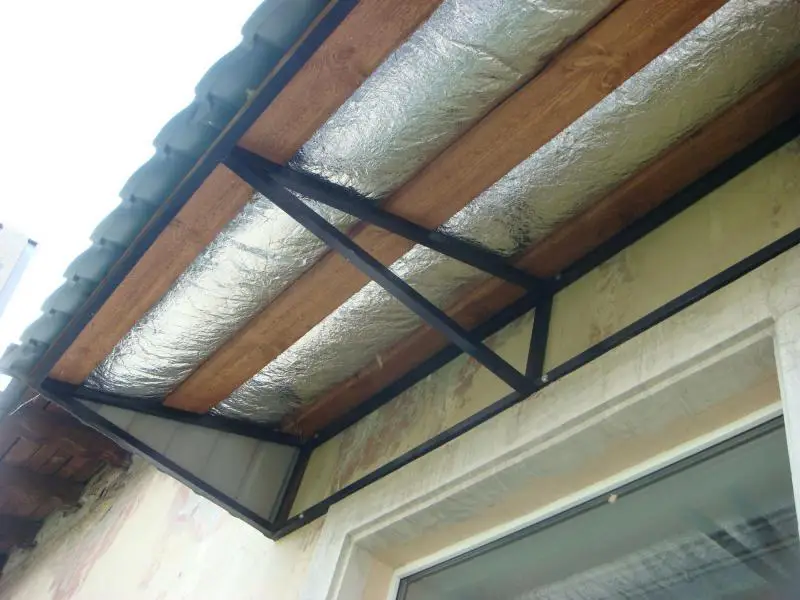
Rafters are the main structural component. They consist of inclined (load-bearing) and vertical (supporting) beams, installed on the wall plate and joined at the roof ridge. The most common type is the inclined rafter, though sliding and even hanging rafters may occasionally be used. Rafters serve as the base for attaching the sheathing and form the framework for insulation installation.
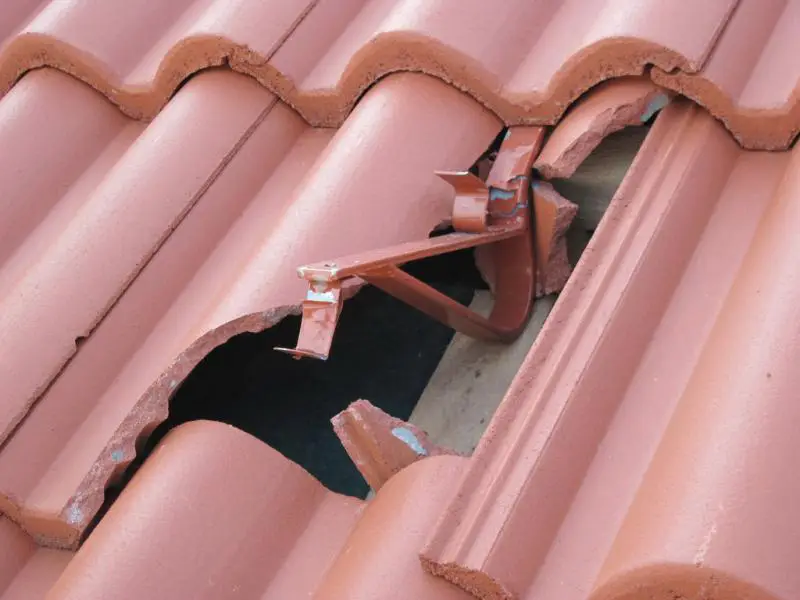
Sheathing is the base for installing waterproofing materials such as bitumen or ceramic tiles, onduline, or metal roofing. The sheathing type depends on the chosen roofing material. For example, for bitumen shingles (so-called flexible roofing), a solid sheathing made from moisture-resistant plywood or oriented strand board (OSB) is required. If onduline or another sheet material is used, a spaced sheathing made from unplaned boards spaced 30–40 cm apart may be sufficient. This type is known as a sparse sheathing.
Roof Frame Installation
After the wall plate is secured along the entire perimeter, rafter feet are inserted into specially cut notches (not bolted). This notched joint is essential to prevent sliding under the roof’s weight, wind pressure, and snow load.
Additionally, floor joists (also called lag beams) are laid on top of the wall plate. These are typically made from timber with a cross-section of 100 x 150 mm or 50 x 150 mm. It’s crucial to extend the joists 40–50 cm beyond the outer walls to protect walls and foundation from rain, wind-driven rain, and other weather elements. This overhanging part is called the eaves and is later finished with specific materials.
On top of the joists, a wooden floor deck is installed for the attic space. Typically, this uses planed floor boards 40 mm thick. If joist spacing is small (e.g., 40–60 cm), 25 mm thick boards may be used—this is a more economical solution, reducing timber usage by nearly half.
However, it’s essential to test the floor boards on actual joists—will they sag under load or not? The floor deck also serves as a base for supporting the rafter structure.
Vertical posts that support the rafters also form the wall base for the internal, under-roof space. After the posts are installed, rafters are secured so that each element of the roof frame runs perfectly parallel to the others.
After rafters are installed, both gables must be sealed to prevent wind from blowing into the under-roof space. Strong wind gusts can even tear off the roof. Gables can be built using a wooden frame, sheathed with boards or OSB, and filled with insulation between the posts.
Installing the Waterproofing Roofing Material
Sheathing is attached perpendicular to the rafters, serving as the base for the roofing material. Its thickness creates an air gap between the insulation layer and the waterproof membrane, preventing frost buildup (ice shroud) on the inner side.
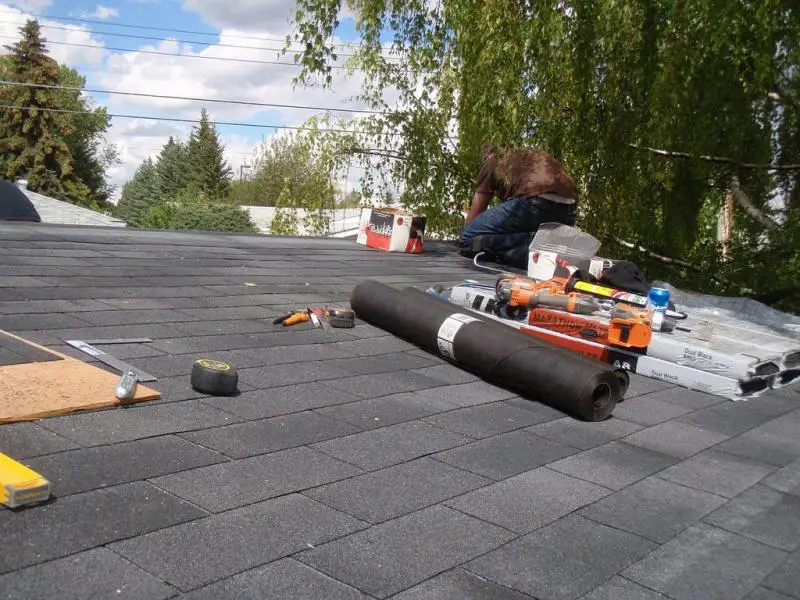
Roofing material is fastened according to the manufacturer’s instructions. Key points include ensuring proper overlap of adjacent panels or sheets from ridge to eaves, and side overlaps between neighboring elements. These overlaps are critical for ensuring full waterproofing of the structure.
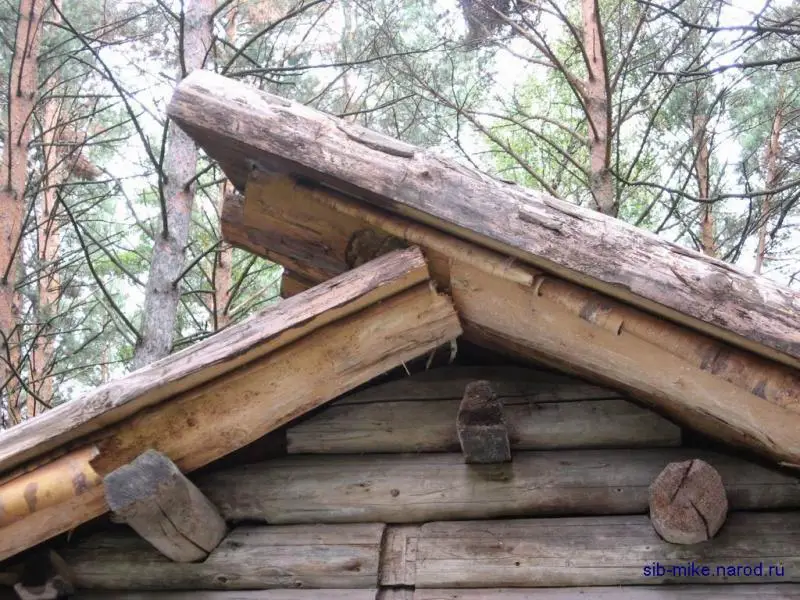
The final step is installing the ridge cap (board or metal angle) over the joint of panels on both roof slopes.