Christmas Tree from Boards Made by Hand: Masterclass by Sasha Mershiev
A real fir tree is always beautiful. And one made by hand is even more heartfelt. Together with decorator Sasha Mershiev, we show how to make an original Christmas tree by hand.
Sasha Mershiev is an expert, decorator, interior designer, and owner of the MERSHYHOME workshop.
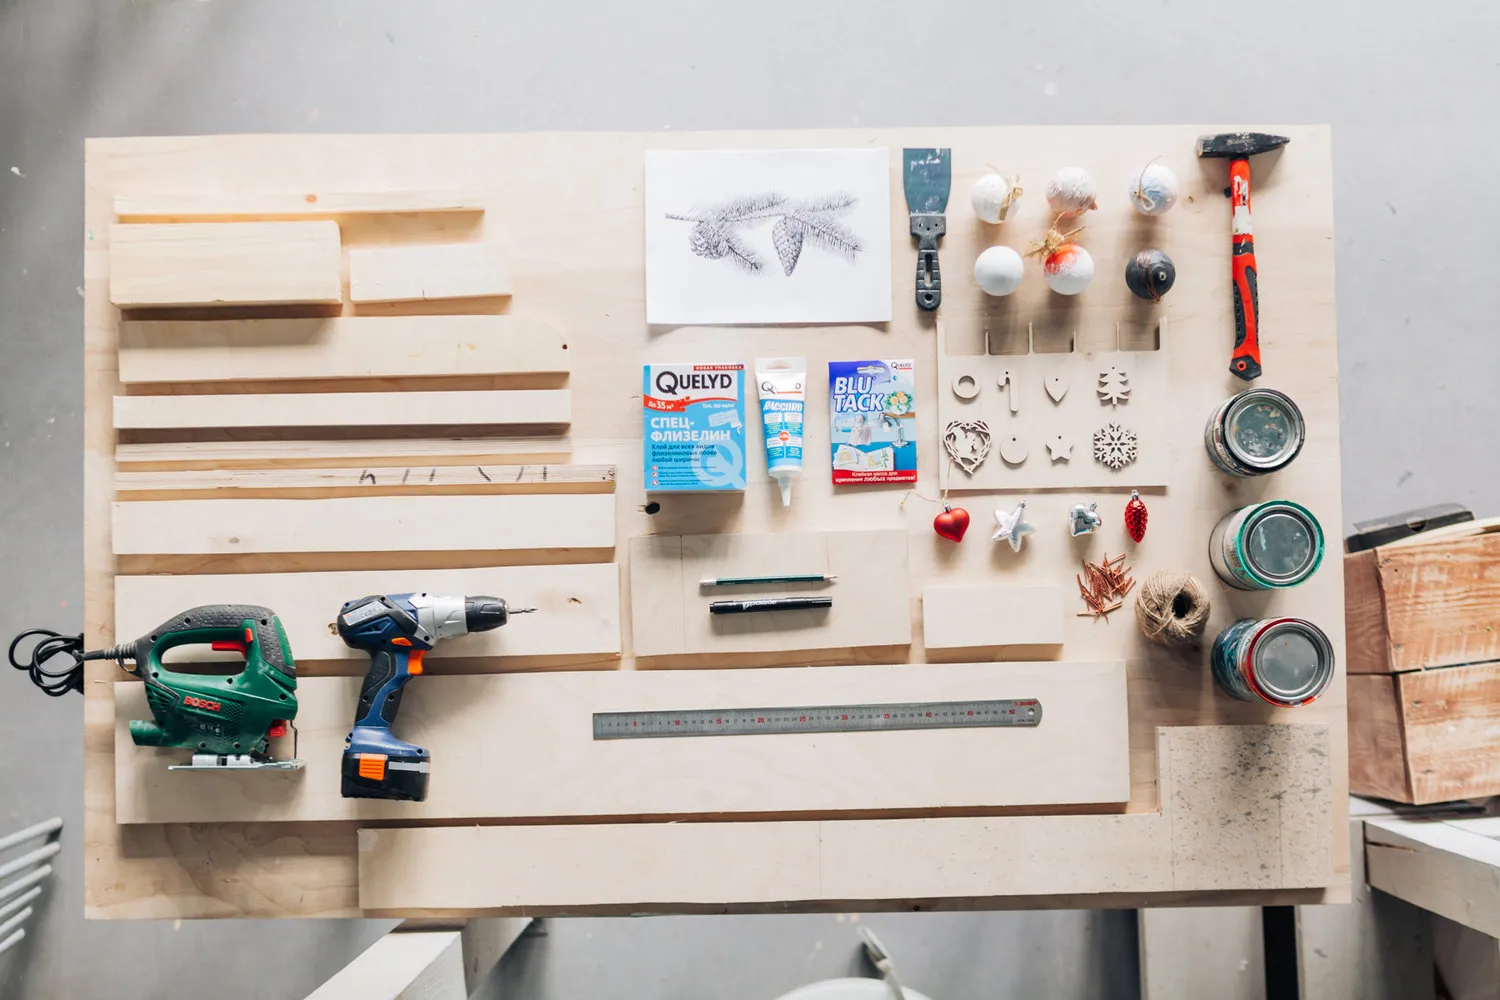
We will need:
- Boards of various lengths and widths, 1.5 cm thick
- Wooden base 15/30–40 cm
- Pieces of 2 mm thick plywood
- Printed fir branches (we will glue them onto the plywood pieces)
- Universal wood glue (fast-setting)
- Wallpaper glue Quelyd Special Film or glue Quelyd Raccord
- Paint and brushes, any kind
- Sandpaper (abrasivity 120–220)
- Non-breakable New Year decorations
- LED garland
- Jigsaw, drill, hammer, spatula
- Adhesive putty “BLUE TACK” Quelyd
- Ruler and pencil.
 Where to start?
We mark the silhouette of our Christmas tree with a pencil on the laid-out boards. Boards can be bought at a construction store or used leftover plywood after renovation.
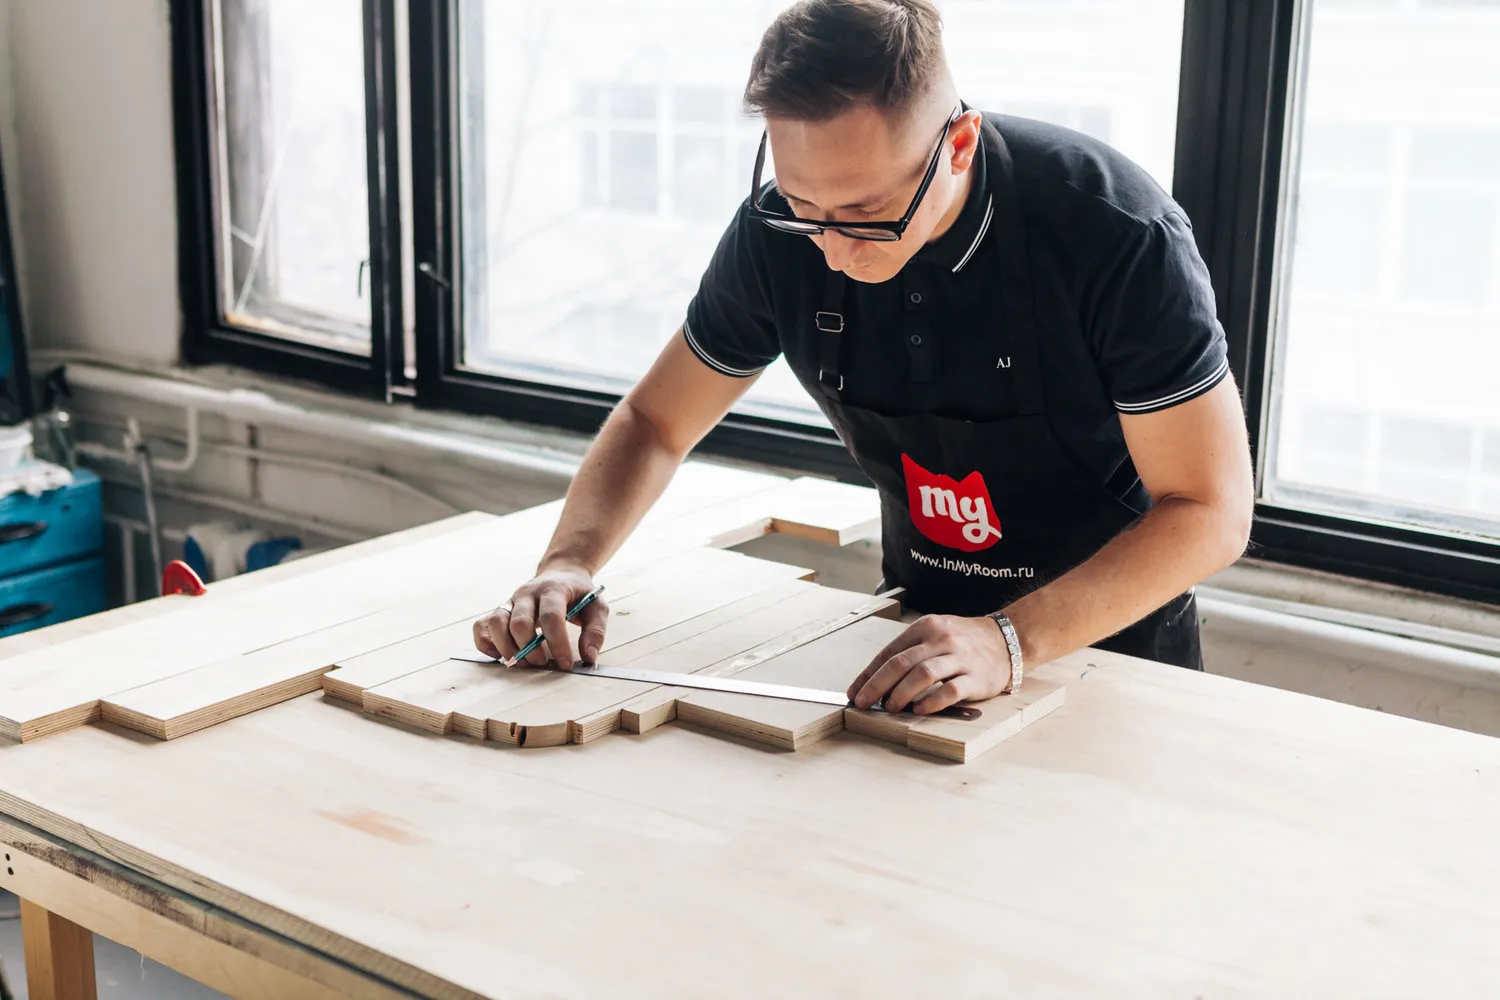
We cut off the excess with a jigsaw along the marked lines.

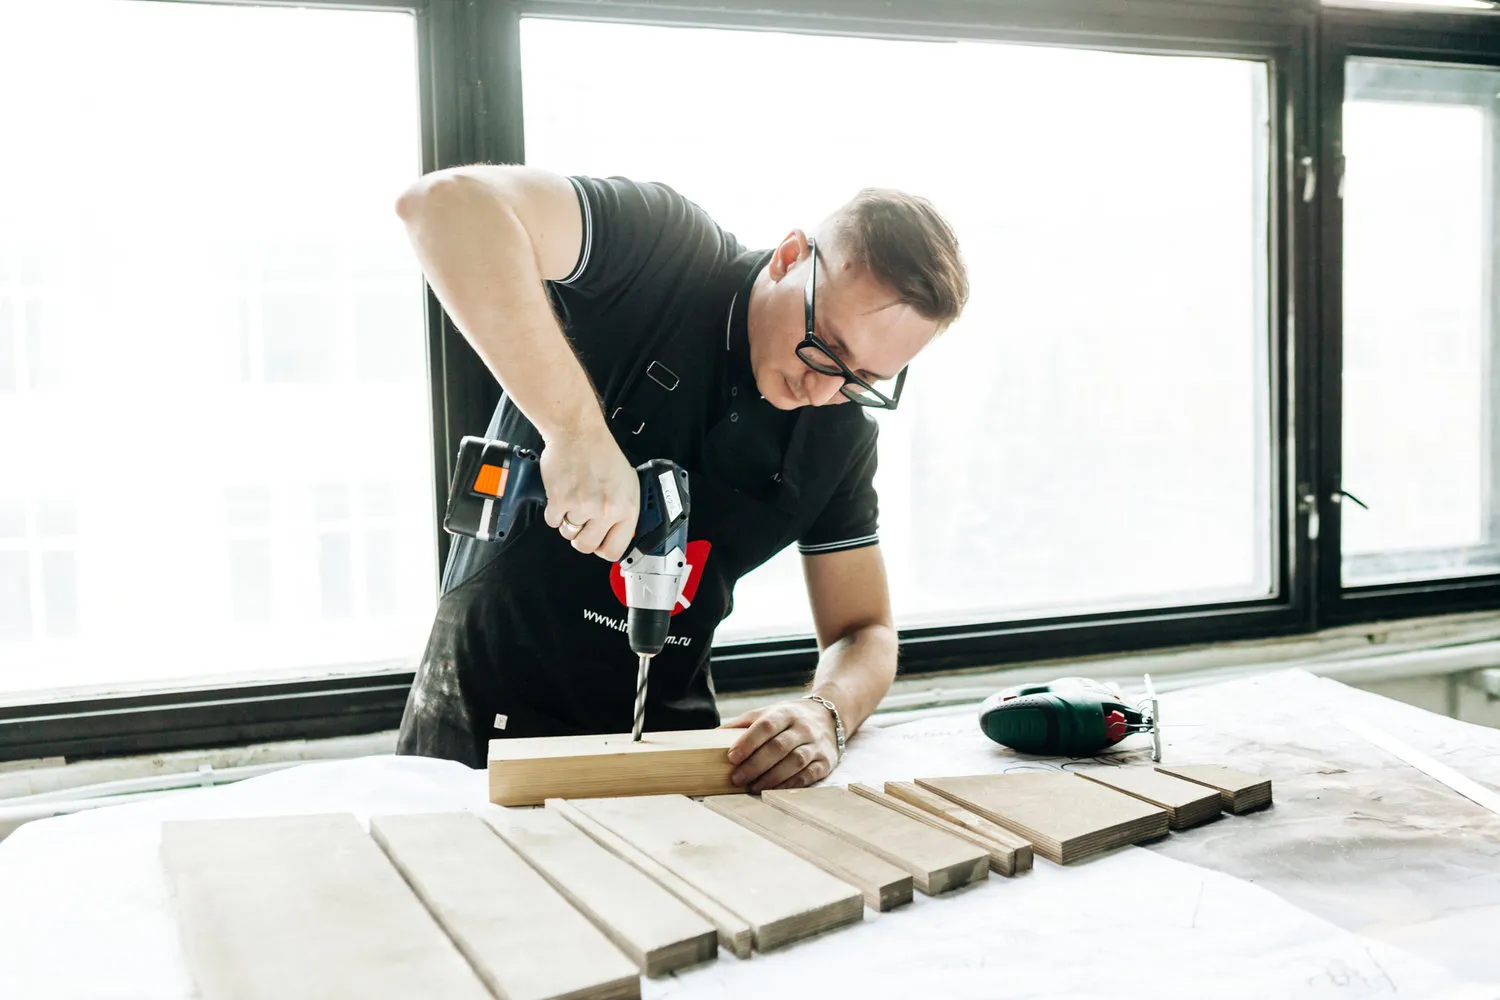
The base for the art Christmas tree can be bought at a construction store or you can use a wooden stick already at home. Using a drill/screwdriver, we make a hole for the trunk of the fir tree.
If this step is difficult, simply replace the stick with a container filled with sand!
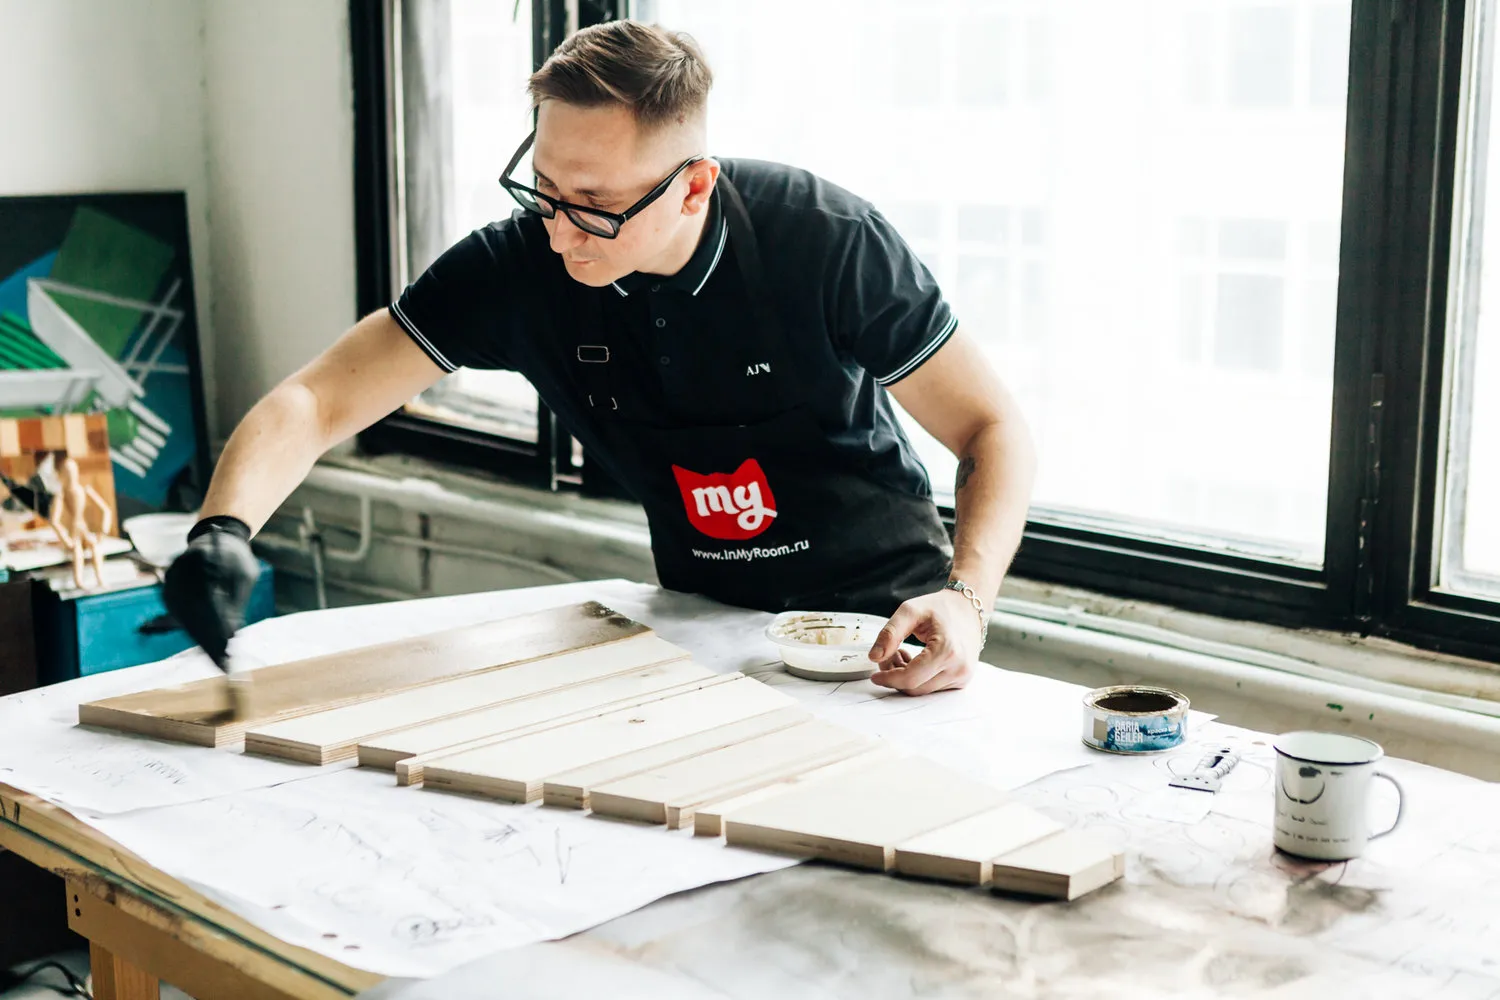
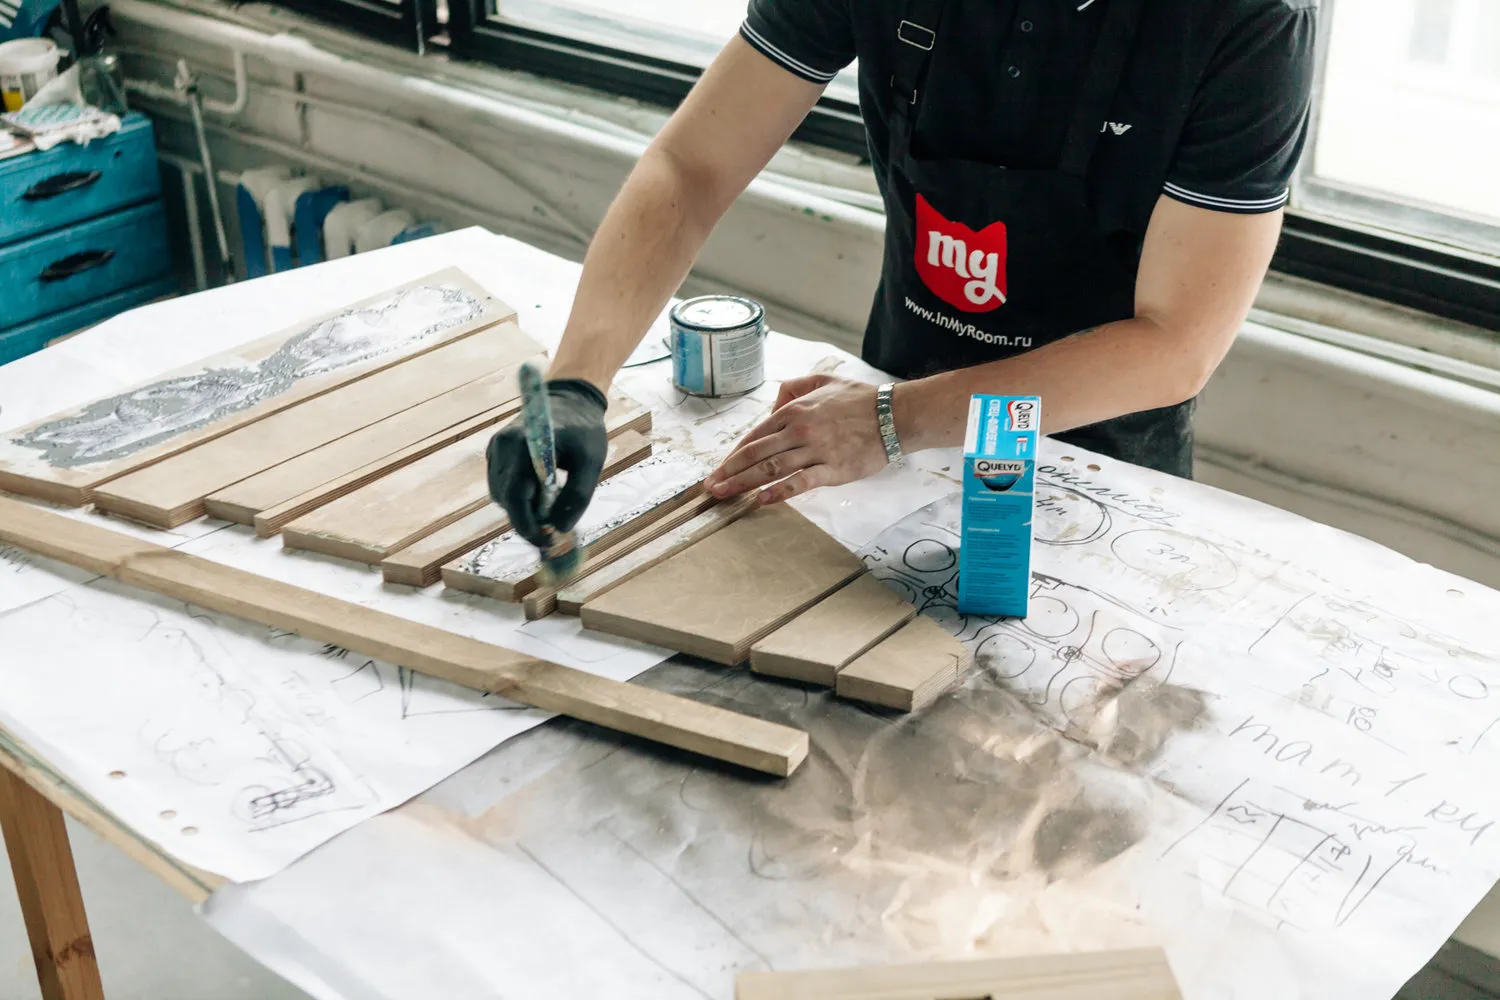
Then I prepare the stain: I dilute the cognac-colored paint with water in a 1 to 4 ratio.
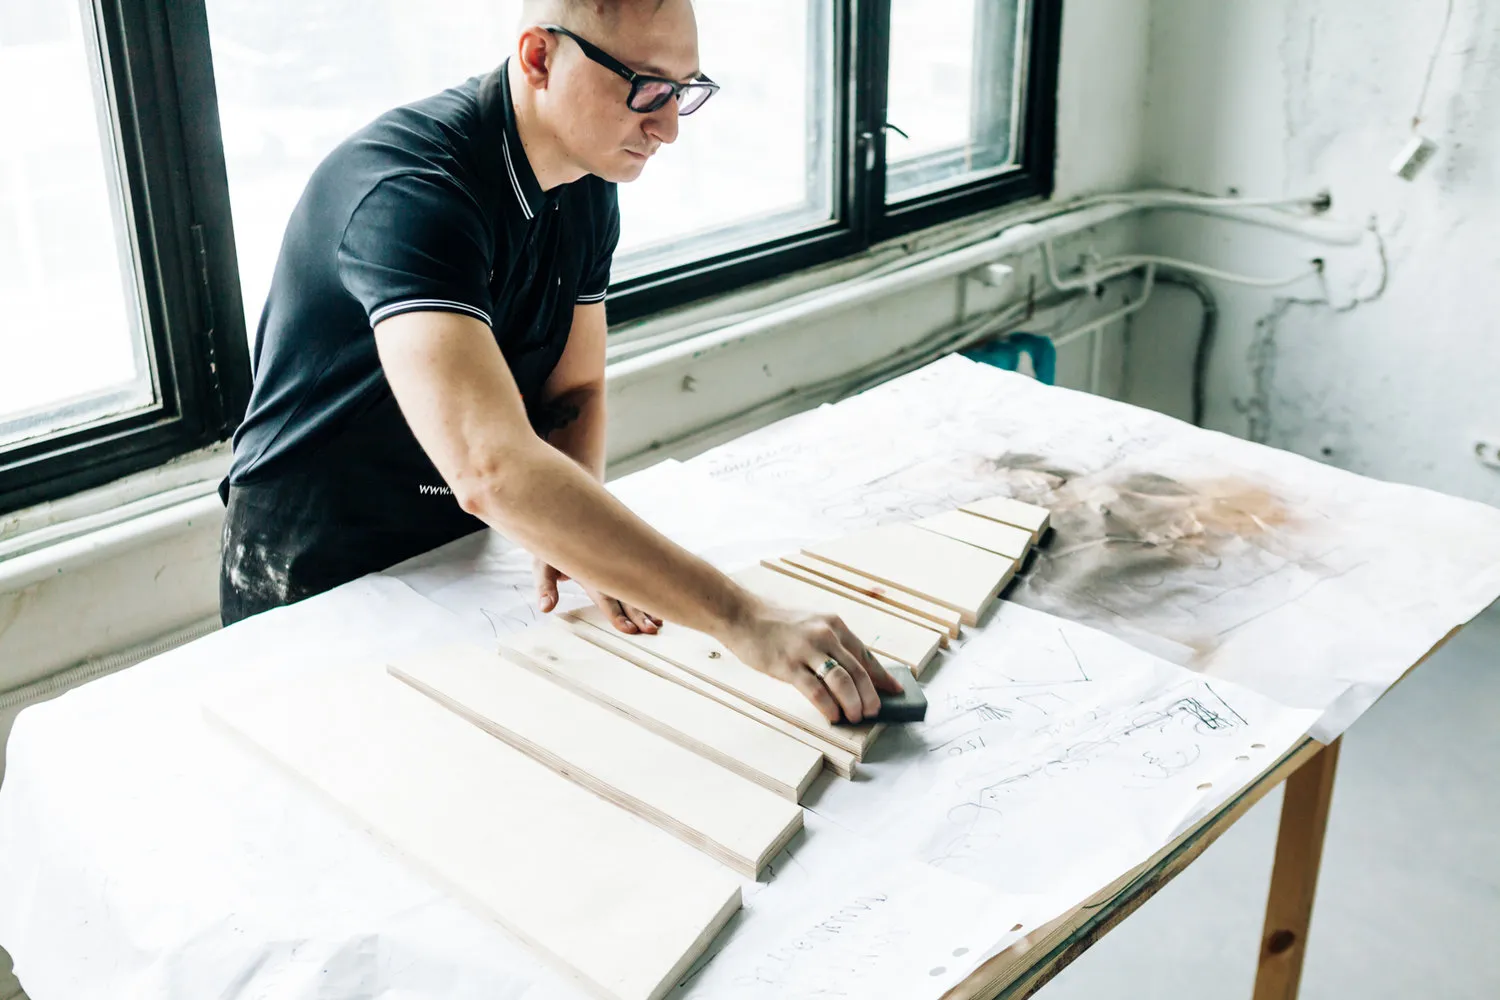
I apply the stain in 1–2 layers to pre-sanded boards and let it dry: about 30–40 minutes.
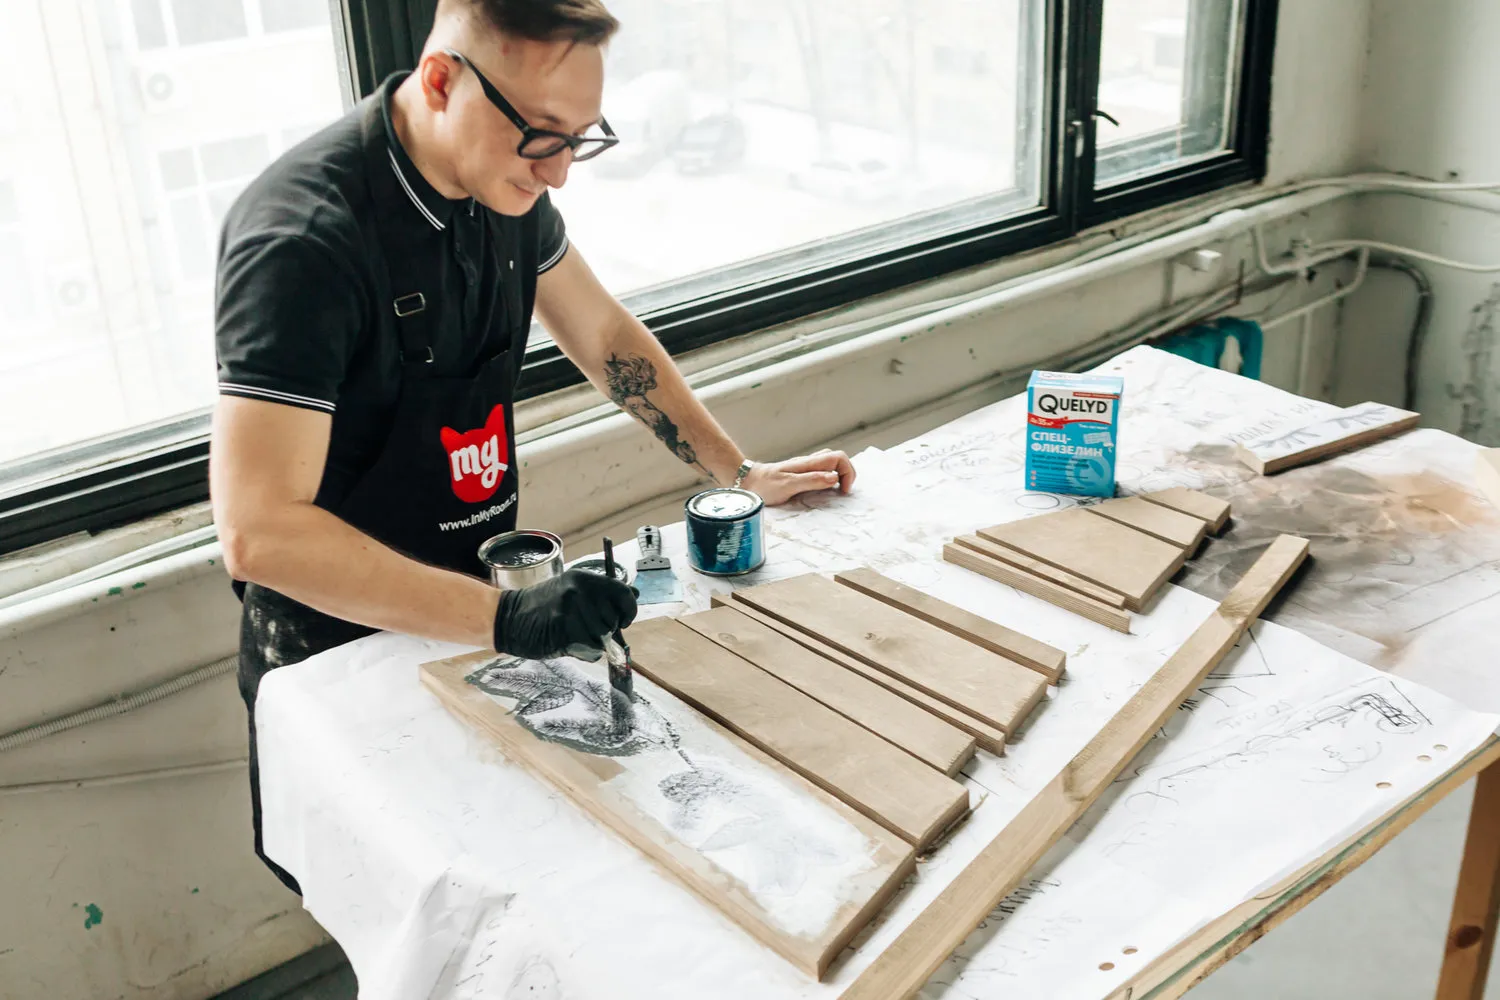
On two boards, I will embed the image, so I prepare the background for the printouts: these boards I prime with light paint. I use domestic chalk paint.
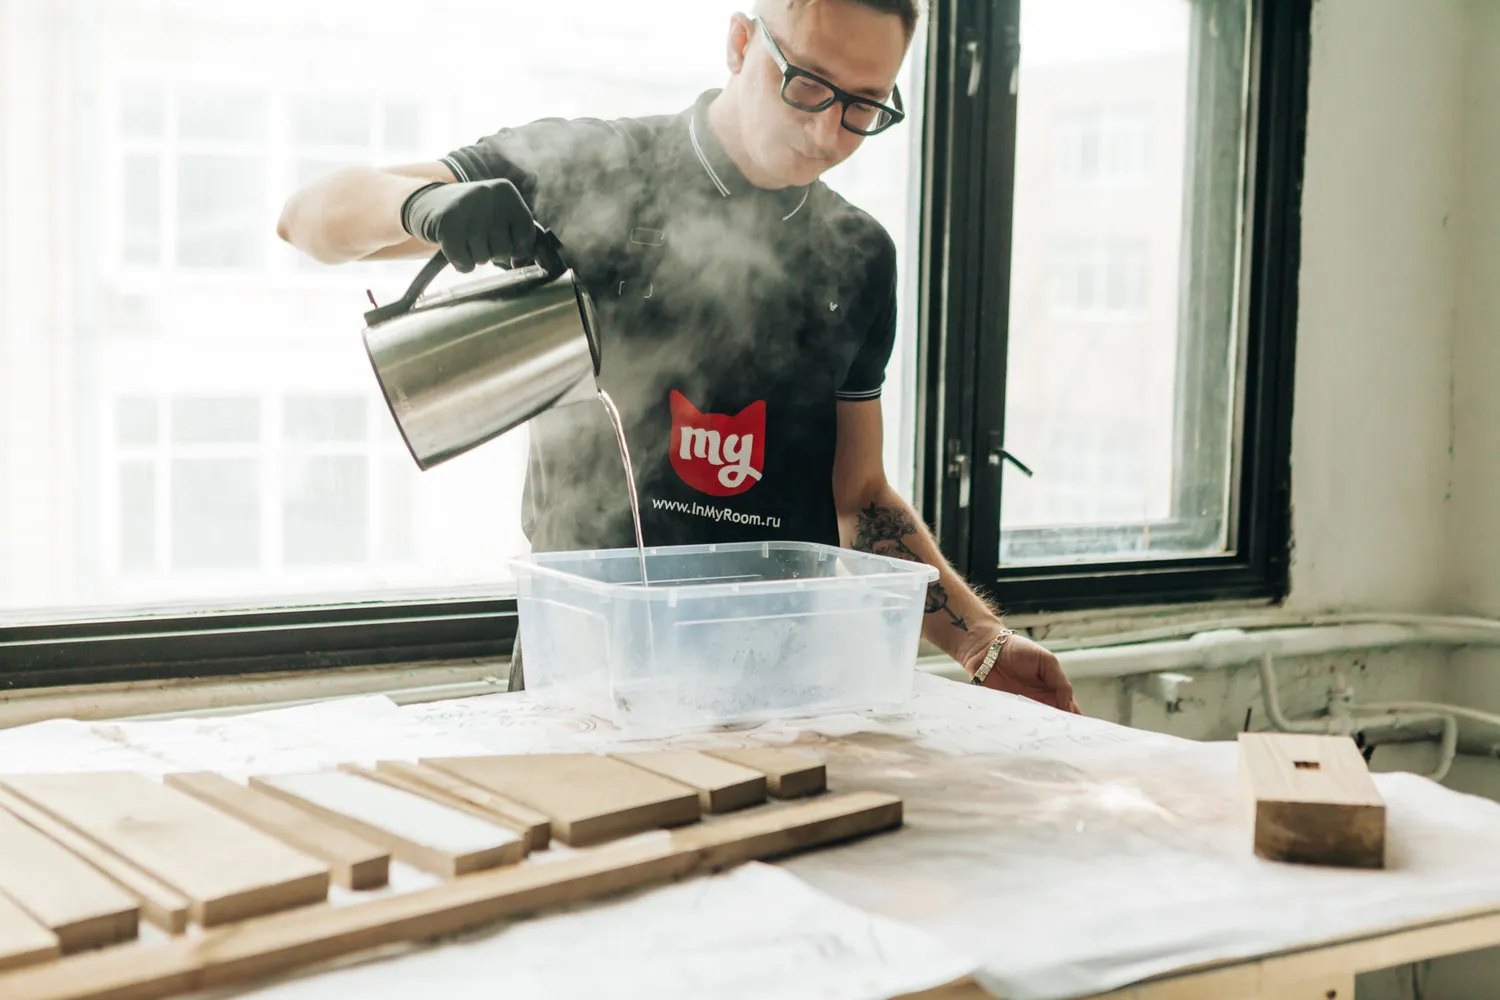
I trim the printout and dip it into boiling water for two minutes: the paper should soften.
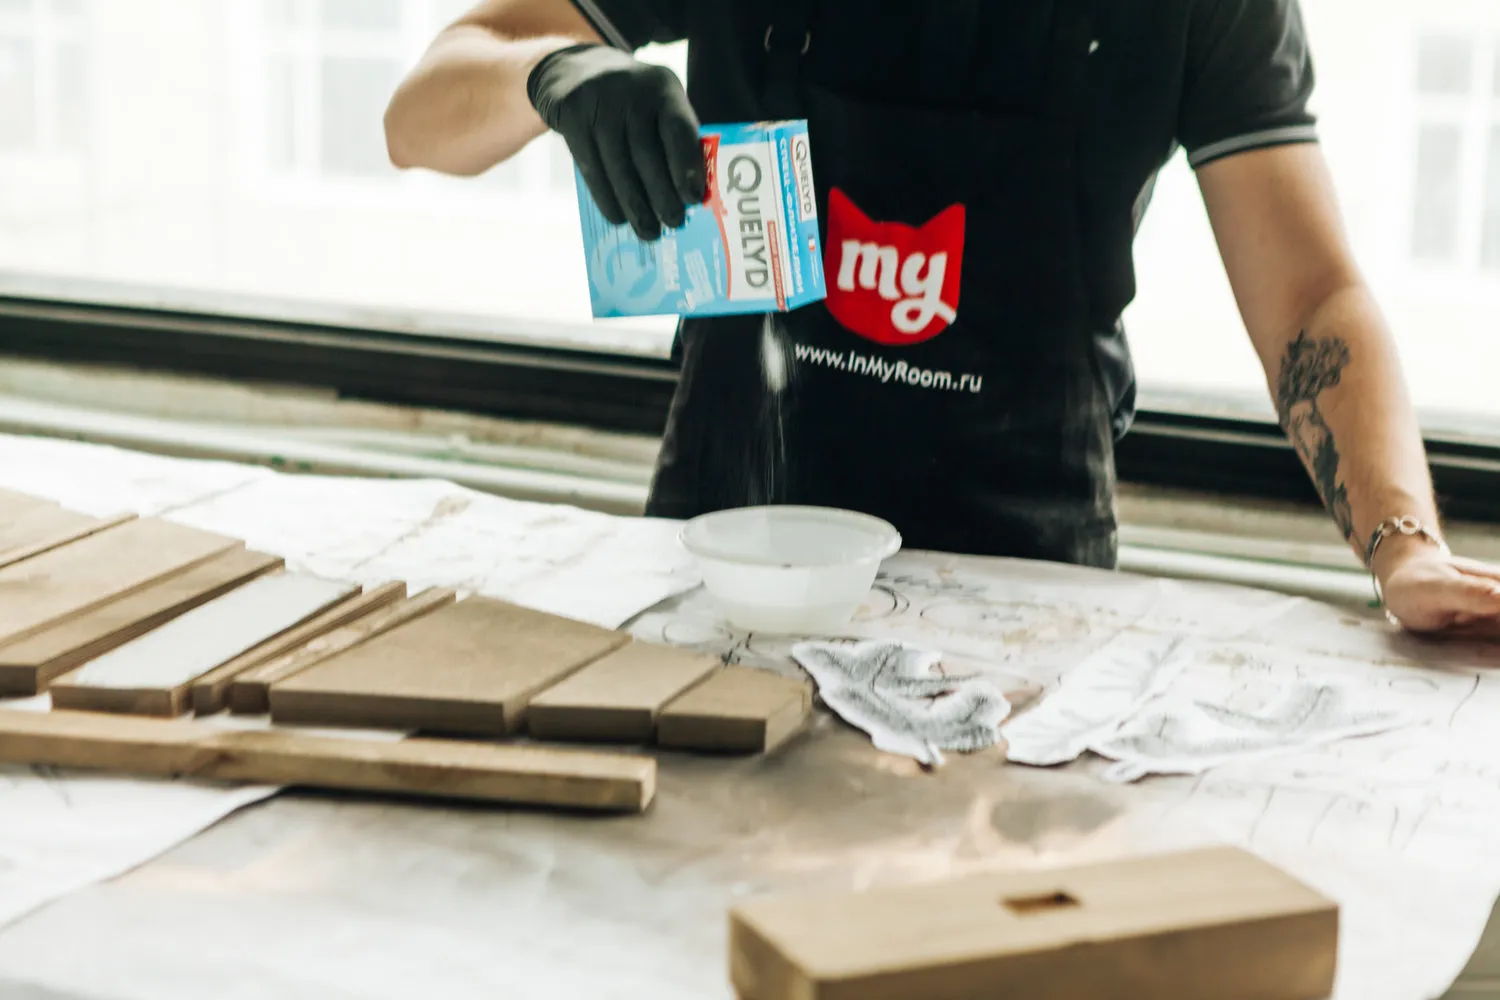
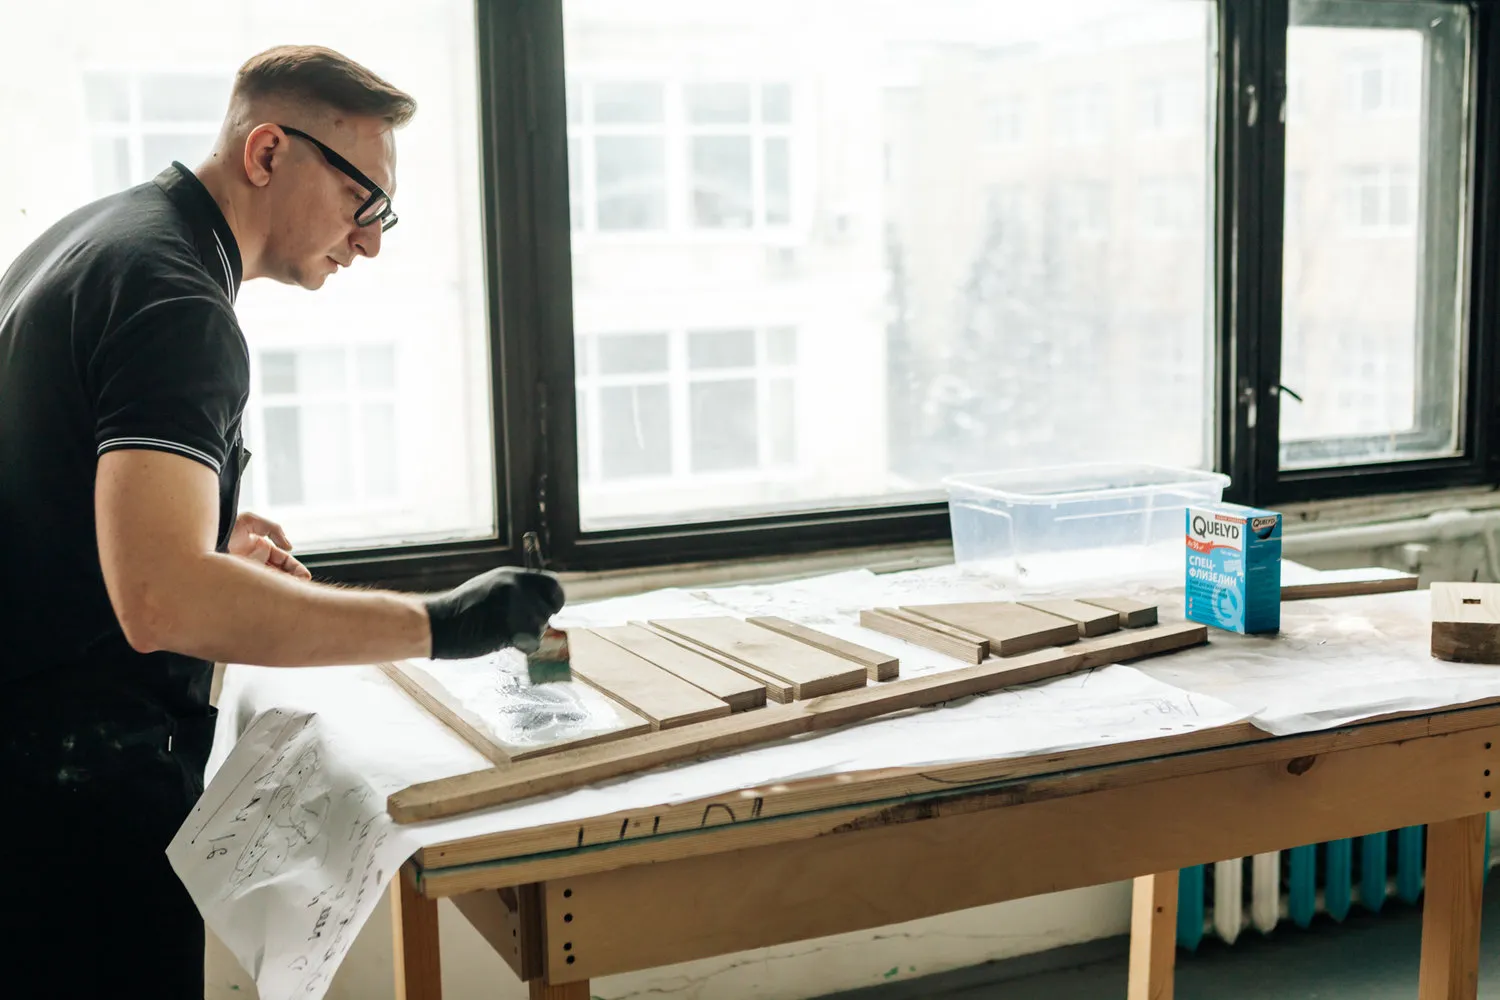
I apply wallpaper glue Quelyd Special Film to the boards and glue the softened printout.


To mask the edges of the printout, I used antique primer; it can be replaced with spackle mixed with light paint. Let it dry according to the glue instructions.
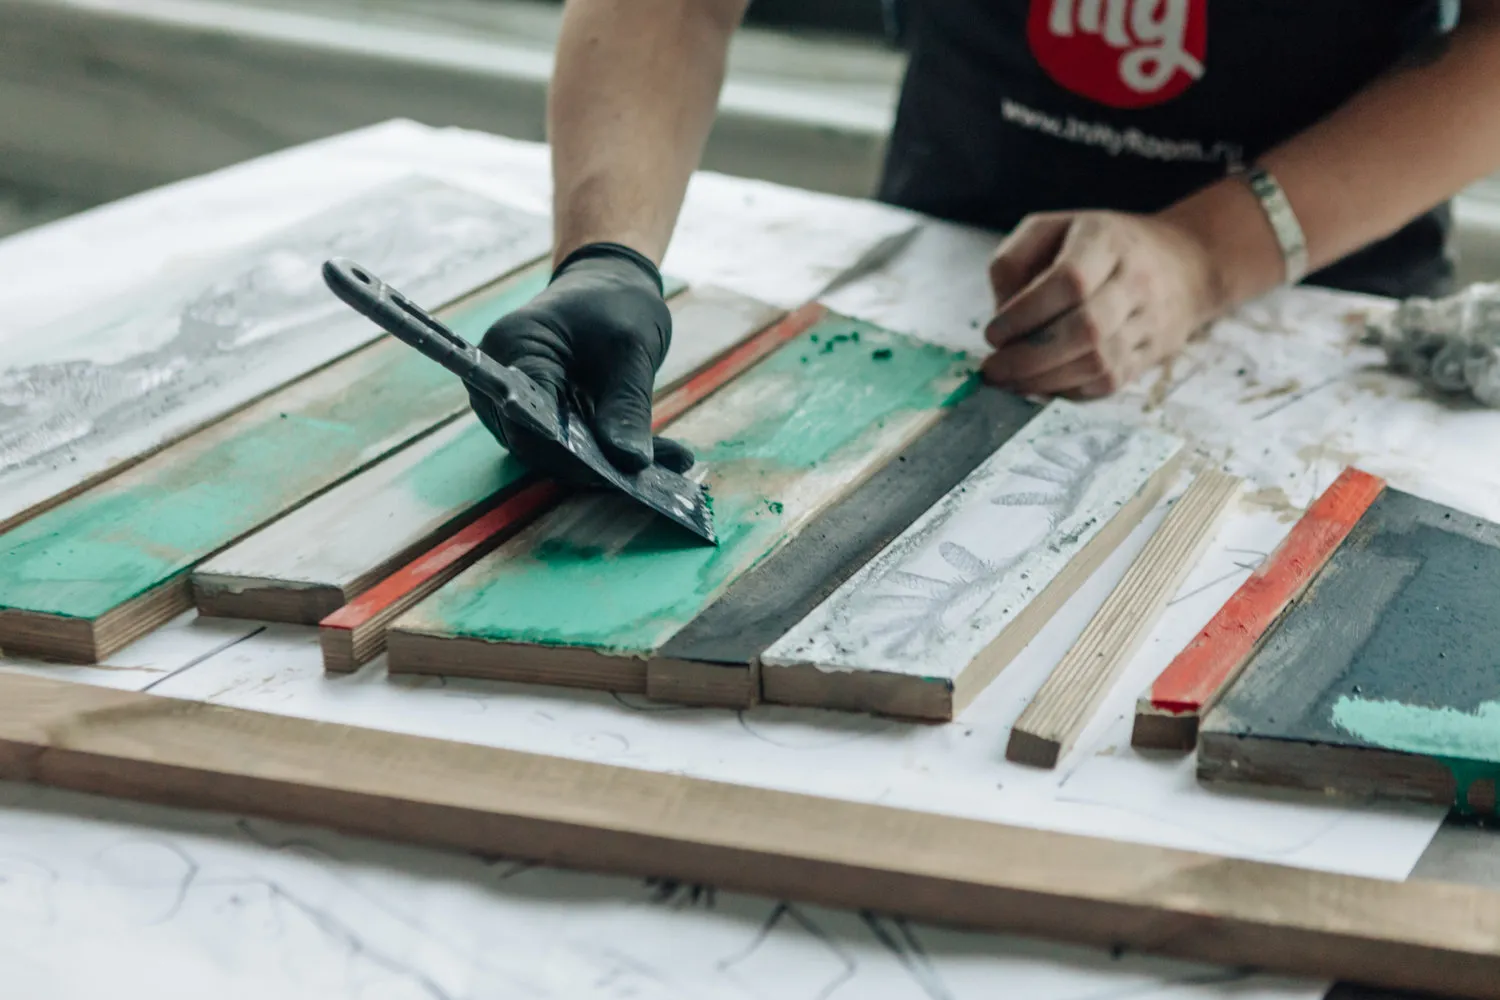
On the remaining boards, I apply wax or rub them with a wax candle. This is to prevent paint from soaking into the surface and allow us to remove it easily, thus aging the surface.
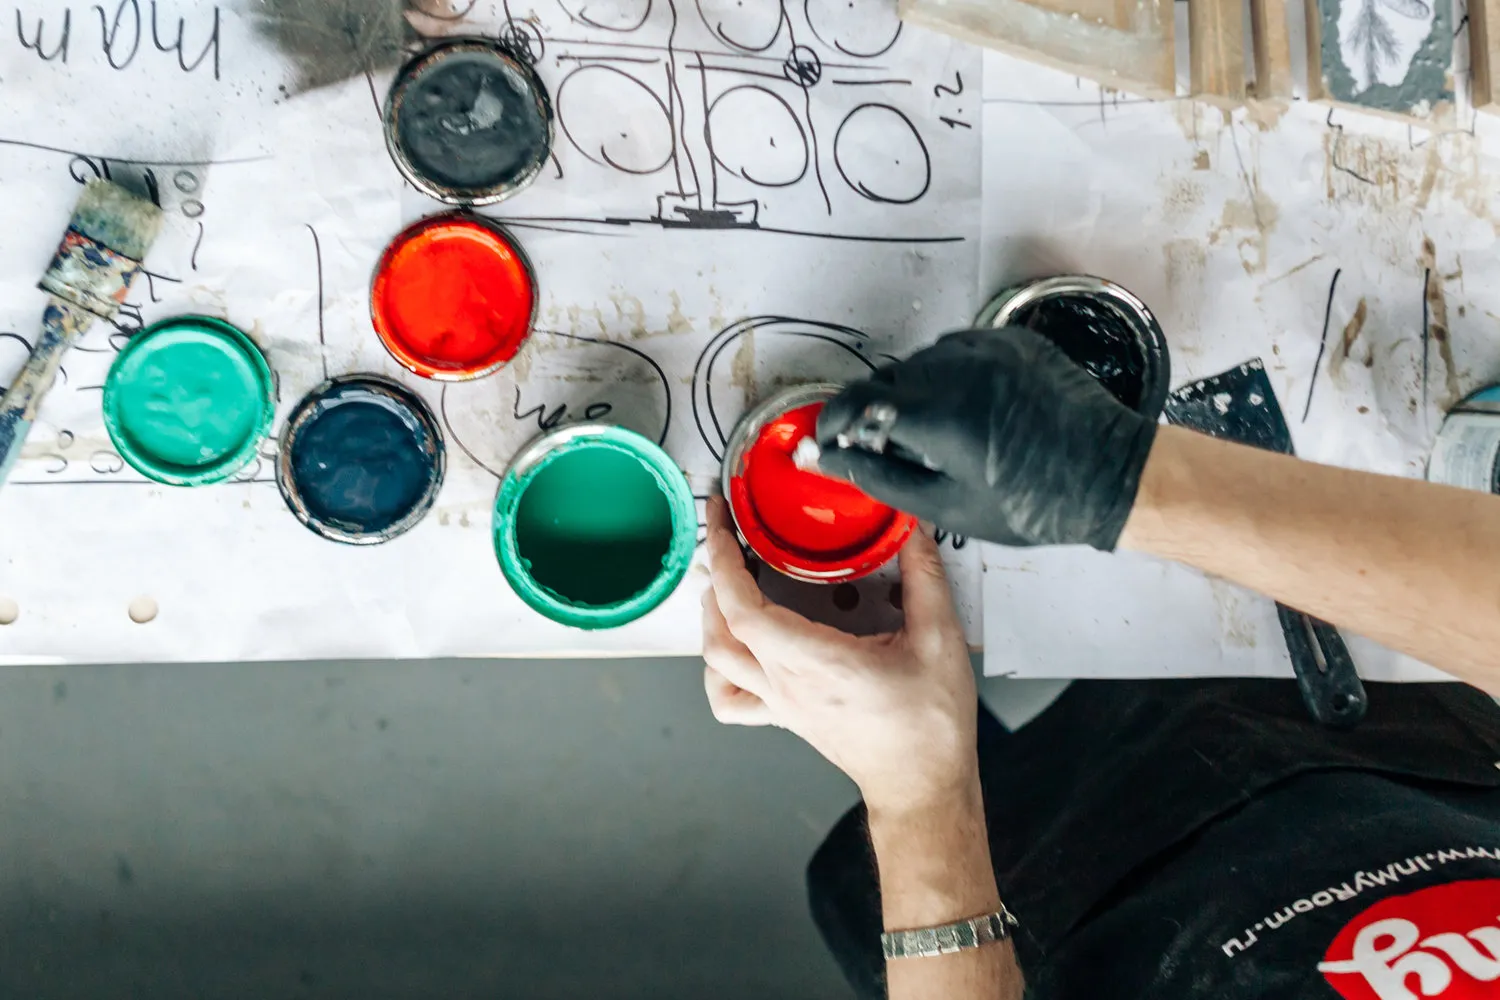
I paint the boards in different colors and let the paint dry. My palette includes green, red, and black. You can choose any other colors!
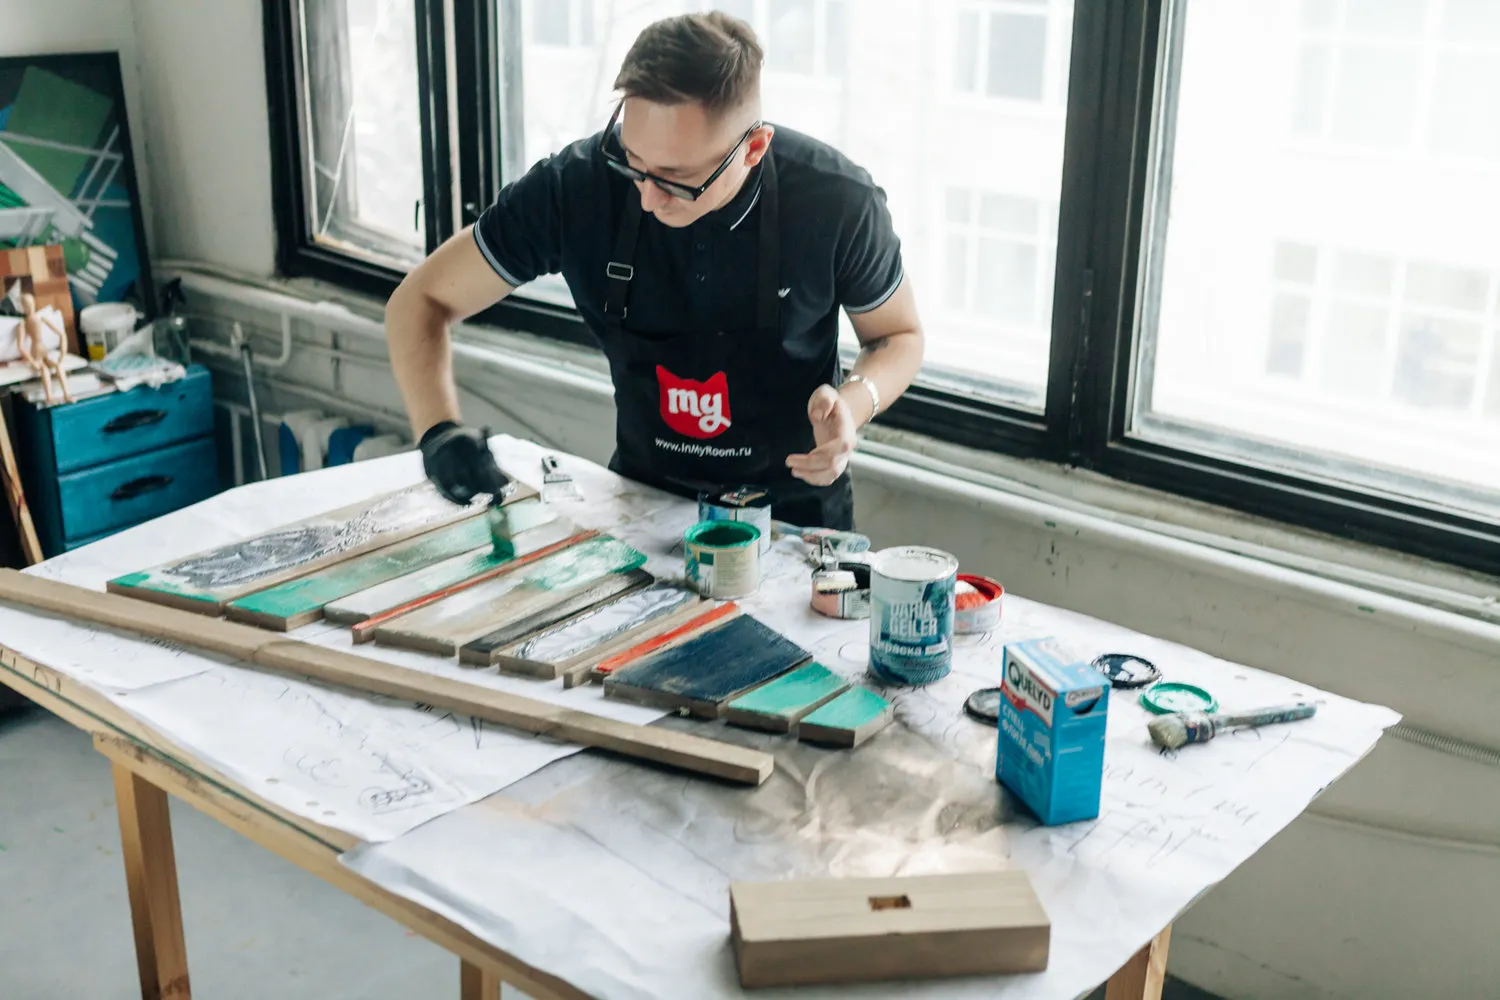
After 30–40 minutes, the paint has dried. Now we take a spatula and sandpaper to scrape off the paint in places where wax was applied.
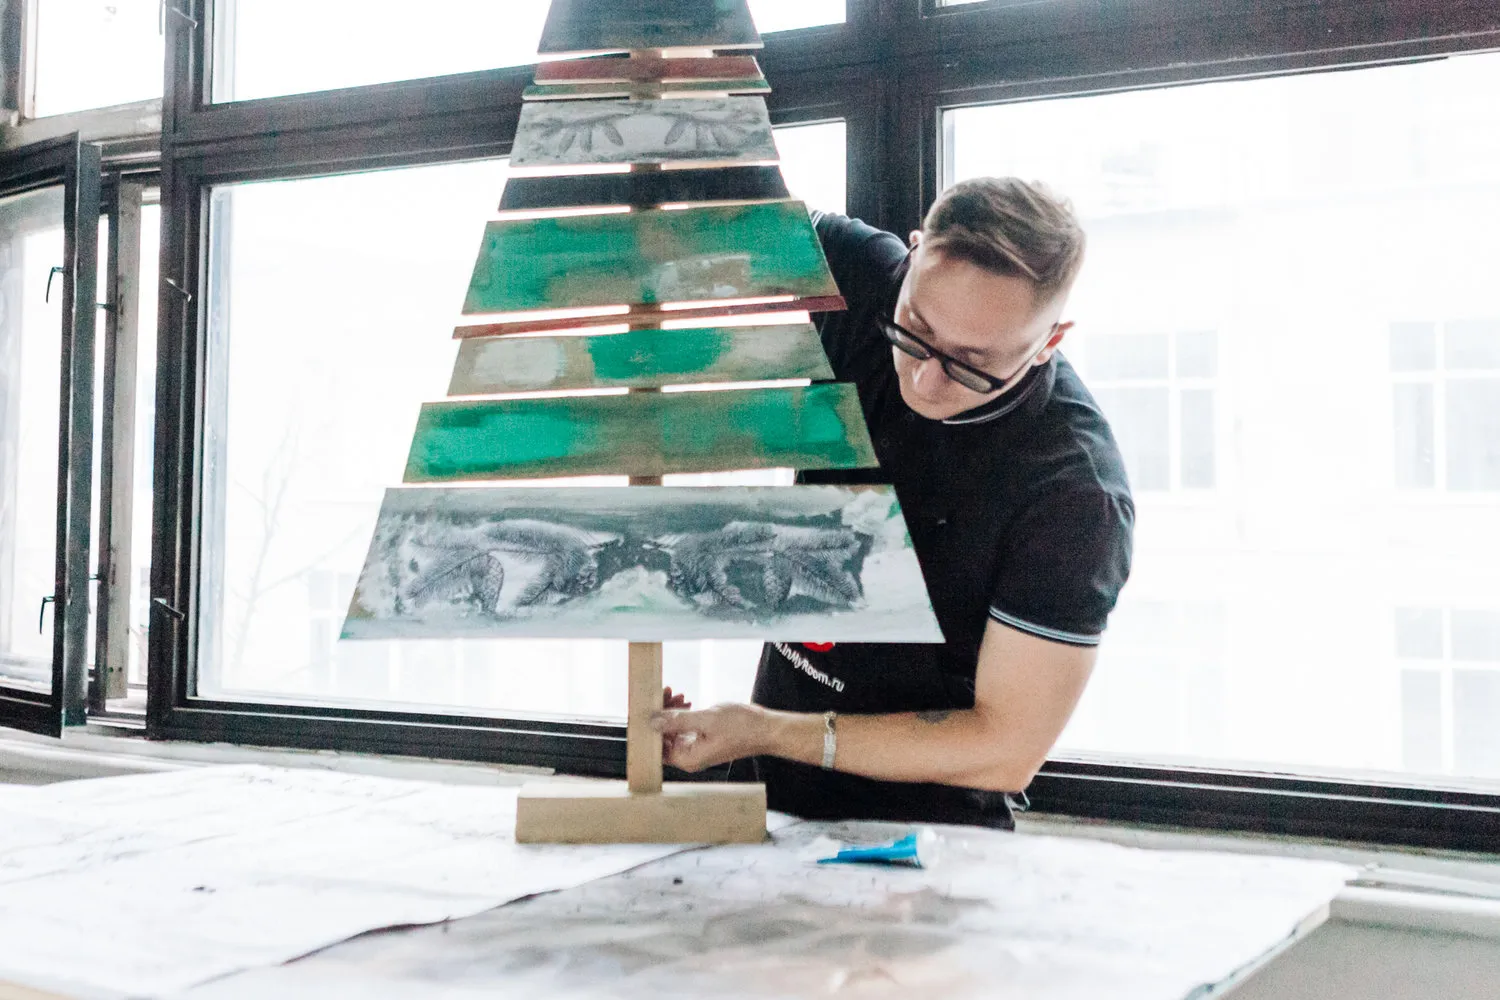
We attach the boards to the base with special glue. Apply the glue according to the instructions.
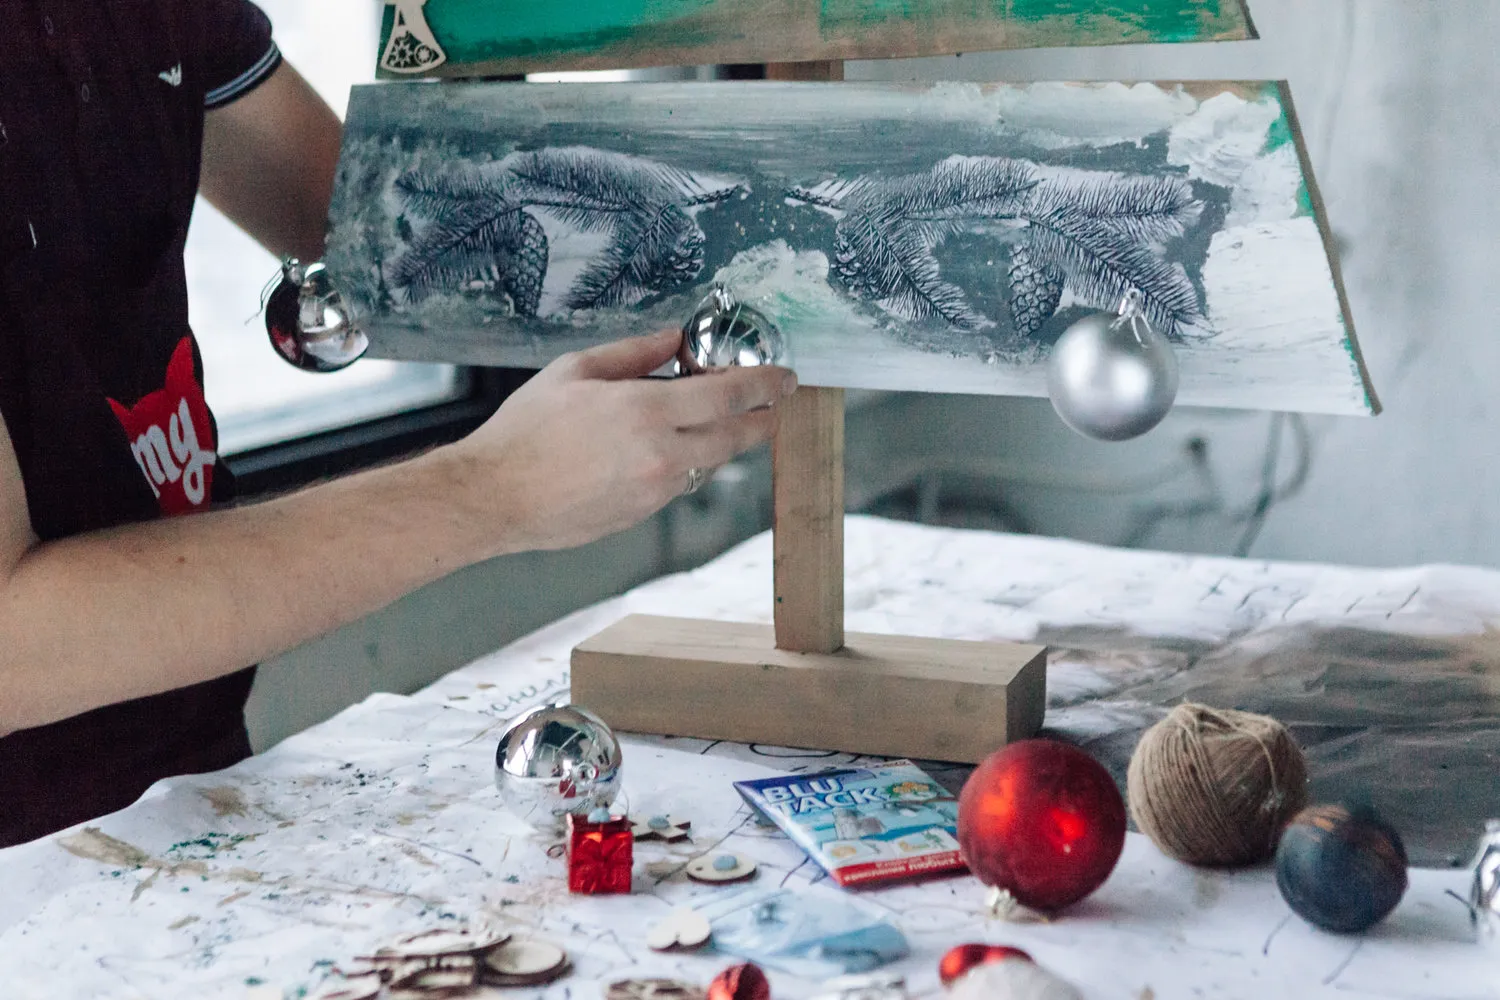
Decorations can be attached to copper nails or Quelyd Blue Tack. The adhesive putty leaves no marks and can be reused multiple times. It also won’t damage the surface and is completely safe: decorate the tree with children fearlessly!
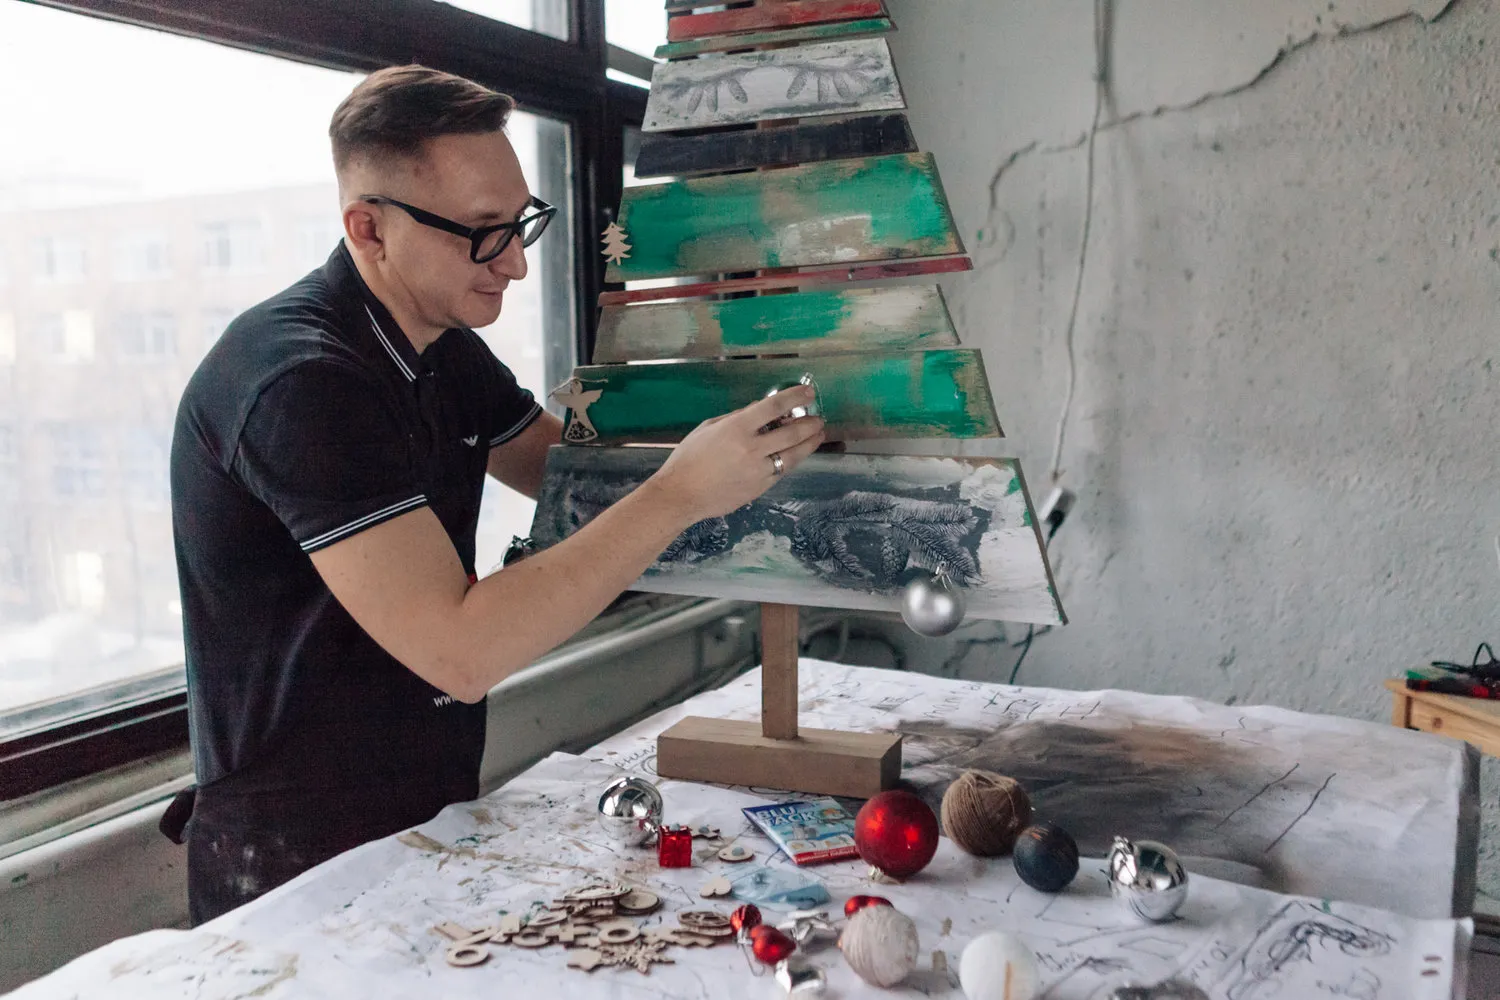
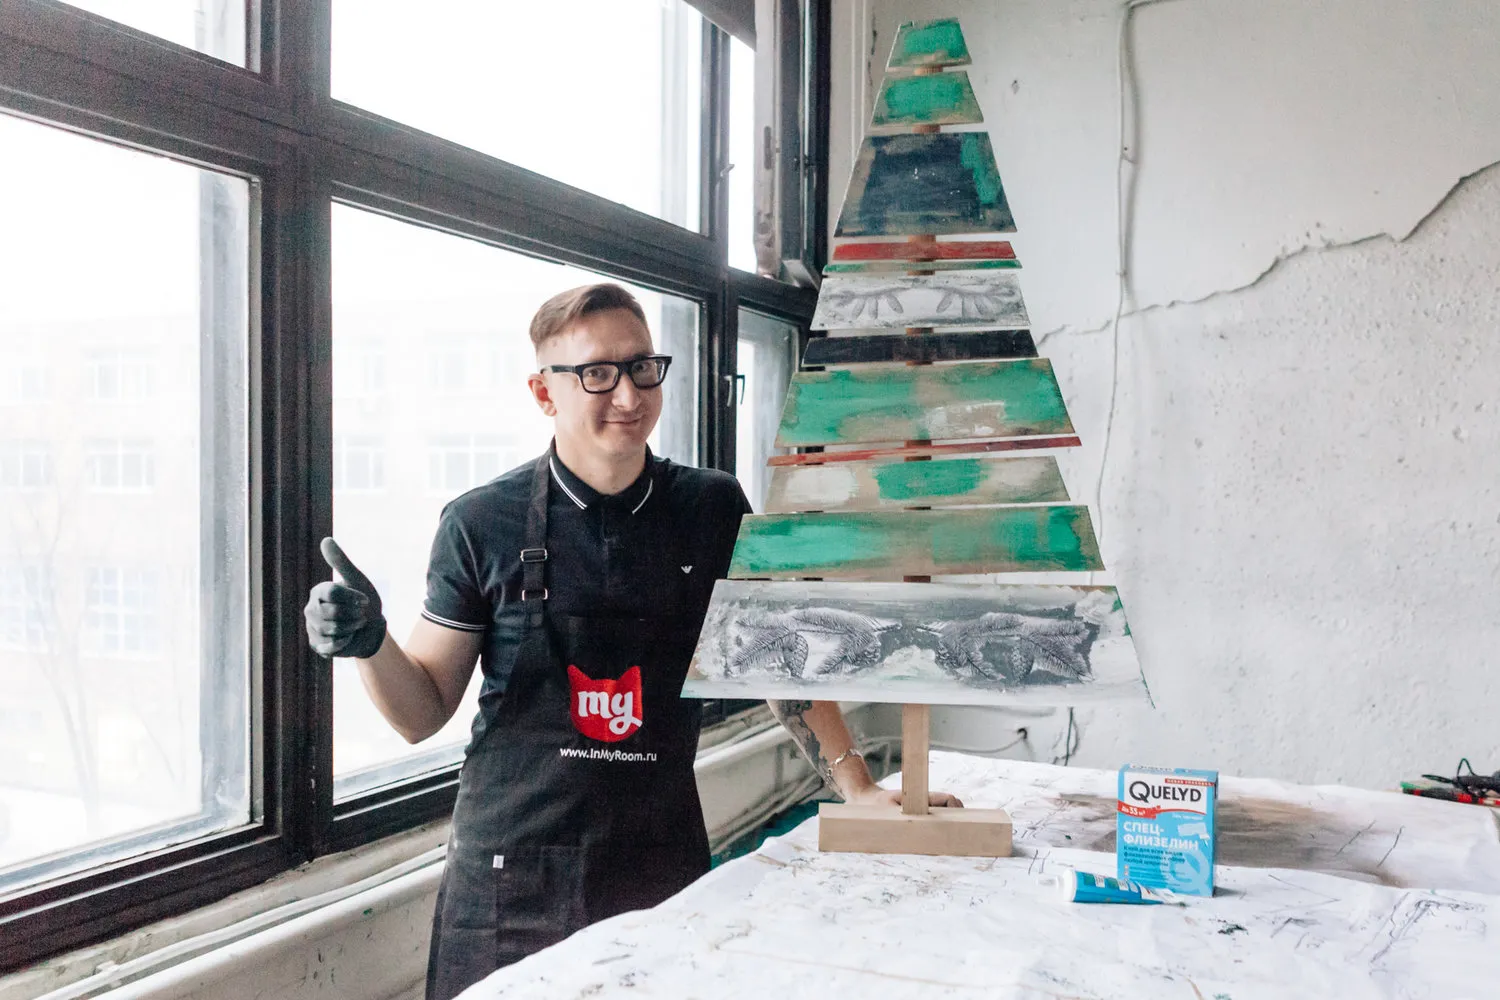
The finishing touch is the garland. I chose an LED garland with warm festive light. We decorate our tree and await miracles!

Decorator Sasha Mershiev
Photo: Yuriy Grishko
Need a renovation specialist?
Find verified professionals for any repair or construction job. Post your request and get offers from local experts.
You may also like
More articles:
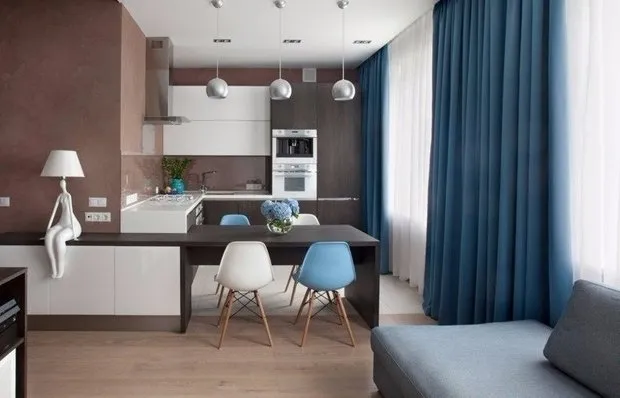 Kitchen-living room design 16 square meters with photos
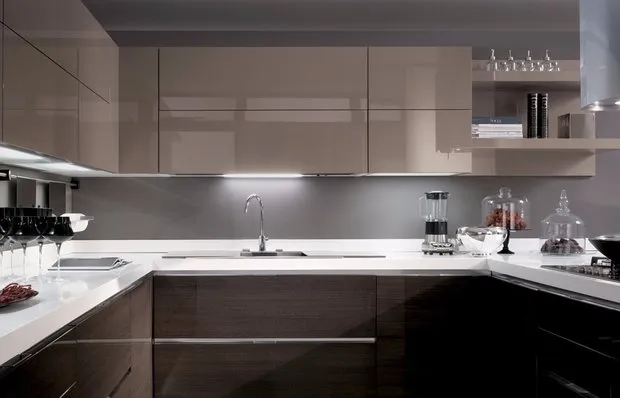 Glossy Kitchens with Photos
 Quick Guide on How to Soundproof an Apartment
 Ceiling Installation in Bedroom: Design Photos
 Kitchen Design 4 Square Meters
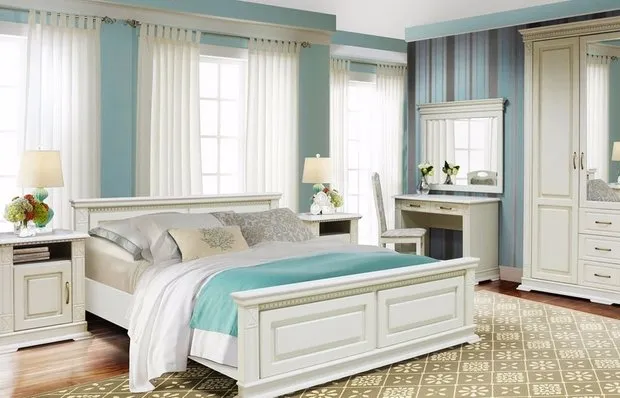 Bedroom Design 12 Square Meters with Photos
 Wabi-Sabi Style: The Main Trend of 2018
 How to Organize Heating in a Private House: 5 Key Tips