Repair in Practice: Installing a Gypsum Board Partition
A gypsum board partition is an excellent alternative to many more expensive and labor-intensive technologies. Its construction requires almost no 'wet' work, the process is easy to master even for beginners, and the tools needed for installation are likely already found in every home. We provide a step-by-step guide and discuss important details.
1. Calculating Gypsum Board
To determine how much material you'll need, calculate the area of your future partition. If the partition is to be clad with gypsum board in 1 layer, multiply the result by 2; if in 2 layers – by 4. Divide the resulting number by the area of one sheet of gypsum board and multiply by the 'safety factor' – 1.1–1.3. The more complex the shape of your future partition, the more openings, niches, and bends you plan, the higher the factor should be because there will be more scraps. Round up and remember that it's always better to overestimate than to run to the store for a missing sheet.
2. Selecting Materials and Tools
To build the frame of a gypsum board partition, you'll need vertical profiles CW (PS) and guide profiles UW (PN), as well as sealing tape, anchors, and screws. To fill the partition (if needed), purchase thermal and sound insulation material. For joint treatment, you'll need spackle, reinforcing tape, and primer.
Tools needed for work: tape measure; pencil or marker; level; square; metal shears; gypsum board saw; perforator, screwdriver or drill.
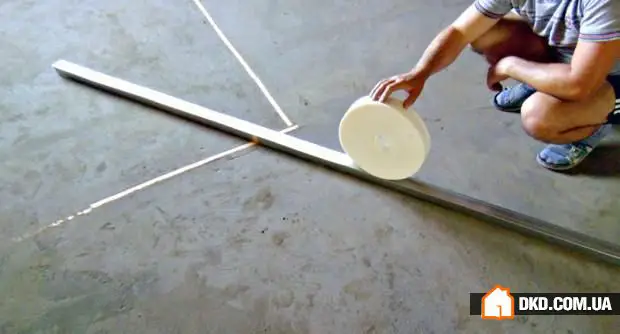
Process of applying sealing tape to guide profiles
3. Preparing for Installation
It's best to start installing a gypsum board partition when the rough construction work in the room is already completed. First, mark the floor, ceiling, and walls, indicating the location of the future structure. Always use a level.
What's next?
Stages of Installing a Gypsum Board Partition
1. Building the Frame
First, secure the guide profiles. To provide additional sound insulation and tight fit, pre-apply sealing tape to all guide profiles. These profiles are fixed to the surface using anchors, at intervals of up to 100 cm.
Next, install the vertical supports at intervals of 40 or 60 cm. Usually, vertical profiles are secured to the guide profiles using a perforator or small screws. There are also special ribbed profiles that do not require additional fastening.
If the structure involves horizontal joints of gypsum board sheets, reinforcement beams must be installed at these points. Usually, these are cut-offs from vertical profiles.
In places where niches or door openings are planned, as well as where there's any significant load on the partition, it's better to reinforce the frame with additional vertical supports and beams.
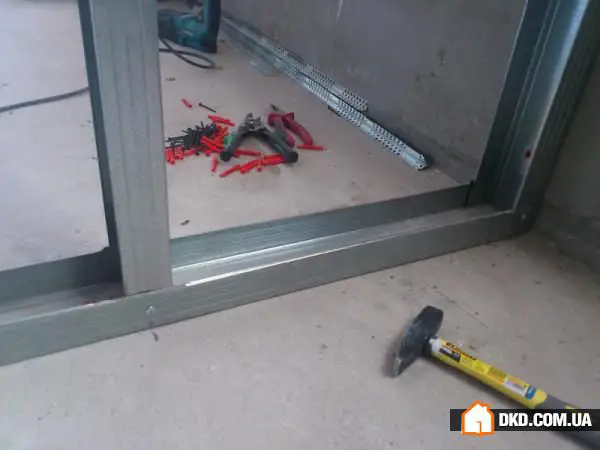
Process of mounting the frame for a gypsum board partition
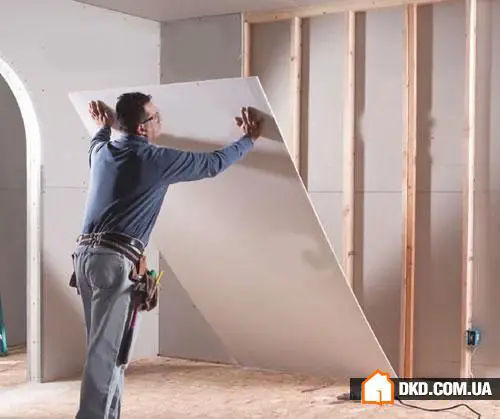
2. Installing Gypsum Board
On one side of the future partition, attach sheets of gypsum board to the frame using screws and a screwdriver at intervals of 20–25 cm. If the sheet height is less than the ceiling height, fix the gypsum board in a 'chess' pattern: the first sheet is attached starting from the floor, and the next one – from the ceiling. Be careful and attentive: longitudinal joints of sheets should align with vertical supports, and transverse joints (if any) – with beams. Remember: it's better to modify the frame than to risk compromising the strength of the entire structure.
If switches, outlets, or niches are planned in the future partition, mark them with holes on the inner side of the gypsum board sheets, then cut them out and push the boards through with a sharp motion. Route all necessary communications and fill the partition (if needed) with thermal and sound insulation material. Then attach the gypsum board to the frame from the other side of the partition.
For a reinforced partition, it's common to cover it with two layers of gypsum board. In this case, it's important that the joints of the top layer do not align with those of the bottom layer. Also, don't forget about the 'chess' method.
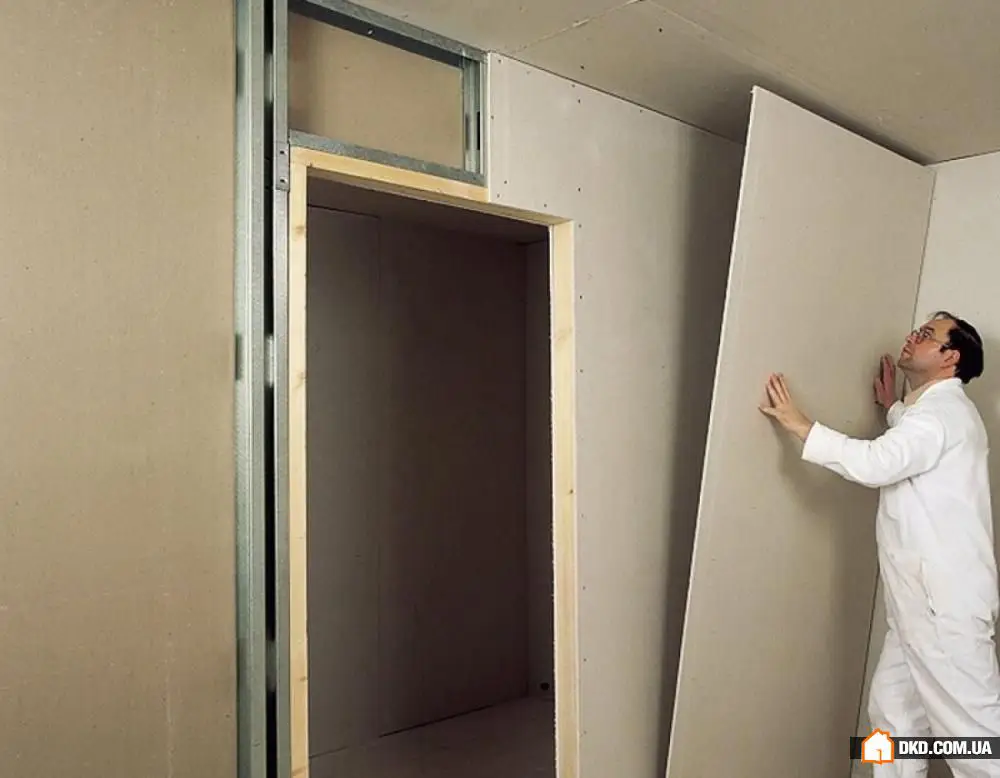
Cladding the frame with gypsum board sheets
3. Joint Finishing
Working on sheet joints is a critical part of building a gypsum board partition. If joints are not properly treated, the strength of the entire structure will deteriorate over time and cracks may appear. To avoid this, first prime the joint area, then spackle using reinforcing tape, sand it down, and coat with primer again.
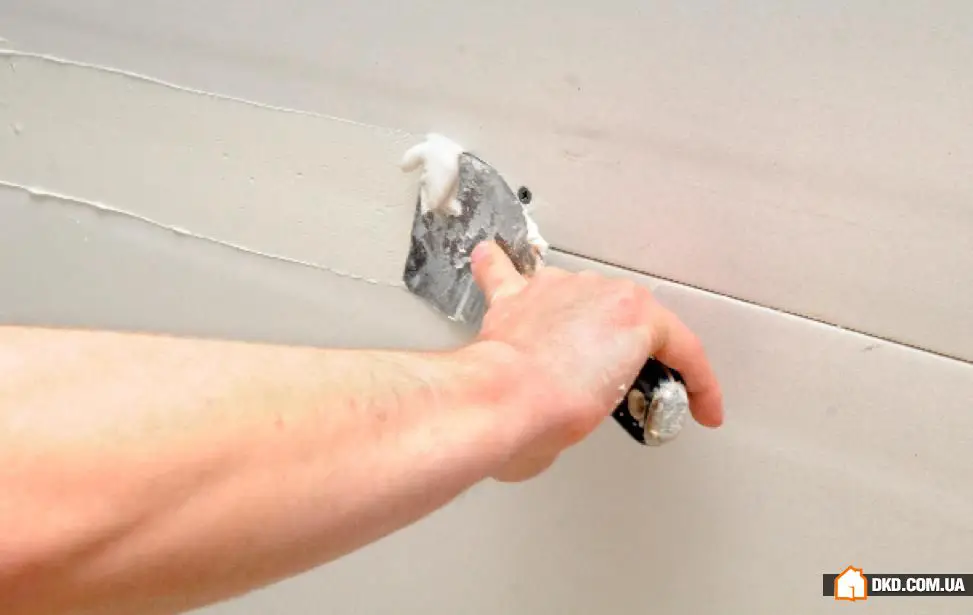
Joint Treatment of Gypsum Board Sheets
Expert Opinion: A beginner can handle a gypsum board partition
If you select materials carefully and follow installation techniques properly, the partition you build will be no worse than one built by professional contractors. It may even be better – especially if you follow our expert's advice.
1. Don't Be Afraid to Use Gypsum Board
Modern high-tech materials have long dispelled the myth of the fragility of gypsum board partitions. Using special reinforced sheets, you can create a highly durable structure even with single-layer material. Don't hesitate to hang heavy items on a gypsum board partition. If you've done everything right, it can support a kitchen cabinet or a TV.
2. Ensure a Strong Frame
The frame is one of the main components of the system, and it's responsible for the strength of the entire partition. Don't cut corners on profiles – choose those with special ribs that have higher strength characteristics. Additionally, when installing gypsum board, screws go in more easily to ribbed surfaces. Remember that for door openings, vertical supports need reinforcement. If you've chosen quality vertical profiles, this is easy to do: just snap two profiles together using a special technological lock that doesn't require additional fastening.
3. More Load?
A stronger frame! Standard spacing for vertical profiles is 600 mm, but if you're installing a single-layer gypsum board partition and plan to finish it with tiles or expect significant load on the partition, it's better to reduce this distance to 400 mm.
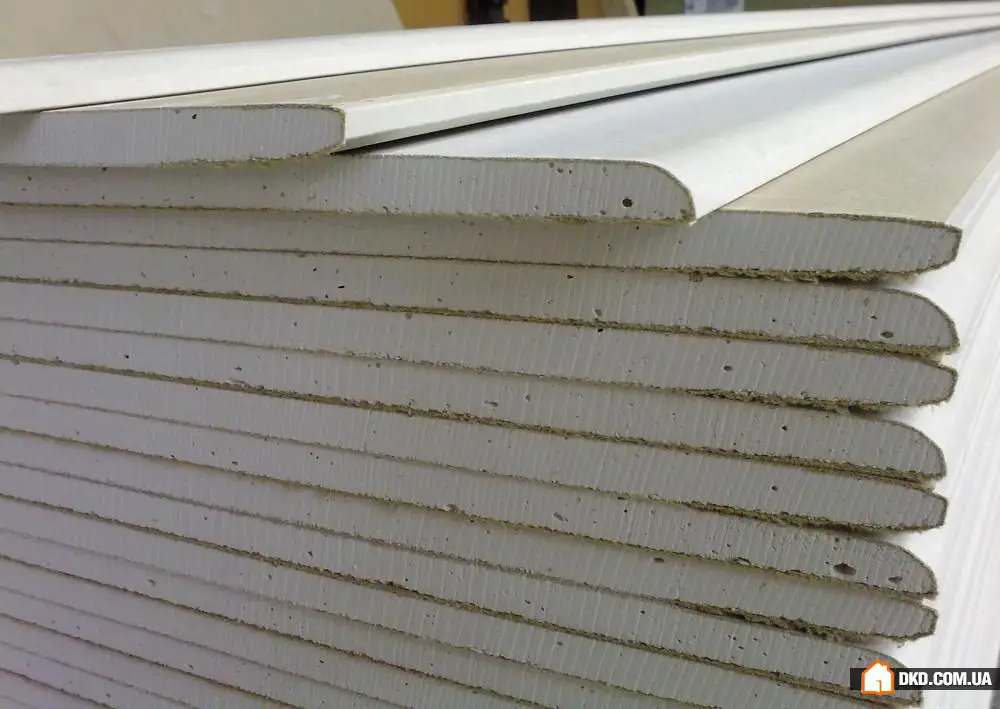
4. Choose Sheets with Proper Edges
Gypsum board sheets have different edge profiles for joint finishing. Choose the right one! For spackling without reinforcing tape but with high-strength spackle, sheets with a semi-circular thin edge are preferred. However, higher crack resistance will be achieved by using sheets with Pro edges, specially designed for reinforcing spackle. For reinforcement, use special paper-reinforcing tape for joint finishing instead of canvas.
Need a renovation specialist?
Find verified professionals for any repair or construction job. Post your request and get offers from local experts.
You may also like
More articles:
 15 White Round Dining Tables for Elegant Dining Room Atmosphere
 New Interior Kitchen Design Trends 2015
 How to Renovate an Apartment for Rent Without Going into Debt: 7 Useful Tips
 How to Protect a Private House from Fire: 9 Valuable Tips
 How to Organize Sleeping Area in a Studio Apartment: 7 Best Solutions
 Ergonomics of the bedroom: what to consider when arranging furniture
 Can You Enjoy the Enchanting Ocean While Relaxing in Your Bathroom?
 17 Ideas for Unusual Stone Bathtubs