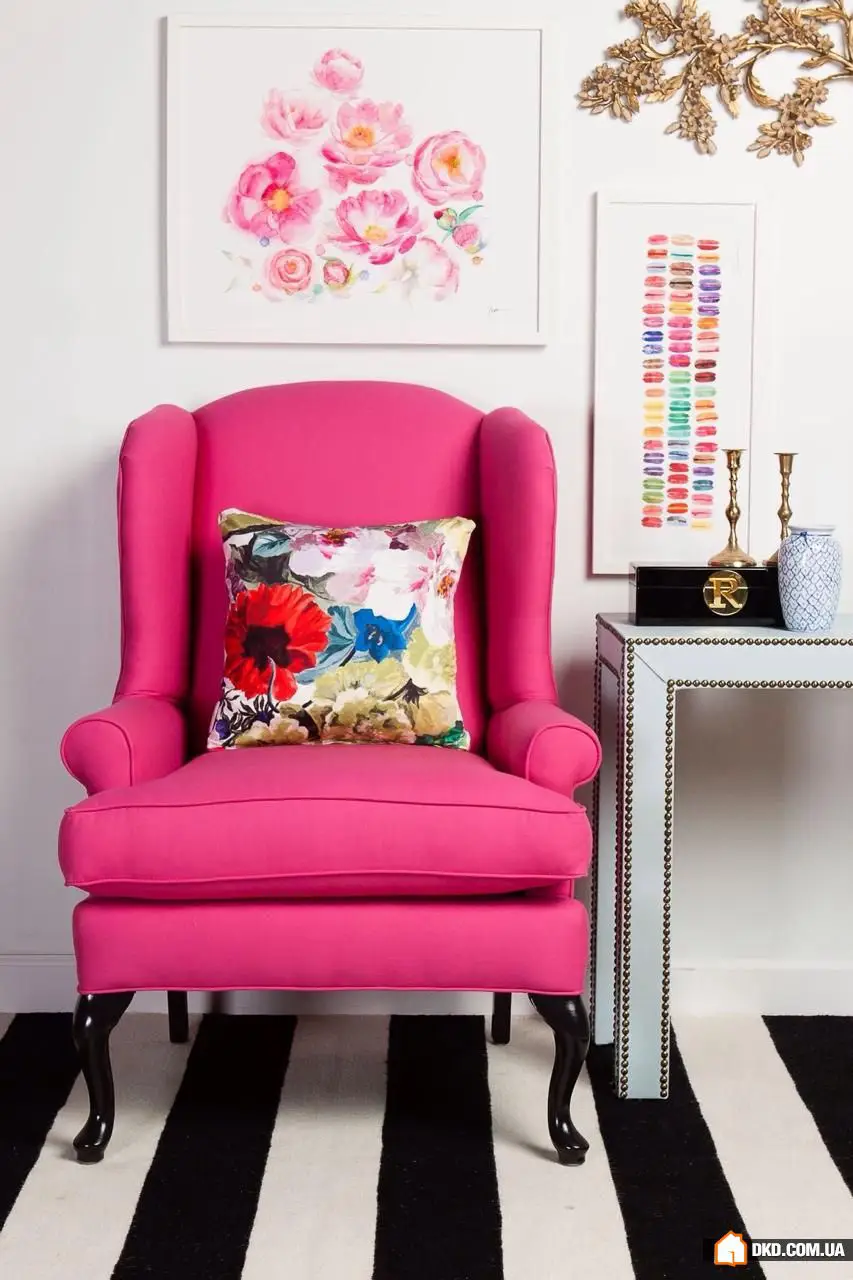
Changing the Upholstery of Soft Furniture: Step-by-Step Guide
Step #1: Upholstering the Sides
First, disassemble the sofa or armchair into its components: detach the sides, seat, and backrest. To remove the upholstery from the sides, carefully pry out the clips with pliers. After removing the fabric, inspect the foam (or batting) or synthetic fiber that lies underneath. If it is in good condition, you don’t need to replace it.
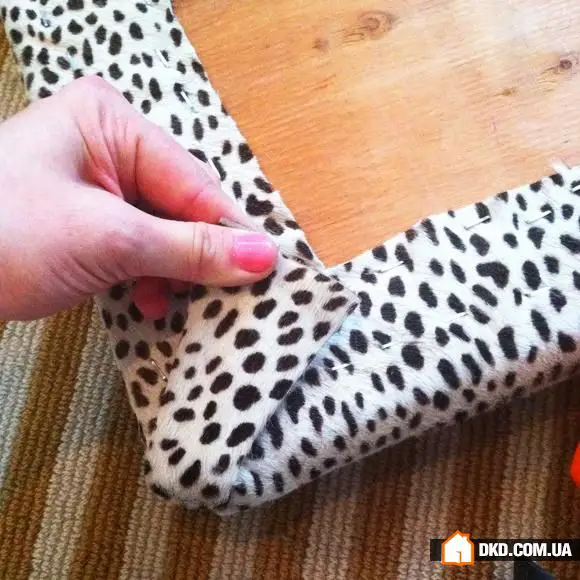
Lay a new layer of batting or synthetic fiber on the wooden frame of the sides. Then cover everything with canvas fabric. The new fabric should be cut according to the old upholstery pattern – sew and fit it onto the sides tightly, ensuring that the pattern aligns correctly and is secured with clips at the bottom. Pay attention to the pattern – it should run in the same direction on both sides, and make sure you don’t confuse the right and wrong sides of the fabric.
Tip: It's better to film the process of disassembling the sofa and removing the upholstery, especially if you're unsure about your decorating skills. Photos will greatly simplify reassembly after changing the furniture upholstery.
Step #2: Replacing the Filling
If your sofa filling has served you faithfully for more than 7 years, it’s time to part ways with it – remove it without hesitation. Inspect everything: clear out any remaining clips and pieces of filling, but don’t touch the screws that connect the base to the sides. Consider whether you need extra volume? To achieve more rounded sides, use thick foam about 20–40 mm. Place it on the outer side of the frame; otherwise, it will be hard to connect the sides to the frame.
You should stuff the side by placing it on a layer of foam externally. Cut the material with an office knife so that it covers the entire outer surface and 45–50% of the inner side. Make a 70–80 mm allowance on both sides – this is needed to wrap the sides at the ends. The foam should be stretched and secured with clips using a construction stapler. After wrapping the side with foam, place it on the stretched canvas and cut the fabric accordingly. Ensure that the canvas covers the entire foam layer. Wrap from bottom to top and secure with clips.
Tip: The filling should be replaced every 7–10 years of use. At this age, insects often appear in the material or dust accumulates.
Step #3: Changing the Upholstery on the Seat
The sides are ready, now it’s time to cover the seat. Carefully remove the old upholstery and remove the filling all the way down to the springs. If any of them are damaged, replace them. Also, if the seat frame is loose or broken, fix and reinforce it with furniture screws. Cover the spring block with dense fabric and lay down foam – first a layer of hard foam, then softer.
Secure the foam layer to the frame at the front, then thread it through all the springs and secure it at the back and sides. The next layer is canvas, which is secured in the same way. Take the old upholstery material and make a new pattern based on it, accounting for extra centimeters to accommodate the more dense foam layer.
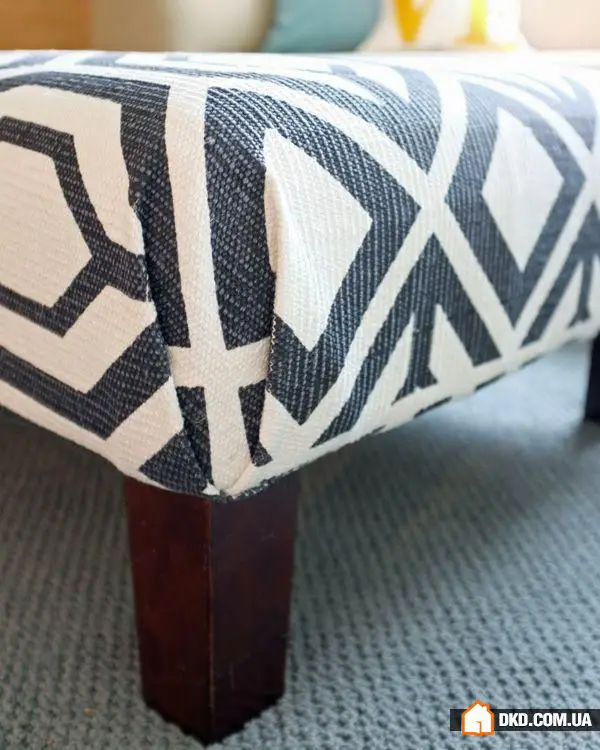
Tip: Change the upholstery and old filling as tightly as possible, stretching each new layer around the entire perimeter of the furniture. The tighter you pull, the fewer creases will form. The sofa or armchair will look much neater and more comfortable with a resilient filling.
Step #4: Reupholstering the Backrest
Upholstering the backrest is almost the same as the seat, but there are some nuances. Only soft foam is used as filling material. The layer of filling is attached only to the upper part of the wooden frame. Cut it at the edge of the spring block and don’t extend it to the bottom. This principle is easy to explain: if the foam runs from edge to edge of the frame, it will be difficult to fold or unfold a sofa-bed or even impossible.
Tip: As with the sides, pay attention to the pattern when upholstering the backrest. Especially if you have a fabric with a strong texture or an interesting pattern. If the pattern runs in different directions, you’ll have to re-cover the damaged area, otherwise the appearance of the renewed furniture will be ruined.
Step #5: Assembling the Restored Furniture
When all parts have been reupholstered, you reach one of the most difficult stages – assembly. Install the fasteners and ensure they are securely attached – if needed, adjust the holes with larger screws and secure the frames to them. To connect the backrest and seat, you will need some force, possibly assistance from others. If it’s impossible to connect them, it means you’ve placed too much foam and need to remove some. Loosen the upholstery and canvas on the inside of the seat and trim part of the foam with an office knife. Reattach the upholstery and try to reconnect the furniture parts again. Install the backrest and seat, and only after confirming that their connection is solid, attach the sides.
Tip: If you're changing the upholstery on a sofa-bed, make sure to check the folding/unfolding mechanism after upholstering the seat and backrest. If you have doubts, adjust the fasteners by slightly loosening or tightening them.
Need a renovation specialist?
Find verified professionals for any repair or construction job. Post your request and get offers from local experts.
You may also like
More articles:
 19 Divine Nature-Themed Photo Wallpapers
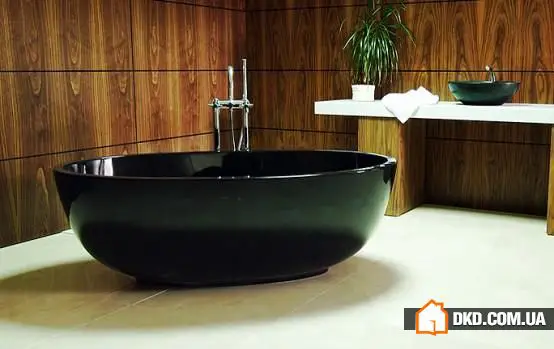 Black Bathtub - The Best Way to Create an Enchanting and Relaxing Atmosphere in the Bathroom
 Insulating a House from the Outside: 7 Recommendations from Professionals
 Kitchen Ergonomics: How to Create a Functional Layout
 Collection of Expressive Mediterranean Residences as a Motivation Tool
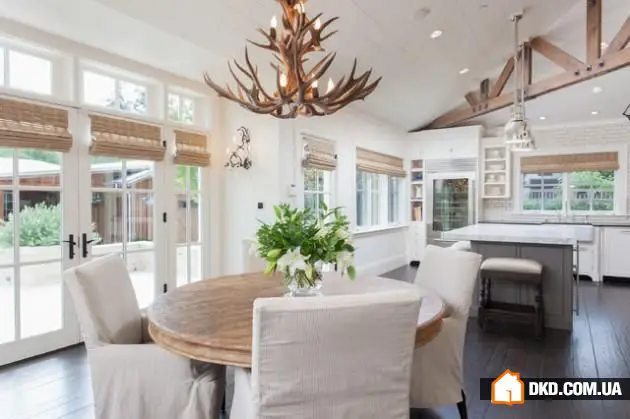 Original Chandelier with Deer Antler Elements to Attract Guests' Attention
 Wooden Ceiling — The Perfect Solution for a Rural Style Home
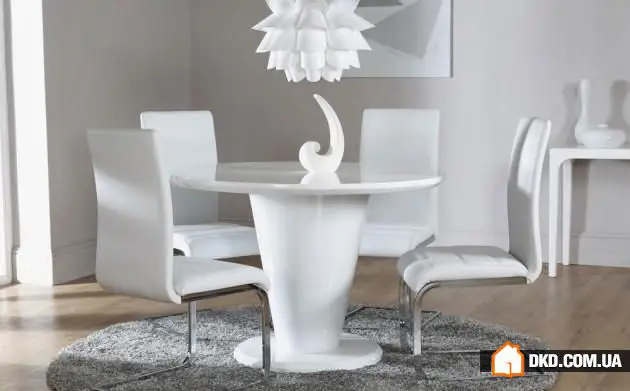 15 White Round Dining Tables for Elegant Dining Room Atmosphere