There can be your advertisement
300x150
Painting Walls: 10 Mistakes You Should Avoid
If you think painting takes no more than half an hour and the walls become as new, we have to disappoint you. Painting a surface is not without nuances: the process can be prolonged due to incorrectly chosen paint, roller, or a layer applied at the wrong time. The time of day when you pick up the tools also matters. Training is, of course, the best way to achieve success, but we recommend avoiding others' mistakes – we explain how.
Mistake #1: Painting Unprepared Walls
Minor defects, dust, sand particles, and bristles from a brush during previous painting can end up under the paint and negatively affect the result. Under a layer of paint, all imperfections will be visible – you can either accept them or clean the wall and repaint it. Greasy spots may show through even if you cover the surface with several layers. Defects are especially noticeable when using glossy paint.
What to Do: To avoid double work and unpleasant surprises, prepare the wall in advance. Use sandpaper or a special plastering tool to smooth out uneven areas and defects. Then, brush off the dust with a brush or broom. Stains can be removed by wiping the wall with a damp cloth and soap.
Mistake #2: Ignoring Primer
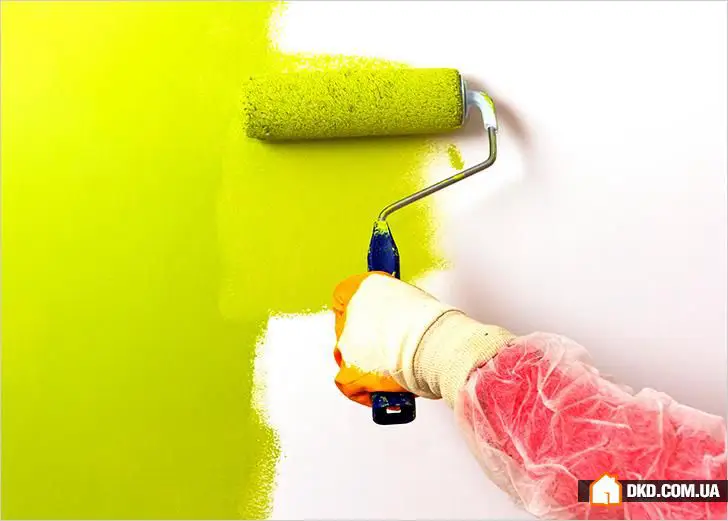
Not using primer before painting walls? Don't be surprised if the result is unevenly painted or you use more paint than necessary. The reason is that primer reduces surface hygroscopicity, which helps save painting material. It also provides a base that improves the adhesion of paint to the surface, enhancing wall coverage.
What to Do: Choose the appropriate primer for walls. Apply it vertically with a brush in small strips, then horizontally - perpendicular to the first layer. Once the base has dried, you can apply the first coat of paint.
Mistake #3: Incorrectly Diluted Paint
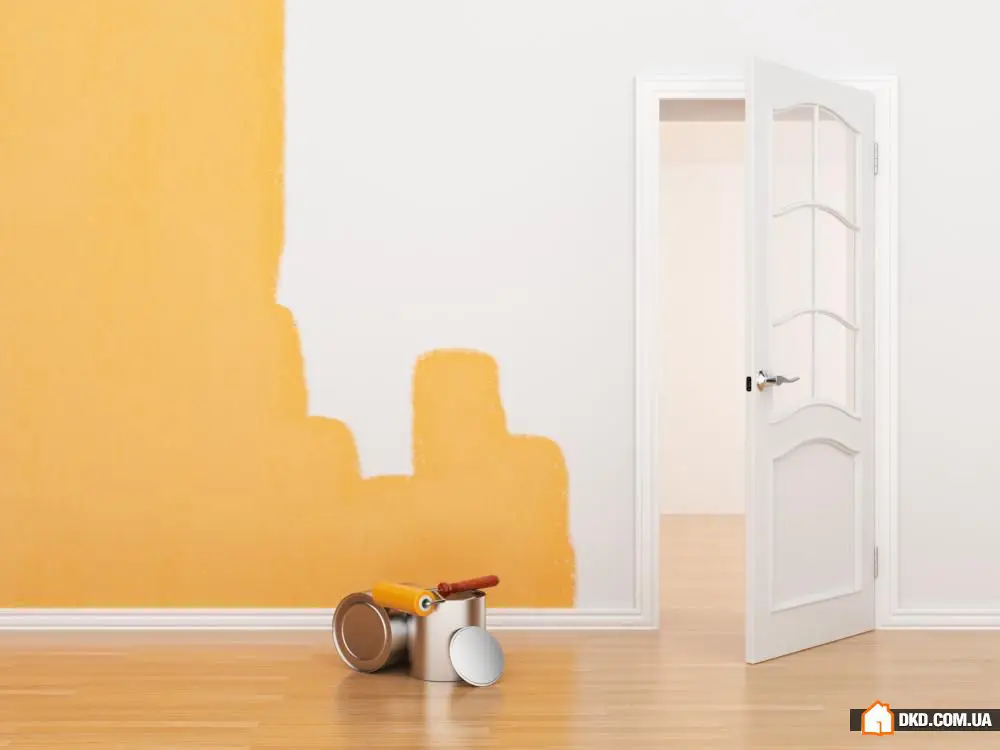
Paint can be too thick or become that way during work. In this case, it needs to be diluted - an intuitive action. However, what to dilute it with is a question that can ruin both the material and the entire job. For example, if you dilute a water-dispersible paint with white spirit, it can cause polymer coalescence. If you paint the wall with such a mixture, the result will be poor - disappointment is inevitable: the paint will not lay evenly, and may even clump. Conversely, if you dilute oil-based paint with water, it won't mix properly with the base.
What to Do: Read the composition on the paint can and choose the appropriate diluent accordingly. Don't add too much water or solvent - it's better to add small amounts and mix thoroughly.
Mistake #4: Painting Without a Test
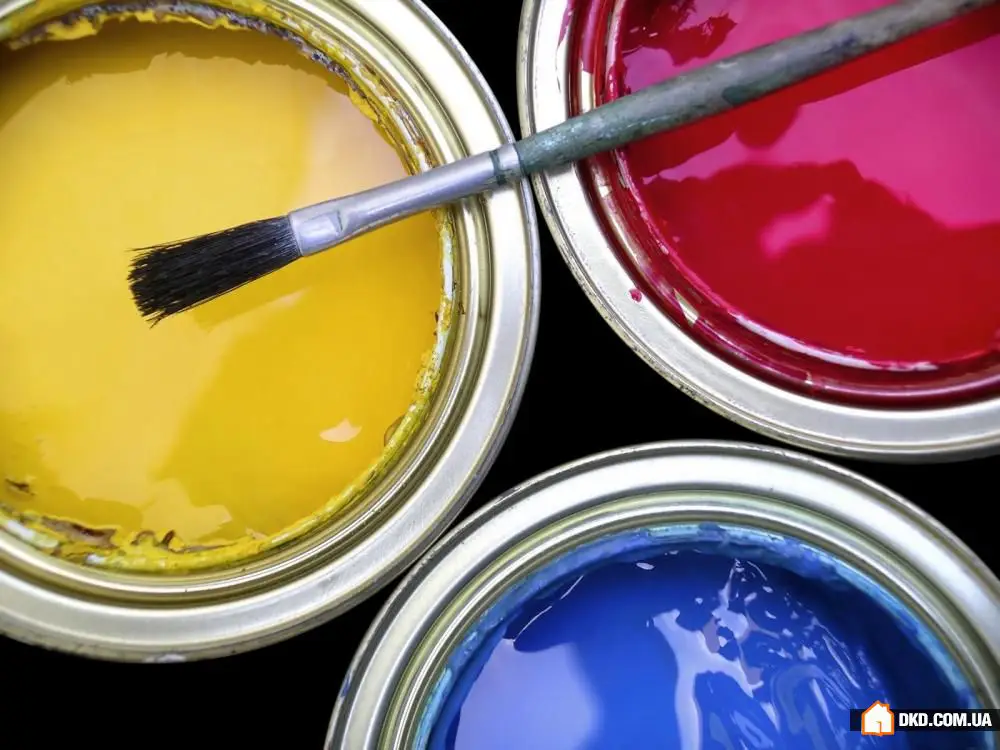
Choosing the color is a rather complex process, especially when matching tones or patterns. The masterpiece may have to be repainted endlessly. The same applies to colors that you have to "create" yourself using colorants.
What to Do: Add the coloring concentrate to paint gradually, thoroughly mixing the contents. Start by pouring a small amount of paint into a small container and add a few drops of colorant - see what color you get. Achieve the desired tone, and then repeat the same in a larger container if the result is satisfactory. To ensure the color matches the overall room decor, try a test paint - apply it in an inconspicuous corner and wait for it to dry. If the result is acceptable, proceed.
Mistake #5: Wrong Tool Selection
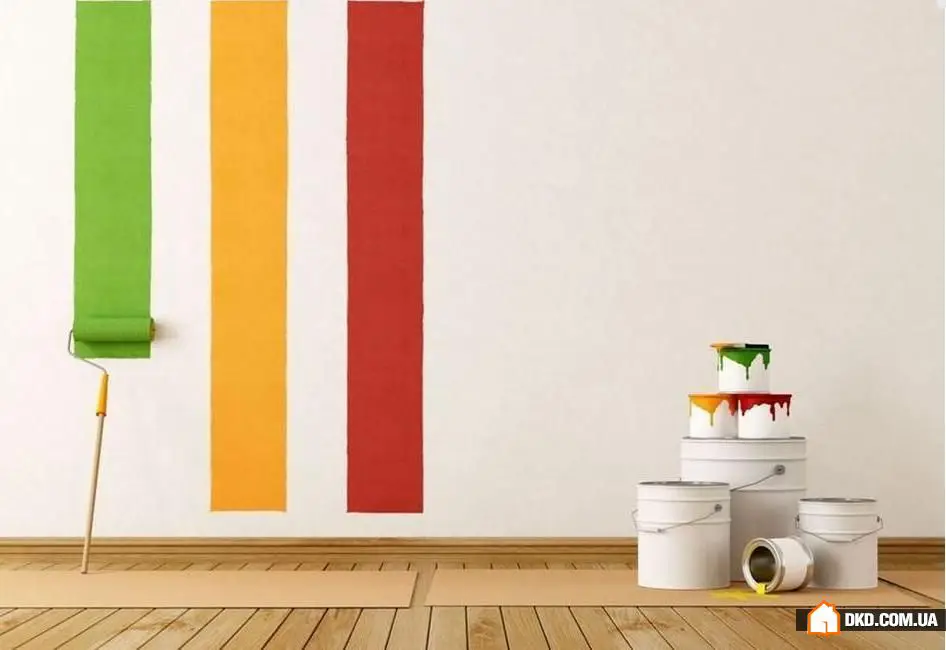
Using the right brush or roller is just as important as choosing paint. It's not about personal taste. To evenly paint a wall, you need to buy a set of rollers and a brush. First, you will "roll" the surface, then use a brush to paint corners and hard-to-reach areas.
What to Do: For the first coat of paint, choose a roller with long fibers - 1–1.5 cm. It will absorb more paint, allowing for faster and easier even coverage. For subsequent coats, a roller with short fibers - 6–7 mm - is better: it helps use paint more economically and won't leave streaks. Choose a brush with natural bristles - it won't leave fibers on the surface.
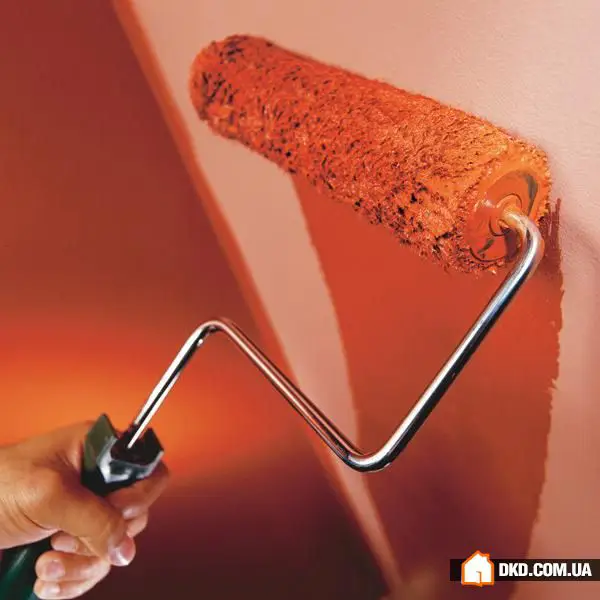
Mistake #6: Painting in Different Directions
If you apply paint vertically, then horizontally, and later in any direction hoping that the wall will look decent once it dries - you're making a serious mistake. All brush strokes may show, especially when using a brush.
What to Do: Choose one method of painting - vertical or horizontal - and the paint will lay evenly, making the coating look less awkward due to chaotic strokes. When painting in multiple layers, you can alternate methods - for example, paint the first layer vertically and the second horizontally.
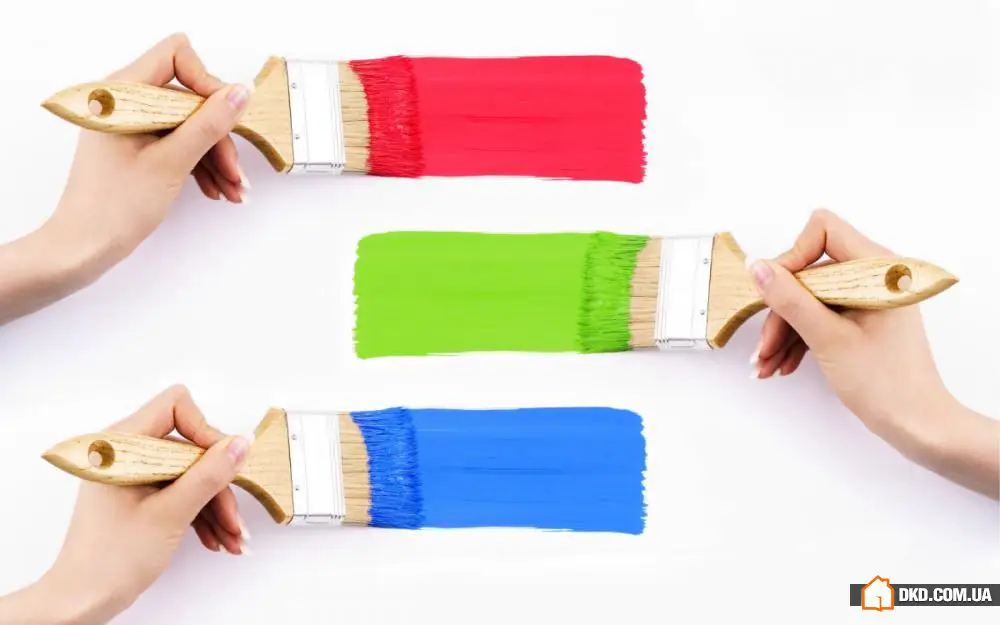
Mistake #7: Applying Paint in One Layer
Applying paint in one layer may result in uneven coverage, and if you want to change the surface color drastically, finishing quickly won't be possible. Even changing a light shade to a darker one will show the original color.
What to Do: For a vibrant color, apply two or preferably three coats. The first coat will distribute the paint across the surface; the second and third coats will better blend it, even out the color, and fill in small imperfections.
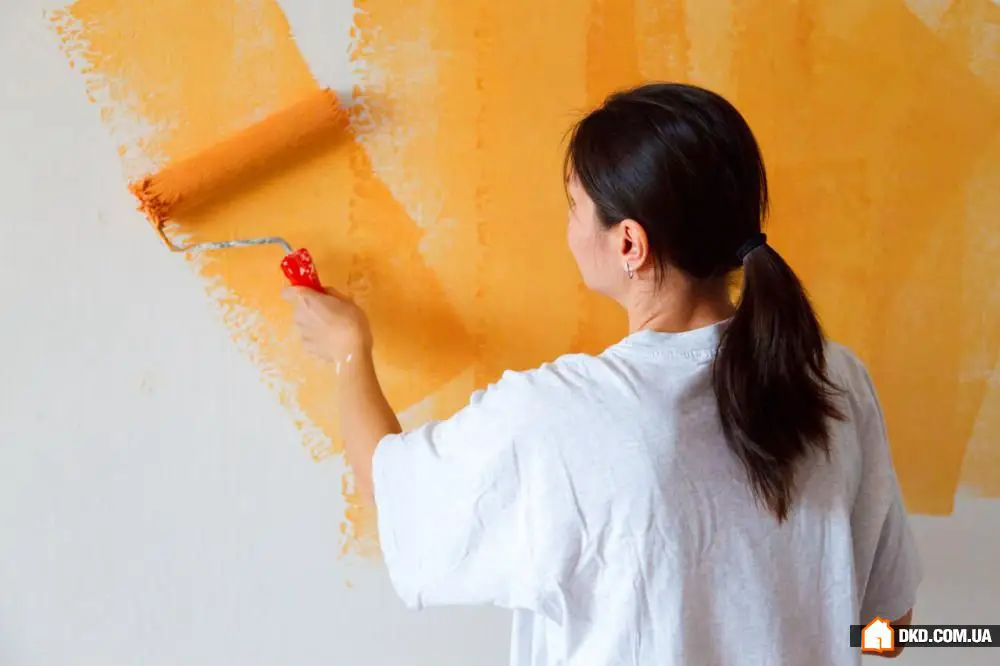
Mistake #8: Painting Over Wet Paint
Naturally, you want to finish painting faster and enjoy the result. Therefore, we often don't think about the consequences of painting over a "wet" wall. As a result, the not-yet-dry layer may peel off, stick to the brush or roller. Oil-based paint, in turn, can bubble - you'll have to start the entire job again. Actually, wait until the paint dries and sand the defective areas.
What to Do: Be patient. While the paint dries, do anything else. Pay attention to the instructions on the can, where it says how long the paint needs to dry completely. If it's a one-base emulsion, it will take little time - and you can resume work.
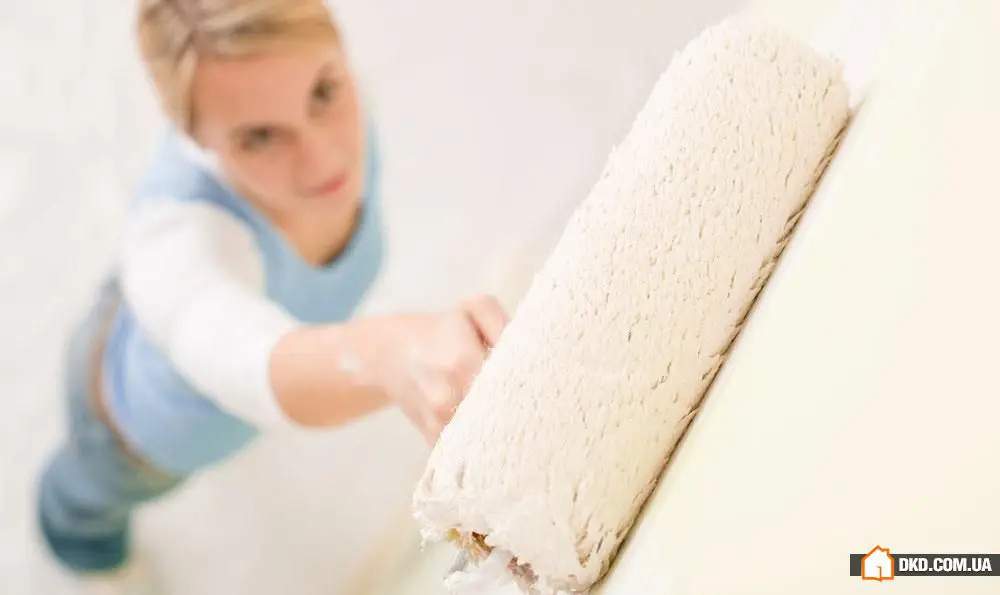
Mistake #9: Not Enough Paint
This can become a serious problem. First, because the already applied layer may dry during your trip to the store (after drying, the seam between fresh and previously applied paint will be visible). Second, it's hard to find the right shade if you added colorant to the paint yourself.
What to Do: The easiest solution is to take more. In a pinch, you can return the unopened container to the store or leave it "just in case" - touch up areas where the paint peels off over time. Paint cans always indicate how much area the volume is designed for - pay attention to these figures. Also, consider that if you're painting the surface in two layers, the area increases by double.
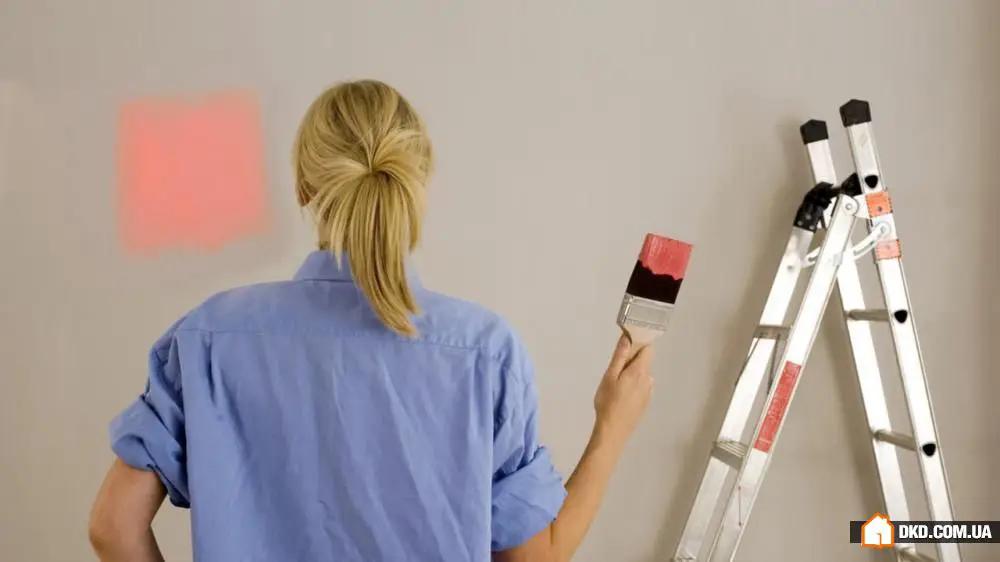
Mistake #10: Choosing the Wrong Time for Painting
Applying paint in bright sunlight can cause the composition to dry too quickly - before it's evenly distributed. Paint may also start foaming or flaking. If you paint under the light of an electric bulb, all imperfections will be barely visible.
What to Do: The best time for painting work is daytime without direct sunlight falling through windows. The southern side is better painted in the morning or evening when the sun isn't as bright.
More articles:
 Beauty in Simplicity: Garden Path Design Ideas
 How to Arrange a Small Apartment: 10 Real Examples
 Books in Interior: How to Arrange a Home Library
 How to Use Photo Wallpapers in Interior Design: 6 Tips, 30 Examples
 Closet in a Studio Apartment: 7 Details You Should Know
 How to Arrange Interior When You Have Pets
 Kitchen of the Week: Tiles Set the Mood
 When Does a Space Become a Home?