Masterclass: How to Make Roman Blinds by Hand
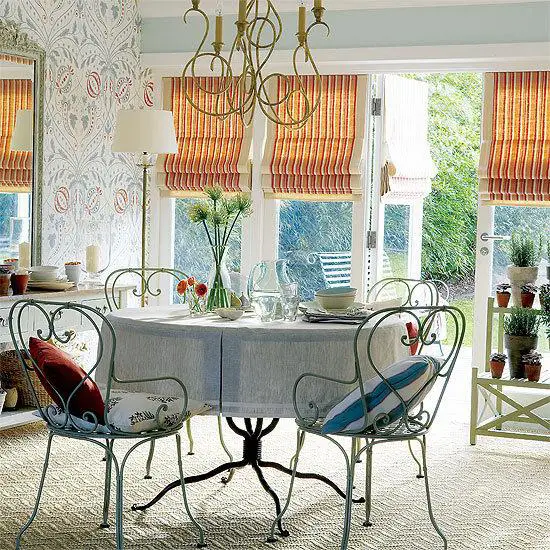
Roman blinds are a popular trend that continues to win over more fans every day. What makes them so appealing? They look stylish, are compact, don’t clutter your interior, and are easy to maintain.
So if you dream of roman blinds, it’s time to grab your tape measure and turn your dream into reality. Here’s how to do it right.
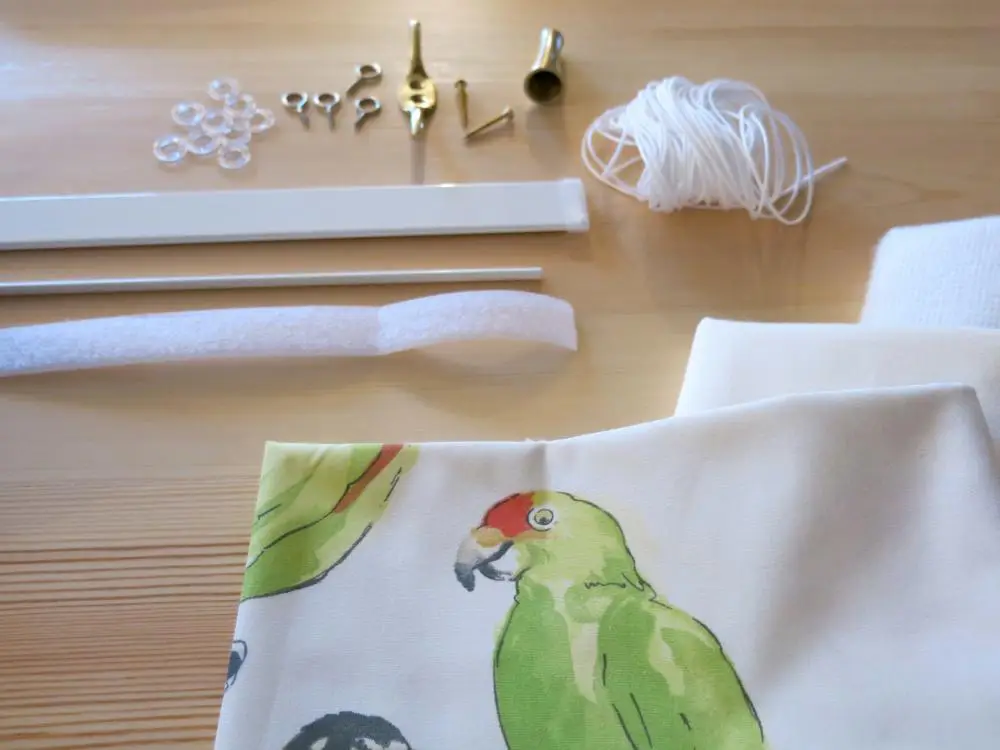
What You’ll Need
Fabric and lining for the blind. Metal or wooden rods (3 cm shorter than the blind’s width), 7–8 pieces. Hook-and-loop tape (as wide as the blind). Drill and screws. Chalk or soap for marking. Thread and needle. Sewing machine. Three pieces of cord, each twice the length of the blind, with a width greater than one length of the blind. Plastic rings. Weighted bar and wooden mounting bar. Nails and hooks.
Step One: First, measure your window opening. Add 12–15 cm for top and bottom allowances, plus 5 cm for side seams.
Don’t forget to account for the number of folds when calculating fabric. This depends on the blind’s length.


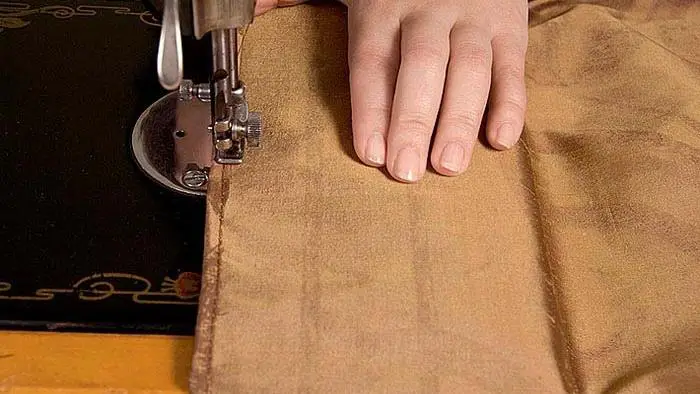
Step Three: Now you can safely begin sewing. A sewing machine is essential—whether electric or manual, your skill level matters most. If you don’t know how to sew, ask a friend or a professional seamstress. Without experience, you risk damaging the fabric and your mood.
If you decide to make the blinds yourself, be extremely careful and attentive. First, finish the side edges and top edge of the fabric or textile used for blinds.
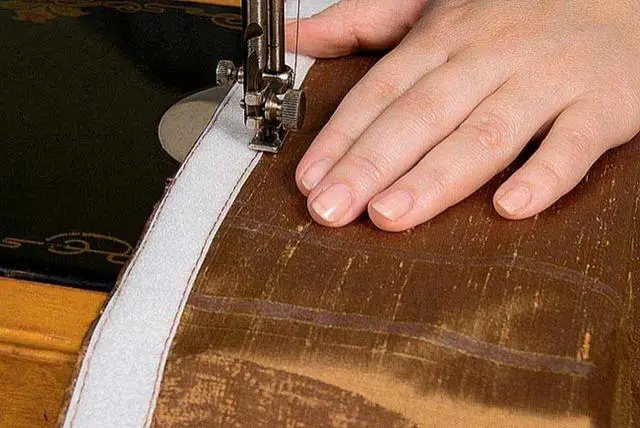
Attach hook-and-loop tape to the top edge—it will secure the blind. This is the most convenient option for maintenance: you can easily remove blinds for washing and rehang them, or replace them entirely if desired.

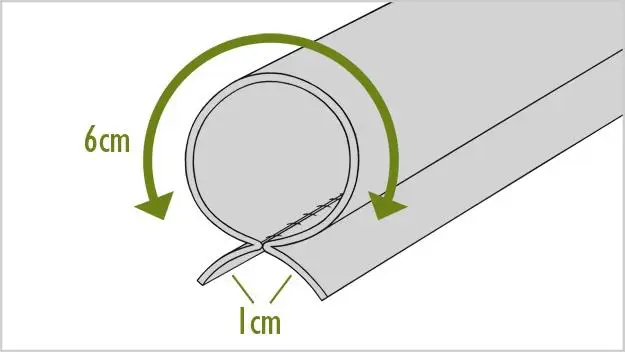
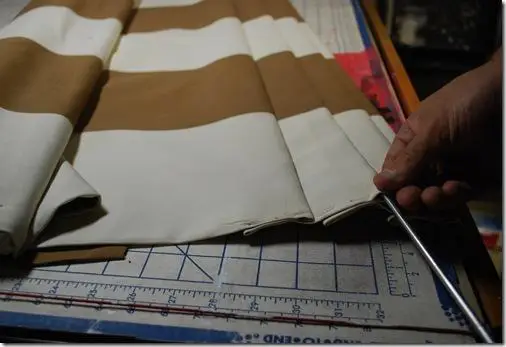
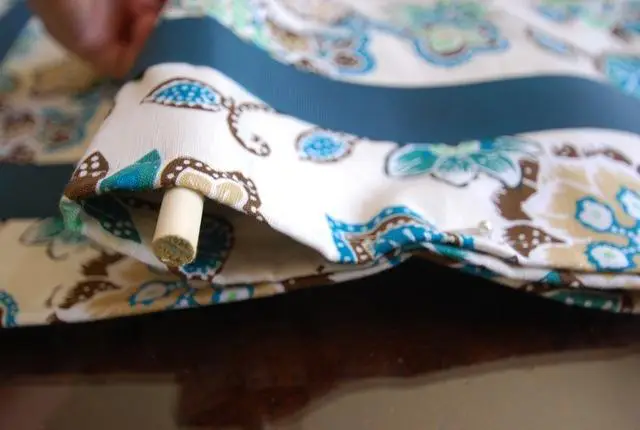
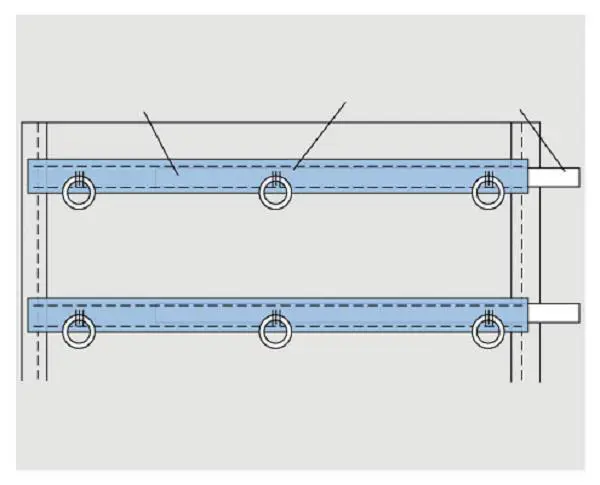
Step Four: Fold the bottom edge of the blind to insert the weighted bar. Then sew a decorative hem on the backside. Now you can insert the rods into the formed pockets.
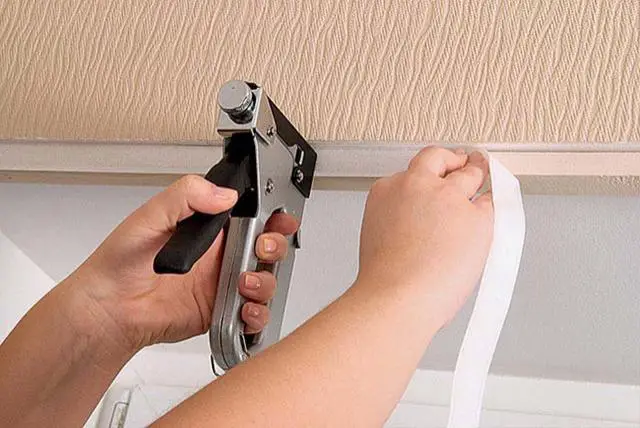
Step Five: Attach the hook-and-loop tape to the wooden batten (lower part), using nails or a staple gun. The blinds will later hang from this.
Step Six: Mark the ring positions. Then sew them manually. The rings are fixed to the wooden batten with nails. This ensures the lifting mechanism is securely fastened.
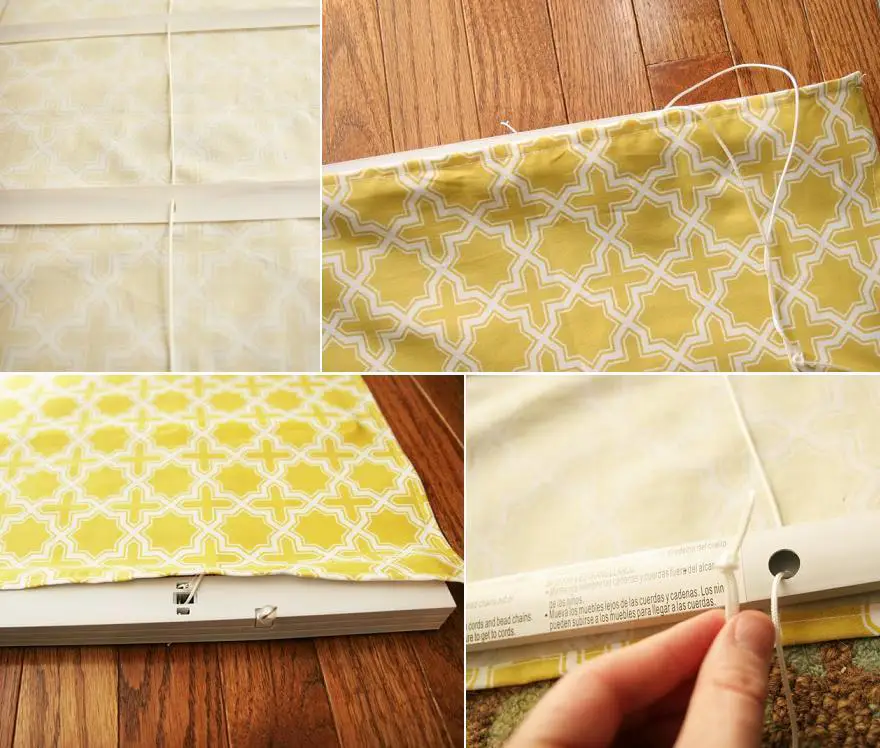
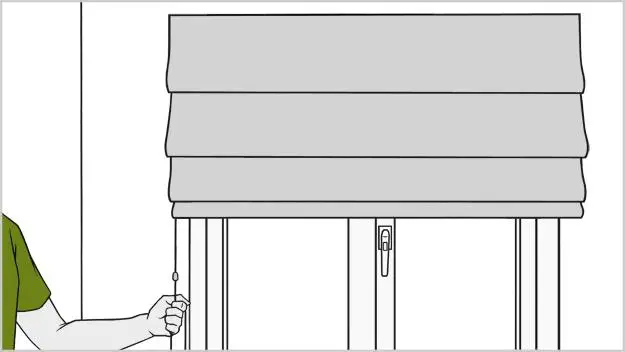
Step Seven: Use the hook-and-loop tape to secure the blind to the wooden batten. Fix the cord fastener to the window frame. Then wrap the cord around it to hold the blind in place. Now thread the cord through the rings, starting from the bottom.
At the bottom ring, tie a knot and secure it with glue for strength.
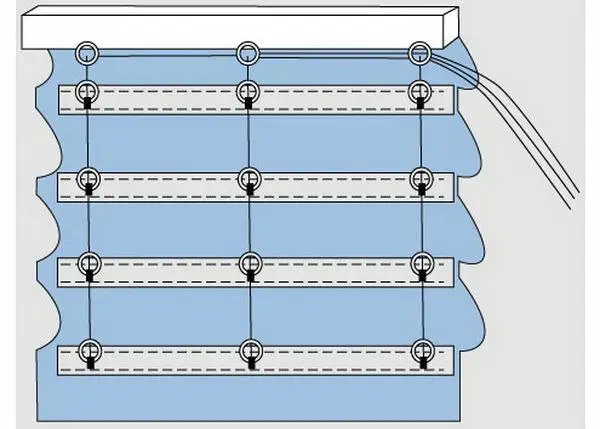
Step Eight: Thread the cord through all rings to the top of the blind, repeating for all rows. Make sure all cords exit on the same side of the blind. Pull all cords tight so folds evenly distribute across the blind’s width. Secure folds with ties.
After threading all cords, pass them through the fastening rings so they all stay on one side.
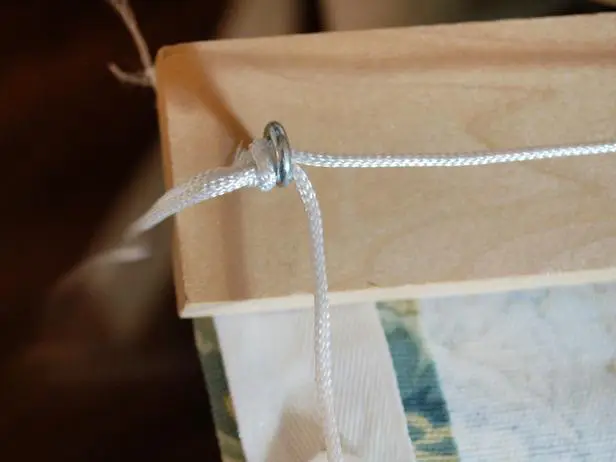
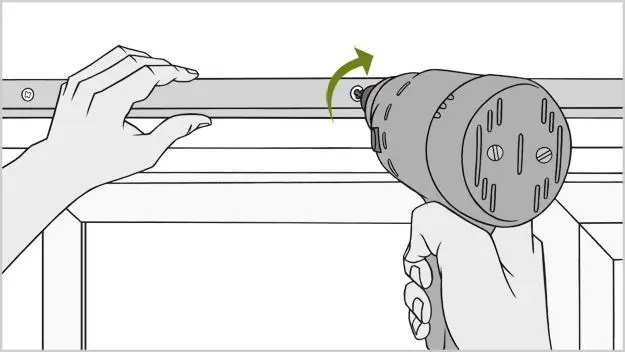
Step Nine: Mount the wooden batten to the window frame using a drill and screws. Then remove the tie strings used to hold the folds. When the blind is lowered, adjust the tension of all cords. Hold them together while tying a knot, which you’ll hide behind the last ring.
Now thread the cords through the blind’s opening handle. Measure 46 cm from the first knot and make another. Cut off the excess cords below the last knot.
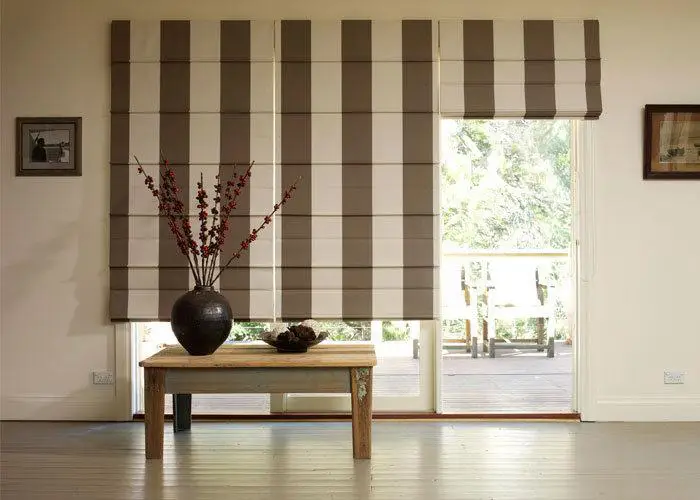
And there you have it—your roman blinds are ready! Of course, making them by hand takes effort, but the result is worth it: your interior will instantly transform, gaining a touch of exclusivity. After all, today’s trend is creating home decor and accessories by hand.
Need a renovation specialist?
Find verified professionals for any repair or construction job. Post your request and get offers from local experts.
You may also like
More articles:
 Dining Outdoors: 50 Inspiring Ideas
 30 Inspiring Views from the Window
 How to Decorate a House if Windows Are Floor-to-Ceiling: Interior Behind Glass
 20 Elegant Bedrooms in the New Classic Style
 Wood and Concrete: An Eco-Friendly and Minimalist House
 7 Ways to Use Wallpaper Coloring Not as Intended
 5 Famous Designer Chairs
 How to Design an Interior in Scandinavian Style: Tips and Examples