Now Shoes Don't Get in the Way
We are used to the fact that in the hallway there is always a «sea» of various shoes on the floor. At the same time, it's good if you live alone or with one other person. If it's an entire family, then there is an endless amount of shoes. As a result, the hallway, to put it mildly, acquires a very «unsuitable» appearance.
Naturally, we try to put the unnecessary shoes away in wardrobes or shoe tables. However, no matter how hard you try, you always need different shoes for daily use. Because weather changes as fast as sound and it's quite difficult to predict it.
We propose a creative solution for everyone who has extra half-meter or meter of free wall space in the hallway. In this case, we don't suggest any heavy furniture for shoes (shoe wardrobes, dressers, or shelves).
On the contrary, our design not only brings a feeling of lightness and additional space into your hallway but also solves the «shoe» problem once and for all.
For this, you'll need a few hours of your time and minimal financial investment.
To begin with, you should buy any lightweight but sturdy synthetic material in any color (sheet or roll). However, it's worth noting that the color should be chosen based on the overall color palette of the hallway.
So, cut out templates in any shape according to the maximum length of your largest shoe size. Usually, the most attractive forms are those resembling lanterns (wider at the top and narrower at the bottom), as well as any rounded shapes. It's not necessary to make a bottom for such forms, since they will fit snugly against the wall of the hallway.
However, it should be remembered that in such a case, you can only put clean shoes into this shoe cabinet. Otherwise, the wall will get dirty soon and you'll have to do a cosmetic repair of the lower part of the wall or the entire length of it.
Cut out the templates and roll them into the desired shape, then glue them with any superglue or construction adhesive. Cut out the bottom separately and glue it into the already cut-out shape using the same method.
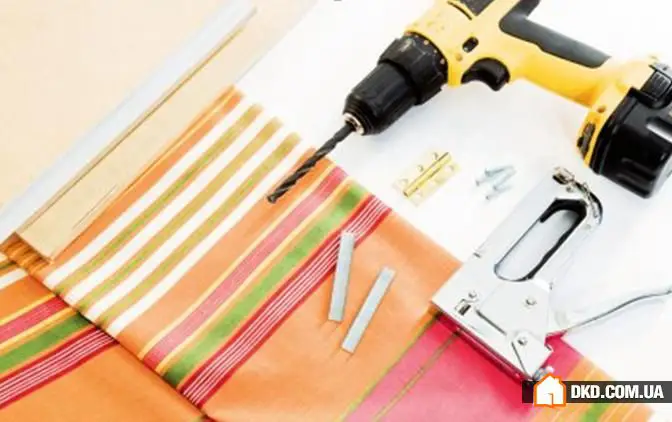
Once you have enough templates for shoes, take a thin wooden strip and carefully hammer it into the wall from both sides or hang it using special wall hooks. Attach the templates to the strip and securely fasten them using any available fixing tools.
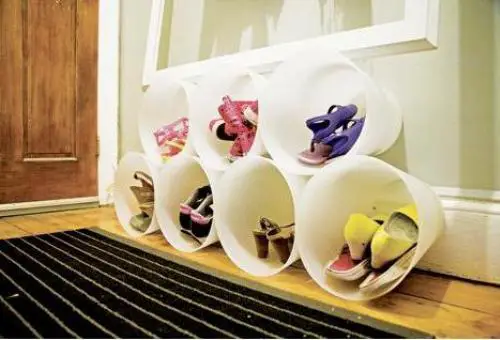
Photo 1 — Honeycomb for Shoes
As we can see, it's simple, convenient, and inexpensive! Now you have fun shoe compartments that not only fit perfectly into the living room but also make it truly special. There is no longer any extra shoes on the floor, yet they are always within reach.
It should be noted that cleaning such a structure should be done with a damp soft flannel cloth using any cleaning products. Of course, it's preferable to put clean shoes or shoes worn in dry weather into these compartments.