Rope Light Fixture
Decorating your home is not only pleasant but also time-consuming. You need to spend time and money looking for the perfect item that fits your interior design and reflects your good taste.
We offer to diversify your apartment with handmade items. For example, a rope shade.
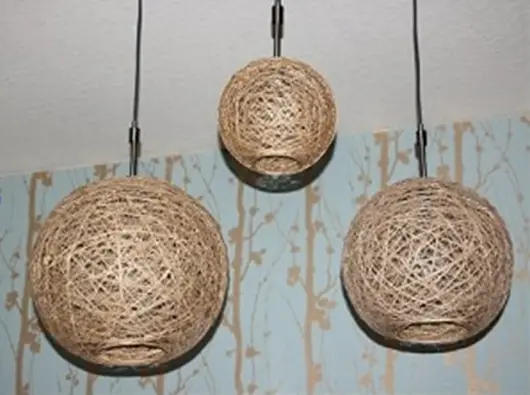
Photo 1 — Rope Shade
To make a lampshade from ordinary threads, you will need:
- a ball or inflatable balloon, a fitness ball will also do. It all depends on the diameter of the light fixture you want to make
- glue (PVA or instant glue, as long as it is transparent)
- rope (10-20 meters of waxed rope)
- a marker or pen
- a needle
- rubber gloves.
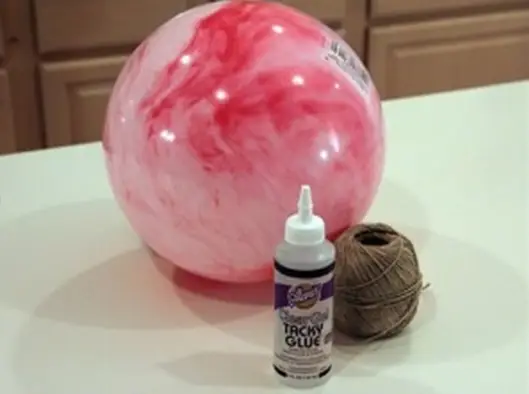
Photo 2 — Raw Material
Step One
Draw a circle with a diameter of 10 cm on the ball. If your ball is larger than 30 cm in diameter, the circle should also be larger. This circle will be at the bottom of the light fixture – space for light diffusion.
On the opposite side, leave a small area free – that’s where you’ll attach the socket with the bulb.
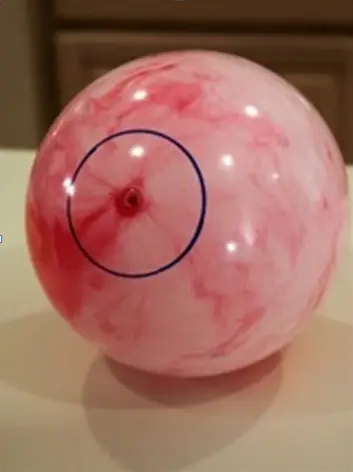
Photo 3 — Step 1. Marking the Ball
Step Two
Begin wrapping the ball with rope soaked in glue.
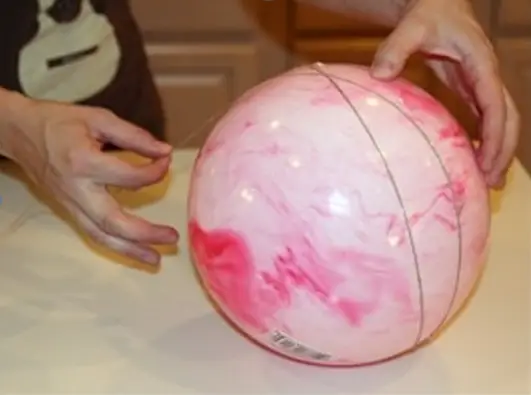
Photo 4 — Step 2. First Coils
To make the pattern on the shade look beautiful, do not create any special design. Just wind the threads randomly and chaotically on the ball.
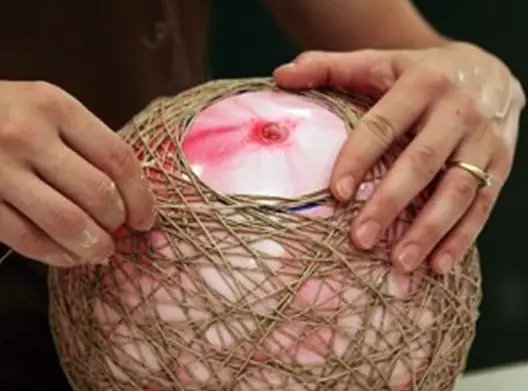
Photo 5 — Step 2. Final Result
Step Three
Carefully secure and hide the end of the rope with glue.
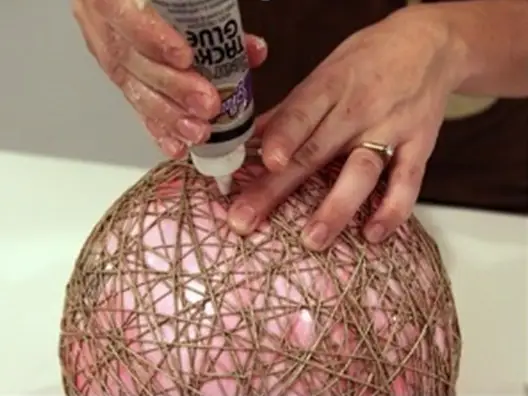
Photo 6 — Step 3. Securing the Rope End
Step Four
Check the wrapped ball from all sides. If you see any unglued spots, glue them. The light fixture will be stronger the more glued connections there are in the rope. Leave it to dry for about 48 hours.
Step Five
Pierce the ball with a needle to let the air out.
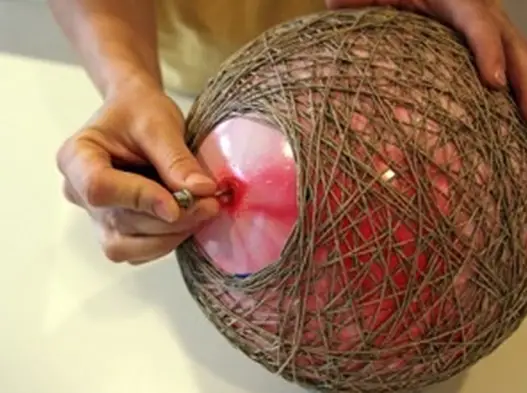
Photo 7 — Step 5. Letting Air Out of the Ball
Step Six
Gently remove the ball from the shade so as not to damage the rope frame.
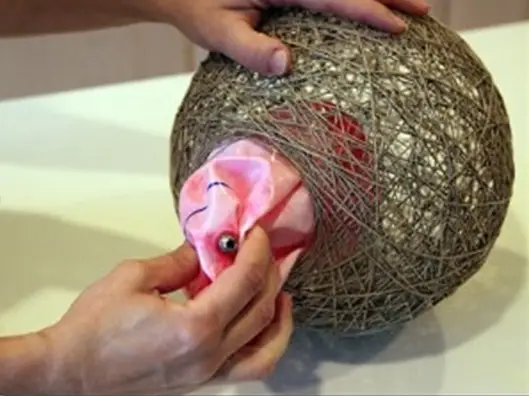
Photo 8 — Step 6. Removing the Ball From the Shade
Step Seven
Now make the light fixture. Attach the socket with a bulb to the shade. Done! You can now connect it to the power supply.
If you make several such light fixtures for one room, it will become cozier and more original.
Moreover, they will add a natural and aesthetic touch to the room!
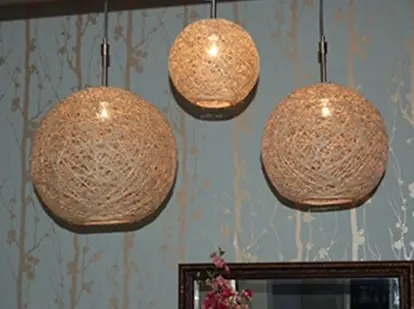
Photo 9 — Original Shade