Gas Pipe on the Kitchen - Not a Verdict: How We Turned the Problem into a Stylish Solution
Even the 'king pipe' can become a starting point for creating a unique and functional space
We continue our renovation show 'Renovation Movement'! In the second episode, we continue transforming a Stalin-era apartment of series 205 with expert Ksenia Shahmatova. In the first episode, we got acquainted with the apartment, assessed the scale of upcoming work and set an ambitious goal - to stay within a budget of 3 million rubles. Now we face a real challenge: what to do with the huge gas pipe on the kitchen?
It greets you in every typical old-style kitchen - clumsy, bulky, spoiling the entire interior. A gas pipe is a true nightmare for designers and a headache for owners. Especially when it's not just a pipe, but a 'king pipe' with a diameter of 7 centimeters, like in our Stalin-era apartment. But what if we turn the minus into a plus? We found a solution that not only hid the problem but also added functionality to the kitchen. And today we share this experience.
Watch all episodes of Renovation Movement here:
- Episode 1: We bought a ruined Stalin-era apartment - what went wrong?
- Episode 2: Relocation: What solution saved our Stalin-era apartment?
- Episode 3: Expensive renovation mistakes.
- Episode 4: How to stay within 3 million? Finishing works.
Main points from the article:
It is possible to hide a gas pipe legally without violating the requirements of gas services;
A false wall with access through cabinets and a special cabinet apron solves the problem;
Expanding the wall by 20 cm allowed increasing the useful area of the kitchen;
A sliding apron construction is cheaper than it seems if you build it yourself;
Proper planning helped integrate the gas pipe into the design without compromising functionality.
Getting acquainted with the enemy: what is a 'king pipe'
In typical apartments of old buildings, gas pipes are often bulky and clumsy. But what we encountered in the Stalin-era apartment exceeded all expectations. Imagine not just a gas pipe, but a true monster with a diameter of about 7 centimeters proudly rising on the kitchen wall. When we first saw this structure, it became clear that a serious solution was needed here.
'Not just a gas pipe, but like some king pipe,' - we characterized our find. And it's not an exaggeration. Ordinary decorative boxes and screens wouldn't help here - a comprehensive approach was needed.
Why can't you just plaster over the pipe?
The first idea that comes to mind is simply to close the pipe with gypsum board and forget about its existence. But this is a gross violation of gas safety rules. The main requirement of gas services - the pipe must be accessible for inspection along its entire length. If an inspector finds that access to the pipe is not available, you may face serious fines and orders for demolition of the structure.
Another idea that often occurs to apartment owners - completely abandon gas and switch to an electric stove. This option is indeed possible: 'To disconnect the apartment from gas and install an electric stove to completely plaster this pipe, so no one services it... This is done officially through refusal via Mosgas'.
However, this path has a significant drawback - you will need to increase the electrical power allocated to the apartment, which is associated with additional costs and bureaucratic procedures. Therefore, we decided to look for another way out.
Our solution: a false wall with smart access
After long discussions and consultations with experts, we came to an elegant solution - to increase the wall thickness, creating a kind of false structure inside which the pipe will be hidden but with full access to it:
'First, our wall here will increase by 20 cm. So there'll be a bit more space now. We'll cover the entire wall with gypsum board, we'll have a false wall. With access! Full height access will be available, so the pipe will be completely accessible.'
This approach has several advantages:
The pipe becomes invisible but remains accessible for inspections;
Increasing the wall thickness provides additional space to place kitchen appliances;
The construction fully complies with the requirements of gas services.
How to organize access to the pipe?
The main question - how to make the pipe both invisible and accessible? We developed a two-level access system:
At the bottom - through kitchen cabinets. Here we plan standard floor cabinets, through which access to the lower part of the pipe will be provided.
At the top (above the working surface) - this solution is particularly interesting. We decided to use an unusual element - a sliding apron:
'Have you ever seen such a trend that is becoming popular now - what to call it, a cabinet apron? These are doors on the apron. I want to make such an apron.'
A cabinet apron is sliding panels installed in place of a traditional kitchen apron. They allow easy access to the hidden pipe for inspection, and at the same time look like a stylish design element.
Saving without compromising quality
When we first proposed the idea of a cabinet apron, a reasonable question arose: 'Isn't this expensive?' Indeed, ready-made solutions from furniture companies can be quite costly. But we found a way to save:
'If you put in the effort yourself, just buy this mechanism and simply mount wall panels on it instead of what a furniture company sells already made, I think this won't be as outrageously expensive as it seems.'
To implement this idea, we had to make one more change in the standard kitchen geometry:
'For this, for example, we will make an extended countertop - not 60 cm but probably 70 or even 75, because we will have an addition here. And the apron will slide like this, and it should also have its own surface, not an empty space.'
How the pipe affected the entire kitchen layout
The solution with a gas pipe forced us to rethink the entire kitchen layout. In particular, we faced the problem of placing tall panels for the refrigerator and oven:
'Here we have 119 cm, from here to here. To place two panels of 60 cm each so that the refrigerator and oven fit in, with a microwave in the adjacent one, i.e., here is the refrigerator, here is the oven with a microwave, column, we need at least 120 cm. And it would be even better to have 122, so there's some margin.'
To solve this problem, we had to take a radical step - slightly increase the space by removing part of the wall. We discovered that some parts of the wall were finished with gypsum board with a gap of about 4 cm:
'If there's such a four-centimeter gap here... it's gypsum board. They did a renovation, so they made it like that, such was the technology, such were the craftsmen, they didn't want to level it. I think because a lot of plaster would have been needed to level the brick according to the guides. People just covered it with gypsum board.'
Removing this gypsum board gave us precious centimeters for placing kitchen furniture.
Sill as part of the kitchen
Another interesting solution we came up with - integrating the sill and countertop:
'The countertop that will be integrated instead of the sill, probably not artificial stone but an acrylic countertop, we'll order it.'
However, we also had to solve a geometric problem here. The sill itself was quite wide - about 50 cm:
'You see, the sill is very wide, a 50-centimeter sill itself. Making another 60 cm countertop as usual is somehow stupid.'
So we decided to make a countertop in the window area - about 30 cm, to keep the ability to open the window and not create excessive depth:
'We won't be able to even open the window if there's a very wide countertop here again. So we'll make it about 30 cm in this area.'
This solution didn't allow placing the sink by the window, as is often done in modern interiors, but preserved functionality and practicality.
Final touches: a mirror to visually expand the space
To compensate for the loss of space due to expanding the wall with a gas pipe, we decided to add a designer solution that visually expands the space:
'An inspiration struck me, I thought how to beautifully play with the wall behind the dining area and suggested making a mirror panel. It's almost opposite to the window, not quite symmetrical, but still you can see a lot that light hits the wall. And if we have a mirror panel here, there will be even more light and it will feel like the table is right next to the window.'
Mirror surfaces are a classic technique for visually expanding space. In our case, the mirror panel not only serves a decorative function but also helps compensate for insufficient natural light by reflecting light from the window.
What's the result?
Turning a problematic gas pipe into a functional element of the kitchen required a comprehensive approach. We didn't just hide the pipe, but rethought the entire kitchen layout, adding elements that solve practical tasks and look stylish at the same time.
It's important to understand that such solutions require an individual approach. What worked in our Stalin-era apartment may need adaptation for other apartments. However, the basic principles - creating a false wall with access to the pipe through kitchen cabinets and a sliding apron - can be used in many cases.
And one more important point: all our solutions fully comply with the requirements of gas services, which guarantees not only beauty and functionality but also safety. Because in renovation there is nothing more important than combining aesthetics and practicality with compliance with all norms and rules.
So if there's a gas pipe in your kitchen that ruins the entire interior - don't give up. Even a 'king pipe' can become not a problem, but a starting point for creating a unique and functional space.
Need a renovation specialist?
Find verified professionals for any repair or construction job. Post your request and get offers from local experts.
You may also like
More articles:
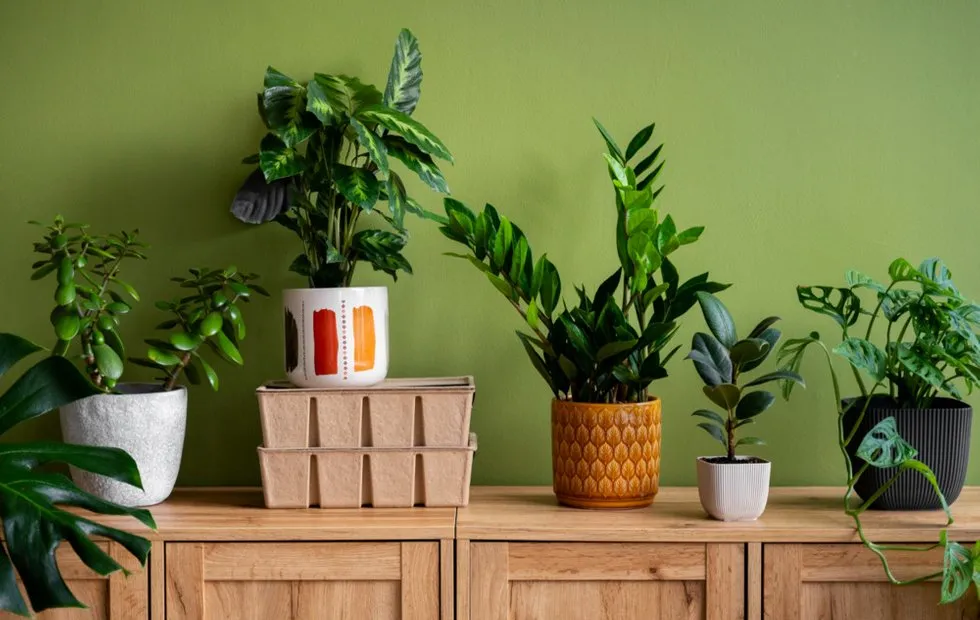 Green Superheroes: 10 Plants That Will Survive Even the Most Careless Owners
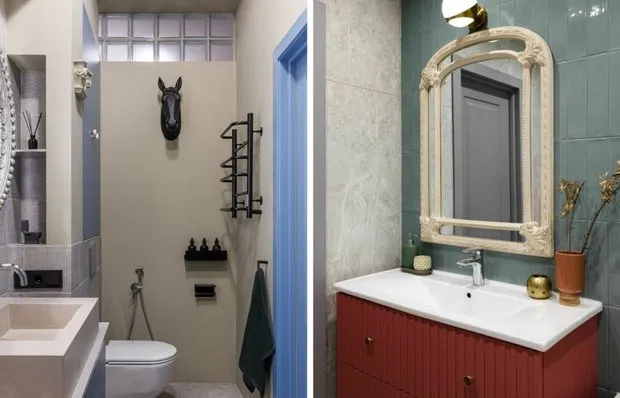 5 Stylish Bathrooms Designed by Interior Designers for Themselves
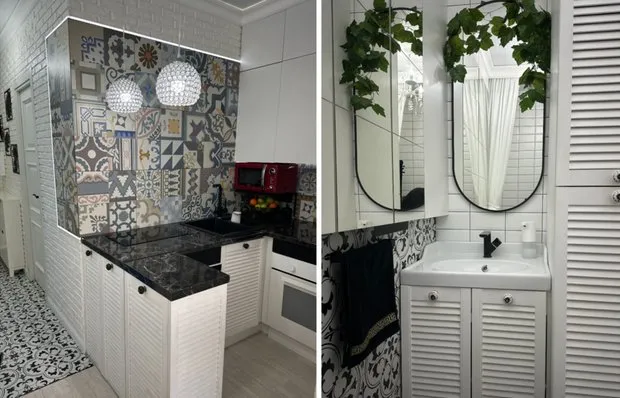 Repair Without a Designer: 6 Inspiring Ideas from Our Heroes
 How to Make Interior Visually More Expensive: 5 Simple and Effective Ideas
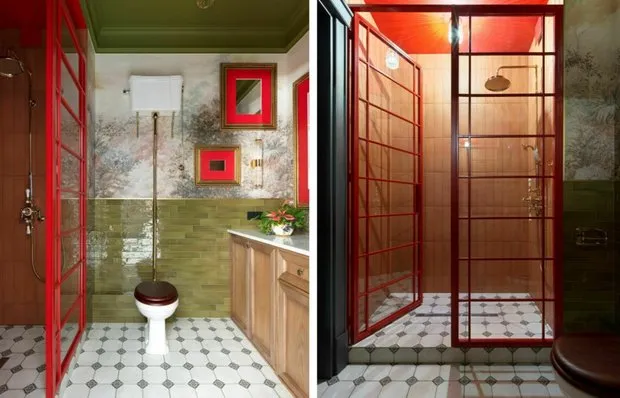 How to Create a Stunning Retro-Style Bathroom
 Seasonal Cleaning: What and How to Clean in Spring for Maximum Effect
 Before and After: 10 m² Kitchen in Vintage Style in Moscow Stalin-era Apartment
 How to Divide a Room into Zones: 7 Best Ideas from Designers