Facade Rendering: Key Information
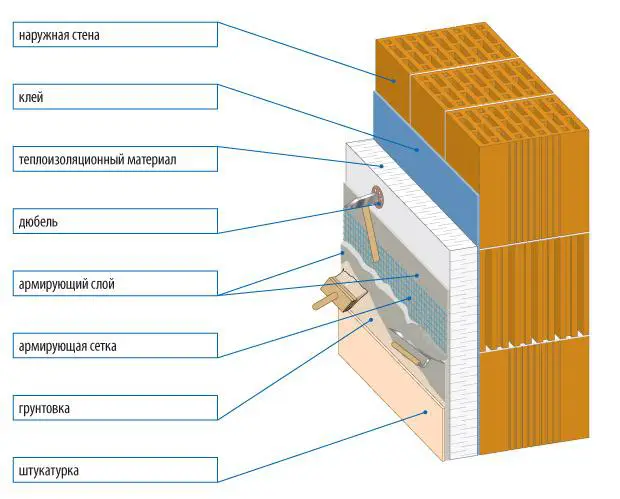
Figure 1 — Diagram of a simple method for facade insulation
Features of Facade Rendering
Good facade rendering should have the following properties:
- moisture resistance and resistance to any atmospheric influences;
- vapor permeability;
- frost resistance;
- high mechanical strength.
And, of course, it should be within reasonable price limits.
Facade rendering can be applied using cement-lime, lime, cement, clay and other mortars on stone, concrete, wooden and brick bases.
Some renderings do not require additional decoration: they not only possess all the above-mentioned properties but also look excellent! Various granular fillers included in decorative facade renderings provide an excellent appearance of the coating: this includes marble chips, quartz sand and glass chips. Thanks to these components, the facade rendering becomes textured. Decorative facade rendering is also easily paintable or tinted in any available colors.
Facade renderings can be made using cement and lime binders.
IMPORTANT! You should only start facade finishing, whether you do the work yourself or hire a team of workers, after walls have settled. Otherwise, the rendered surface on brick or wooden walls will crack.
Exterior work during a country house renovation should not begin earlier than the external waterproofing, roof, balcony and loggia floors, and water pipe fixings are completed.
IMPORTANT! If rendering exterior walls is done in dry weather with temperatures above 25°C, it is necessary to moisten the walls of block and brick houses!
When preparing surfaces for rendering, unmoistened substrates (such as stone or concrete) must be primed to improve adhesion.
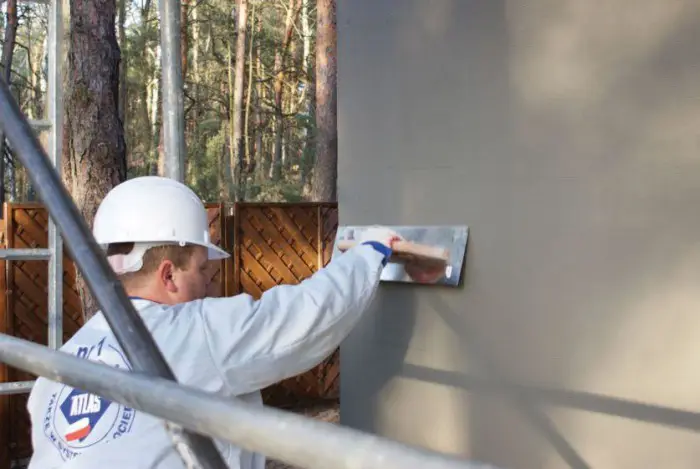
Photo 1 — Facade rendering can serve as a base for painting or cladding with decorative materials such as tiles, stone, panels
Exterior Wall Rendering: Surface Preparation
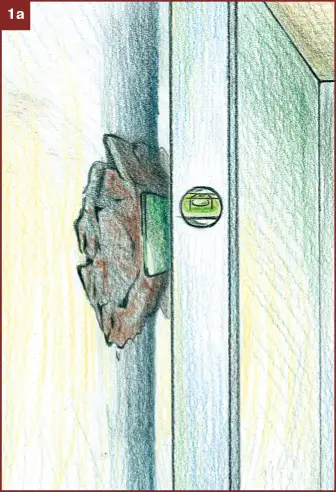
Walls inside and outside the house should be flat, with deviations from vertical not exceeding 10-15 mm. If such deviations exist, a steel reinforcing mesh must be applied to the wall and secured to the concrete with dowels. The mesh is then covered with mortar in several layers for final wall leveling.
Aside from the type of primer mentioned above, such as Concrete Contact, other methods to improve adhesion can be used; for example, grooving the concrete surface with shallow grooves. Dust is removed using a slightly damp brush.
IMPORTANT! When cleaning surfaces before applying rendering, a 5% solution of calcined soda should be used to remove greasy spots. To remove dried mortar from the exterior walls, a steel trowel can be used.
House Cladding
In case a thermal insulation material such as polystyrene or cellular concrete is used as the cladding surface, external finishing must be done over an armoured rendered mesh.
Facade Rendering
Mixes for rendering walls are chosen based on the material of the wall base. For example, you can choose lime-sand, terrazzo, or stone (cement-lime or cement) mixtures:
- The first type is ideal for wooden house rendering and can also be used as exterior finishing of houses made from lime brick or slag concrete blocks (cement-sand mix is also used in interior finishing works). This mixture should not be used for work on concrete and metal surfaces, external finishing of foundations, fences, columns, pilasters, as these elements are often over-moistened;
- Terrazzo mix is the same lime-cement rendering but with a higher proportion of lime in the mixture. This type of rendering can be used when there are increased requirements for mechanical strength and atmospheric resistance of the coating. It can be applied to brick and concrete;
- Stone rendering gets its name from the imitation of facade cladding with marble, limestone, dolomite and granite. Unlike other types of rendering, stone rendering can be used for finishing entire buildings or their parts that are often exposed to moisture (foundations, balconies, fences). This type is only used for finishing strong substrates (concrete and high-grade brick walls).
How to Apply Rendering on a House Facade: Brief Description of the Technology
After surface preparation, the first layer of rendering is applied — so-called “shotcrete”: a more fluid mixture is applied in a 0.5 cm layer on clean surfaces. This layer ensures reliable bonding between the subsequent layer and the wall. For mixing, sand with a particle size of 0.1-3.15 mm is used.
The main layer (“base”) should not be applied earlier than two days later. The thickness of this layer is usually about 2 cm. The main layer provides strength, water tightness, thermal insulation and wall leveling. The sand size is 0.1-3.15 mm.
The third layer, or “topcoat,” is applied 2–15 days later (layer thickness up to 0.5 mm). After drying, the layer is rubbed with a semi-trowel. The mixture is applied in a thin continuous layer, compactly laid over the base. For this type of mixture, fine sand with a particle size up to 0.2 mm is required.
Rendering a Wooden House Wall: Features of Surface Preparation
It is a misconception that only wooden houses require special surface preparation. In addition to log cabins, gas and foam concrete structures are also sensitive to rendering. Nevertheless, for preparing a wooden house for rendering, a stud frame is used; the walls are covered with lath or wrapped in reinforcing mesh.
Rendering a wooden house facade improves the thermal insulation properties of the walls, but the house's exterior appearance will lose its “natural” look. Therefore, it is recommended to use stone, brick, tile or plastic panels as external cladding (as shown in the photo below).
IMPORTANT! Facade finishing of a wooden house (whether it is a timber frame or a framed house) should only begin after the structure has fully settled.
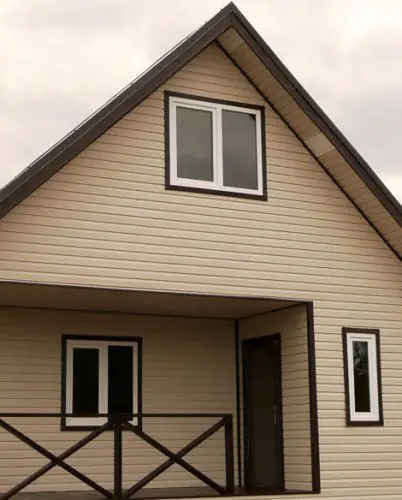
Photo 2 — Siding for finishing a wooden house facade
Facade Rendering: VIDEO
Facade Rendering: Price
- In Moscow — from 150 rubles/m² (rendering only, without preliminary works);
- In Kiev — from 40 UAH/m² (rendering only, without preliminary works).