How to Create a Perfect Interior: Designers' Tips
We explain how to visually lighten the interior, where it's better to place a mixer, and why doors should be disguised
Designers from Elements studio created a modern minimalist interior for a young couple. They not only thought through the convenient layout but also paid special attention to the joints of coverings, the installation of gypsum panels, and the convenience of using sanitary fixtures. We've gathered professional tips on how to create a perfect interior—save them for later.
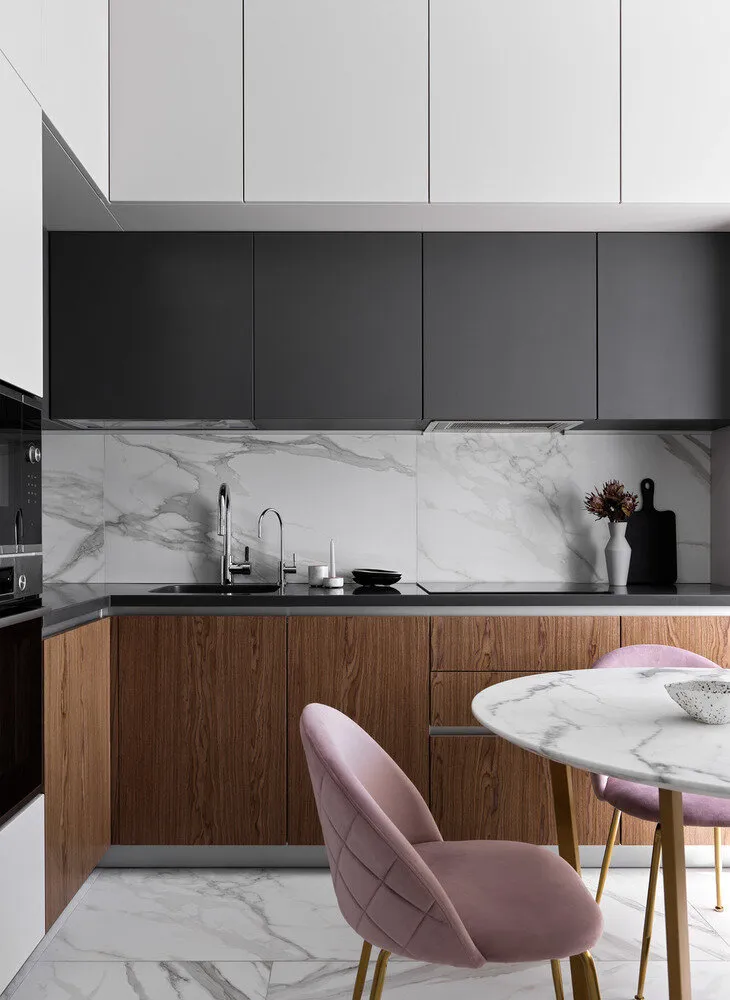
Combine Different Finishes on Kitchen Cabinet Facades
A large kitchen cabinet is functional, but often the furniture becomes very bulky and oppressive. In this project, designers divided the upper cabinets into two levels. The top one is made in the same light gray color as the columns with built-in appliances, while the bottom one is in graphite gray, like the countertop made of artificial stone. Visually, such an approach makes the furniture appear lighter despite its actual volume.
Do Away with Handles
A minimalist handle-free profile as hardware and hidden push-on opening systems make the storage system less prominent.
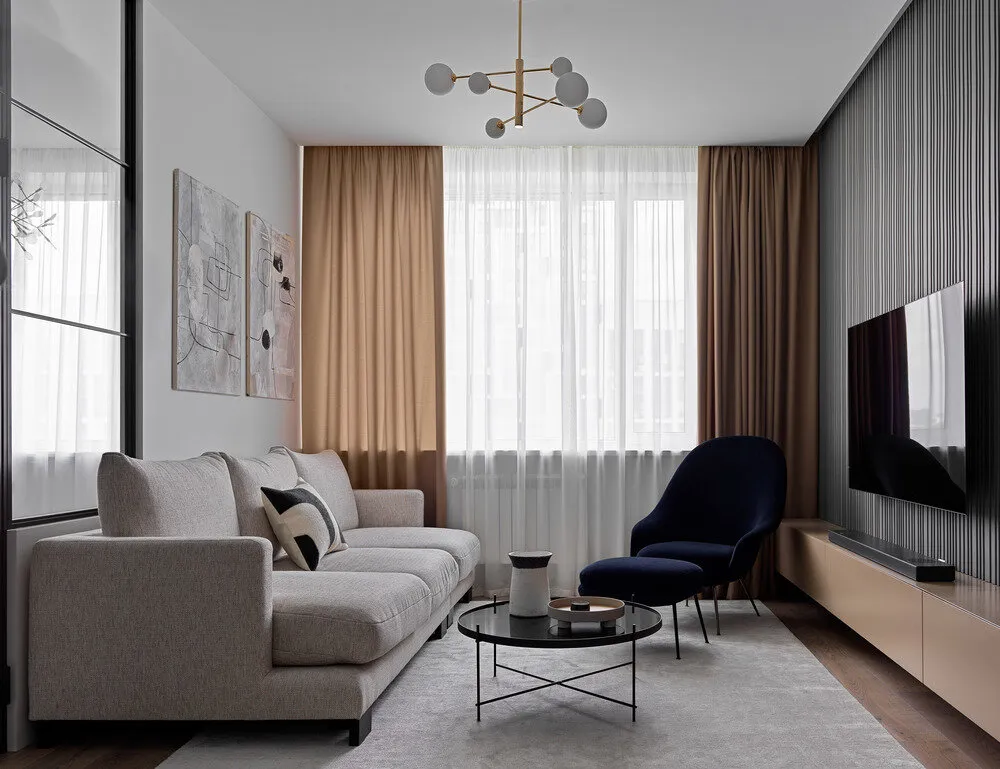
Use Ceiling Storage Systems
When furniture is mounted to the wall without legs, the structure looks airier and lighter—keep this in mind. For the living room, designers designed an unusual cabinet: the entire unit is placed 20 cm above the floor, and the lower part is represented by a console that is almost six meters long. The upper end face of the facade is cut at a 45-degree angle, which visually makes the console appear more monolithic and whole.
A tall cabinet with sliding doors and open shelves sits on the console. Because the shelves are located right against the wall, the structure looks lighter and the gypsum cornice doesn't interfere with the cabinet.
Use Panels Only on Perfectly Flat Walls
3D panels are currently trendy and actively used in finishing. However, poor installation can ruin the overall look of the interior. "Gypsum 3D panels come in the form of tiles measuring 600×600×25 mm. To create a composition of the desired size, they need to be mounted side by side, maintaining a gap between panels of 1–1.5 mm for later grouting with gypsum spackle.
The walls must be perfectly flat; otherwise, the panels will have level discrepancies and the pattern will look untidy. After completing the installation and full drying of the spackle, it's necessary to sand any unevenness with fine-grit sandpaper—here it is very important not to over-sand! Otherwise, after painting the panels, the seams will be very visible and cannot be fixed anymore; you'll have to buy new panels and redo everything,"—the project authors share their tips.
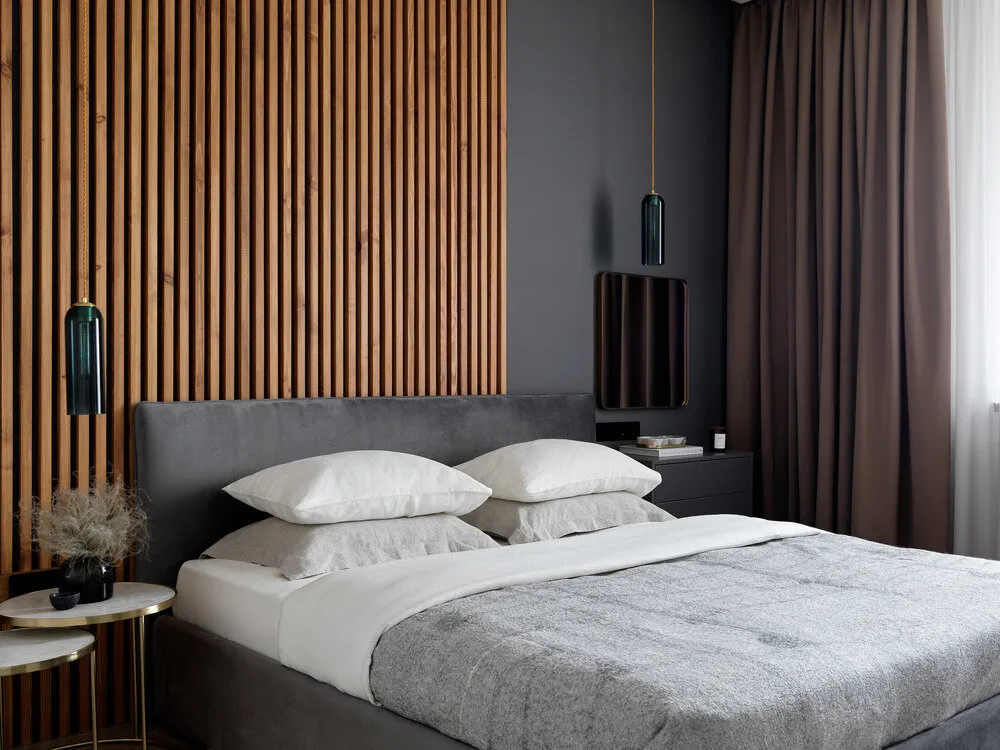
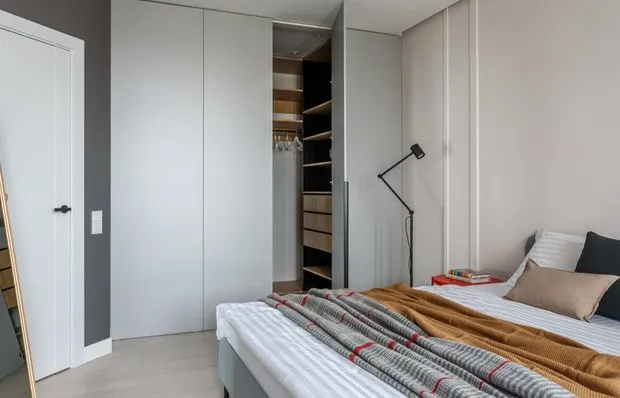
Dim the Light in the Bedroom
There shouldn't be too much light in the bedroom: you can reduce it using window textiles or painting the walls in a darker shade.
The wall behind the headboard was painted in a coal-gray color and partially decorated with tinted wooden strips made from natural wood, which add warmth and coziness. The wall opposite is contrasting: it was painted in a warm white color and decorated with gypsum moldings.
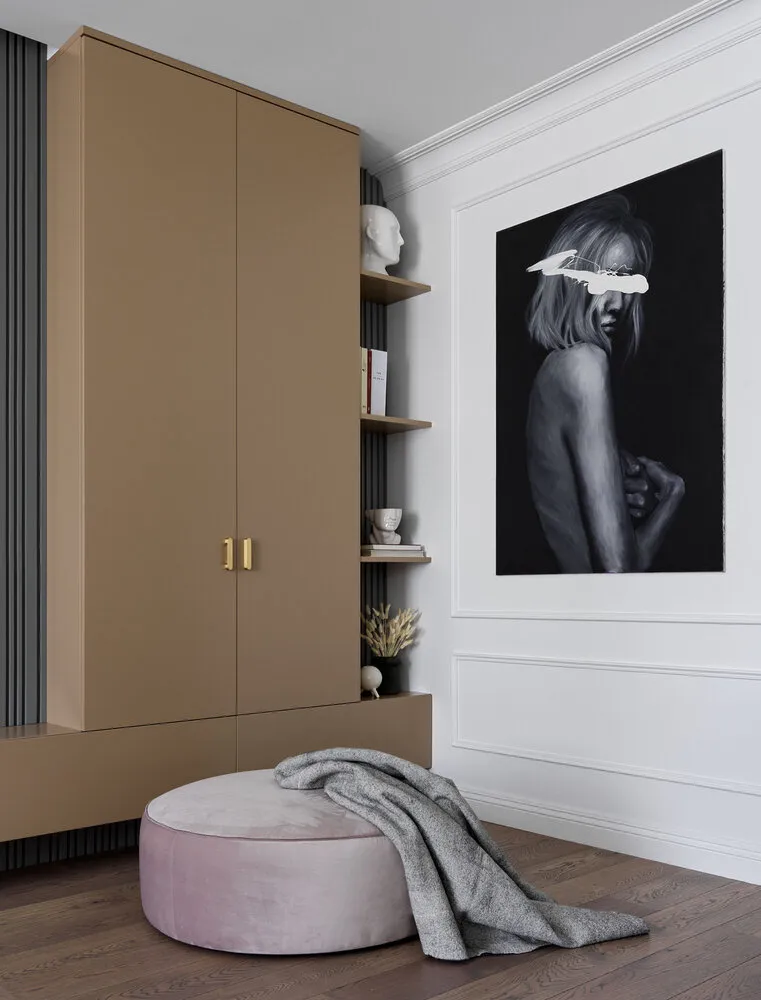
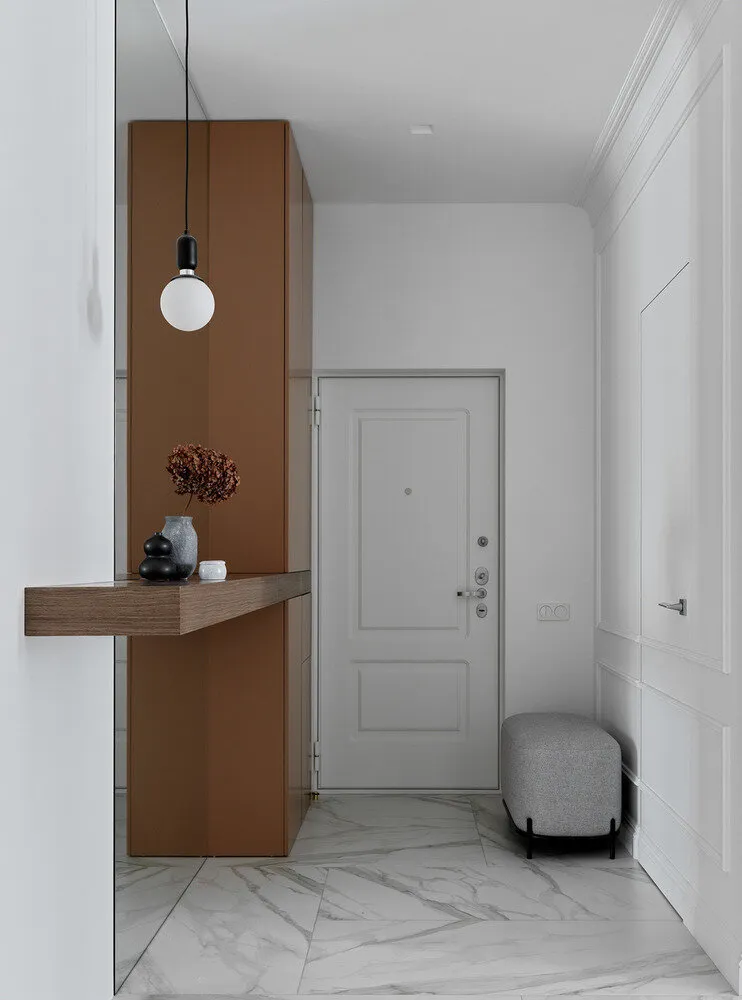
Hide All Technical Equipment
Even the most beautiful interior can be spoiled by an electrical panel or Wi-Fi router in a visible place. Organize their placement in cabinets or behind false facades.
In this entrance hall, a tall cabinet with a long veneered console and a large mirror spanning the full height of the wall were placed. The electrical panels and heating manifold were hidden inside the cabinet—this serves more of an aesthetic function.
Mask the Doors
Doors with concealed mounting and painted shutters can support a minimalism concept. To enhance the effect of invisibility, gypsum moldings were mounted directly on the doors, and the cornice was cut at a 45-degree angle from the hinge side for maximum door opening angle.
Install the Mixer in the Middle of the Bathroom
"We placed the bath mixer in the center: when guests take a bath, it doesn't interfere with their heads, plus it's convenient to switch water from any side. We placed shelves in the niche for personal care products. The upper shower gives full enjoyment of spa procedures,"—designers explain.
Need a renovation specialist?
Find verified professionals for any repair or construction job. Post your request and get offers from local experts.
You may also like
More articles:
 Wardrobes in standard apartments: 5 successful examples
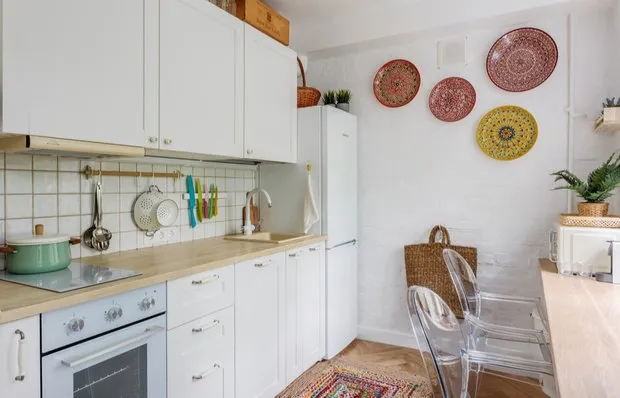 Before and After: Classy Redesign of a 54 sqm Khrushchyovka
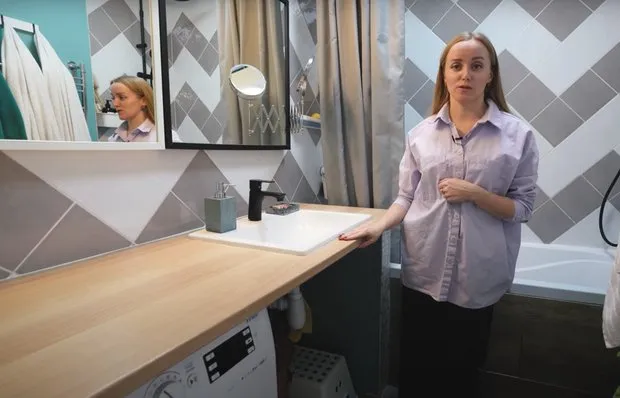 Budget-Friendly Transformation of a Small 2.9 sqm Bathroom in a Panel Building
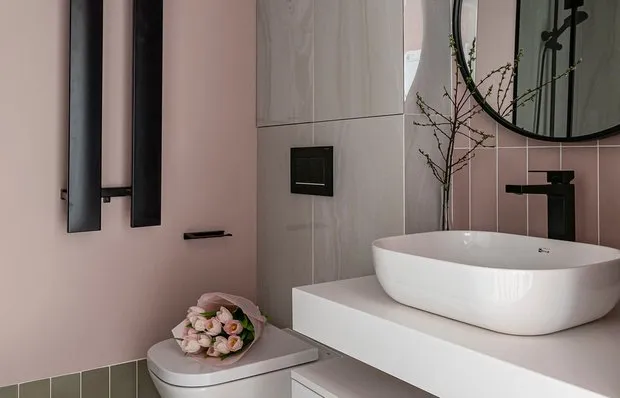 Stunning Bathroom Interior of 3.2 sqm with Shower
 What You Were Looking For: 10 Storage Products from IKEA
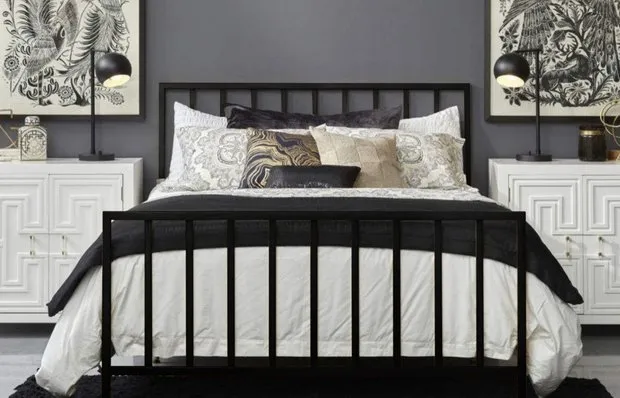 As Seen in the Series: 17 Cool Home Items in Wednesday's Style
 How to Budget-Friendly Update Your Apartment in a Week: 9 Tips + Before and After Photos
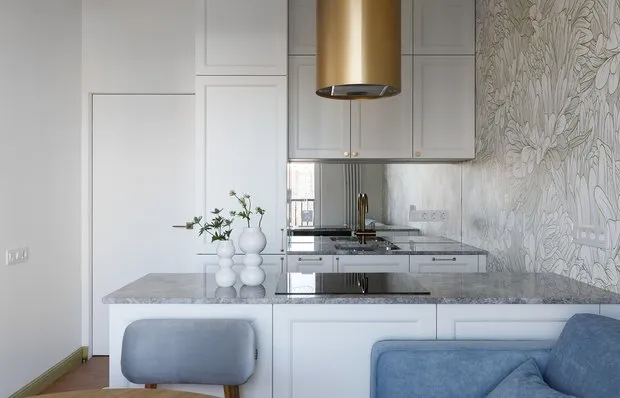 5 Ideas for Creating a Stunning Interior