There can be your advertisement
300x150
How to Properly Finish the Edge of the Backsplash and Countertop on a Kitchen: Pro Tip
Together with a designer, we explore two popular methods and choose the best one
Are you renovating your kitchen and haven't decided how to finish the edge where the countertop meets the backsplash? Don't rush—first, read our article to make the right choice.
Ksenia Mzensetova — designer, member of ADDI
Designers have long stopped using flexible plastic skirting boards on kitchens—they are now replaced with edging and border elements. Let's first understand the different methods of laying the backsplash.
Method 1
This method is preferred by builders because it simplifies their work. The backsplash is laid during the finishing stage, before the kitchen furniture and countertop are installed. Then, kitchen measurers come to your place to fit the furniture and countertop to the required dimensions.
Advantages for builders: after laying the tiles, nothing needs to be cut or adjusted.
Drawbacks for you: a gap forms between the countertop and the wall that must be covered somehow. If the floor is uneven, the gap will be noticeable, and it can only be concealed with edging.
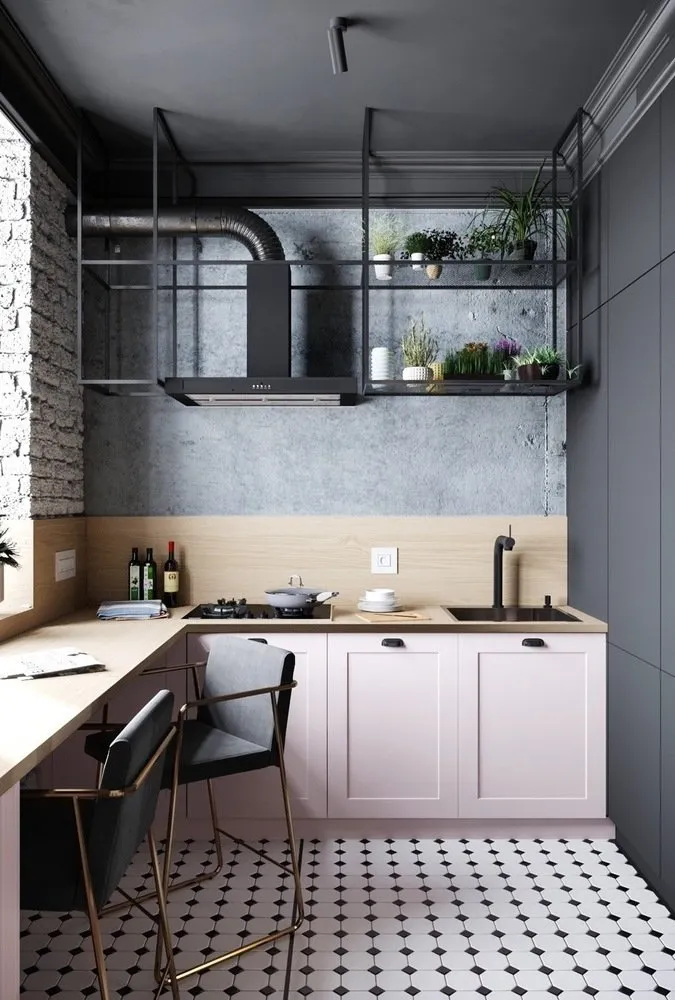
Design: In My Box
What types of edging are available?
- Ceramic border. Sold in the same places as tiles—you can choose a matching tone. However, this option won't work if you have textured tiles.
- Low edging. Made from the same material as the countertop, so they must be ordered and installed together. This is ideal for interiors where the backsplash and countertop colors differ, and you want to create a logical transition or connection.
- Tall edging. Edges 15–20 cm high made from practical materials in the same color as the countertop. This type of edging protects the wall from splashes and stains. If you choose this option, make the backsplash monochromatic and as close in color to the countertop as possible.
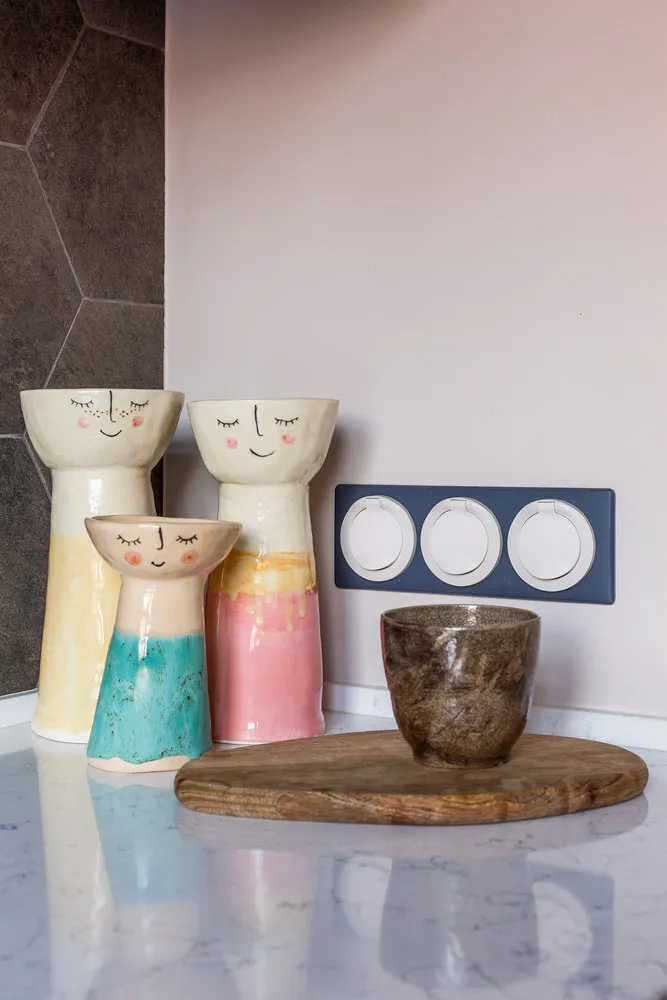
Design: AMD Design
Method 2
I always recommend this method to my clients. After the finishing stage, your kitchen furniture and countertop (as close to the wall as possible) are installed. Then, tiles or any other backsplash surface (stone, glass, metal) are laid.
Disadvantages for builders: tiles must be "adjusted" and cut to fit the exact height of the backsplash. The work is more meticulous.
Advantages for you: the typical tile thickness is about 1 cm, and with precise fitting, the edge of the tile will cover the uneven gap between the countertop and the wall. Then, you just need to neatly seal the joint with clear (or matching) silicone. No edging is required in this case.
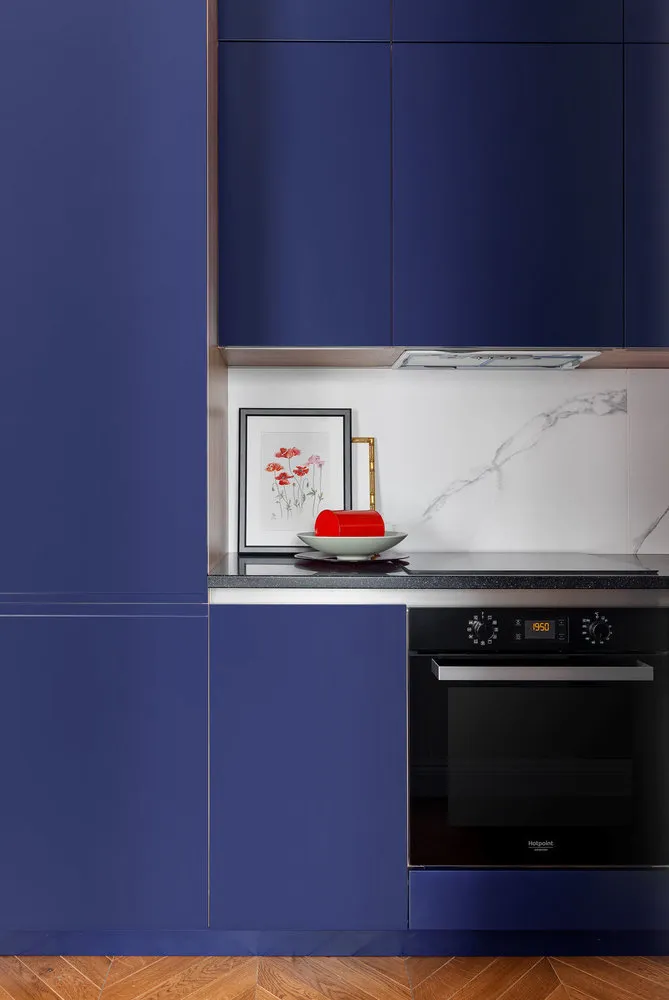
Design: Ksenia Mzensetova
On the cover: Tatiana Sizova’s design
More articles:
 Elegant Bathroom Ideas We Spotted in Swedish Homes
 Micro Hallway? No, We Haven't Heard: How to Visually Expand Space
 Ideas for Greening an Apartment: Even the Dullest Interior Will Come Alive with New Colors
 How to Choose a Kitchen Backsplash: Designer Shares Insights
 Updating the Country House: 8 Steps to Comfortable Rural Life
 Egg House and 5 Other Most Unusual Buildings in Moscow
 5 Classy Designer Kitchens in Hruščovkas That Will Surprise You
 How to Store Cleaning Tools So They Are Always Within Reach but Hidden from View