How to Transform a Boring IKEA Cabinet into a Stylish Commodity with DIY
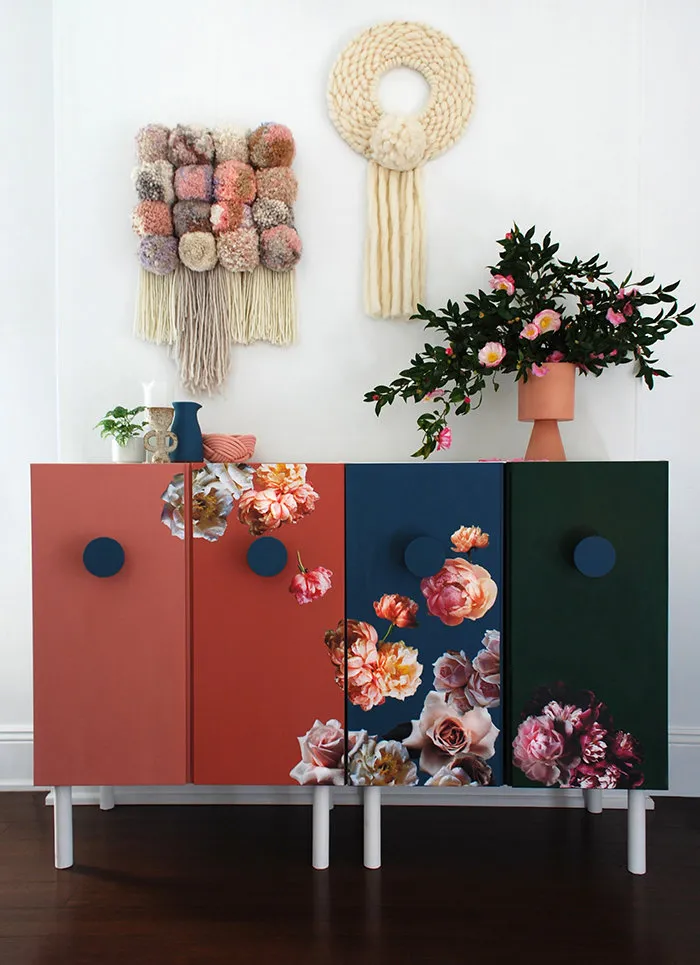
We got this idea from designer Liza Tilsen's website. The girl came up with a way to transform an IKEA IVAR cabinet into a vibrant and stylish commode. We're going to explain the details.
 What You'll Need:
- 2 IKEA IVAR cabinets;
- 4 wooden furniture handles;
- 8 furniture legs;
- 8 nuts and leg attachments;
- Paints;
- Printed images (e.g., flowers);
- Decoupage glue;
- Decoupage wax;
- Brushes (for paint, glue and wax);
- A piece of lint-free fabric.
 Assembling the Cabinets
Assemble the cabinets, but do not hang the doors yet — we will paint them separately. For now, paint the cabinet surfaces white.
 Painting the Doors
Before painting, tape a strip of masking tape on the inside of each door — about one centimeter from the edge. This way, when painting, you can slightly go over the back side and avoid leaving unpainted areas.
If desired, you can also paint the doors on the back side.
 Painting Handles and Legs
As with the cabinets, you can choose any colors. Just make sure the paint dries before continuing the work.
 Decorating the Doors
Use the decoupage technique — you can print any images on A3 sheets and cut out the desired elements with scissors.
Before applying the glue, lay down the painted doors on a flat surface and arrange the images (in our case flowers) on them. When you find the perfect composition, take a photo of it with your phone — to make sure not to forget anything during the process.
Do not remove the flowers — leave them in place and work with each one separately. Before removing each flower, lightly trace it with a pencil.

Then apply the special decoupage glue (the author used Annie Decoupage Glue & Varnish) to the back of the images and place them on the surface. Smooth out the image from the center to the edges to remove air bubbles.
Then apply the special wax (the author used Annie Sloan Chalk Paint) in large strokes over the entire door surface to eliminate shine.
If you still want to restore shine to the images, you can polish them with lint-free fabric.
 Attaching Handles and Legs
Drill holes and attach the legs and handles to the cabinet surface. Done!


Need a renovation specialist?
Find verified professionals for any repair or construction job. Post your request and get offers from local experts.
You may also like
More articles:
 IKEA Unveils New Collection for Millennials
 Redesigning Small Apartments: 5 Successful Examples
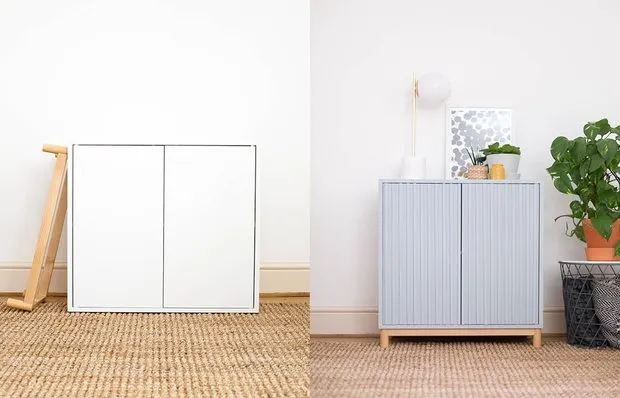 How to Turn an IKEA Wardrobe into a Stylish Console Table?
 Easy Way to Repaint Furniture and Doors
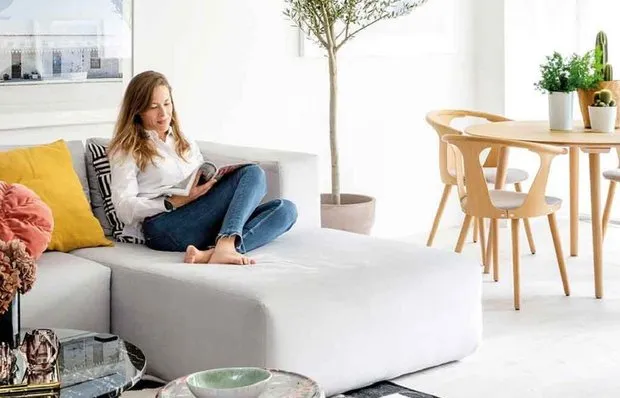 Which Apartments Do Real Estate Agents Choose?
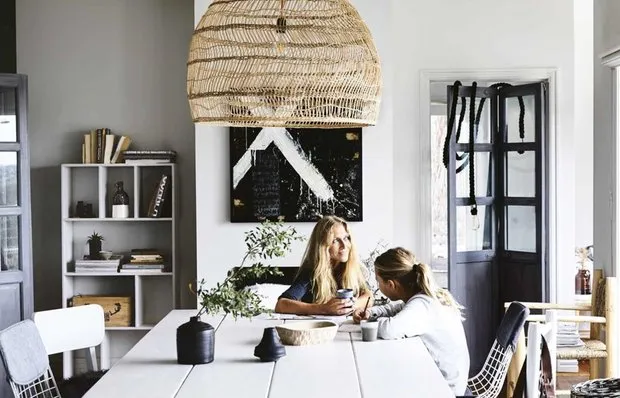 How They Built a Cottage in Australia, Just Like in Amsterdam
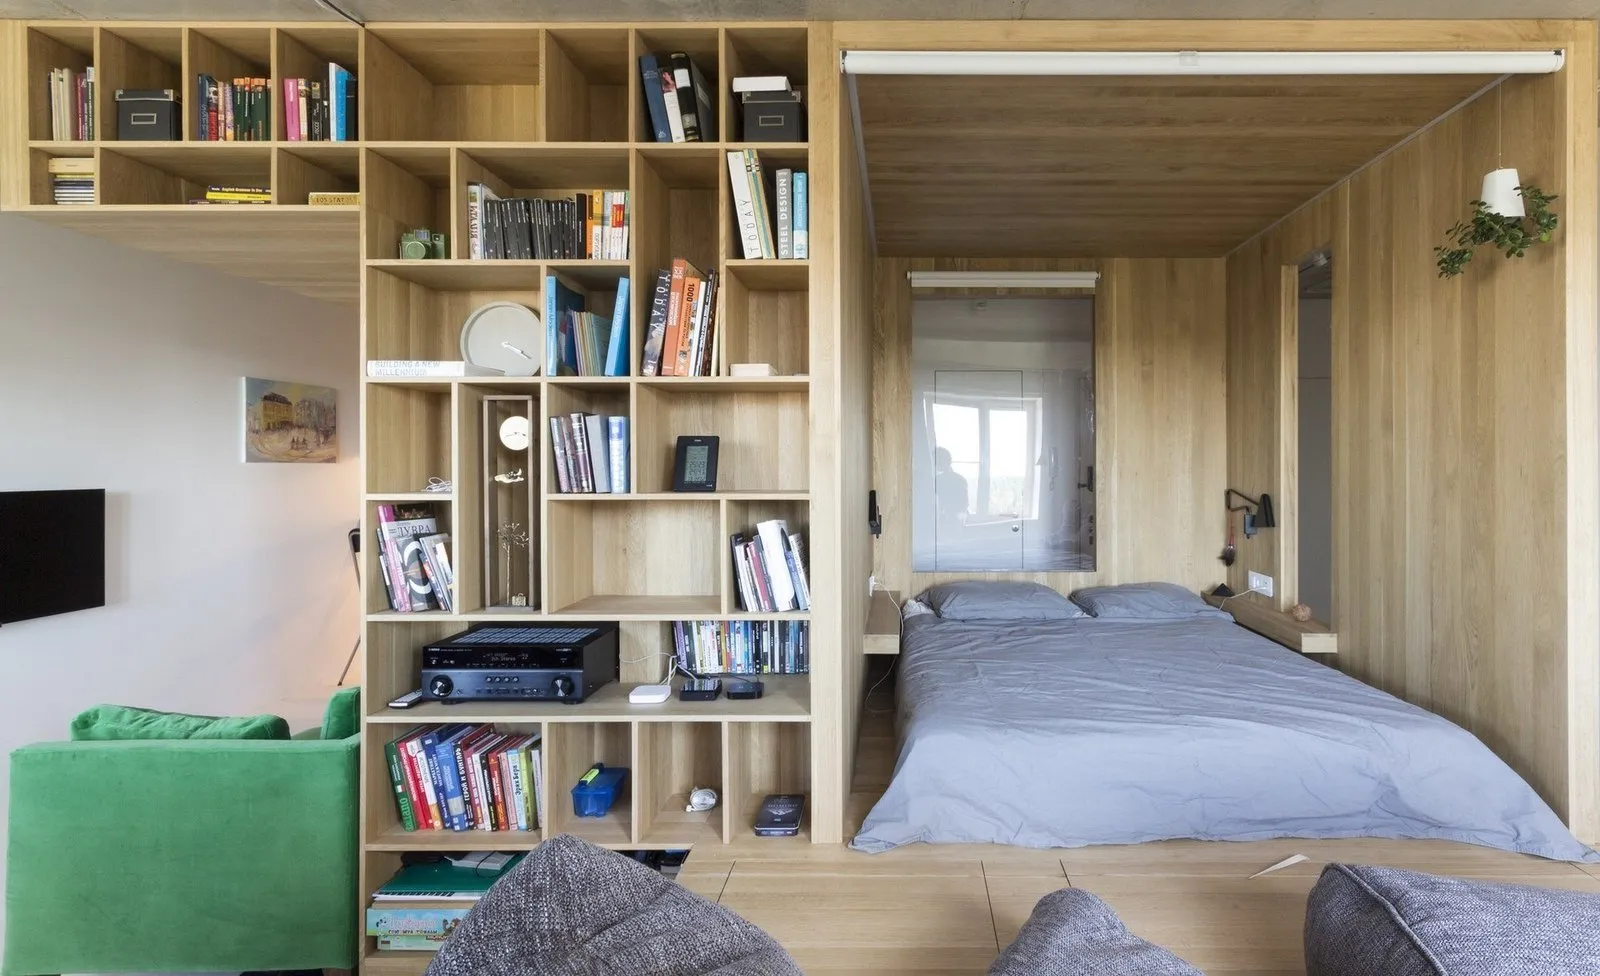 How to Create a Mini-Library in an Apartment: 8 Examples
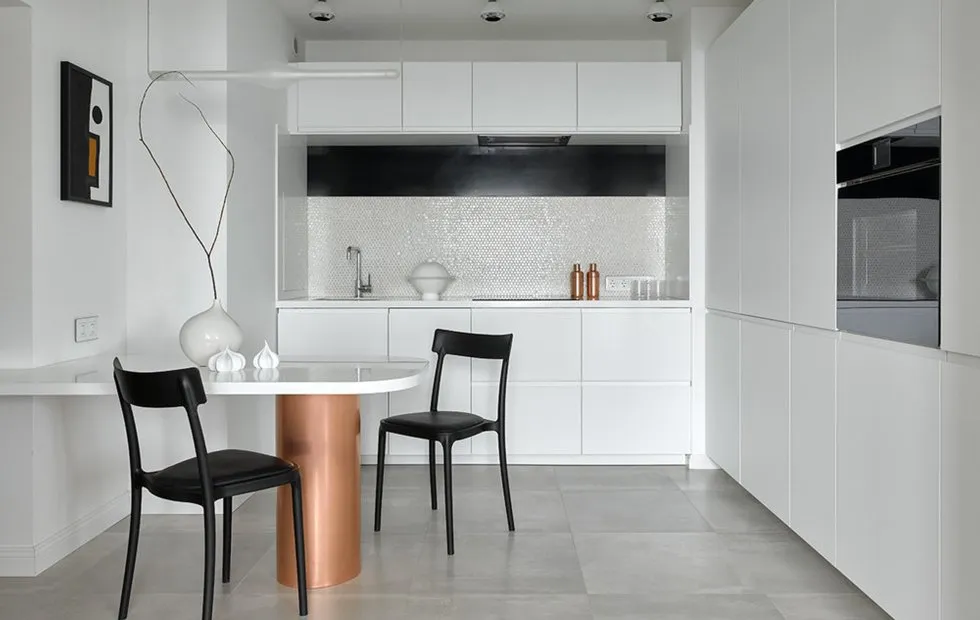 Kitchen 2020: 5 Key Trends