There can be your advertisement

300x150

Space-saving: making a bed-shelf in the IKEA style

This page is also available in the following languages:🇷🇺🇺🇦🇫🇷🇩🇪🇪🇸🇵🇱🇨🇳
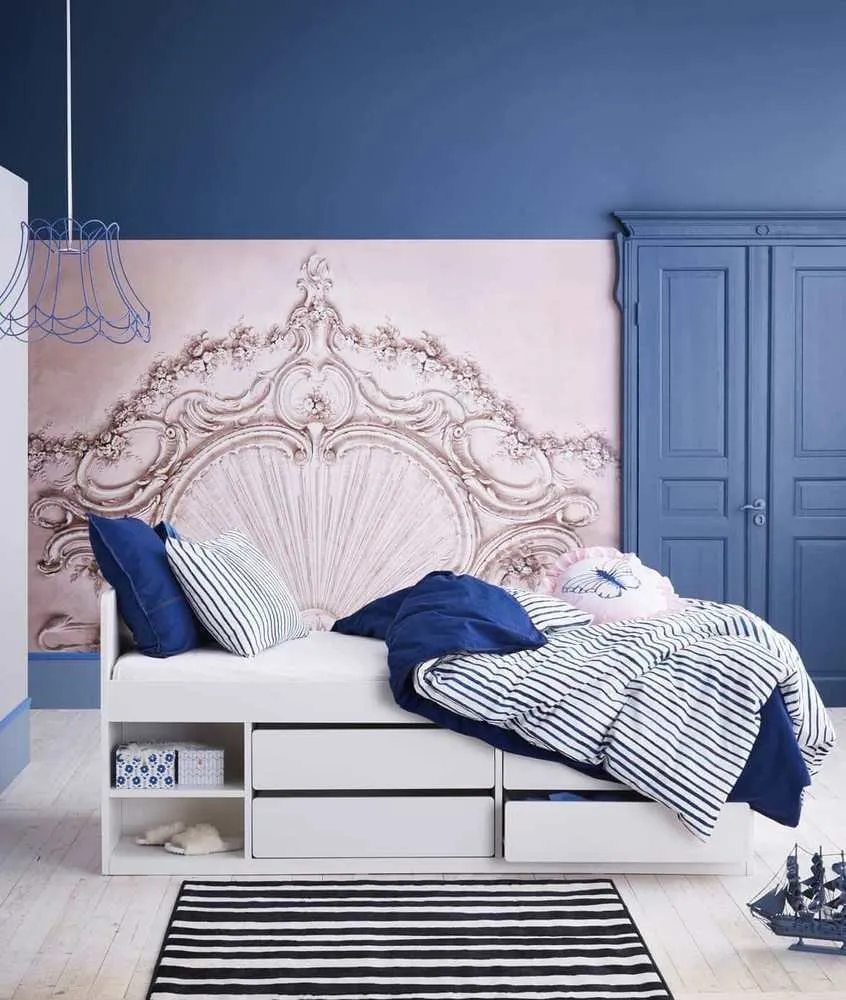
The pull-down bed allows you to transform any room into a guest room. We provide a detailed instruction on how to make such a bed yourself without extra effort.

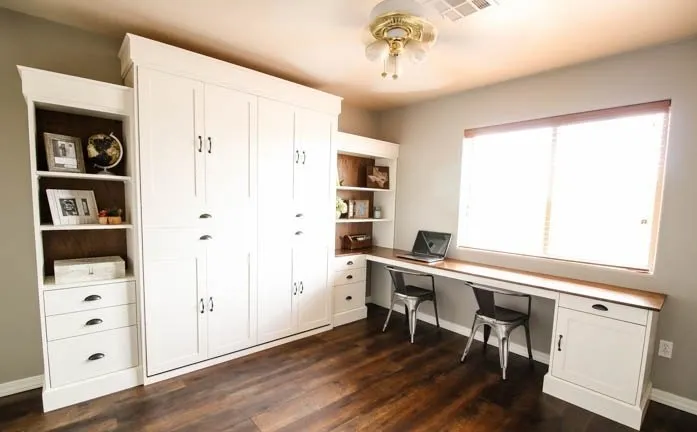
A pull-down bed hidden in a cabinet is an excellent idea for a guest room, as well as for a small apartment or studio. Such a bed is much more convenient than a fold-out sofa: it comes out already made up. These beds are not very popular on the Russian market yet, but building such a structure yourself is not as difficult as it may seem. See how this American couple handled the task. They left sketches with exact dimensions: you can use them or make your own calculations.

Step 1. Purchase materials

The project authors needed 12 sheets of plywood. The bed frame was made from poplar strips 3 cm wide. Shelves required boards of various sizes, and gas springs were used for the lifting mechanism. Edge banding tape, screws, primer, paint.
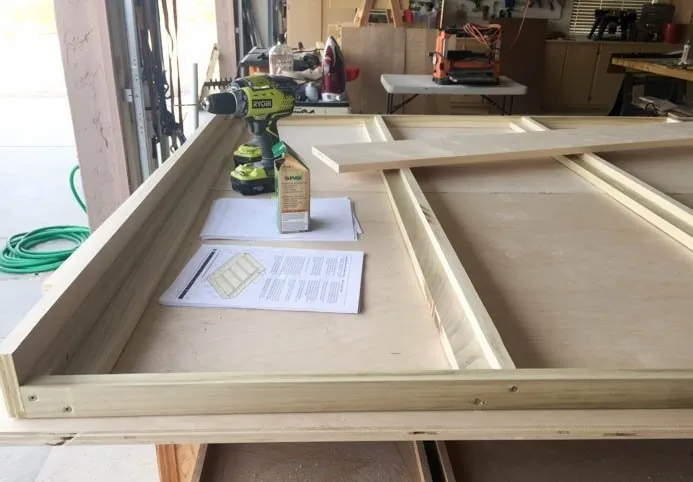
Photo: in the style of , Entrance Hall, Living Room, Kids' Room, Bedroom, Provence and Cottage, Classical, Scandinavian, Modern, DIY, Apartment, Studio, House, Architecture, Floor Plans, Decoration, Furniture and Lighting, White, Minimalism, Cottage, Villa, Black, Manor House, Red, Green, Beige, Grey, Brown, Townhouse, 1 Room, 2 Rooms, 3 Rooms, 4 or More, Up to 40 sq.m., 40-60 sq.m., 60-90 sq.m., More than 90 sq.m., decoration_encyclopedia, furniture_encyclopedia, decor_encyclopedia, small_space_encyclopedia, interior_encyclopedia, Guests Arrived – photo on our website

Step 2. Bed frame

First, cut all the plywood pieces to the required size. The instruction includes diagrams showing how to do it as economically as possible.

Build the support structure from poplar strips 2 cm wide. The mattress for such a base should not be wider than 150 cm and thicker than 30 cm.

Attach a 2 cm wide plywood sheet to the support structure. Ensure that there are no nicks or scratches on the side of the plywood that will become the front of your bed-shelf. Sand and prime if necessary.

Step 3. Base cabinet

Assemble the shelves according to the instructions. You can adjust the width of the shelves as needed. Apply edge banding tape to all external edges of the plywood.

You can decorate the front of the bed as you wish: make a simple artificial facade to look like two large doors, or, as in the original instruction, use decorative panels to create an illusion of a full cabinet system.
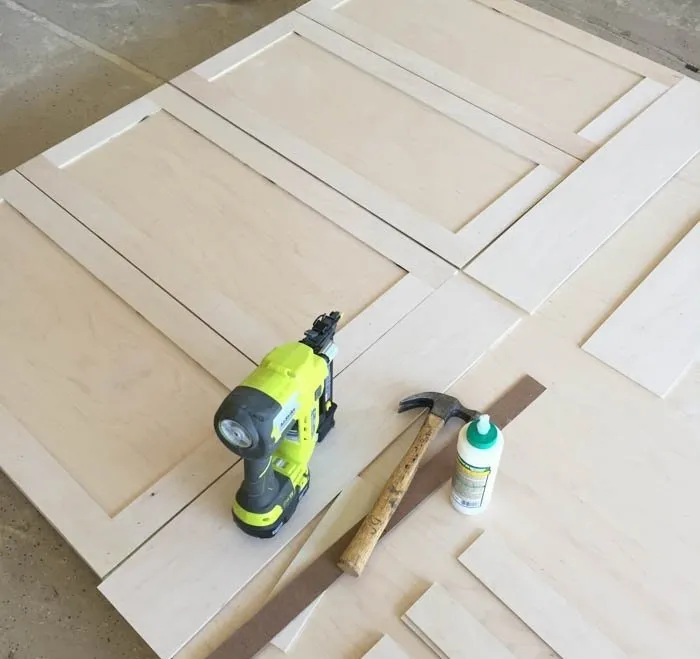
Photo: in the style of , Entrance Hall, Living Room, Kids' Room, Bedroom, Provence and Cottage, Classical, Scandinavian, Modern, DIY, Apartment, Studio, House, Architecture, Floor Plans, Decoration, Furniture and Lighting, White, Minimalism, Cottage, Villa, Black, Manor House, Red, Green, Beige, Grey, Brown, Townhouse, 1 Room, 2 Rooms, 3 Rooms, 4 or More, Up to 40 sq.m., 40-60 sq.m., 60-90 sq.m., More than 90 sq.m., decoration_encyclopedia, furniture_encyclopedia, decor_encyclopedia, small_space_encyclopedia, interior_encyclopedia, Guests Arrived – photo on our website

Step 4. Assemble the components

Paint the shelves and front part of the bed and let them dry. Once the paint is dry, you can start assembling. Attach the bed base to the vertical support structure and then assemble and install the headboard.
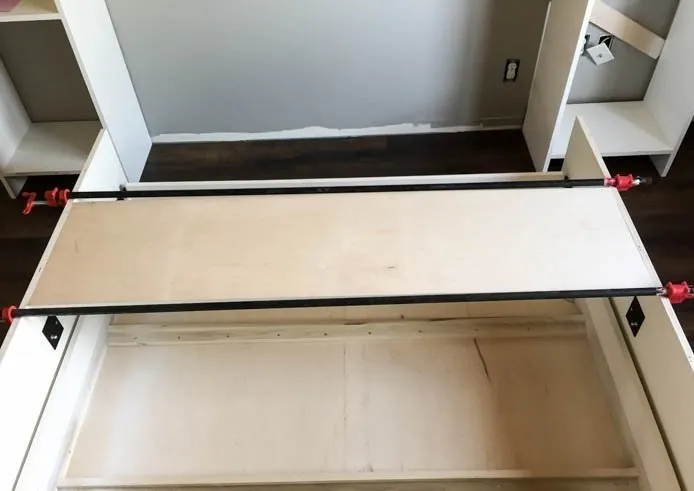
Photo: in the style of , Entrance Hall, Living Room, Kids' Room, Bedroom, Provence and Cottage, Classical, Scandinavian, Modern, DIY, Apartment, Studio, House, Architecture, Floor Plans, Decoration, Furniture and Lighting, White, Minimalism, Cottage, Villa, Black, Manor House, Red, Green, Beige, Grey, Brown, Townhouse, 1 Room, 2 Rooms, 3 Rooms, 4 or More, Up to 40 sq.m., 40-60 sq.m., 60-90 sq.m., More than 90 sq.m., decoration_encyclopedia, furniture_encyclopedia, decor_encyclopedia, small_space_encyclopedia, interior_encyclopedia, Guests Arrived – photo on our website

Don’t forget to place a cloth on the floor to avoid scratches on the front. Attach gas springs that will allow the bed to lower and rise.
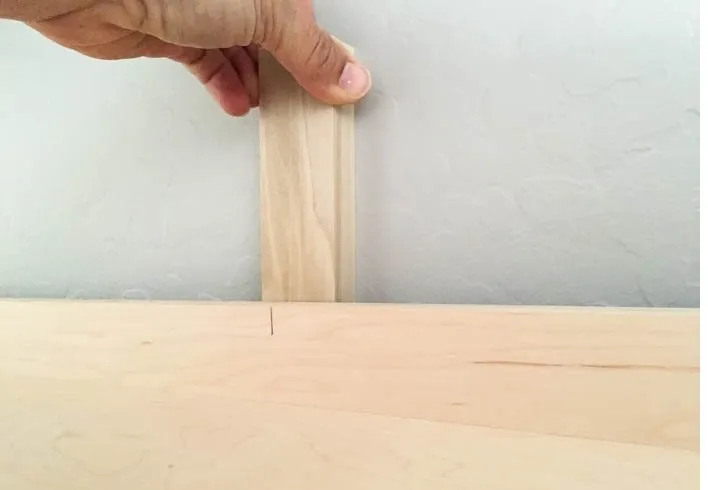
Photo: in the style of , Entrance Hall, Living Room, Kids' Room, Bedroom, Provence and Cottage, Classical, Scandinavian, Modern, DIY, Apartment, Studio, House, Architecture, Floor Plans, Decoration, Furniture and Lighting, White, Minimalism, Cottage, Villa, Black, Manor House, Red, Green, Beige, Grey, Brown, Townhouse, 1 Room, 2 Rooms, 3 Rooms, 4 or More, Up to 40 sq.m., 40-60 sq.m., 60-90 sq.m., More than 90 sq.m., decoration_encyclopedia, furniture_encyclopedia, decor_encyclopedia, small_space_encyclopedia, interior_encyclopedia, Guests Arrived – photo on our website

Mount wooden strips on the wall to which the cabinet with the pull-down bed will be attached. Remember to remove the baseboard in that area of the wall where the bed will be mounted.

Tightly attach the bed to the wall and add adjustable feet to it, and place a plywood sheet on the base that will serve as support for the mattress.

Attach the shelves to the side panels of the bed box. Cover the top part of the resulting structure with decorative moldings, and the bottom part with baseboards. You can use baseboards that were used to finish the entire room or choose baseboards matching the decorative moldings.
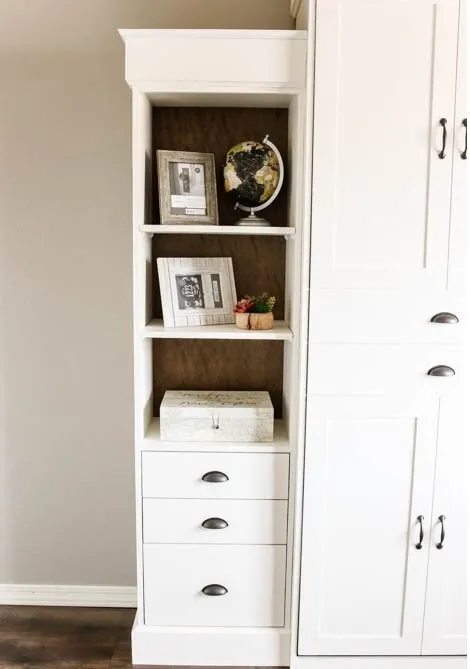
Photo: in the style of , Entrance Hall, Living Room, Kids' Room, Bedroom, Provence and Cottage, Classical, Scandinavian, Modern, DIY, Apartment, Studio, House, Architecture, Floor Plans, Decoration, Furniture and Lighting, White, Minimalism, Cottage, Villa, Black, Manor House, Red, Green, Beige, Grey, Brown, Townhouse, 1 Room, 2 Rooms, 3 Rooms, 4 or More, Up to 40 sq.m., 40-60 sq.m., 60-90 sq.m., More than 90 sq.m., decoration_encyclopedia, furniture_encyclopedia, decor_encyclopedia, small_space_encyclopedia, interior_encyclopedia, Guests Arrived – photo on our website

Now all you need to do is place a good mattress on the base and make up the bed — now you're always ready for unexpected guests.
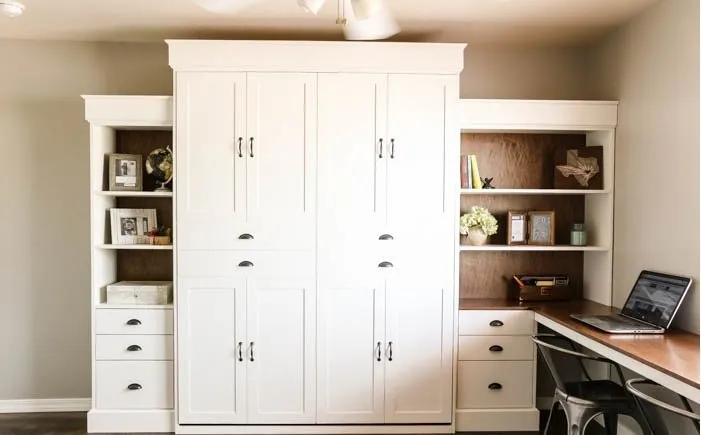
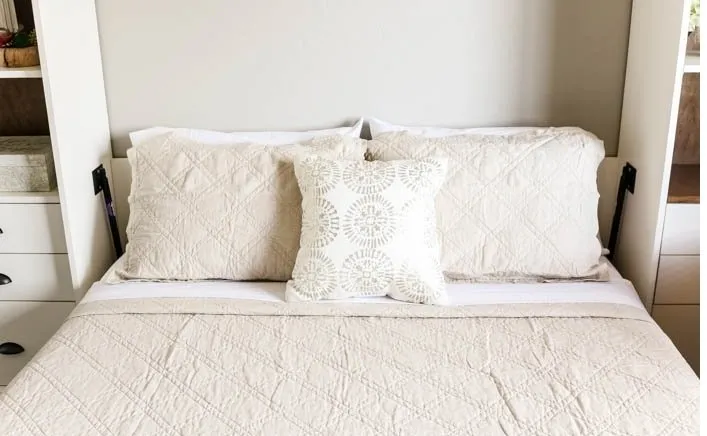
Photo: in the style of , Entrance Hall, Living Room, Kids' Room, Bedroom, Provence and Cottage, Classical, Scandinavian, Modern, DIY, Apartment, Studio, House, Architecture, Floor Plans, Decoration, Furniture and Lighting, White, Minimalism, Cottage, Villa, Black, Manor House, Red, Green, Beige, Grey, Brown, Townhouse, 1 Room, 2 Rooms, 3 Rooms, 4 or More, Up to 40 sq.m., 40-60 sq.m., 60-90 sq.m., More than 90 sq.m., decoration_encyclopedia, furniture_encyclopedia, decor_encyclopedia, small_space_encyclopedia, interior_encyclopedia, Guests Arrived – photo on our websitePhoto: in the style of , Entrance Hall, Living Room, Kids' Room, Bedroom, Provence and Cottage, Classical, Scandinavian, Modern, DIY, Apartment, Studio, House, Architecture, Floor Plans, Decoration, Furniture and Lighting, White, Minimalism, Cottage, Villa, Black, Manor House, Red, Green, Beige, Grey, Brown, Townhouse, 1 Room, 2 Rooms, 3 Rooms, 4 or More, Up to 40 sq.m., 40-60 sq.m., 60-90 sq.m., More than 90 sq.m., decoration_encyclopedia, furniture_encyclopedia, decor_encyclopedia, small_space_encyclopedia, interior_encyclopedia, Guests Arrived – photo on our websitePhoto: in the style of , Entrance Hall, Living Room, Kids' Room, Bedroom, Provence and Cottage, Classical, Scandinavian, Modern, DIY, Apartment, Studio, House, Architecture, Floor Plans, Decoration, Furniture and Lighting, White, Minimalism, Cottage, Villa, Black, Manor House, Red, Green, Beige, Grey, Brown, Townhouse, 1 Room, 2 Rooms, 3 Rooms, 4 or More, Up to 40 sq.m., 40-60 sq.m., 60-90 sq.m., More than 90 sq.m., decoration_encyclopedia, furniture_encyclopedia, decor_encyclopedia, small_space_encyclopedia, interior_encyclopedia, Guests Arrived – photo on our website

On the cover: Project by Inessa Ternovaya Design Interiors