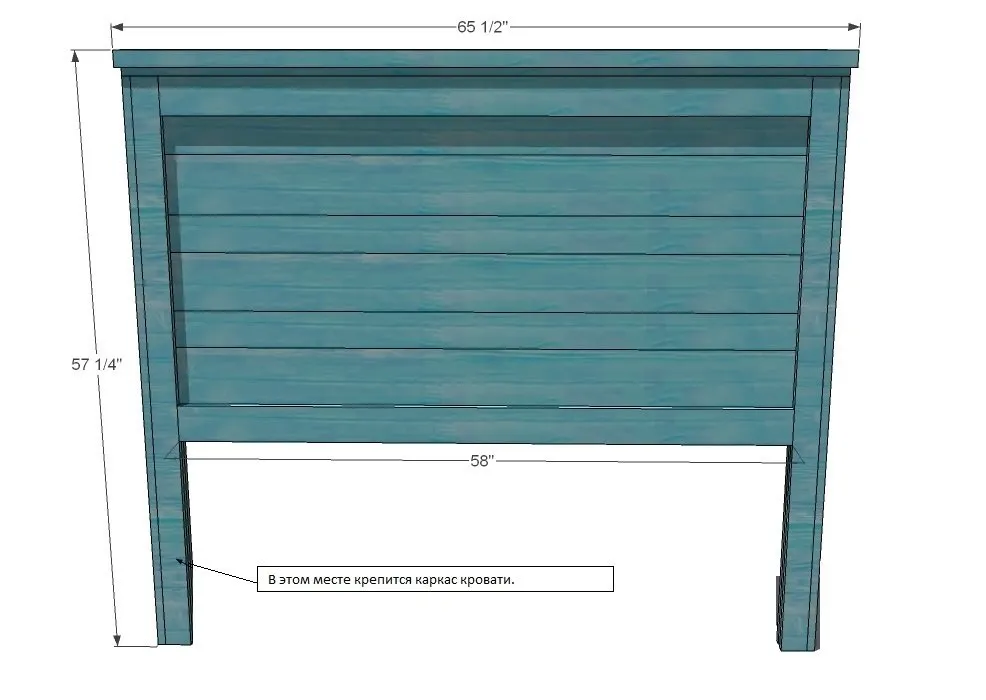
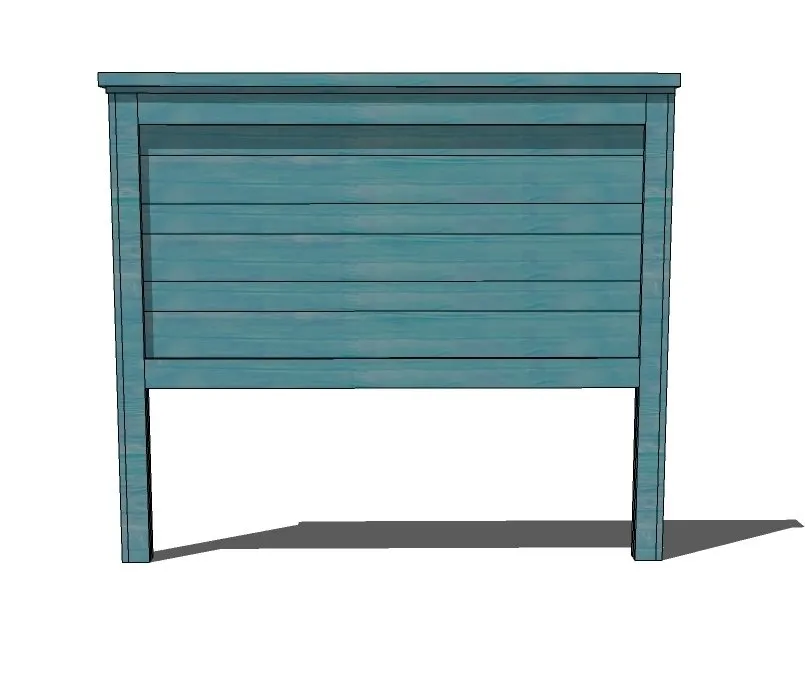
DIY Idea: Bed Headboard in Scandinavian Style Made by Yourself
The dimensions of the headboard given in the instructions may not match the size of your bed. You need to do your own calculations using ours as an example. The sizes on the drawings are given in inches. For your convenience, we have replaced them with centimeters in the description.
Before starting, clear the working surface and cover it with protective material. Read the safety rules provided by manufacturers of the saw and nail gun.
 You will need:
Materials:
✓ finishing nails
✓ wood glue
✓ 120 grit sandpaper.
Tools:
✓ tape measure
✓ pencil
✓ circular saw
✓ eye and ear protection
✓ nail gun (or hammer).
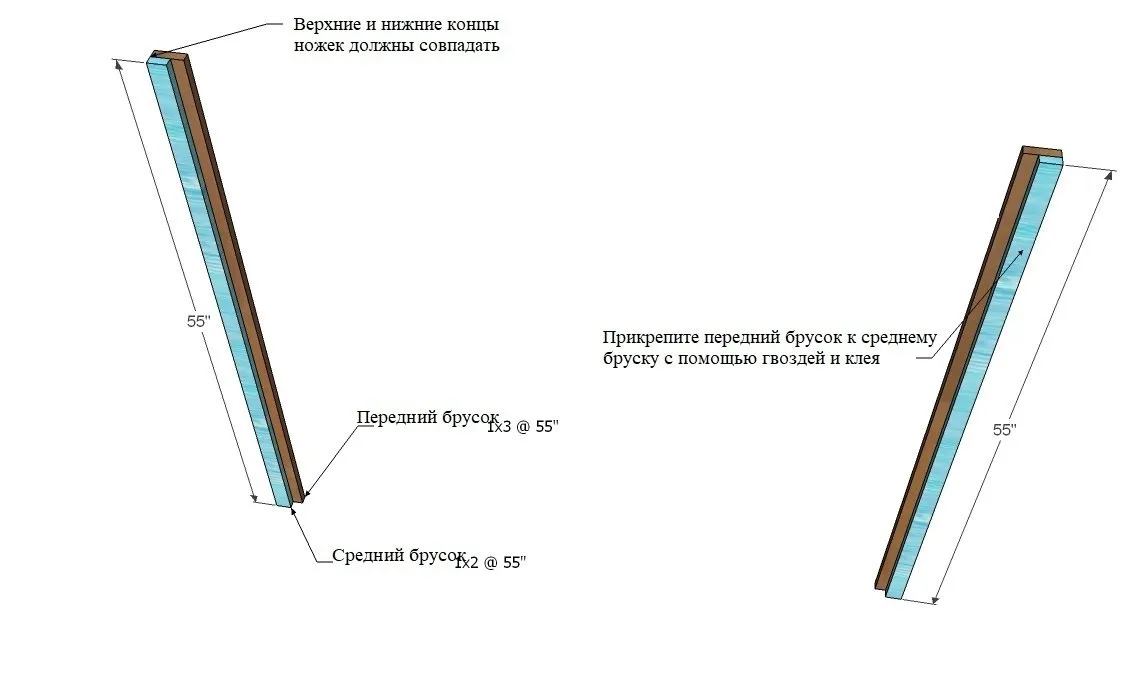
 Step 1. Cutting the Legs
Cut blocks measuring 2.5x5 cm and 2.5x7.5 cm and attach them to each other as shown in the picture. To make the nail heads invisible, drive them from the back side of the middle block: it will be covered by another piece.
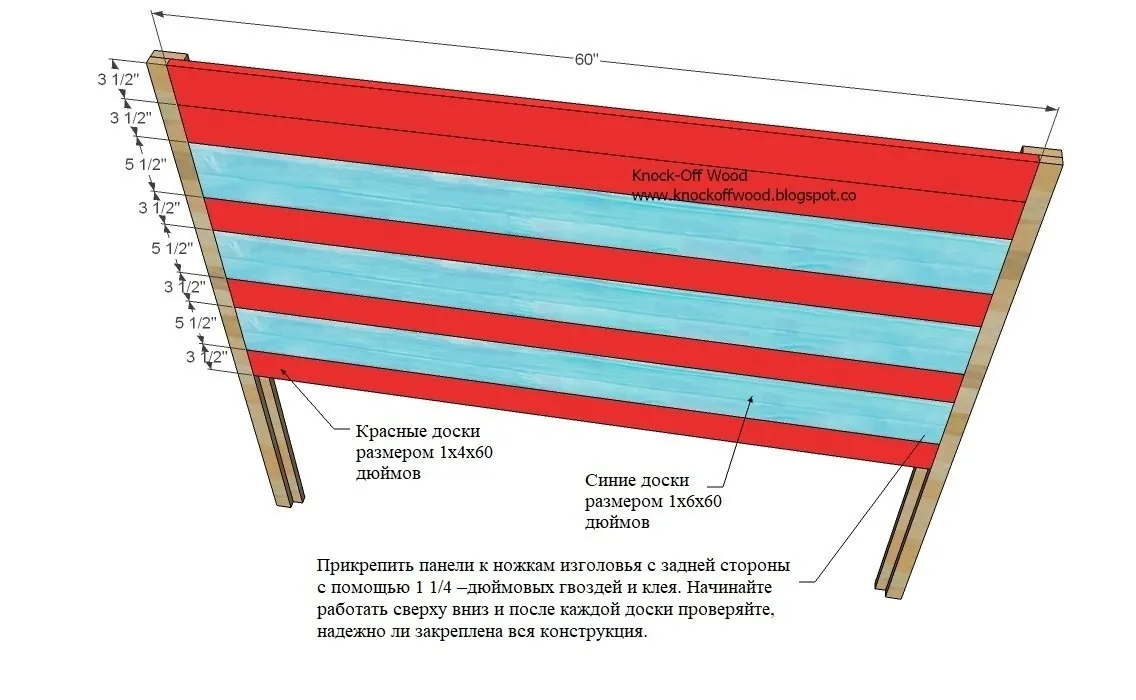
 Step 2. Main Part
Starting from the top, secure the panels to the headboard as shown in the picture. Boards marked in red color are 2.5x10 cm, and those in blue are 2.5x15 cm. Attach the boards to each other with nails and glue. As in the previous step, drive the nails from the back side of the headboard.
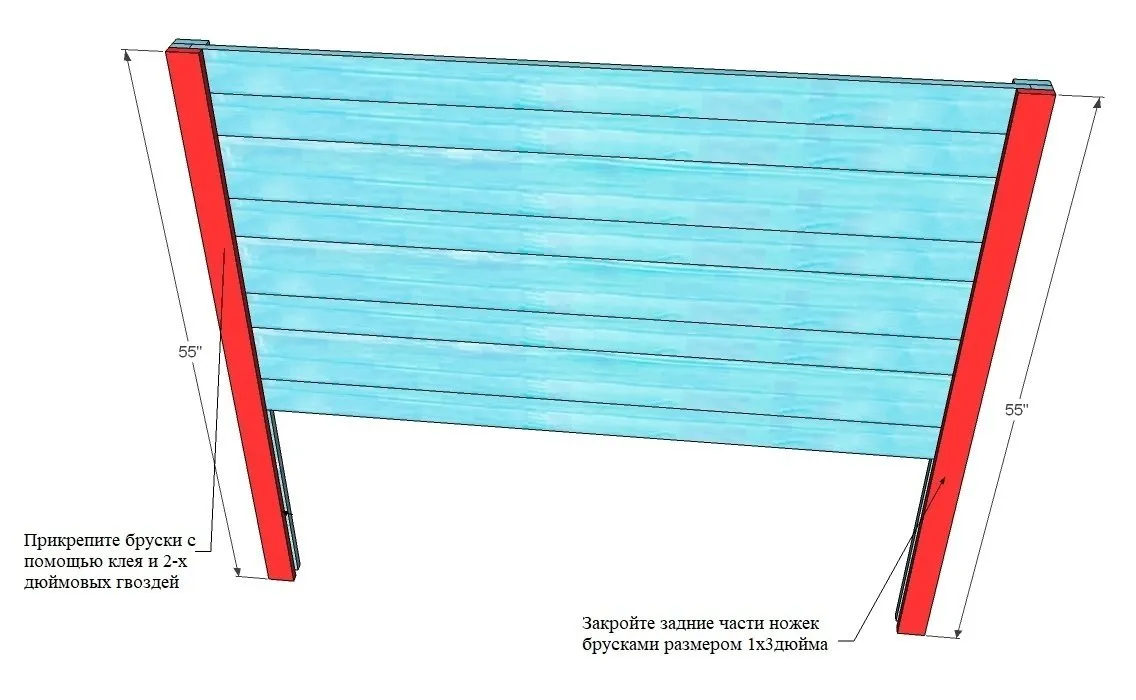
 Step 3. Attaching Panels
Attach the panels to the front side of the legs as shown in the picture. Keep the outer edges even.
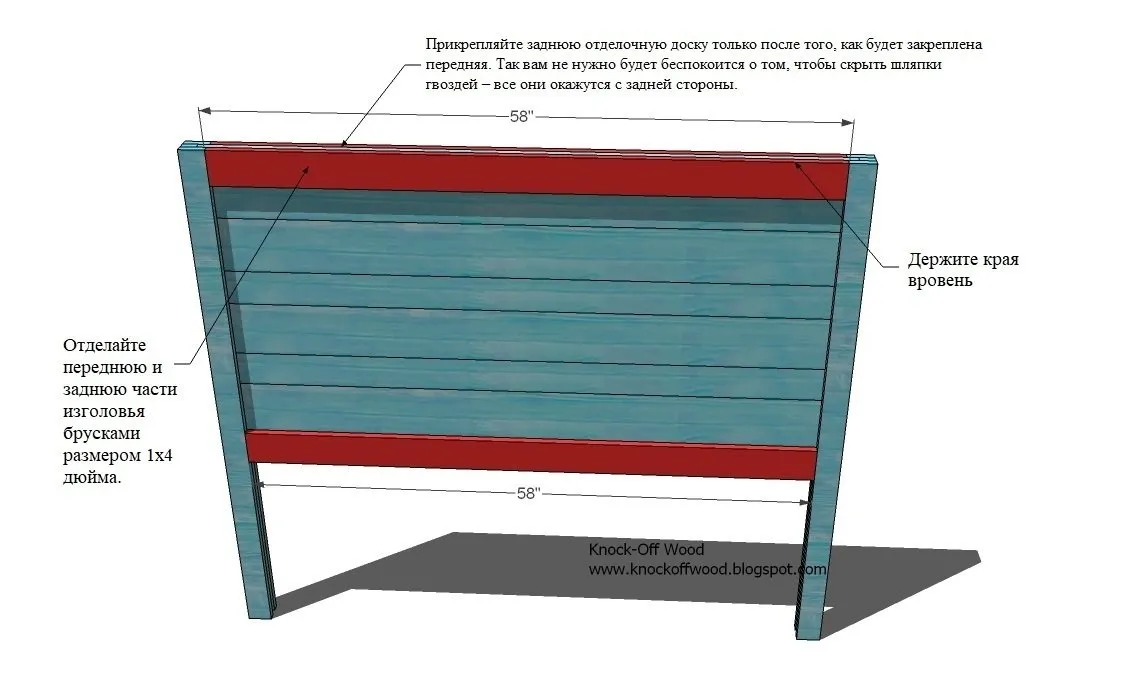
 Step 4. Reinforcing the Structure
On the front side of the headboard, attach blocks measuring 2.5x10 cm as shown in the picture. Drive the nails from the back side so that their heads are not visible from the front. Then attach similar panels to the back of the headboard using 5 cm nails and glue.
 Step 5. Side Panels
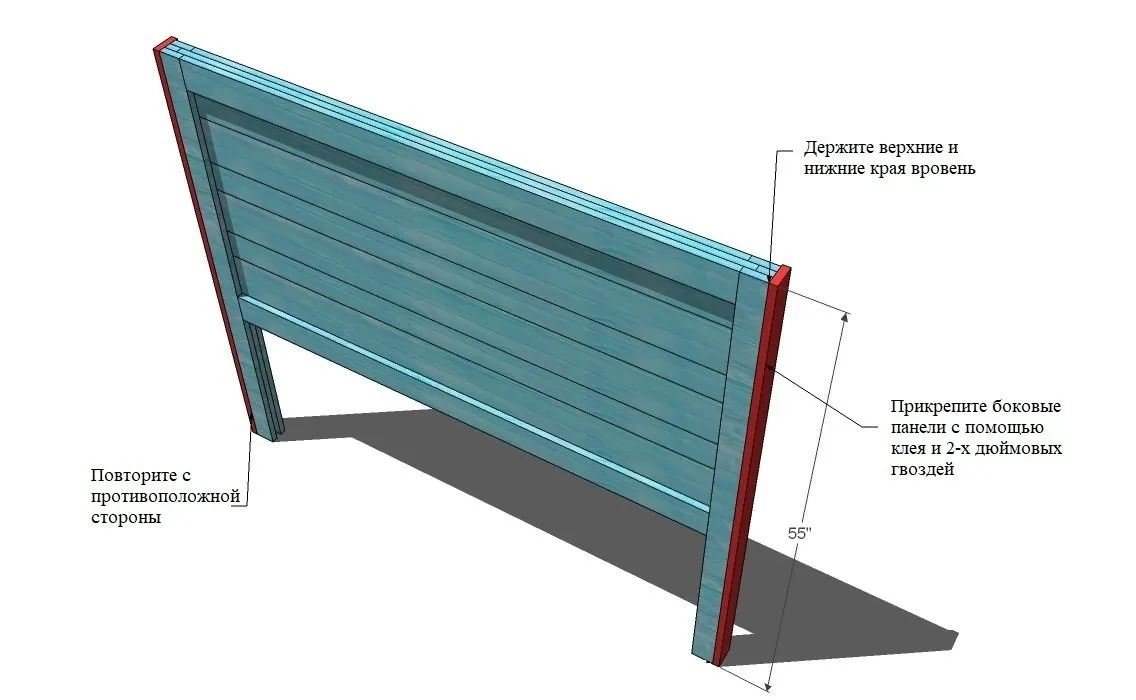 Step 6. Top Panel
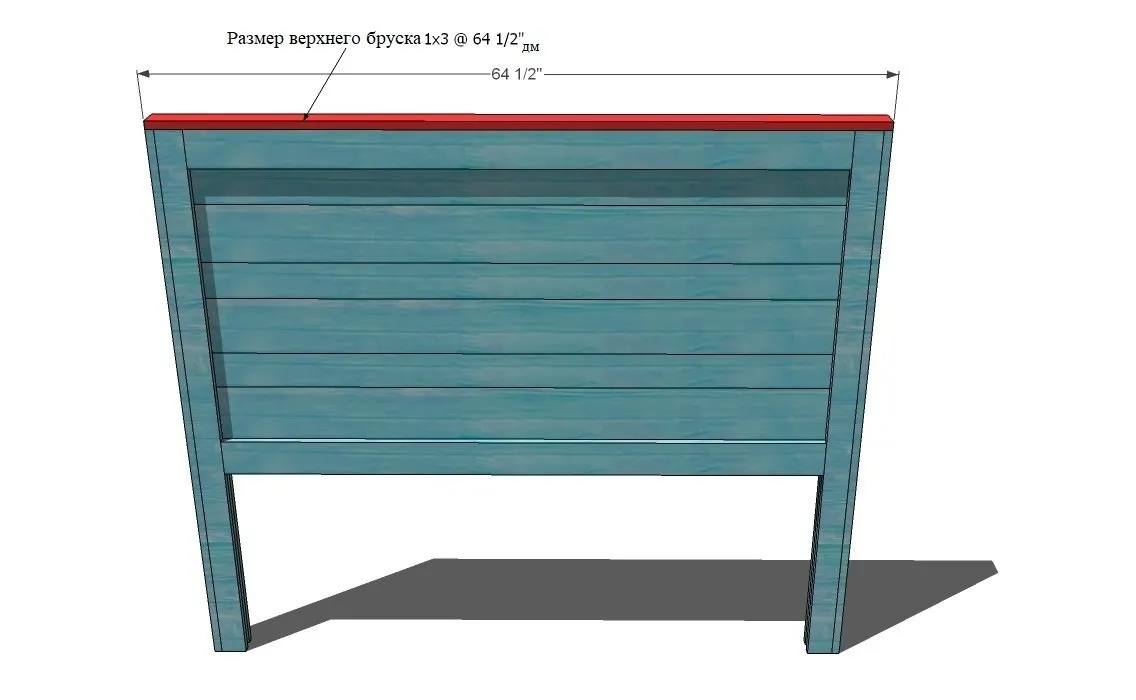
Measure and cut the top panel for the headboard according to required dimensions. At this stage, the panel length should correspond to the total length of the headboard (including the legs). Use 5 cm nails and glue to secure it.
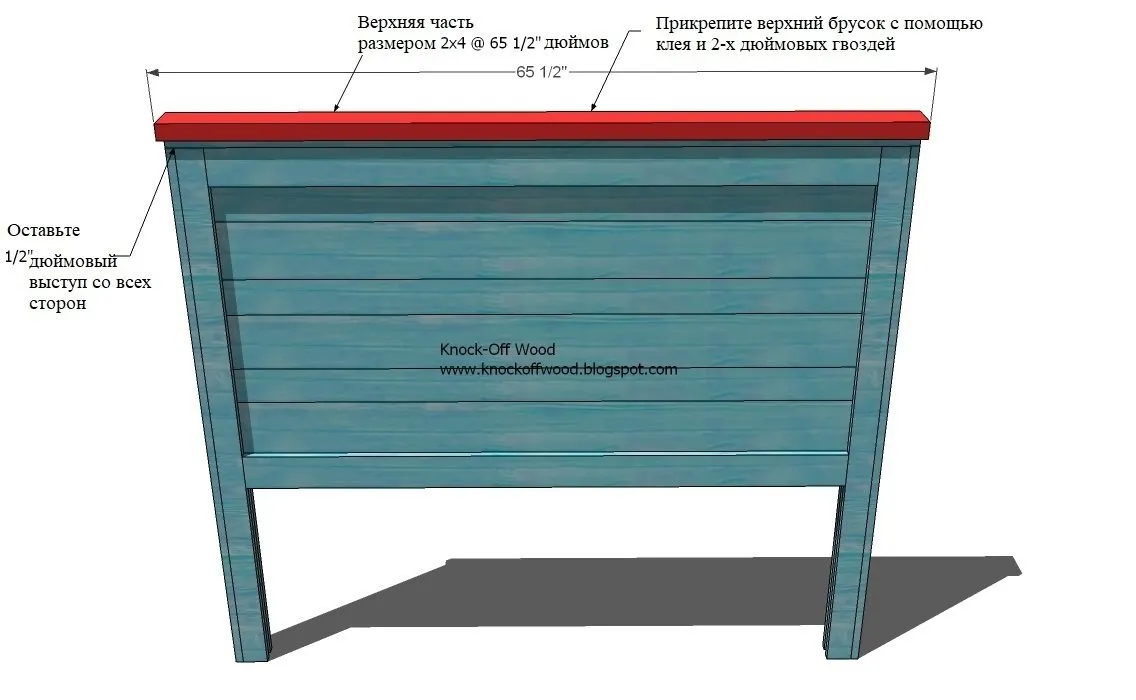
 Step 7. Decorative Top Panel
Cut another top panel. It should be slightly larger in size than the previous one: longer by 4–5 cm and wider by 3–4 cm. Place the panel in the center of the headboard (make sure that protrusions on both sides are symmetrical) and secure it using 5 cm nails and glue.
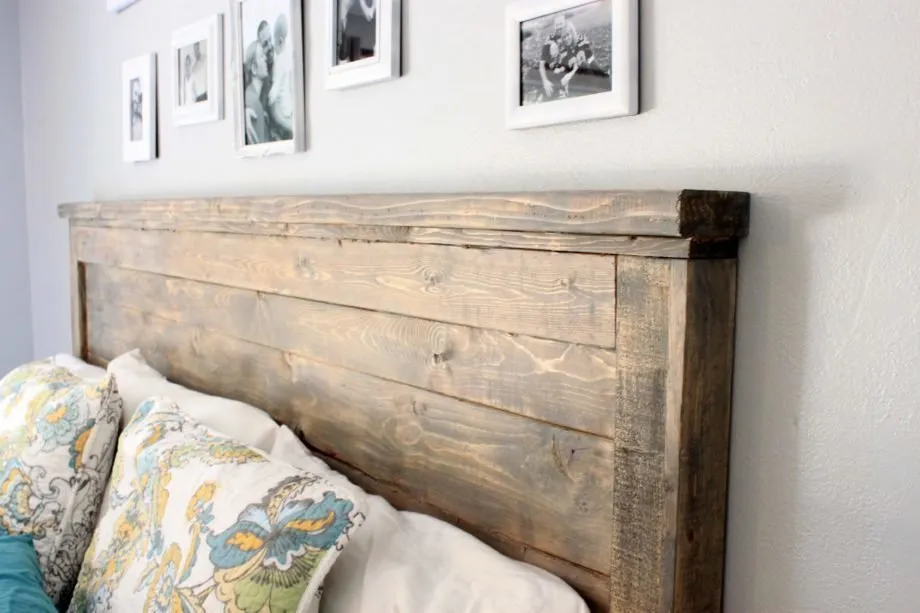
 Step 8. Finishing Touches
Fill all visible nail holes with wood filler and sand them smooth. Attach the headboard to the bed frame.
 Pinterest
Need a renovation specialist?
Find verified professionals for any repair or construction job. Post your request and get offers from local experts.
You may also like
More articles:
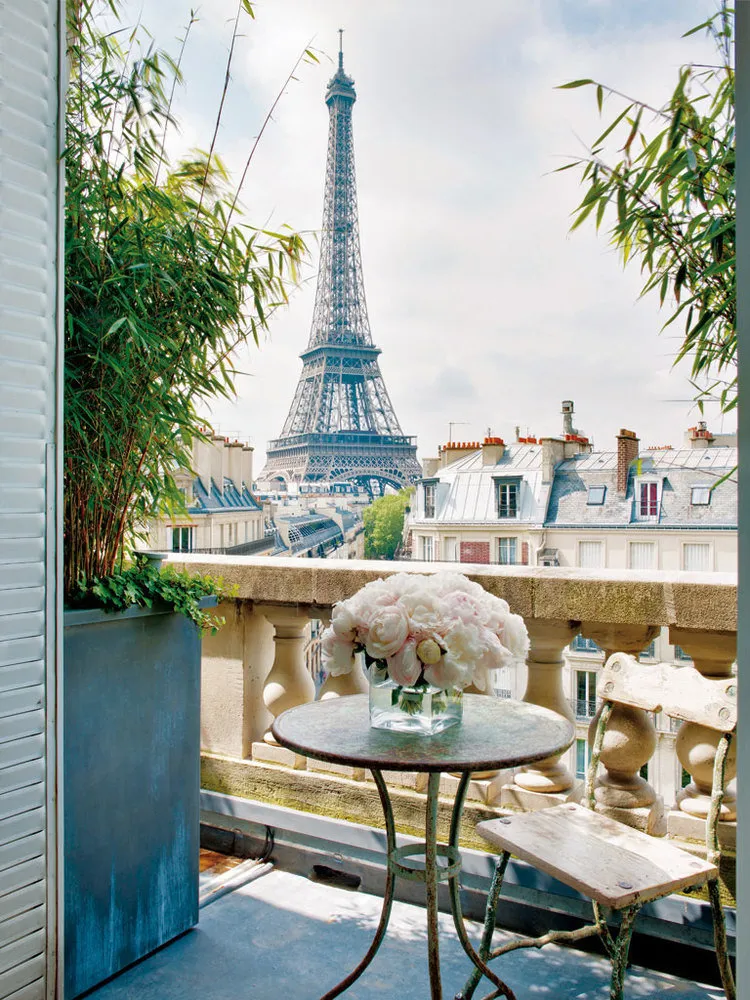 Apartments with Eiffel Tower View
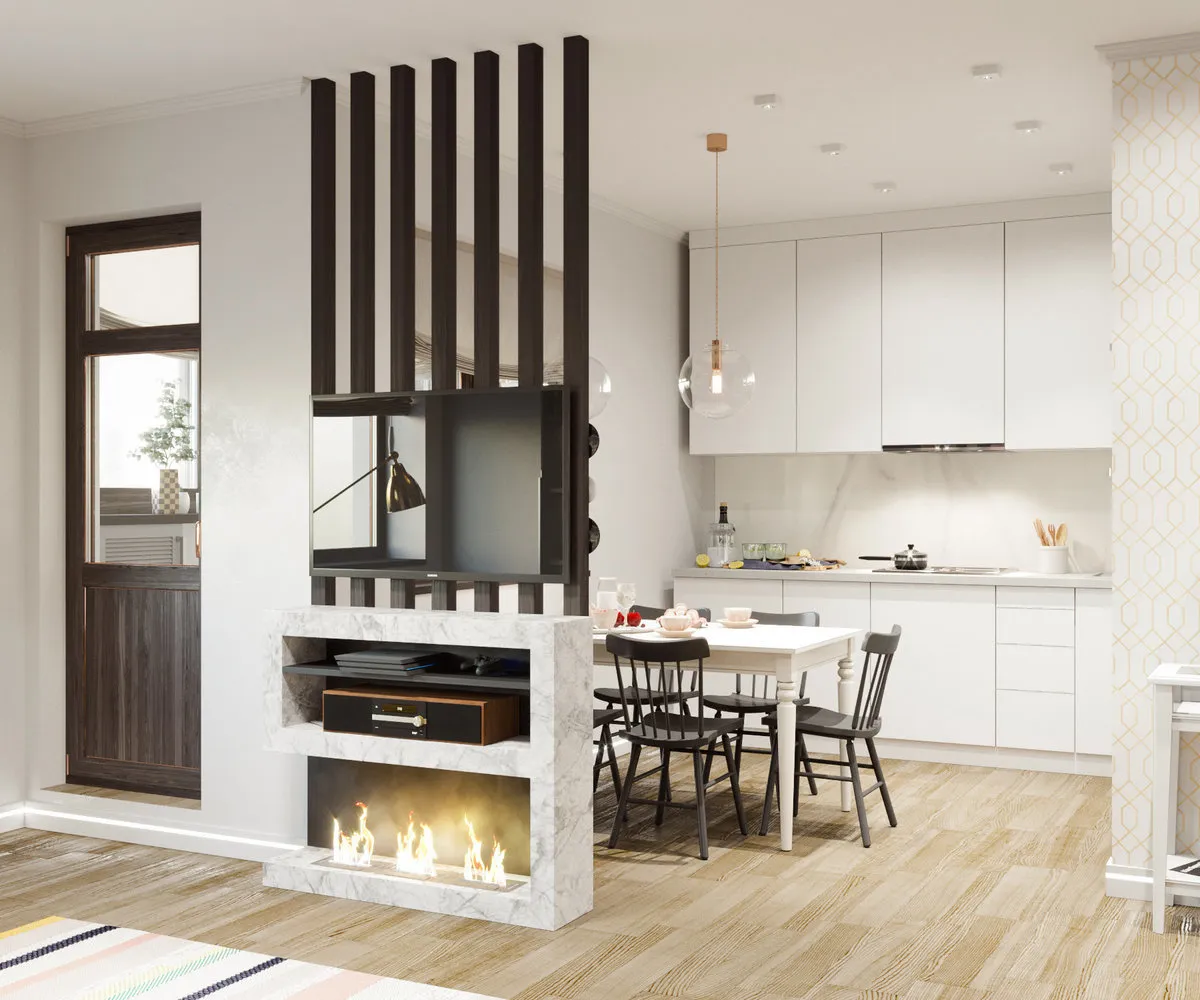 6 Ways to Zone Space Using Partitions
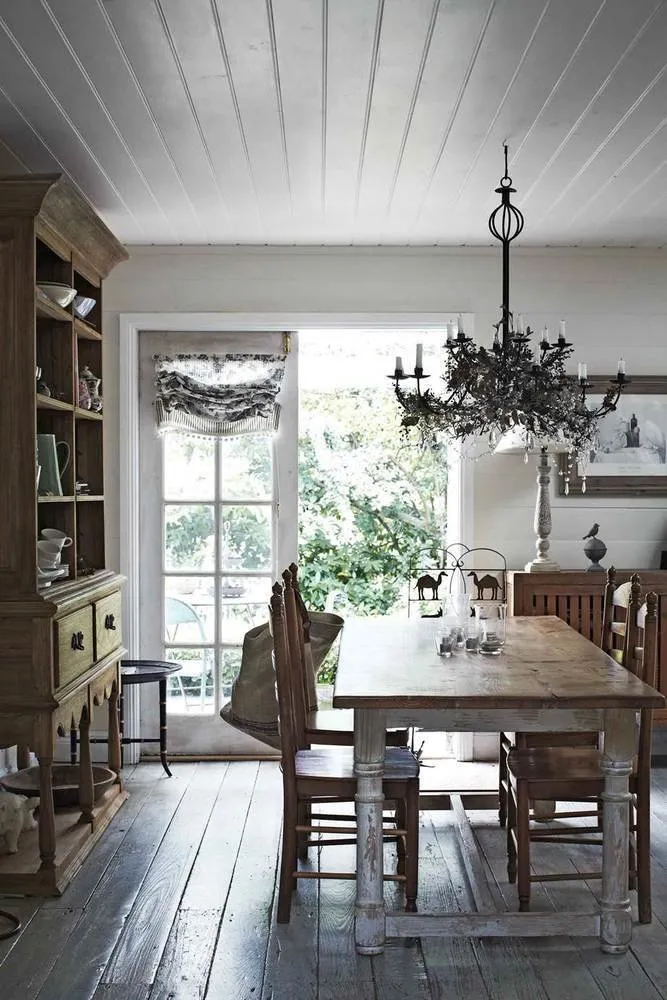 How They Transformed a 200-Year-Old Cottage
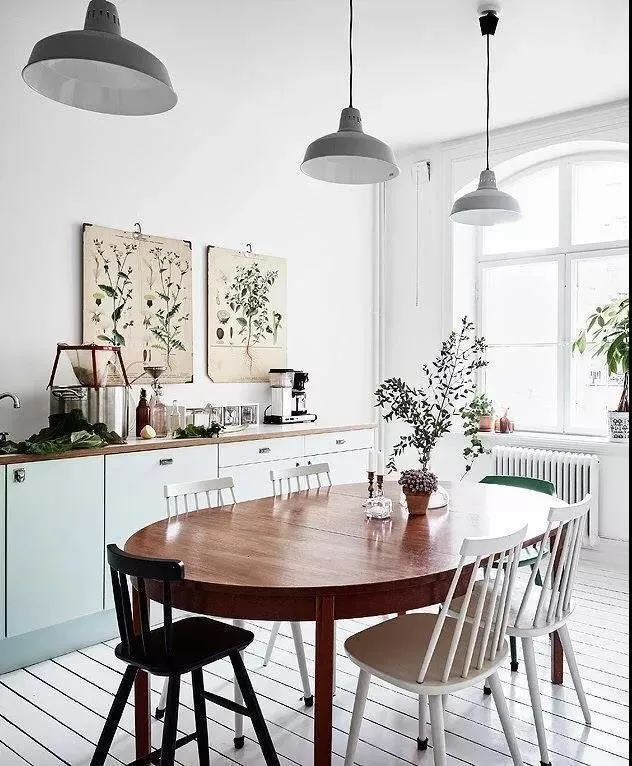 7 Useful Tips for a Healthy Microclimate
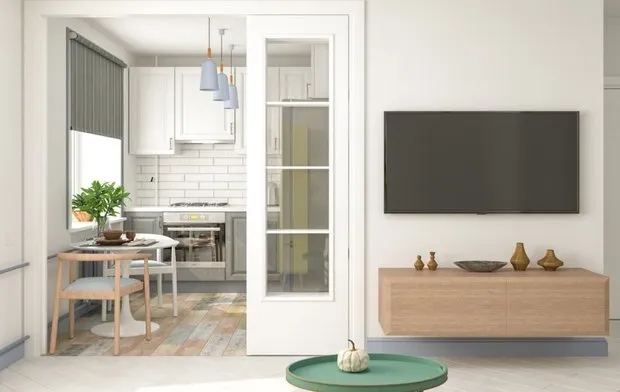 How to Fix a Poor Apartment Layout?
 Personal Experience: How to Rent Out an Apartment and Make Money for a New Life
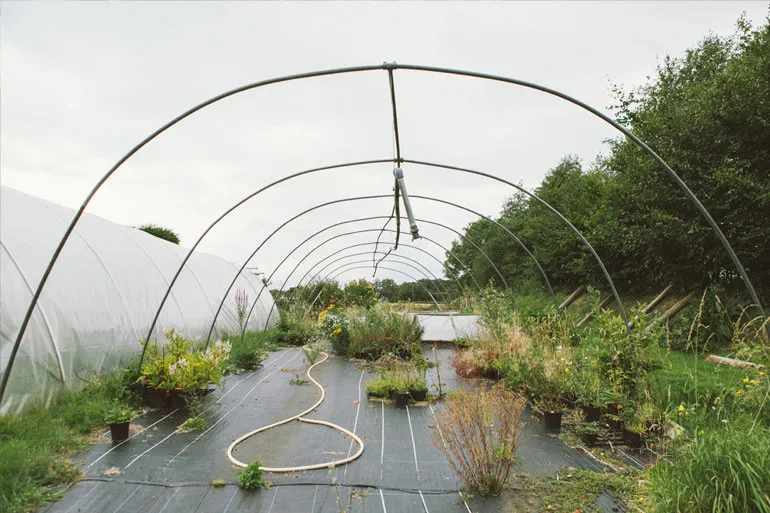 Is Your Garden Properly Watered: 4 Important Points
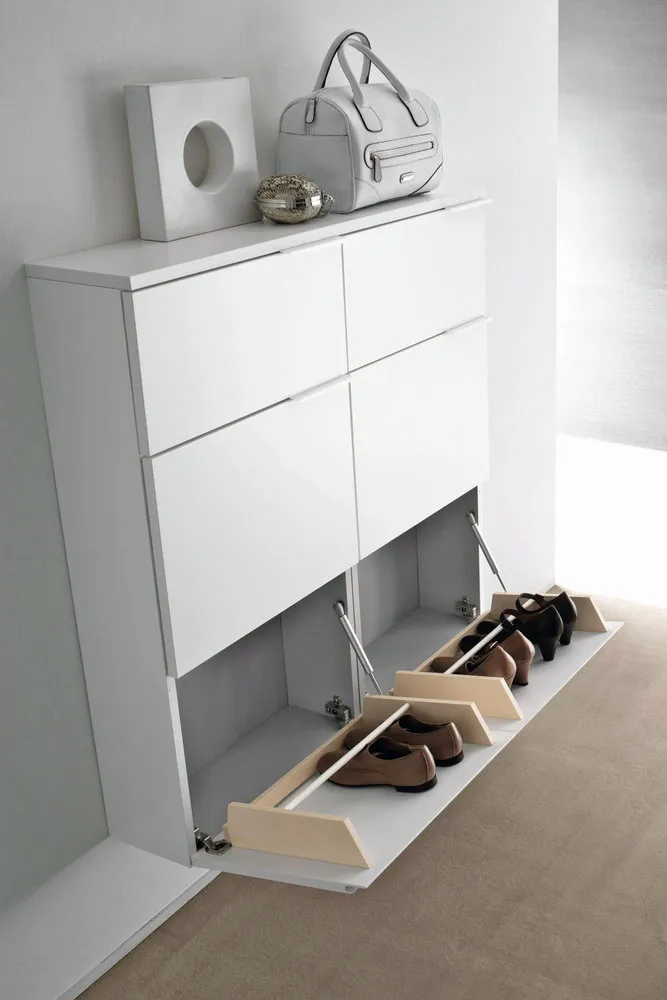 How to Store Shoes in a Small Apartment: 13 Great Ideas