Installation of a Downpipe System
 The importance of installing downpipe systems on modern sloped roofs cannot be overstated — the cost of a mistake is simply too high. Modern roofing materials are expensive, attractive, and durable. Unfortunately, cutting corners on gutter systems often leads to major additional costs for roof restoration.
Frozen water, icicles, ice crusts — these are all inevitable features of a sloped roof without properly installed downpipes.
At the same time, downpipe systems must not be installed casually or by guesswork. There are too many unexpected challenges and technical questions that may arise. A downpipe system consists of pipes, gutters, bends, clamps, hangers, and more. As you can see, the range of components is quite extensive, and installation must be carried out by qualified professionals, strictly following the manufacturer’s recommendations.
Choosing the Downpipe System Design
At the initial stage, it’s crucial to determine which components will make up your downpipe system. This includes gutter size and section, number of downspouts, and location of rainwater discharge. Typically, for a roof up to 100 m², one or two downspouts and gutters with a diameter of 100–110 mm are sufficient.
Downpipe systems are commonly made from three materials: copper, PVC, and galvanized steel. The first is the most expensive, the last the most affordable. Each material has its advantages, and the choice ultimately lies with the homeowner.
Plastic (PVC) downpipe systems are the best at reducing noise levels, even during heavy rainfall. Galvanized steel is more durable and slightly cheaper than plastic, but the quality of the system depends heavily on the method and thickness of the polymer coating protecting it from corrosion.
Downpipe Installation
Installing gutter sections can be divided into two main phases. The first phase begins before the roofing material is installed, when hangers are attached to the rafter fascia (minimum two fixing points per gutter section). After this, the roof installation is completed. To prevent damage (dents, cracks, breaks) to the gutters during the lifting of roofing materials, they should be installed only after all major roofing tasks are finished.
Gutter sections and curved connectors are inserted into the pre-installed hangers and joined using special connection elements. Then, vertical downpipes are mounted.
The method of attaching vertical sections depends on the façade profile. Frequently, architectural features like dormers, cornices, and other projections must be navigated around. This is where potential risks lie.
The main issue is that these complex areas must be navigated using angled fittings. Overusing rectangular bends can lead to blockages and freezing — especially in sharp 90° turns. The safest angle for preventing clogging is 45°, although using these requires moving away from the façade plane earlier than with rectangular bends.
An additional option in high-quality downpipe systems is electric heating cables, installed inside pipes and gutters to prevent freezing. These consume minimal energy, enough to maintain a positive temperature inside the gutter.
Need a renovation specialist?
Find verified professionals for any repair or construction job. Post your request and get offers from local experts.
You may also like
More articles:
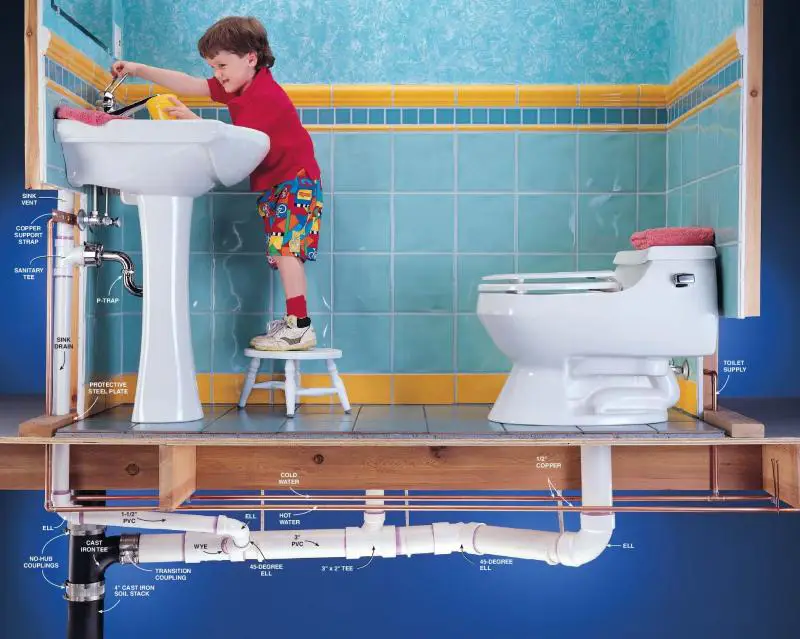 Water Supply for a Country House
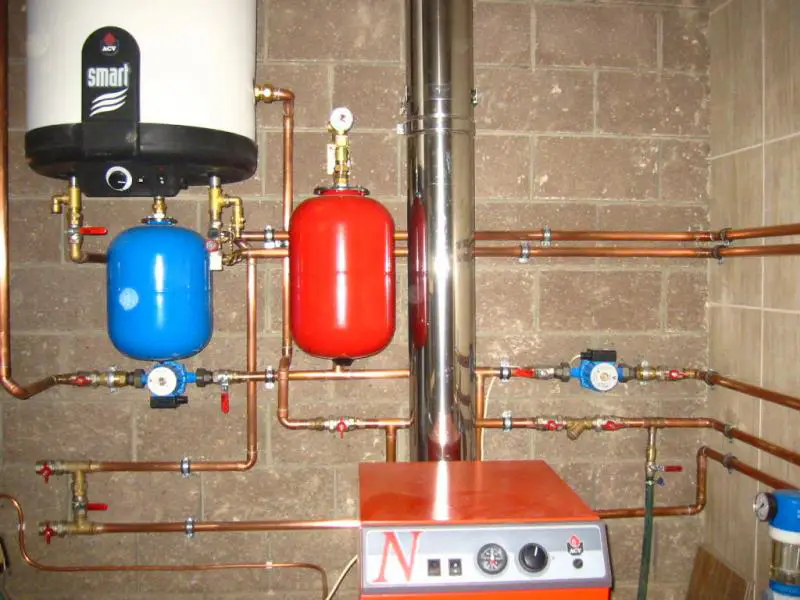 Heating System for a Country House
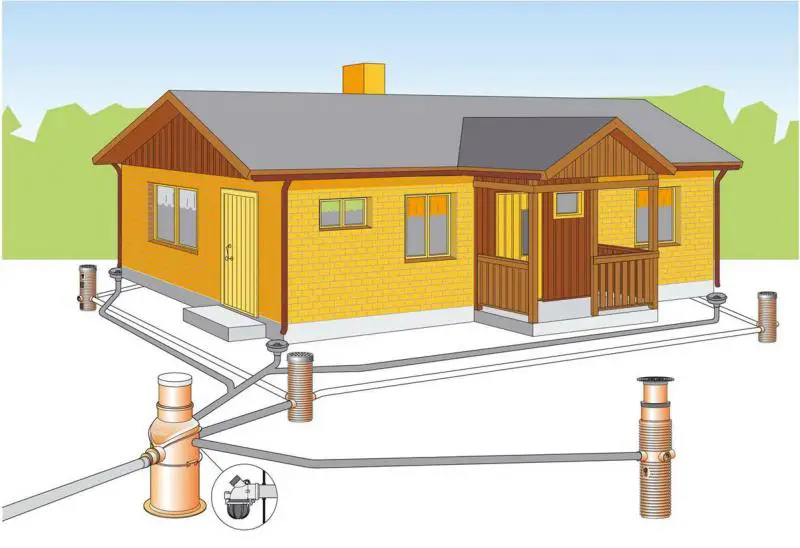 Sewage System for a Country House
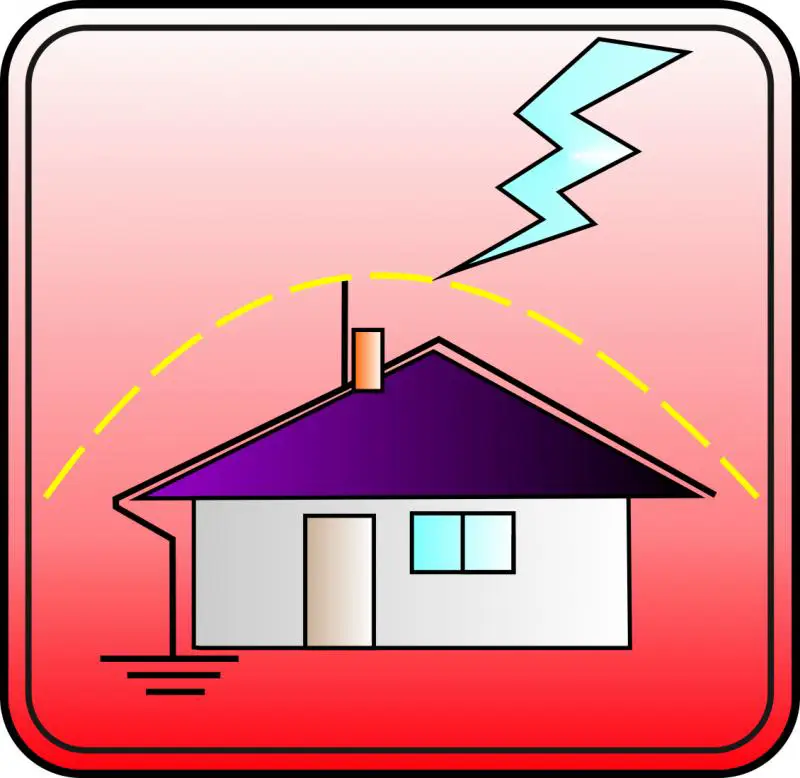 Lightning Protection for a Country House
 Electrical Water Heater: Types and Construction Features
 How to Choose an Electric Water Heater
 Heating a Country House by Yourself
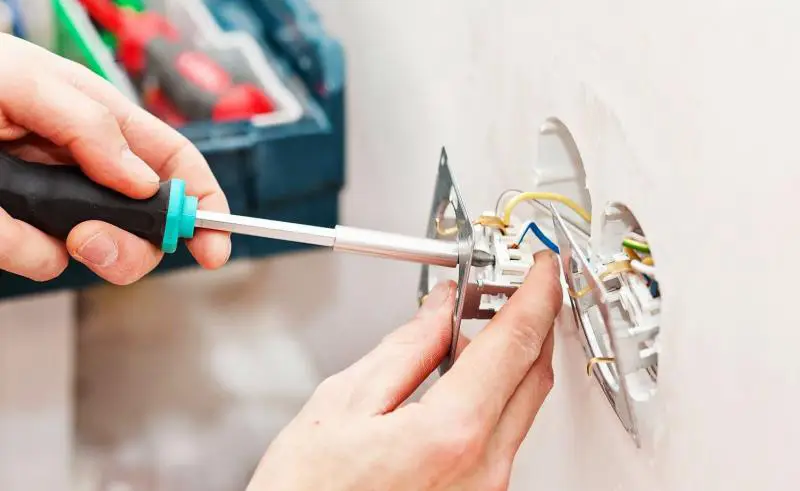 How to Replace an Electrical Outlet