Changing Tiles in the Bathroom: Step-by-Step Guide
With the help of OBI experts, we explain how to lay tiles in a bathroom yourself.
What you'll need?
Tools:
- notched trowel;
- level;
- rubber scraper;
- drill / mixer;
- tile cutter;
- plumb line;
- rubber for grout and cleaning joints;
- construction string;
- tile nippers;
- grout press.
Materials:
- wall / floor tiles;
- leveling compound;
- silicone;
- primer;
- cross-shaped spacers;
- tile adhesive;
- grout mixture.
Preparing the Surface for Installation
It's important that the surface is clean, flat, and dry. Do a cleaning and make sure to dry the room before starting the work.
If tiles are laid on particleboard or planks, they must be screwed down—experts recommend using insulating plates to avoid vibrations on the surface and moisture protection.
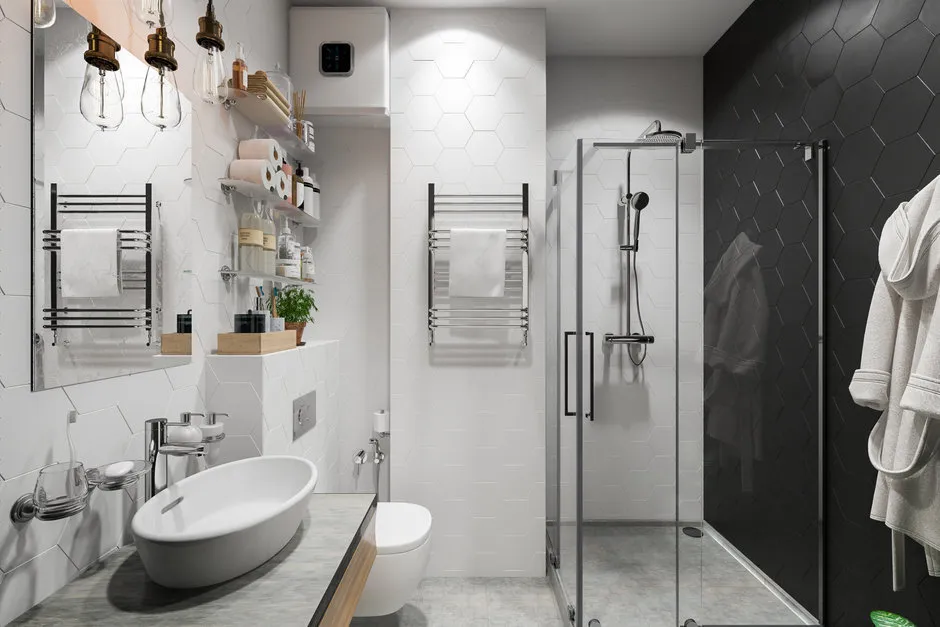
 Design: Maya Baklan
Your Choice: Hydro-Insulation Coating Knauf, OBI
Protects finishing materials made of gypsum board, concrete, plaster, stone or brick from moisture.
Waterproofing Mixture Ceresit, OBI
Cement-based mixture for waterproofing works.
Waterproofing Paste Ceresit, OBI
Useful for creating flexible waterproof coatings before laying tiles.
Leveling Minor Irregularities
Small cracks can be filled with leveling compound. After that, apply primer. Experts from the repair and design service "Good" recommend adding an additional insulating layer on top of the primer, as humidity levels are always higher in bathrooms.
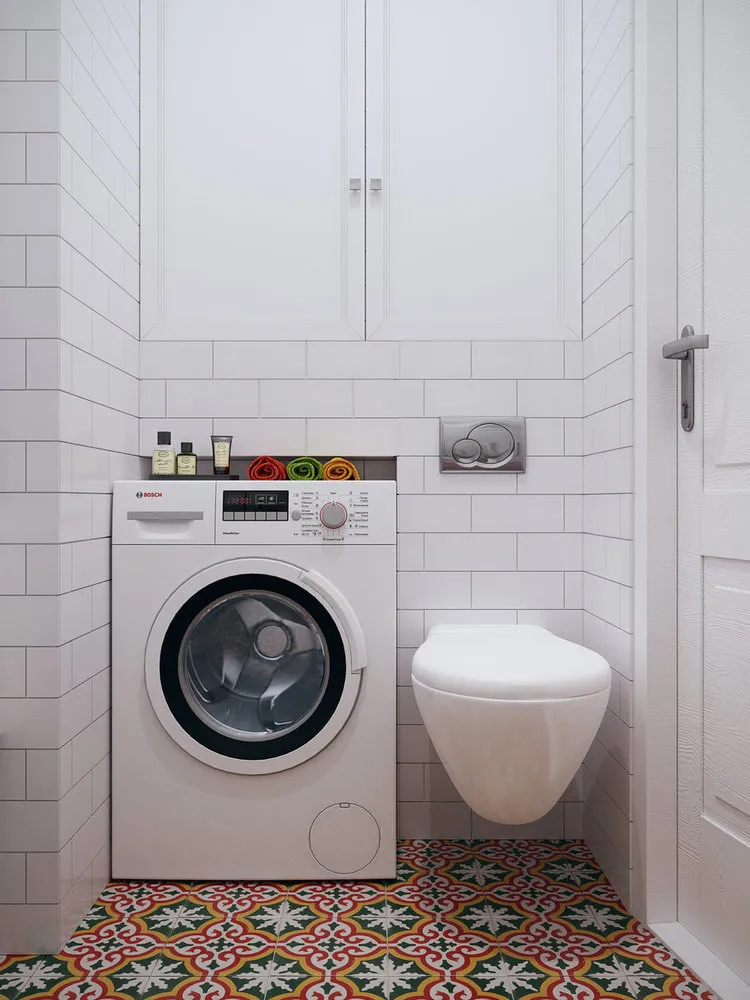
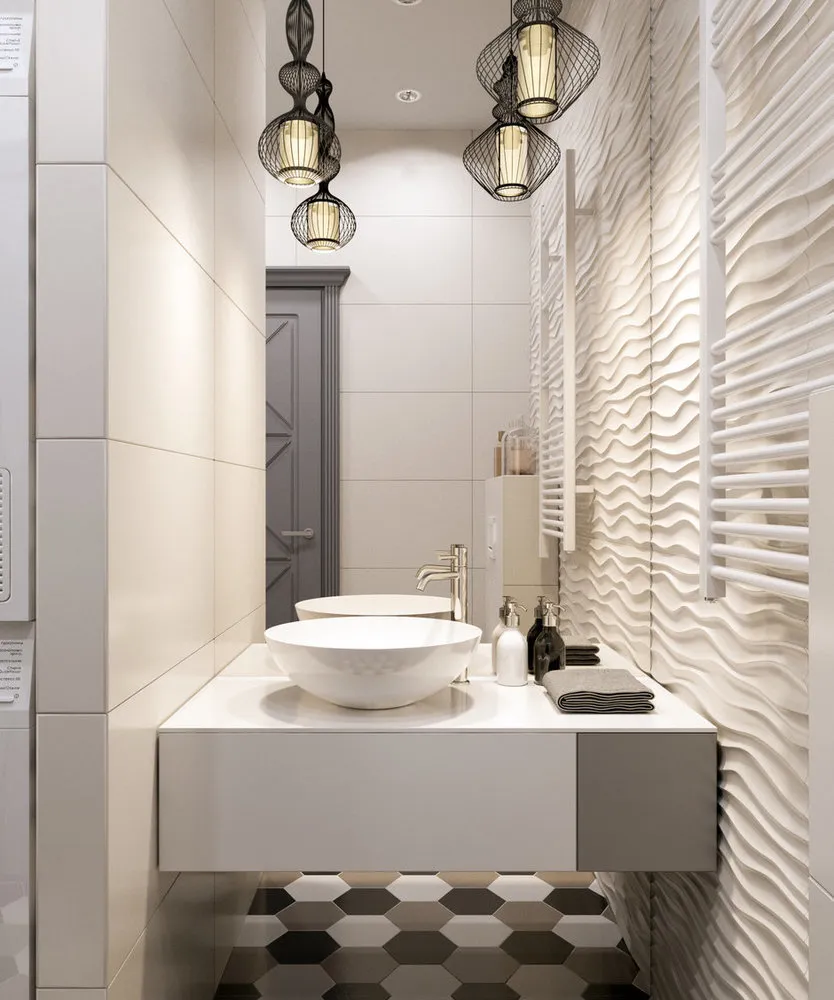
 Design: Daria El'nikova
Cutting Tiles
To get a straight edge, use special tile cutting machines. For circular holes (e.g., for sockets), special nippers or a drill with a router bit are needed.
Don't try to cut tiles with household tools—this will damage the material and waste your time.
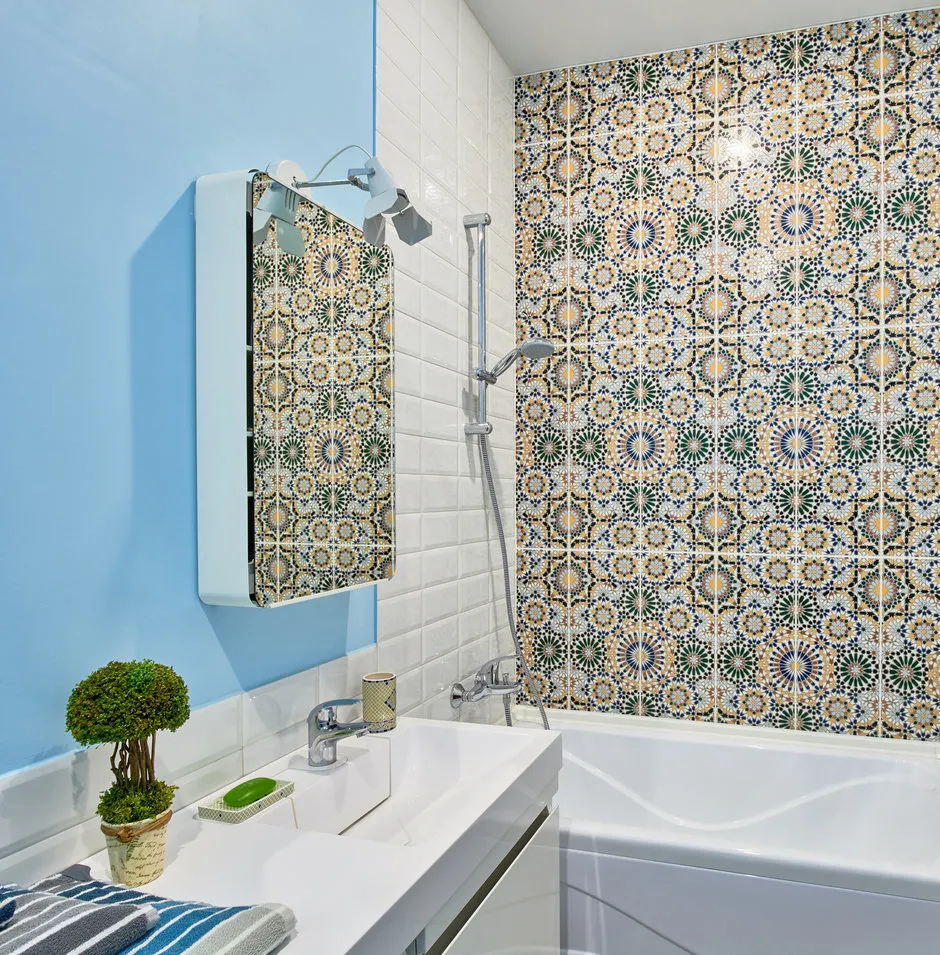
 Design: Porte Rouge
Your Choice: Tile Cutter, OBI
Perfect for straight and patterned cutting of ceramic and natural stone tiles, as well as ceramic granite.
Ceramic Tile Cutter, OBI
Ideal for creating circular holes for sockets.
Electric Tile Cutter, OBI
Good for small-volume tile cutting jobs.
Trying Tiles - Laying Them on the Floor
After preparing the surface and materials, you should try the tiles. Measure the bathroom area and mark the center. Start from the center going towards the corners, laying tiles in a cross pattern.
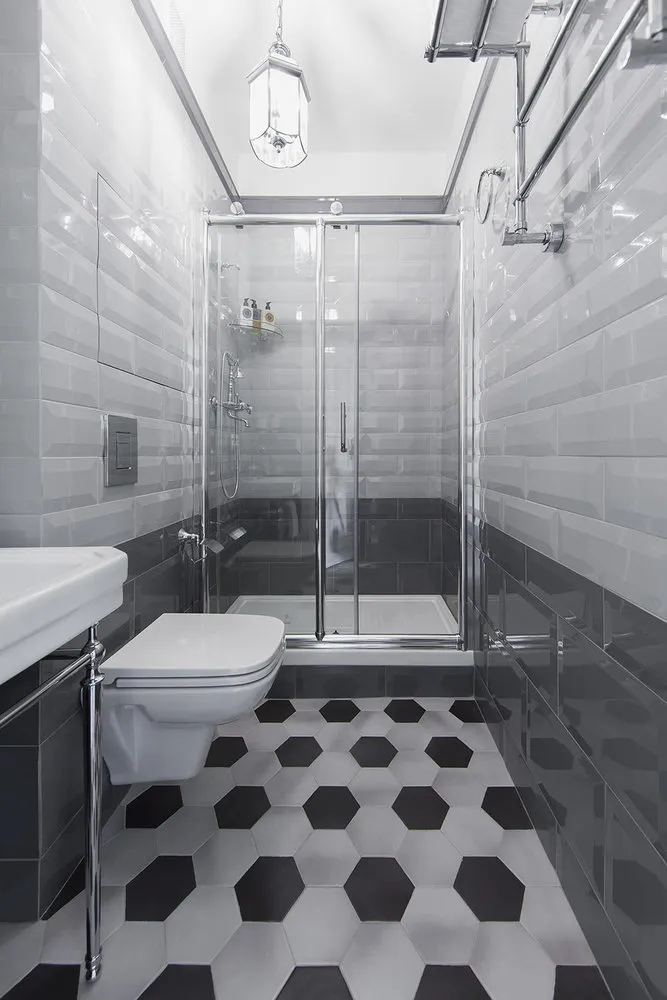
 Design: Cubiq Studio
Your Choice: Floor Tile Goldencer Dacha, OBI
Hexagon-shaped tiles with wood texture imitation.
Floor Tile Cristacer Retro, OBI
Glossy tiles with black-and-white patterns in patchwork style.
Floor Tile Dual Gres Pool, OBI
Stylish tiles with even geometric patterns.
Spreading Adhesive
Don't use homemade mixes—choose ready-made tile adhesives tailored for each surface individually. For example, for laying tiles on particleboard or underfloor heating, professionals recommend elastic adhesive.
Apply the adhesive with a notched trowel or float. Depending on the adhesive's setting time, one pass can lay 1–1.5 square meters. Then prepare a new batch.
 Design: Marina Nazarenko
Your Choice: Tile Adhesive Unis Plus, OBI
For laying all types of ceramic tiles, clinker tiles, natural stone tiles, and ceramic granite.
Tile Adhesive KNAUF, OBI
Reinforced cement-based adhesive for ceramic tiles suitable for indoor and outdoor use.
Tile Adhesive VETONIT EASY FIX, OBI
Multifunctional water-resistant adhesive for laying various types of ceramic mosaic, ceramic tiles, and small-size ceramic granite.
Laying Tiles on the Floor
Start from the center. Place the first row of tiles in the center of the room. To mark the center, stretch string parallel to the walls or use a laser level. Align the first row of tiles along the joint or center of the tile. Then lay tiles along the wall.
Follow Installation Rules. Press tiles into adhesive with gentle rotating motions. To keep consistent joint spacing, use special cross-shaped spacers. A rubber mallet helps secure tiles in place.
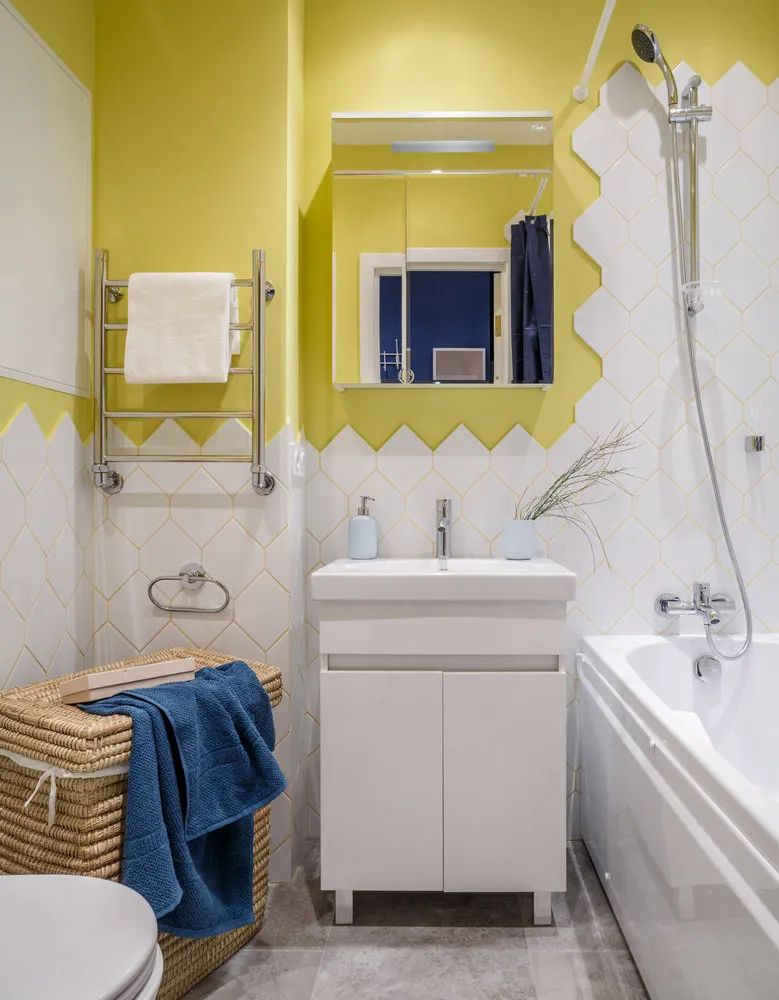
 Design: Marina Dadiani
On the Walls
Start from the center. Just like laying on the floor, the joint or center of the tile should be in the center.
Apply Adhesive. Mix ready-made adhesive and apply it to the wall with a float or trowel. Level the layer of adhesive with a spatula until it forms a smooth surface. If laying on old tiles or particleboard, use special high-load fixing adhesive.
Lay Tiles Correctly. It's important to lay tiles symmetrically. Press them in gently and use cross-shaped spacers. If the tiles won't cover the full height of the room, start from the top row.
 Design: Concept 58 Studio
Your Choice: Wall Tile Pamesa Atrium Blanco, OBI
White glossy high-quality ceramic with textured patterns.
Tile KerLife Stella Geometrico, OBI
Matte and glossy surfaces with plum-colored geometric patterns.
Wall Tile Kerama Marazzi Whitehall, OBI
A classic collection in English style, glossy surface with delicate ornamentation.
Grouting Joints
First, clean the joints with a wooden wedge. Mix grout to a thick paste consistency, pour it onto the tiles, and spread it diagonally with a rubber float. Remove excess material. Once the mixture has set, wipe off the film with a damp sponge.
Experts at OBI hypermarket network say that quality grouting prevents moisture and dirt from penetrating, is easy to clean, and protects tiles from deformation. It can also become a decorative element in interior design—choose colored grout for this.
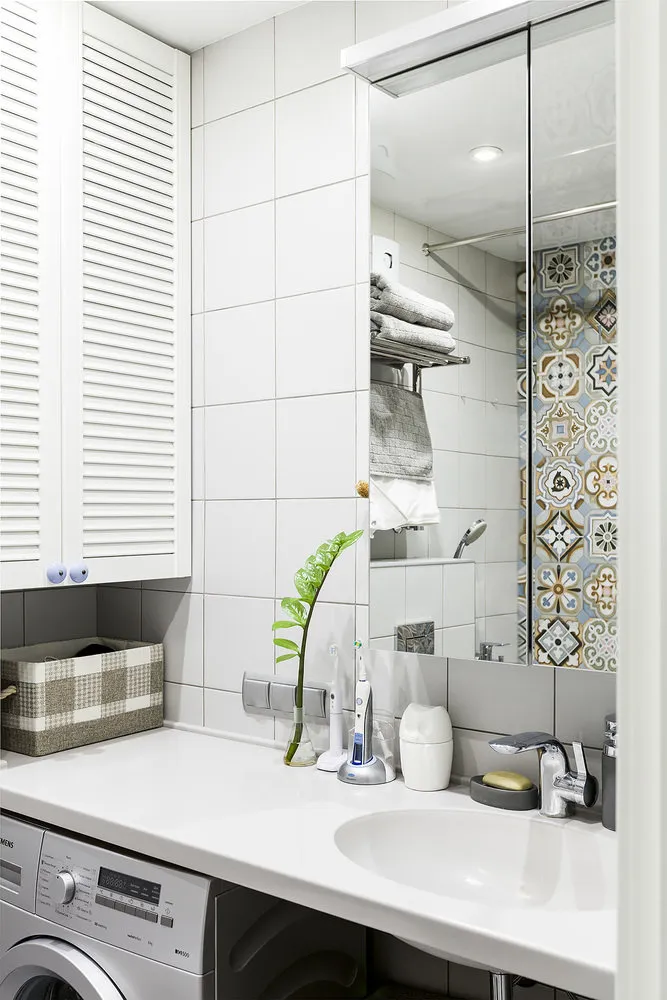
 Design: Marina Novikova and Olga Lewis
And Corners
The final stage is sealing all corners. Choose elastic sealing compound, such as silicone.
Mask tile edges with painter's tape and apply the material. Smooth it out with your hand dipped in cleaning solution, then peel off the tape at an angle to the joint.
 Design: Karina Grishkina
On the Cover: Design Project by INT2architecture Studio.
Need a renovation specialist?
Find verified professionals for any repair or construction job. Post your request and get offers from local experts.
You may also like
More articles:
 How to Make a Monochrome Interior Cozy: A Black-and-White House in Sweden
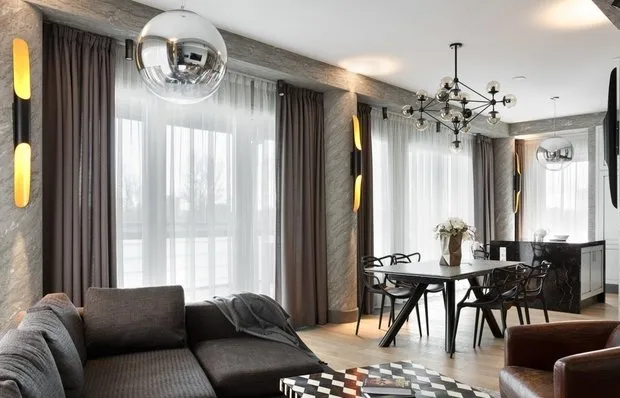 How to Create an Interior That Will Remain Relevant for the Next 10 Years?
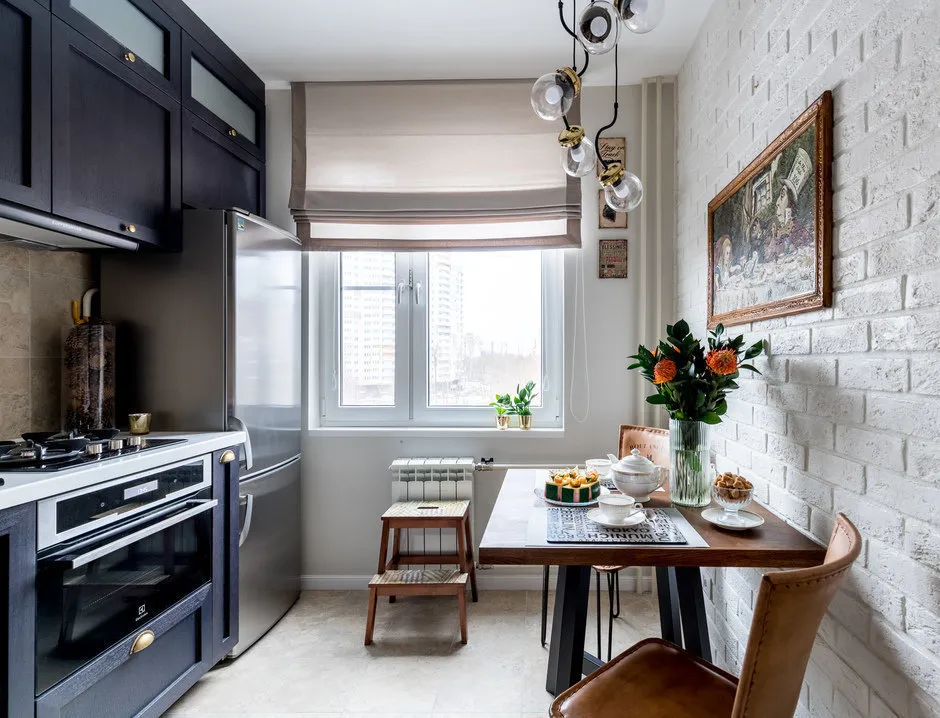 How to Arrange a Comfortable Apartment Without Relocation?
 10 Rules of Marcel Wanders Design
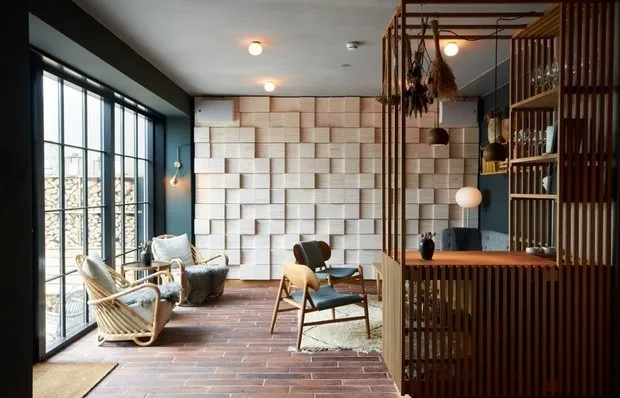 How to Create a Harmonious Interior: 7 Secrets of the Japanese
 Apartment Redesign: What Is Allowed and What Is Not
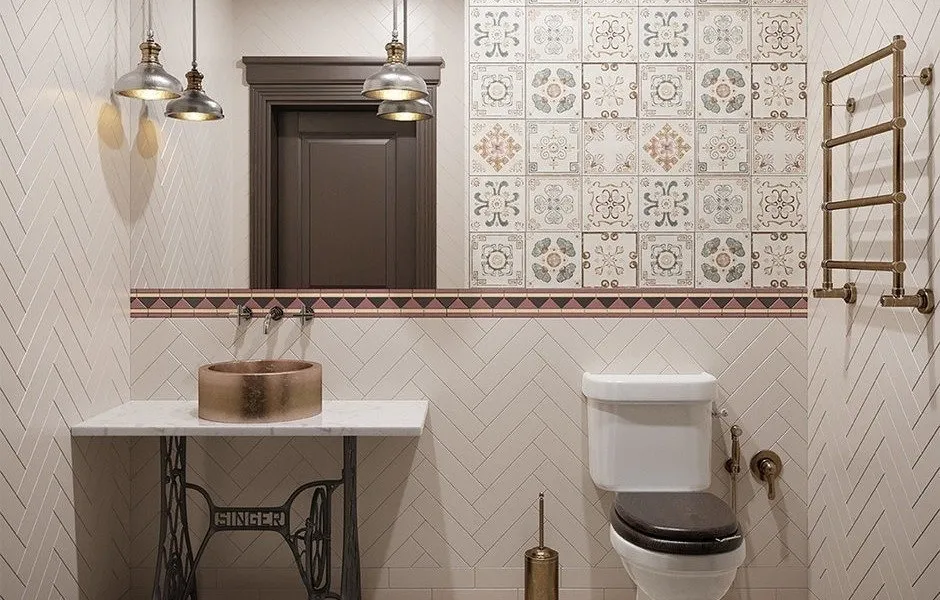 How and Why to Combine Different Metals in Interior Design
 Time for the Garden: What to Buy at IKEA Before Your Trip