How to Make a Perfectly Flat Floor Yourself
To make floor coverings (parquet, laminate, or tiles) last longer, a perfectly flat base is necessary. You can easily create it yourself using a leveling compound and self-leveling floor. We cover the details and stages of work today.
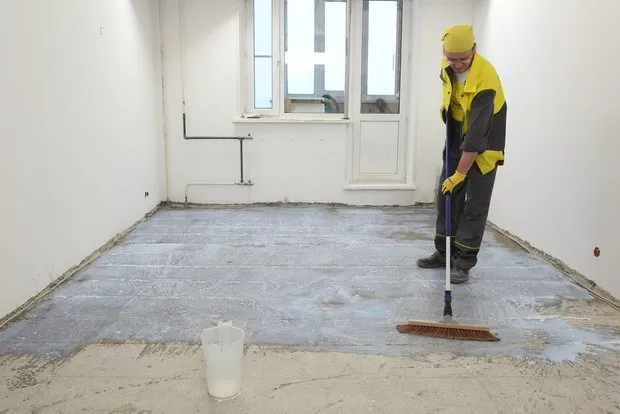
1. Preparing the Base
Thoroughly clean the base from various contaminants: remnants of old glue, cement mortar, oily stains, peeling parts, and other dirt. Fill any holes in the base; isolate the locations of drain pipes with stoppers. Dust the surface using a vacuum cleaner.
Four hours before applying the leveling compound, treat the surface with weber.vetonit MD 16 or weber.vetonit multi primer. The primer concentrate
weber.vetonit MD 16 – a primer that must be diluted with water before use. Dilution ratios: 1st coat – 1:5, 2nd coat – 1:3.
Apply the solution with a brush, roller, or sponge. It is recommended to prime the floor in two layers: the first coat of primer saturates the base and reduces its absorbency. The second coat forms an adhesive film that improves bonding of subsequent layers to the base.
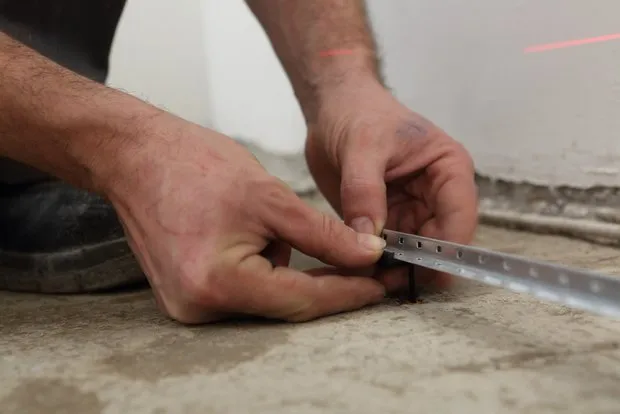
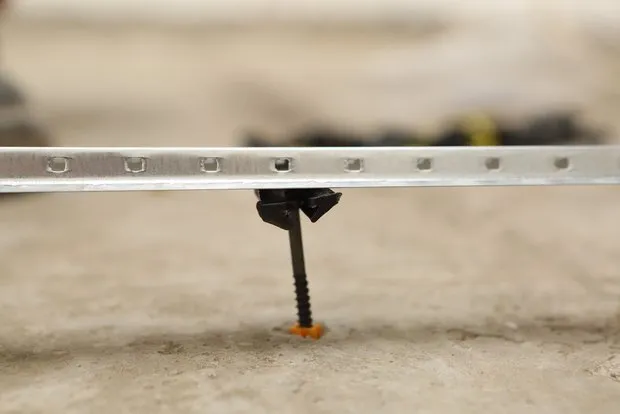
2. Installing Leveling Blocks
The floor leveling process must be controlled using special leveling blocks. After the primer has dried (after 2–4 hours), measure base unevenness with a laser level and a spirit level. Install solid metal "blocks" on the base at intervals of 1–1.3 meters from each other. Mount the blocks to the base using the same weber.vetonit 5000 leveling compound solution.
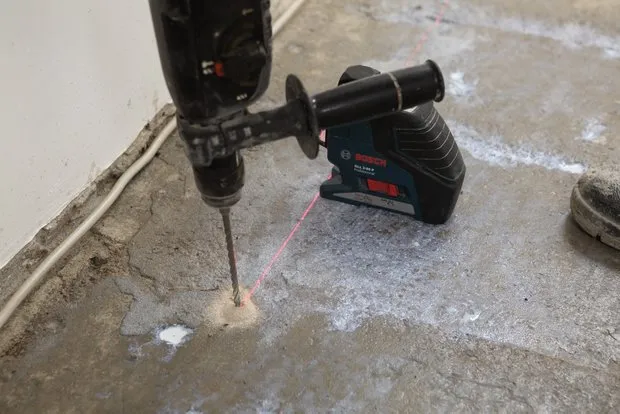
Marking the Blocks
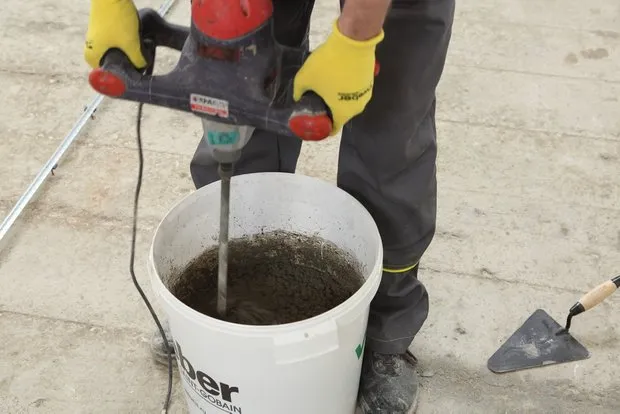
3. Preparing the Mixture
Pour precisely measured water into a bucket, add the bag of dry mix, and thoroughly stir the resulting mixture using a powerful drill-mixer with a power of 400–600 rpm until it achieves a uniform consistency. The mixture should be used within 30 minutes from the time water is added.
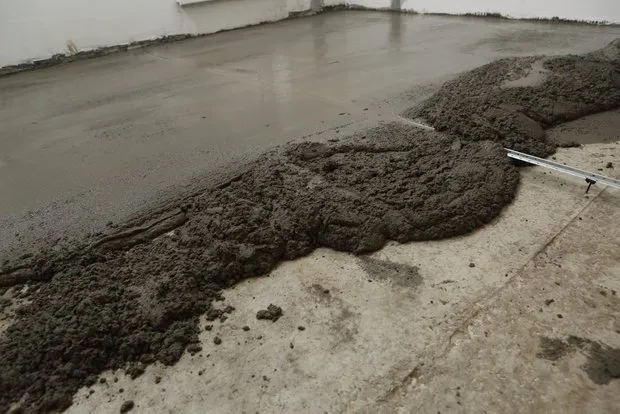
4. Initial Leveling of the Concrete Floor
Lay the leveling compound on the base in a layer from 5 to 70 mm – start working from the far corner of the room, moving from the window towards the door. Distribute the mixture evenly between the leveling blocks, trim with a rule or steel smooth trowel, then level and smooth with a metal float. You can walk on the leveled floor after 2–4 hours. You can pour the final layer of self-leveling floor after 24 hours.
5. Final Leveling of the Concrete Floor
Before pouring the finishing self-leveling floor weber.vetonit 3000, treat the newly laid screed with weber.prim multi primer ready for use or weber.vetonit MD 16 primer concentrate, diluted in a ratio of 1:3 before use.
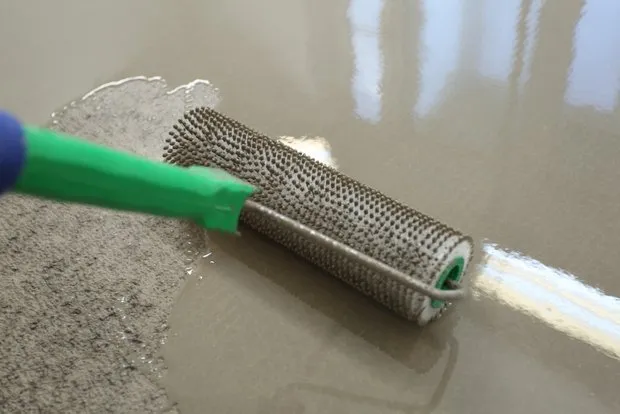
Prepare the mixture for self-leveling floor according to the instructions on the back of the package. The mixture is suitable for use within 30 minutes. Apply weber.vetonit 3000 self-leveling floor on the base in a layer from 0 to 5 mm.
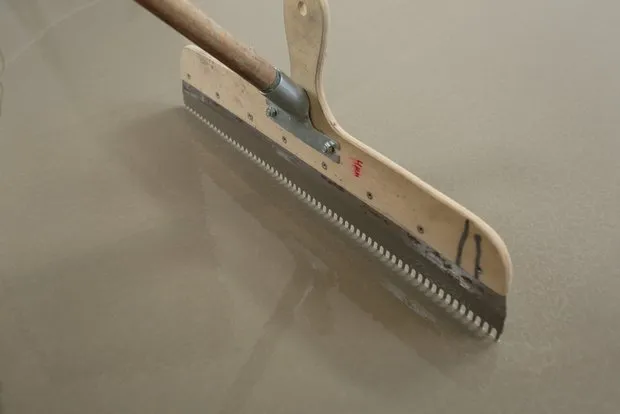
Pour the floor in strips 30–40 cm wide, starting from the corner of the room and moving towards the door. Perform leveling work in a single room without interruptions to prevent overflow. For large areas, temporarily divide the base into zones of 25–30 meters using barriers.
Distribute the material over the surface with a steel smooth trowel or a kelming blade, level and smooth. You can walk on the floor after 3–4 hours, and lay flooring after 1–3 days.
Need a renovation specialist?
Find verified professionals for any repair or construction job. Post your request and get offers from local experts.
You may also like
More articles:
 History of High-Rise Construction in Moscow
 How to Create a Festive Atmosphere: Pro Tips
 How to Blend Trends and Classic Elements in One Interior?
 Redesigning a Kitchen: 3 Professional Options
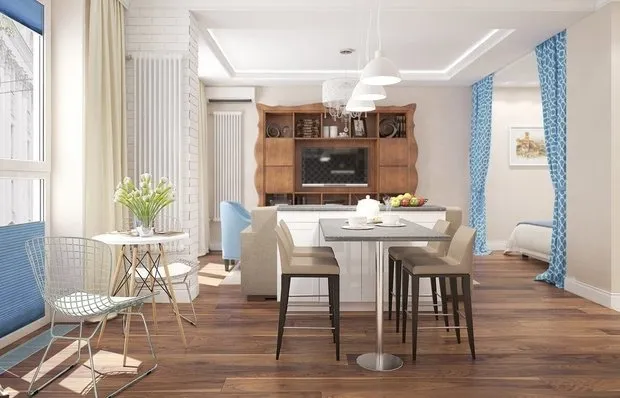 What Is Considered 'Yesterday's Day' in Interior Design?
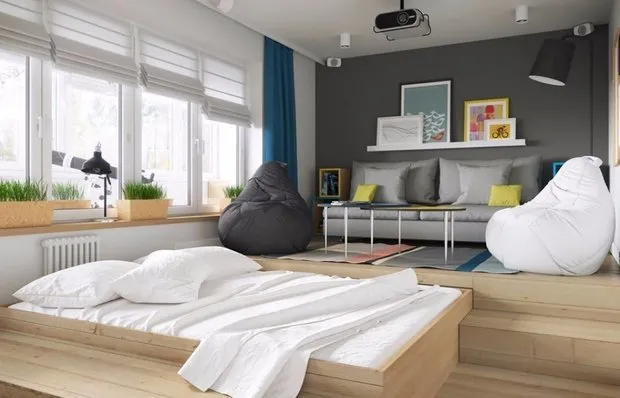 How to Place a Bed in a Studio Apartment: 8 New Solutions from Designers
 What the Designer Should and Should Not Do for the Client: A Professional's View
 What Is Considered Yesterday's Style in Interior Design: Part 2