How to Properly Lay Tile for a Kitchen Backsplash
A backsplash above the work surface serves not only decorative but also protective functions. It has to withstand high humidity and temperature in the relevant areas. Together with professionals, we explain how to properly lay a tile backsplash so that it lasts as long as possible.
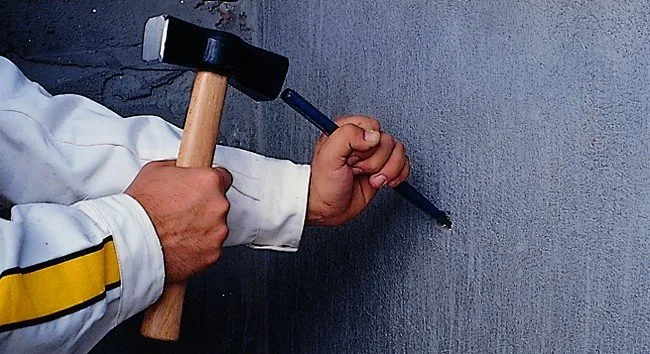
1. Preparing the Wall Surface
1. Check the surface for contamination (peeling coating, grease spots), which may reduce the bond strength of the adhesive to the surface.
2. If there are irregularities, level differences up to 15 mm using tile adhesive.
3. For larger level differences, we recommend using Weber.vetonit TT40 cement plaster.
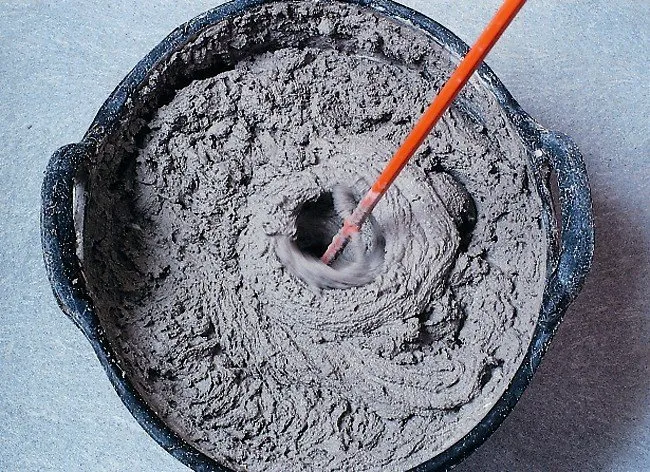
2. Applying Tile Adhesive
1. When preparing the tile adhesive Weber.vetonit easy fix, follow the instructions on the back of the package. Pour the required amount of water into a clean container and add the dry mixture. Mix the solution until it is uniform, let it stand for 5 minutes and mix again.
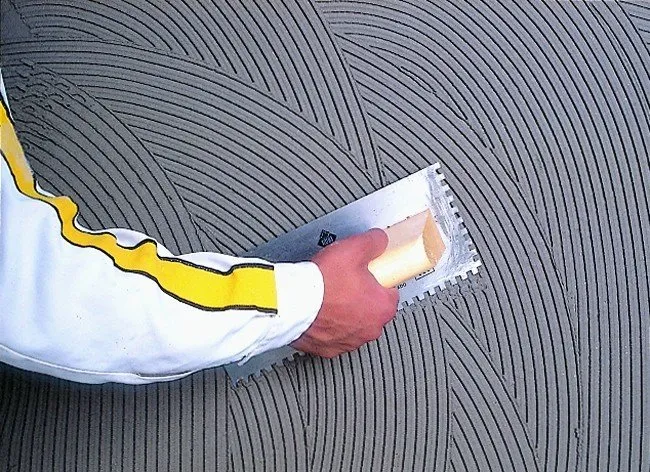
2. Apply the adhesive mixture to the prepared (levelled and de-oiled) base with the flat edge of a trowel. Use the notched edge to dose the amount of adhesive. Keep in mind that the larger the tile format, the larger the tooth size of the trowel should be.
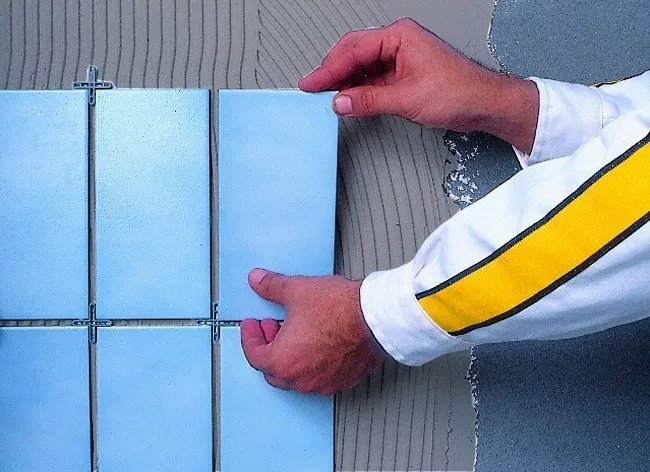
3. Laying the Tiles
Lay the decorative material from the center of the wall to the sides. The tiles must be pressed into the adhesive with enough pressure for secure fixing, but the adhesive should not fill more than half of the joint. When tiling, leave a gap between tiles to compensate for linear deformation — at least 1 mm.
4. Applying Grout
1. Filling the joints with Weber.vetonit DECO grout is recommended no earlier than 24 hours after laying the tiles.
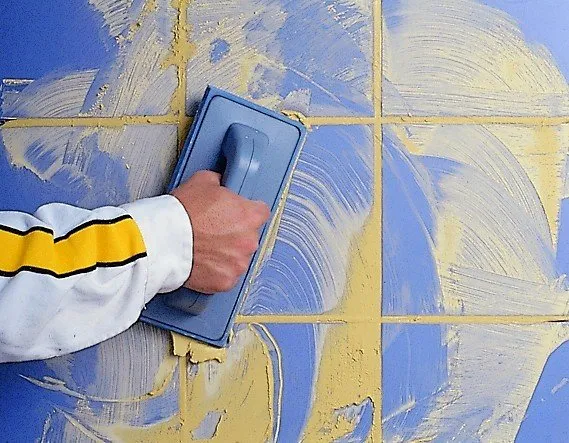
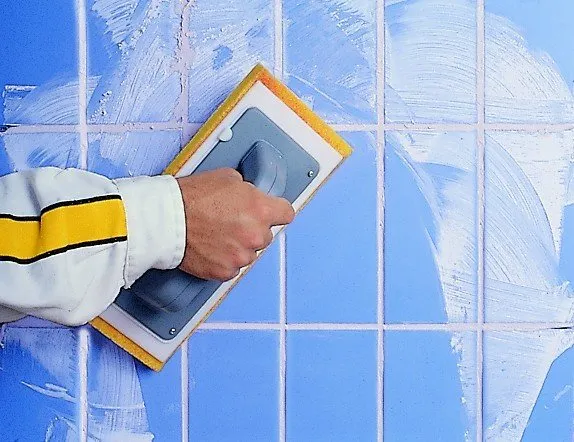
2. After the initial setting of the applied grout (approximately 30–40 minutes), remove any remaining residue from the adhesive with a damp sponge.
The kitchen backsplash will be fully ready for use in 2–3 days.
Need a renovation specialist?
Find verified professionals for any repair or construction job. Post your request and get offers from local experts.
You may also like
More articles:
 How to Quickly Fill Your Home with Positive Energy: 5 Feng Shui Tips
 5 Classic Mistakes When Doing Apartment Renovation
 Where to Find and How to Organize Additional Storage Spaces?
 8 Ways to Refresh Your Interior Without Going to the Store
 10 Big Mistakes in Decorating Small Spaces
 8 mistakes when renovating a bathroom
 To the Light Bulb: 7 Common Lighting Mistakes
 7 Mistakes in Interior Decoration That You Shouldn't Avoid