How to Do a Cosmetic Kitchen Renovation: 6 Main Steps
In this article, we will tell you how to remove cracks from the countertop, replace cracked tiles on the backsplash, update the floor, and transform worn wallpaper with minimal effort and budget.
Cracks on tiles, worn wallpaper, old radiators – many of us have been putting off renovating the kitchen for years, afraid that the result won't be as impressive as desired. Actually, doing a successful and budget-friendly cosmetic renovation of the kitchen is not that difficult – you just need to know a few tips, which we will discuss today.
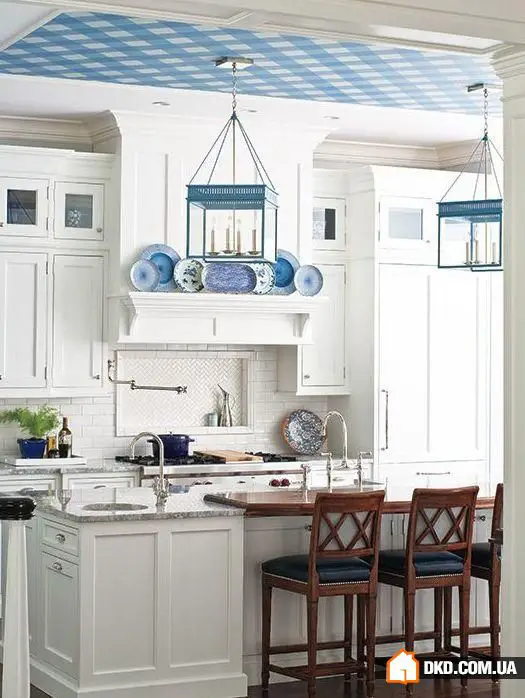
Step #1: Save the Ceiling
In most cases, kitchen renovation starts from the top: if there are small cracks on the painted ceiling, cover the furniture with polyethylene film and fill in the damage with spackle. If there are many cracks on the ceiling, they also need to be spackled and then painted over – such a renovation won't hit the budget and is accessible even to non-professionals.
If the ceiling finish is seriously damaged, cover it with thick wallpaper or lay polystyrene tiles. If the budget allows, install a suspended ceiling – a specialist can handle this job quickly and almost without a mess.
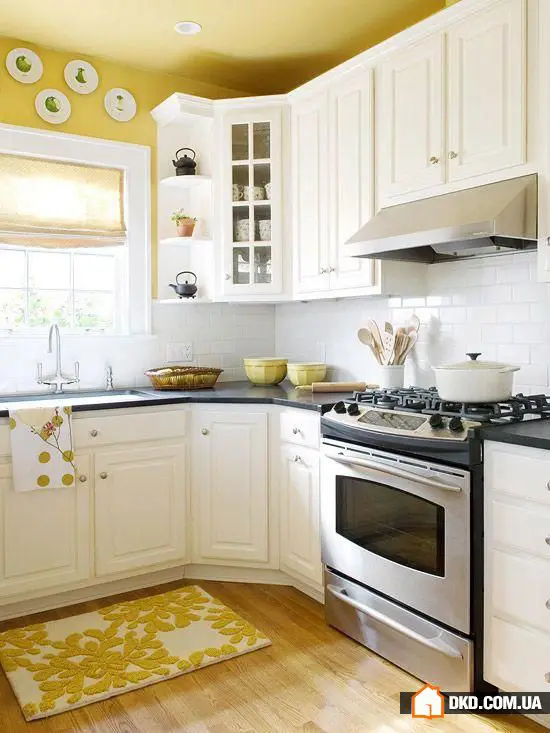

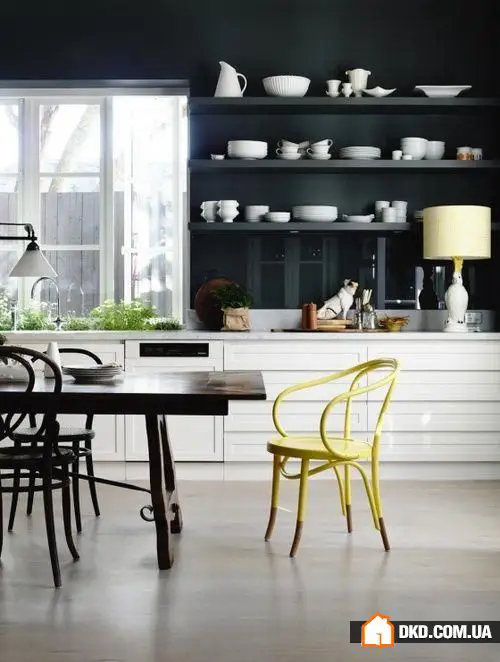
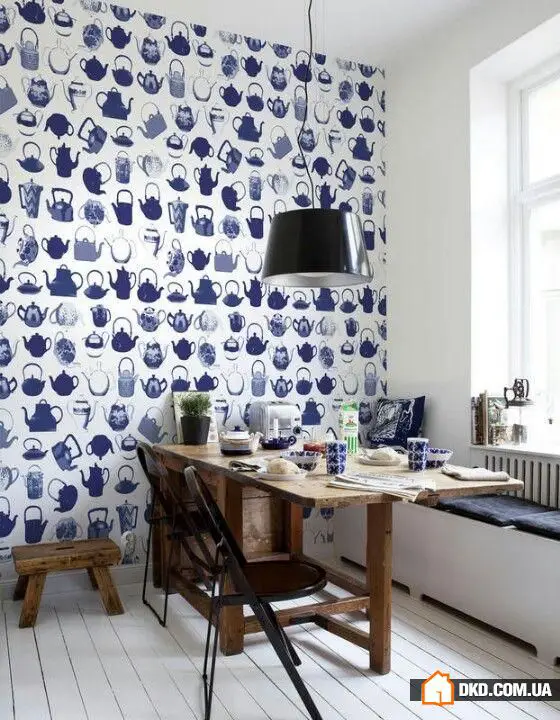
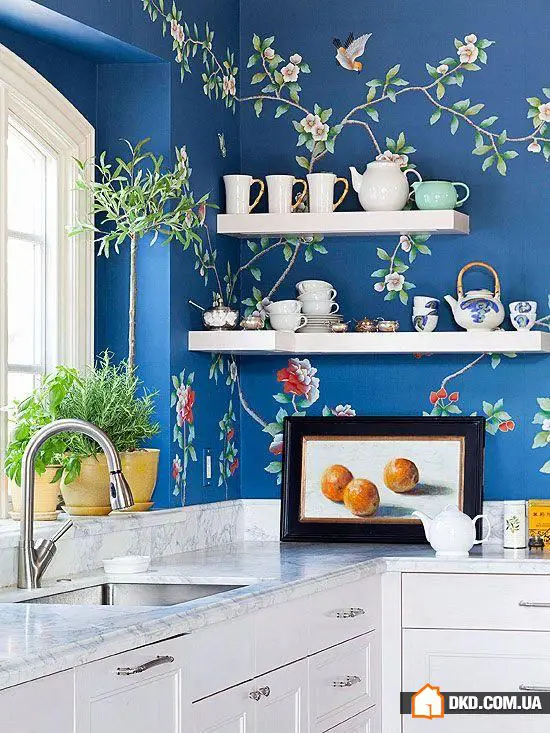
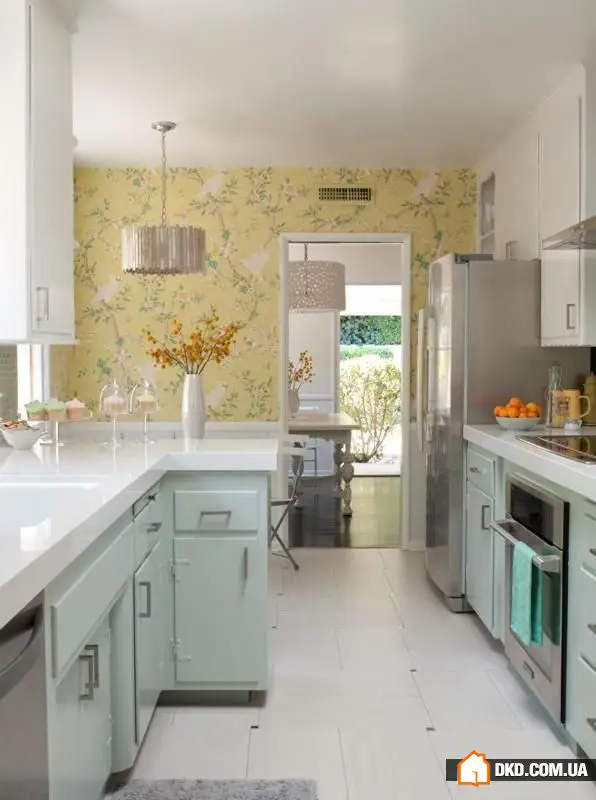
Step #2: Update the Walls
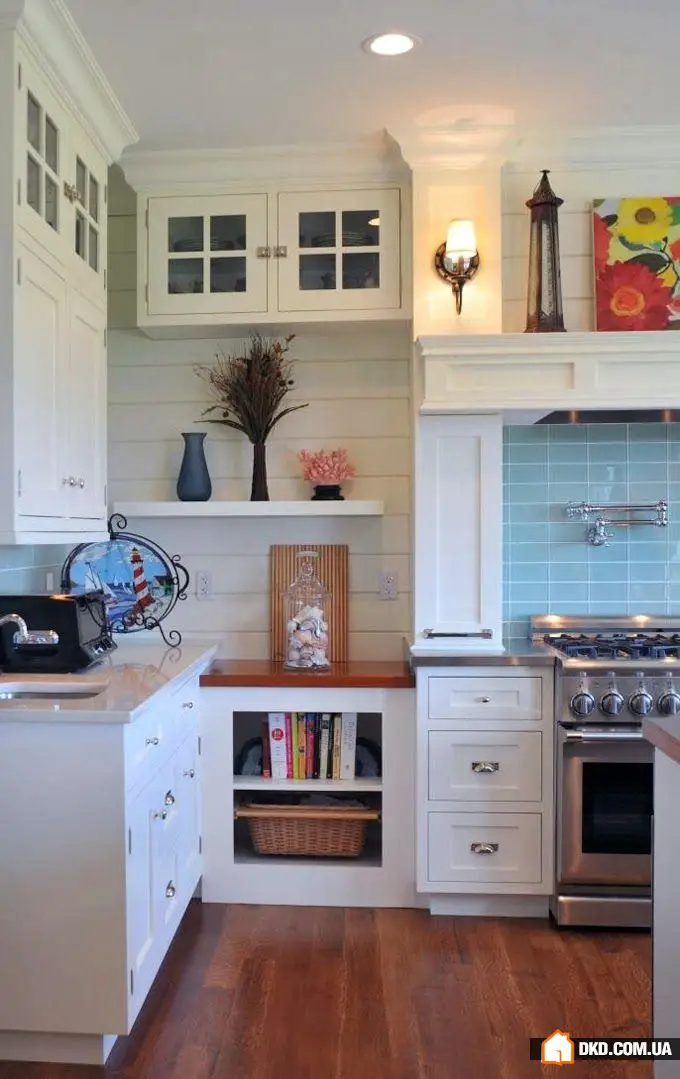
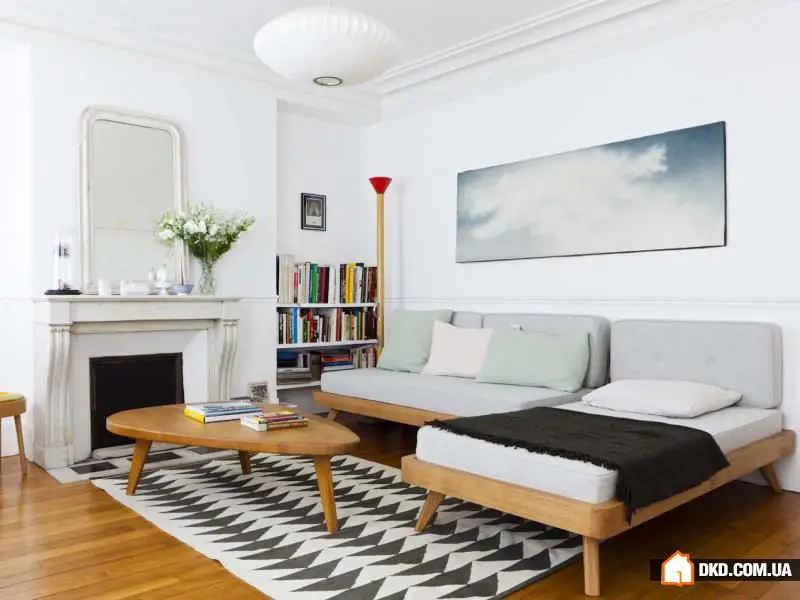
Are the kitchen wallpapers faded in some places? Mask the problem areas with decor: pictures, photographs, or vinyl decals.
If a tile on the wall has cracked, it can be removed and replaced with a new one. Clean the grout around the damaged element with a spatula and remove it with a chisel and hammer. The exposed surface needs to be primed, then the new tile should be glued in place and the grout should be filled. If the paint is cracked or faded, it will be necessary to remove the old coating with a solvent and repaint the damaged element or the entire wall. Choose silicate, silicone, or latex paints – the latter will be more expensive but will dry in less than an hour.
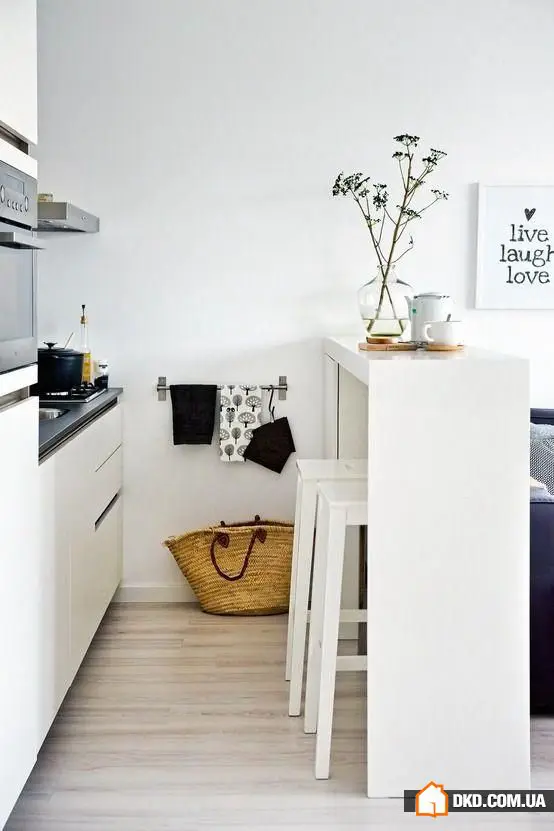
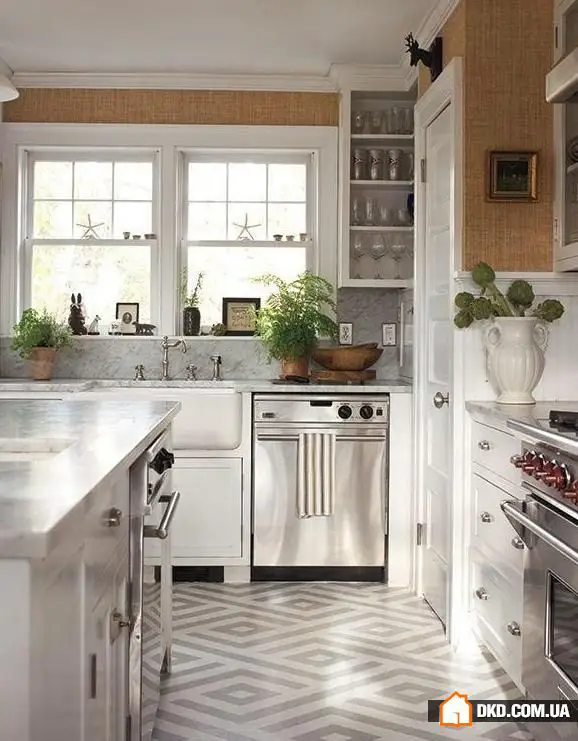
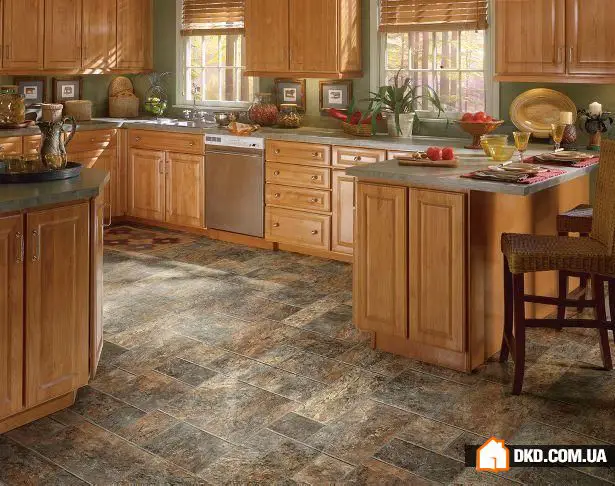
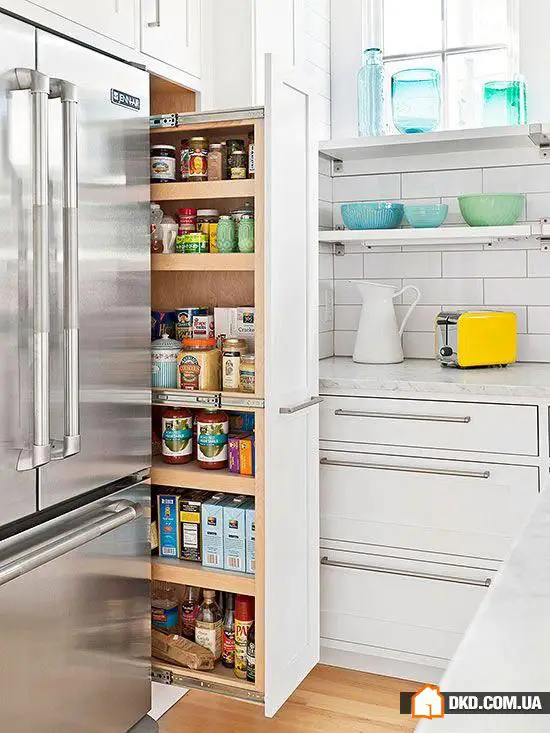
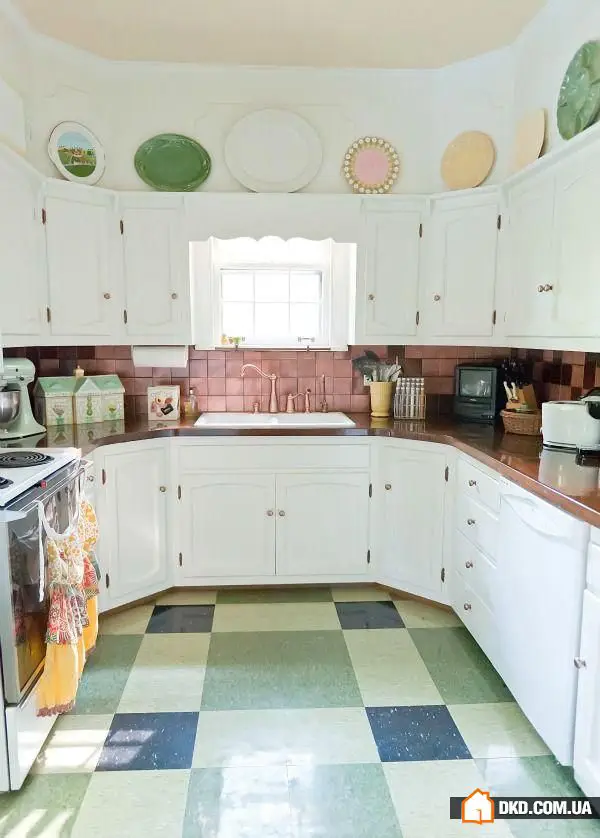
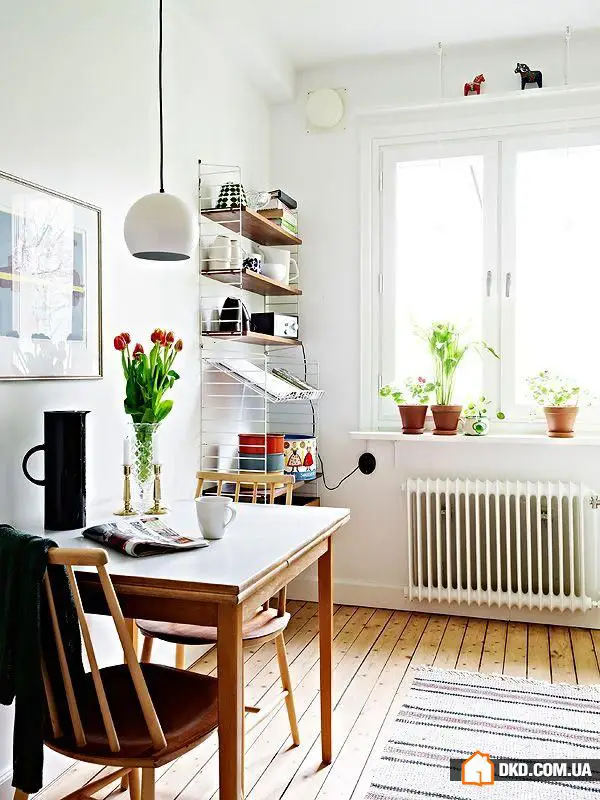
Step #3: Move to the Floor
The simplest and most budget-friendly flooring option is to lay vinyl. This material is not afraid of moisture and is easy to clean, but even it can sometimes cause problems. After the settling period in a new building, vinyl often pulls away from the wall. If the deformation is minor, the problem can be solved with a wider skirting board. It's better to replace a heavily damaged vinyl floor.
Problems with tile floors often occur with grout lines. If they have darkened, mechanical cleaning or a new layer of grout spackle can help. To replace old damaged grout lines, clean the dried mortar with a spatula or flat screwdriver, then wipe the gaps with a damp sponge and apply fresh mixture.
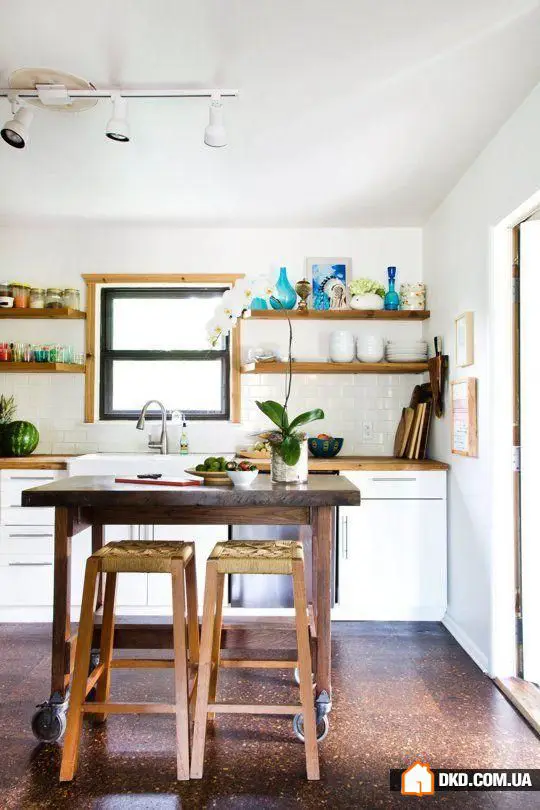
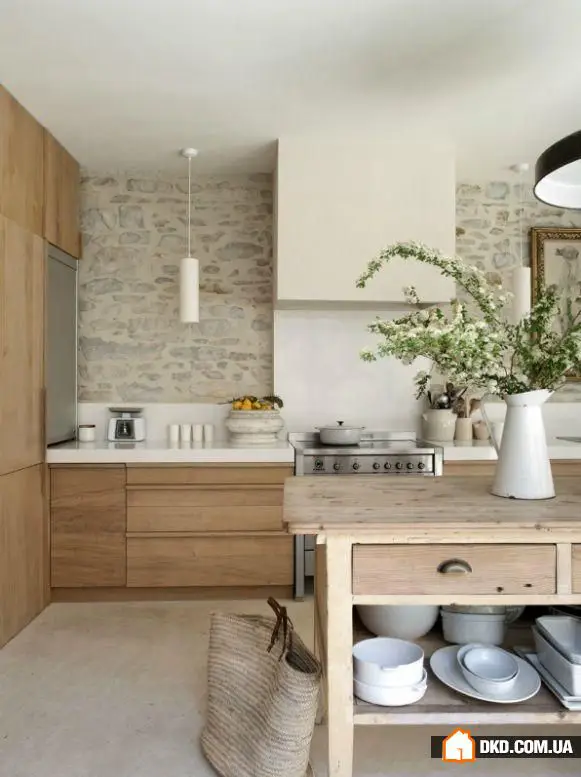
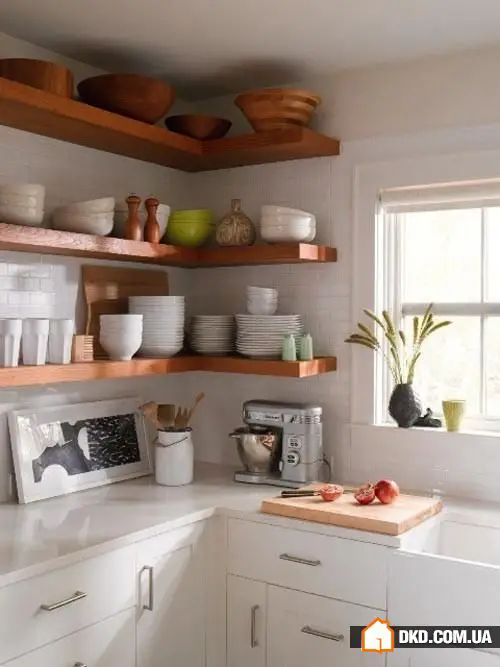
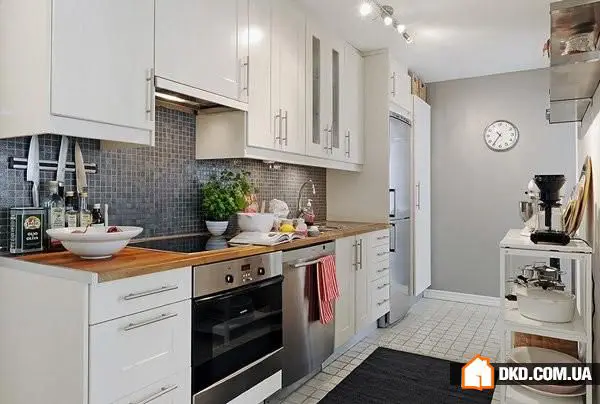
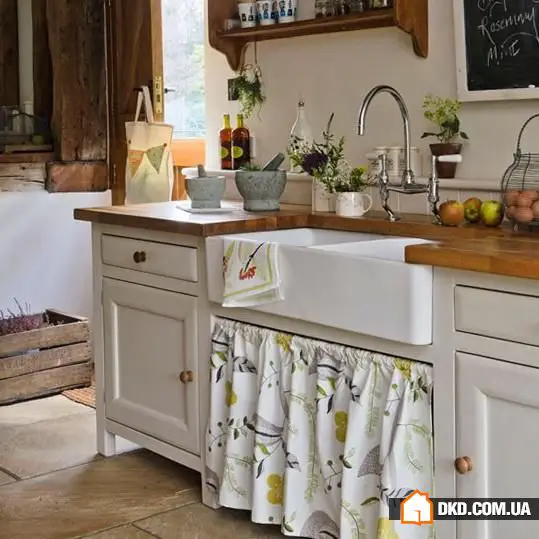
Step #4: Tidy Up the Furniture
Old wooden furniture can be given a second chance by removing the old coating with a solvent, polishing it, and applying a new coat of paint.
If the marble countertop made of natural stone has cracked, fill in the damage with a mixture of epoxy glue, whiting, and mineral pigment for the shade. All elements should be mixed to form a homogeneous mass, cover the crack, polish the countertop, and then rub it with wax. Artificial marble cannot be repaired on your own – you will have to call a specialist.
A deep crack on a glossy cabinet door can be painted over with a permanent marker for glass surfaces or textile paint. Then, after painting, go over it with wax paste. A small scratch can be easily covered with a flannel cloth and a small amount of machine oil.
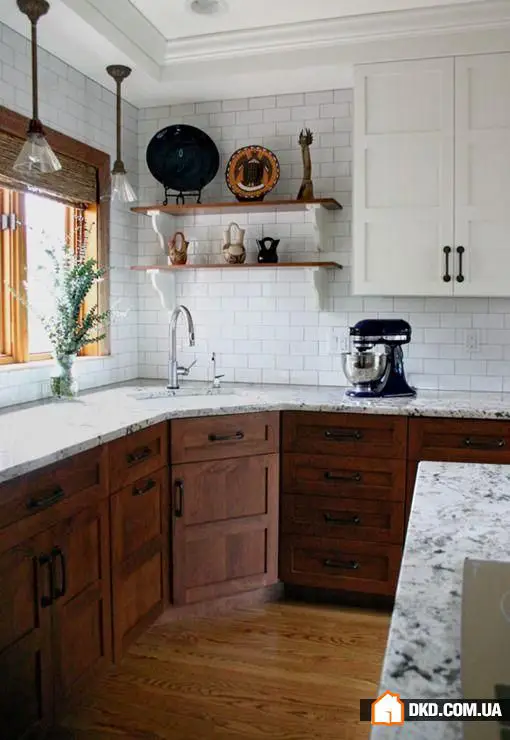
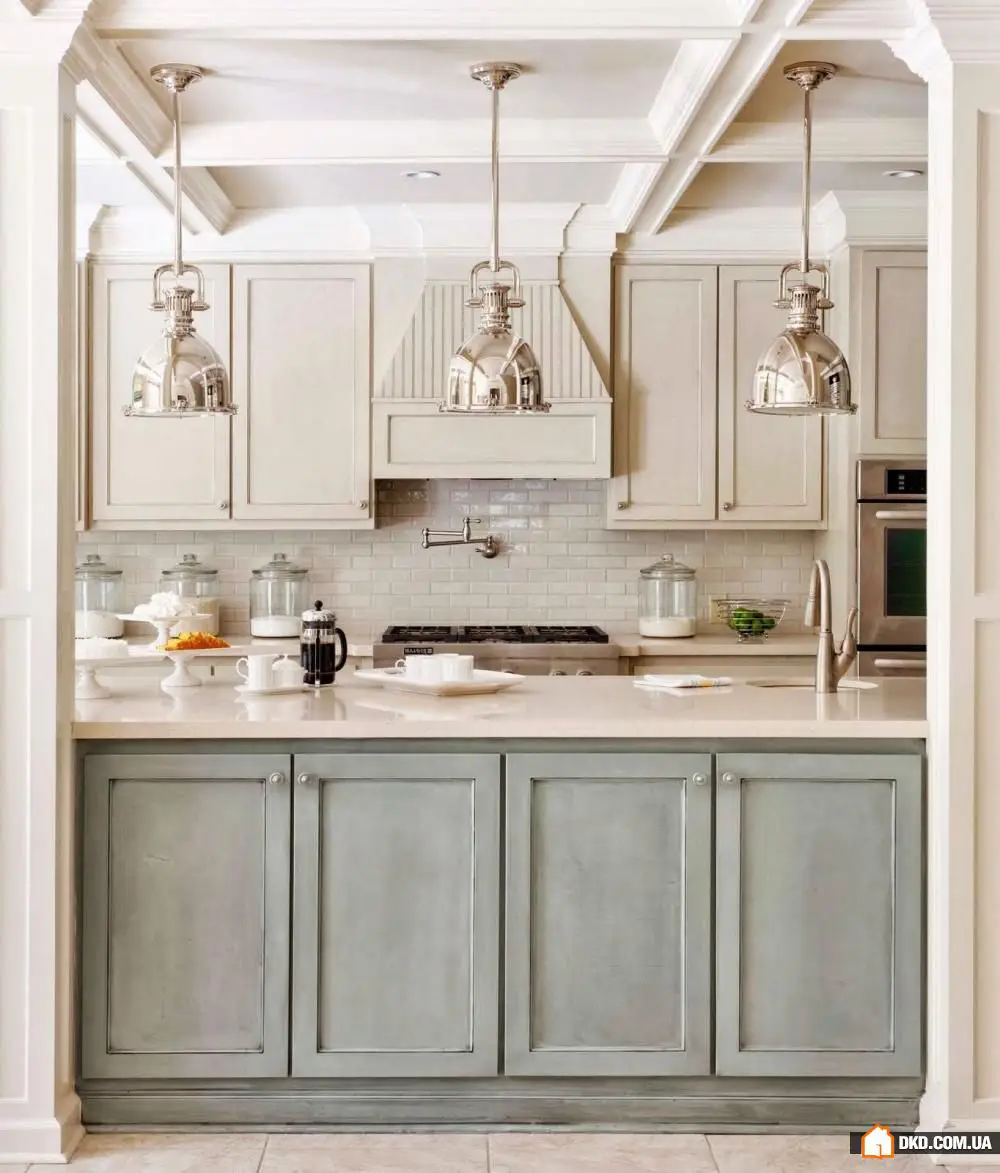
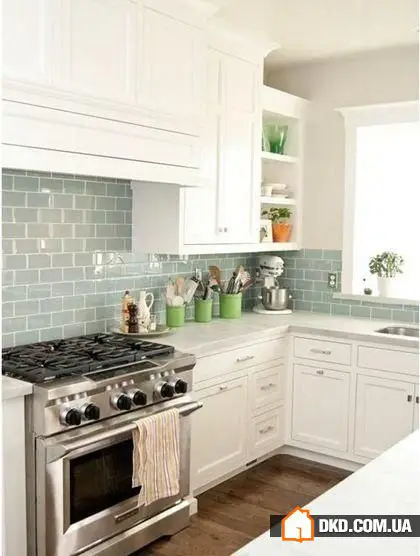
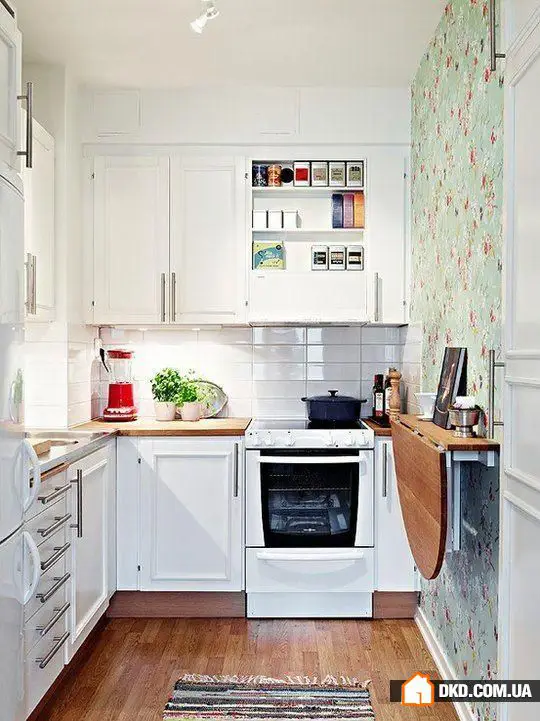
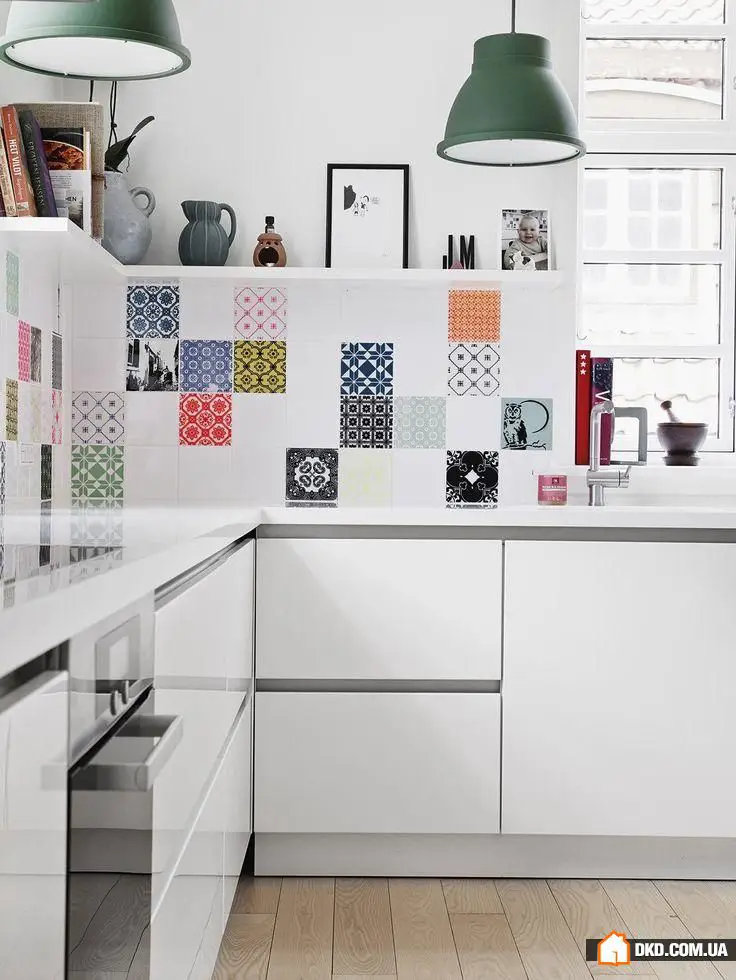
Step #5: Fix the Backsplash Defects
Problems can also arise with the kitchen backsplash, especially if it's made of small ceramic tiles. Small chips on individual elements? Level the tiles with clear adhesive or polymer-based filler. Broken small parts can be removed and replaced just like large wall tiles – with a chisel and hammer.
If it's time to replace the backsplash, choose budget-friendly tempered glass on which any design can be printed using photo printing.


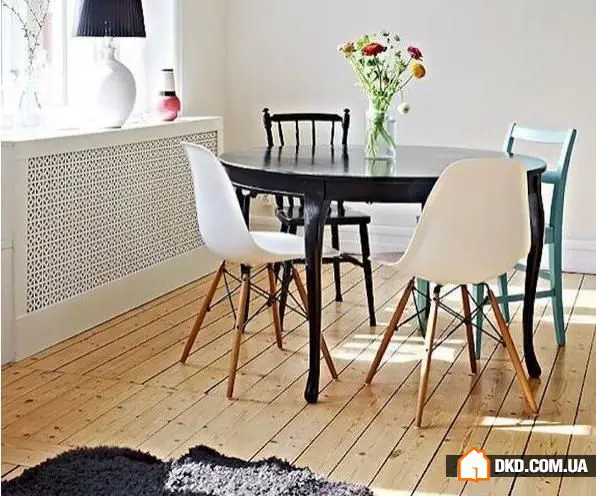
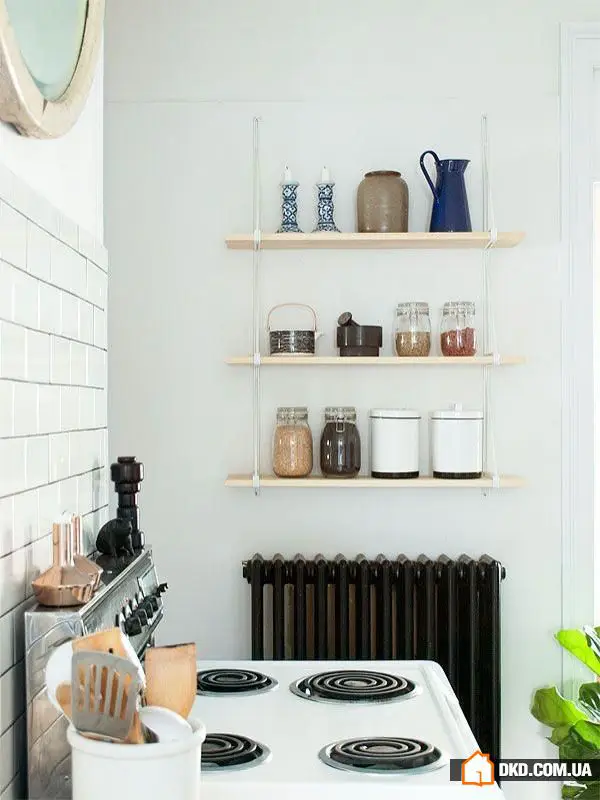
Step #6: Pay Attention to Radiators and Pipes
The old radiator that ruins the look of the kitchen can be hidden behind a textile or rattan screen – the main thing is that the material has ventilation holes. By the way, fabric can also hide unsightly shelves and old kitchen cabinets. Another way to mask worn radiators is to strip off the old paint layer and apply a new coating. For this, acrylic water-resistant paint is suitable – it dries quickly and has no odor, and it's not necessary to use the usual white color. Experiment with bright shades – this way you not only solve a practical problem but also make the kitchen look more modern and stylish.

Need a renovation specialist?
Find verified professionals for any repair or construction job. Post your request and get offers from local experts.
You may also like
More articles:
 How to Create Your Dream Interior: 5 Practical Tips
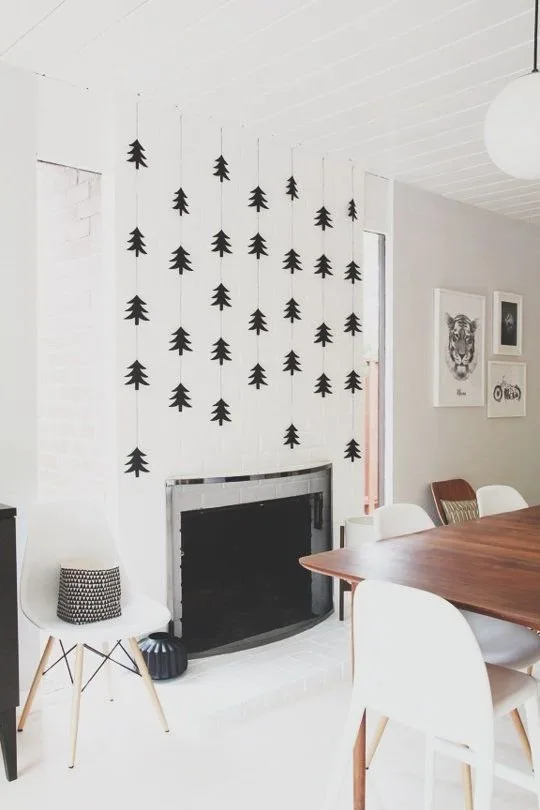 Christmas in Scandinavian Style: 7 Key Elements of Decoration
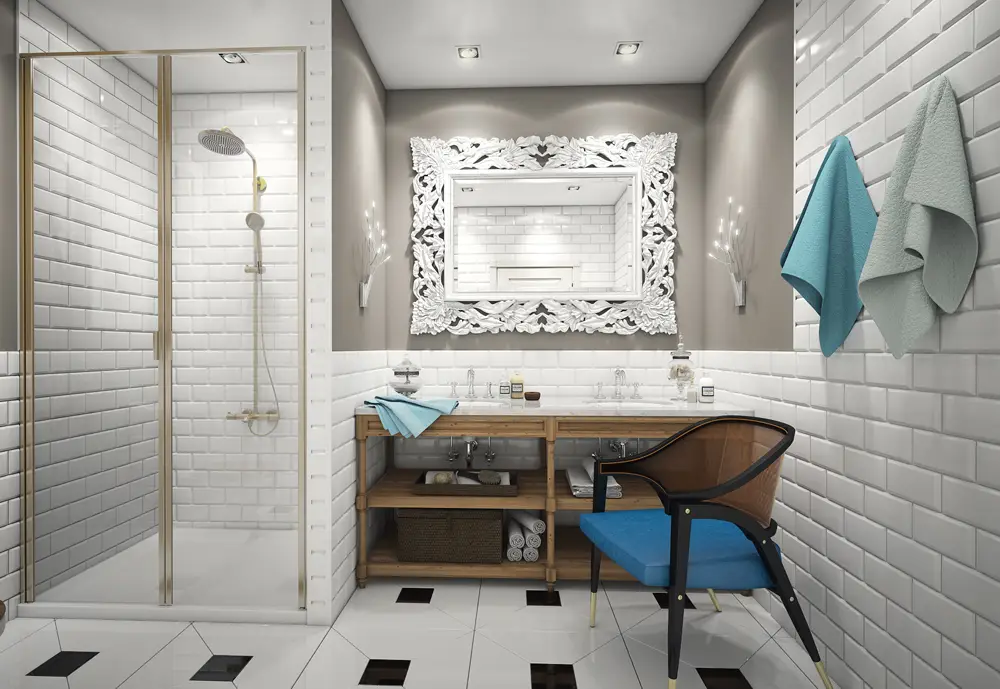 Week's Room: Bathroom with Maritime Theme
 How to Properly Zone Space: A Successful Example
 15 Best Ideas for Organizing a Wardrobe in the Bedroom
 25 Bright Solutions for Organizing Storage Space on Your Kitchen
 How to Make Your Interior More Vibrant: 4 Ideas, 25 Inspiration Examples
 How to Decorate a Decorative Fireplace: 10 Best Ideas, 50 Bright Examples