There can be your advertisement
300x150
Guide to Making a Water Meter at Home
Access to clean drinking water is a universal right. However, this issue remains relevant and constant in different parts of the world, as millions of people still live in areas where water is a scarce resource.
Over time, we gradually learn to address the issue of water scarcity, and over the years we have become increasingly aware of how to solve this problem. Fortunately, we are achieving real progress.
In fact, there are many projects and systems around the world with one goal: to meet our growing demand for clean water. From water meters to homemade portable filters, there are various ways to ensure access to clean water at any time - and it doesn't have to be as complicated as it might seem!
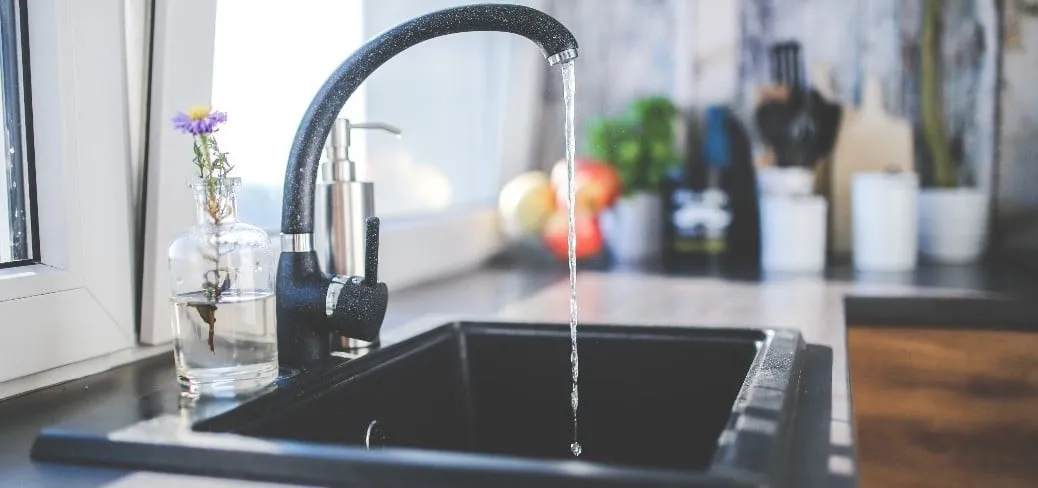
Below is a convenient guide on how to make a water meter at home:
Step-by-Step Guide to Making a Water Meter
Make sure you have the following materials:
- A 2-liter plastic bottle with a cap
- Straw
- Cotton cloth towel
- Gravel (large and small)
- Sand (coarse-grained and fine)
- Coffee filter
- Glass jar
- Water
Most of these materials can be found at home. Otherwise, you will need to buy them from a hardware store. Once you have all the materials, you can start making your homemade water filter.
STEP 1. Cut the bottom of the bottle using a sharp knife.
STEP 2. Make a hole in the bottle cap that matches the straw.
STEP 3. Insert the straw into the hole and attach it to the neck of the jar.
STEP 4. Place a layer of cotton cloth towel so that it fits against the bottle cap, and add a layer of fine sand. On this layer place coarse sand, and on top - fine gravel. Finally, add large gravel. Materials should be arranged from largest to smallest particles.
STEP 5. Place the coffee filter on top of the bottle, above the coarse gravel layer.
STEP 6. Pour water and let it drip into the jar below. For safety and cleanliness, you can add 4-8 drops of chlorine per gallon of filtered water, depending on how dirty it was originally.
If you are in the wild and getting untreated or cloudy water from a lake or another body of water, it's still a good idea to boil the filtered water to 100°C or 212°F to kill any bacteria.
It sounds simple, doesn't it? However, you should still pay attention to a few reminders to avoid mistakes in the process.
1. Prepare Materials
It's best to make a list of required materials and their quantities, as well as contact some stores where they might be available so you don't stop mid-project and have to run to the hardware store.
2. Organize Materials According to Steps
This project might seem complex for those not familiar with DIY repairs. Therefore, one of the best ways to complete it is by organizing your materials or creating a production line. Place filtration components in containers in the order of layers above. This way, you can sequentially place the filtration components. It's also better to have a scoop for gravel, fine sand, and activated charcoal to avoid mess.
3. Test Water Quality Before and After Filtration
One of the most important aspects is testing water quality before and after the filtration process. This way, you get a real understanding of how well your water filter works. If you are making a larger filter for storing water, you can do this every time you get water from your containers. Testing the water quality before and after also gives you confidence that your filter is working properly. Nevertheless, remember to boil it!
And that's all! Remember, the fight for access to clean and drinking water for everyone does not end here. Take this DIY guide as an example of how easy it is to produce and provide clean drinking water for you and your family. So think twice before buying bottled water, especially expensive brands, because you can make it yourself even on a larger scale if you wish.
More articles:
 Tips for Designing a Modern Living Room That Expresses Style
 Evans Lee F52 Office in Guangzhou, China
 Creating a Peaceful Garden Corner
 Creating a Dreamy Bedroom for Parents — Inspiration Ideas
 Design of a Cozy Bedroom with Wood as the Main Element
 Creating the Perfect Cozy Cocoon Space
 Designing Clean Rooms: How Architects Can Promote Health and Hygiene
 Creating Dining Room Furniture: Tips for Balancing Aesthetics and Functionality