Modern DIY Bathroom Organizer with Mirror
In a small bathroom, storage space is limited, and it's often hard to find a simple solution (especially one that actually looks good). So to save floor space, we went vertical and made a modern DIY bathroom organizer that can be mounted on the wall.
 PinterestMaterials for the DIY Bathroom Organizer
- wood scraps (in my case, this was a plywood scrap from this project and measuring 21.5 x 12)
- a simple wooden tray (mine is 10 x 5) OR more wood scraps
- a round mirror (for example, this one – mine is 9 inches)
- leather straps 1/2 – 3/4 inch thick
- strong adhesive (such as super glue or Gorilla Glue, etc.)
- screws
- drill
- ruler or tape measure
- pencil (for marking)
- sturdy wire (also flexible – needed for hanging the finished piece)
- (optional) bench clamp
- (optional) gold paint and brush
 Pinterest
1. First, decide where you want to place the tray/shelf and mirror relative to the back panel, and mark those spots with a pencil.
2. Flip the board over and find the center point along its width. Use that as a reference to mark two screws (about 2-3 inches apart), positioned about 3-4 inches below the top edge of the board. Screw them in and wrap wire around them several times to create a sturdy loop for hanging the finished assembly.
3. Next, starting with the tray (which will be your shelf), measure and mark 2-3 evenly distributed points for screws. We measured and marked the edge of the tray facing the back panel.
Note: If you're using wood scraps, steps 3-5 will be slightly different. First, create an edge on the back side of the wood scrap that connects with the wooden back panel. Then you can drill holes and screw in or, as an alternative, use a simple wood scrap with small brackets underneath to secure it onto the back panel and shelf.
4. Then pre-drill pilot holes at each marked point to make the next step easier. We considered using a bench clamp during drilling to keep everything securely in place.
5. Place the shelf on the marks made in step 1 (on the back panel). Screw the screws through the pre-drilled holes and into the back panel, through the shelf as shown.
6. Using strong adhesive, attach the mirror to the back panel – make sure it aligns with the marks made in step 1.
7. Add leather straps to the bottom of the back panel (under the shelf) using screws and a drill. You can make straps any length, although longer ones may be more practical.
8. Optionally add a very short leather strap (for example, 2 inches) as a toothbrush holder on top near the mirror, with screws on both sides as shown.
9. Finally, paint all visible screws with gold paint in a well-ventilated room. Let dry according to the instructions on the package, and you're done – hang it up and start using.
Note: Check the strength of your shelf before adding heavy items. If you only have a few things like I do, everything will be fine. But this isn't a miracle solution – just a shelf, so don't overload it with too heavy items unless you're confident in the strength of the construction and number of screws used.
Need a renovation specialist?
Find verified professionals for any repair or construction job. Post your request and get offers from local experts.
You may also like
More articles:
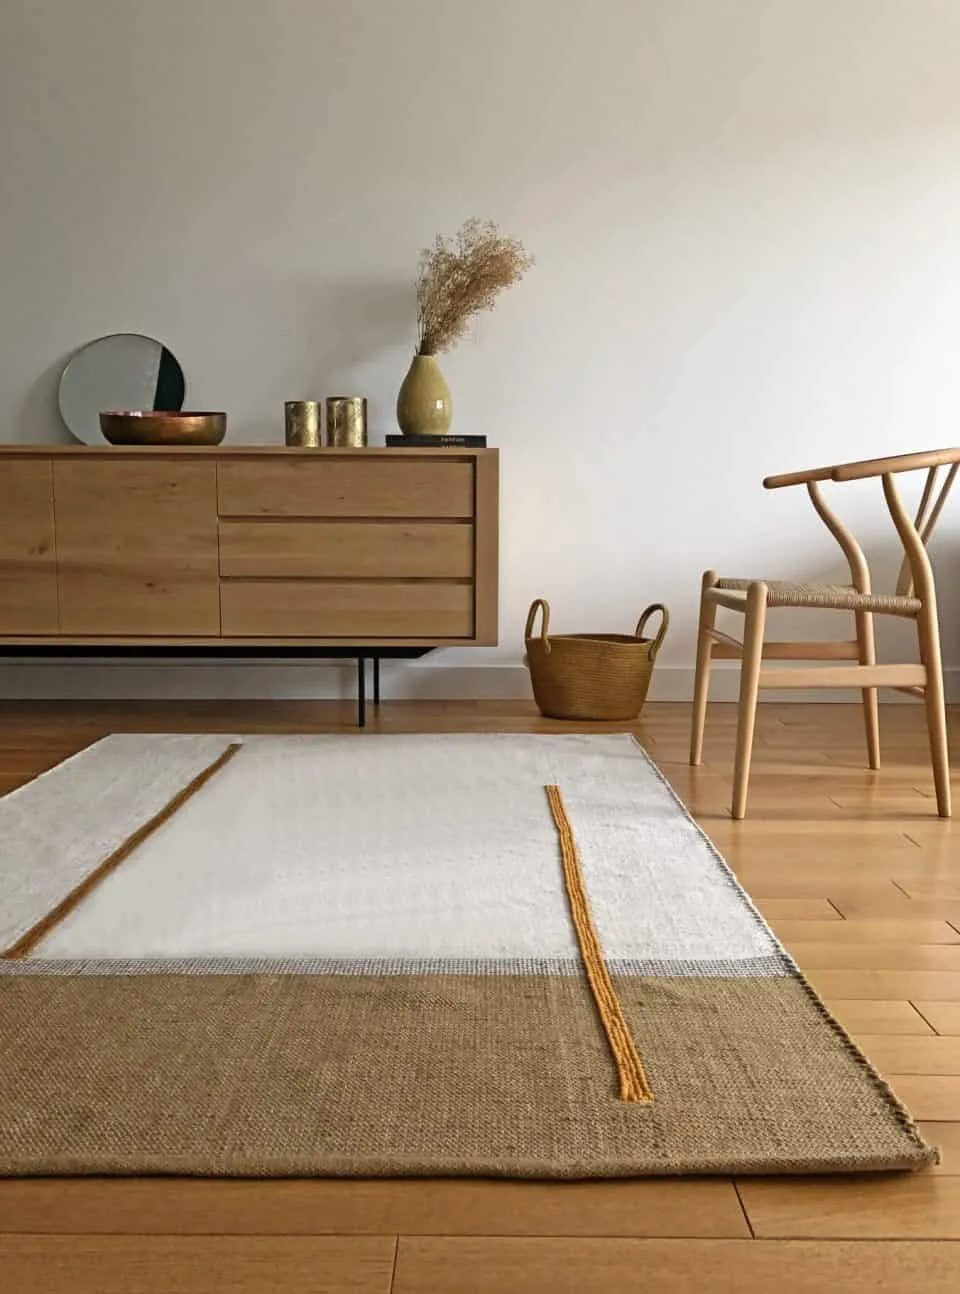 Colorful Rug for Living Room
 SOHO + NOHO Complex in Moscow by Metex Studio Erk
 Complete Guide to Choosing Quality Contractors
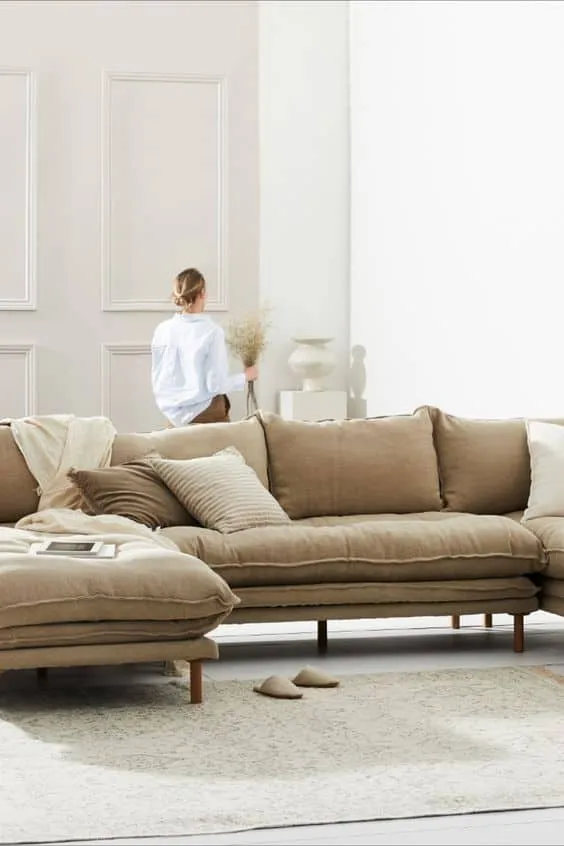 Complete Guide to Linen Sofas for Modern Homes
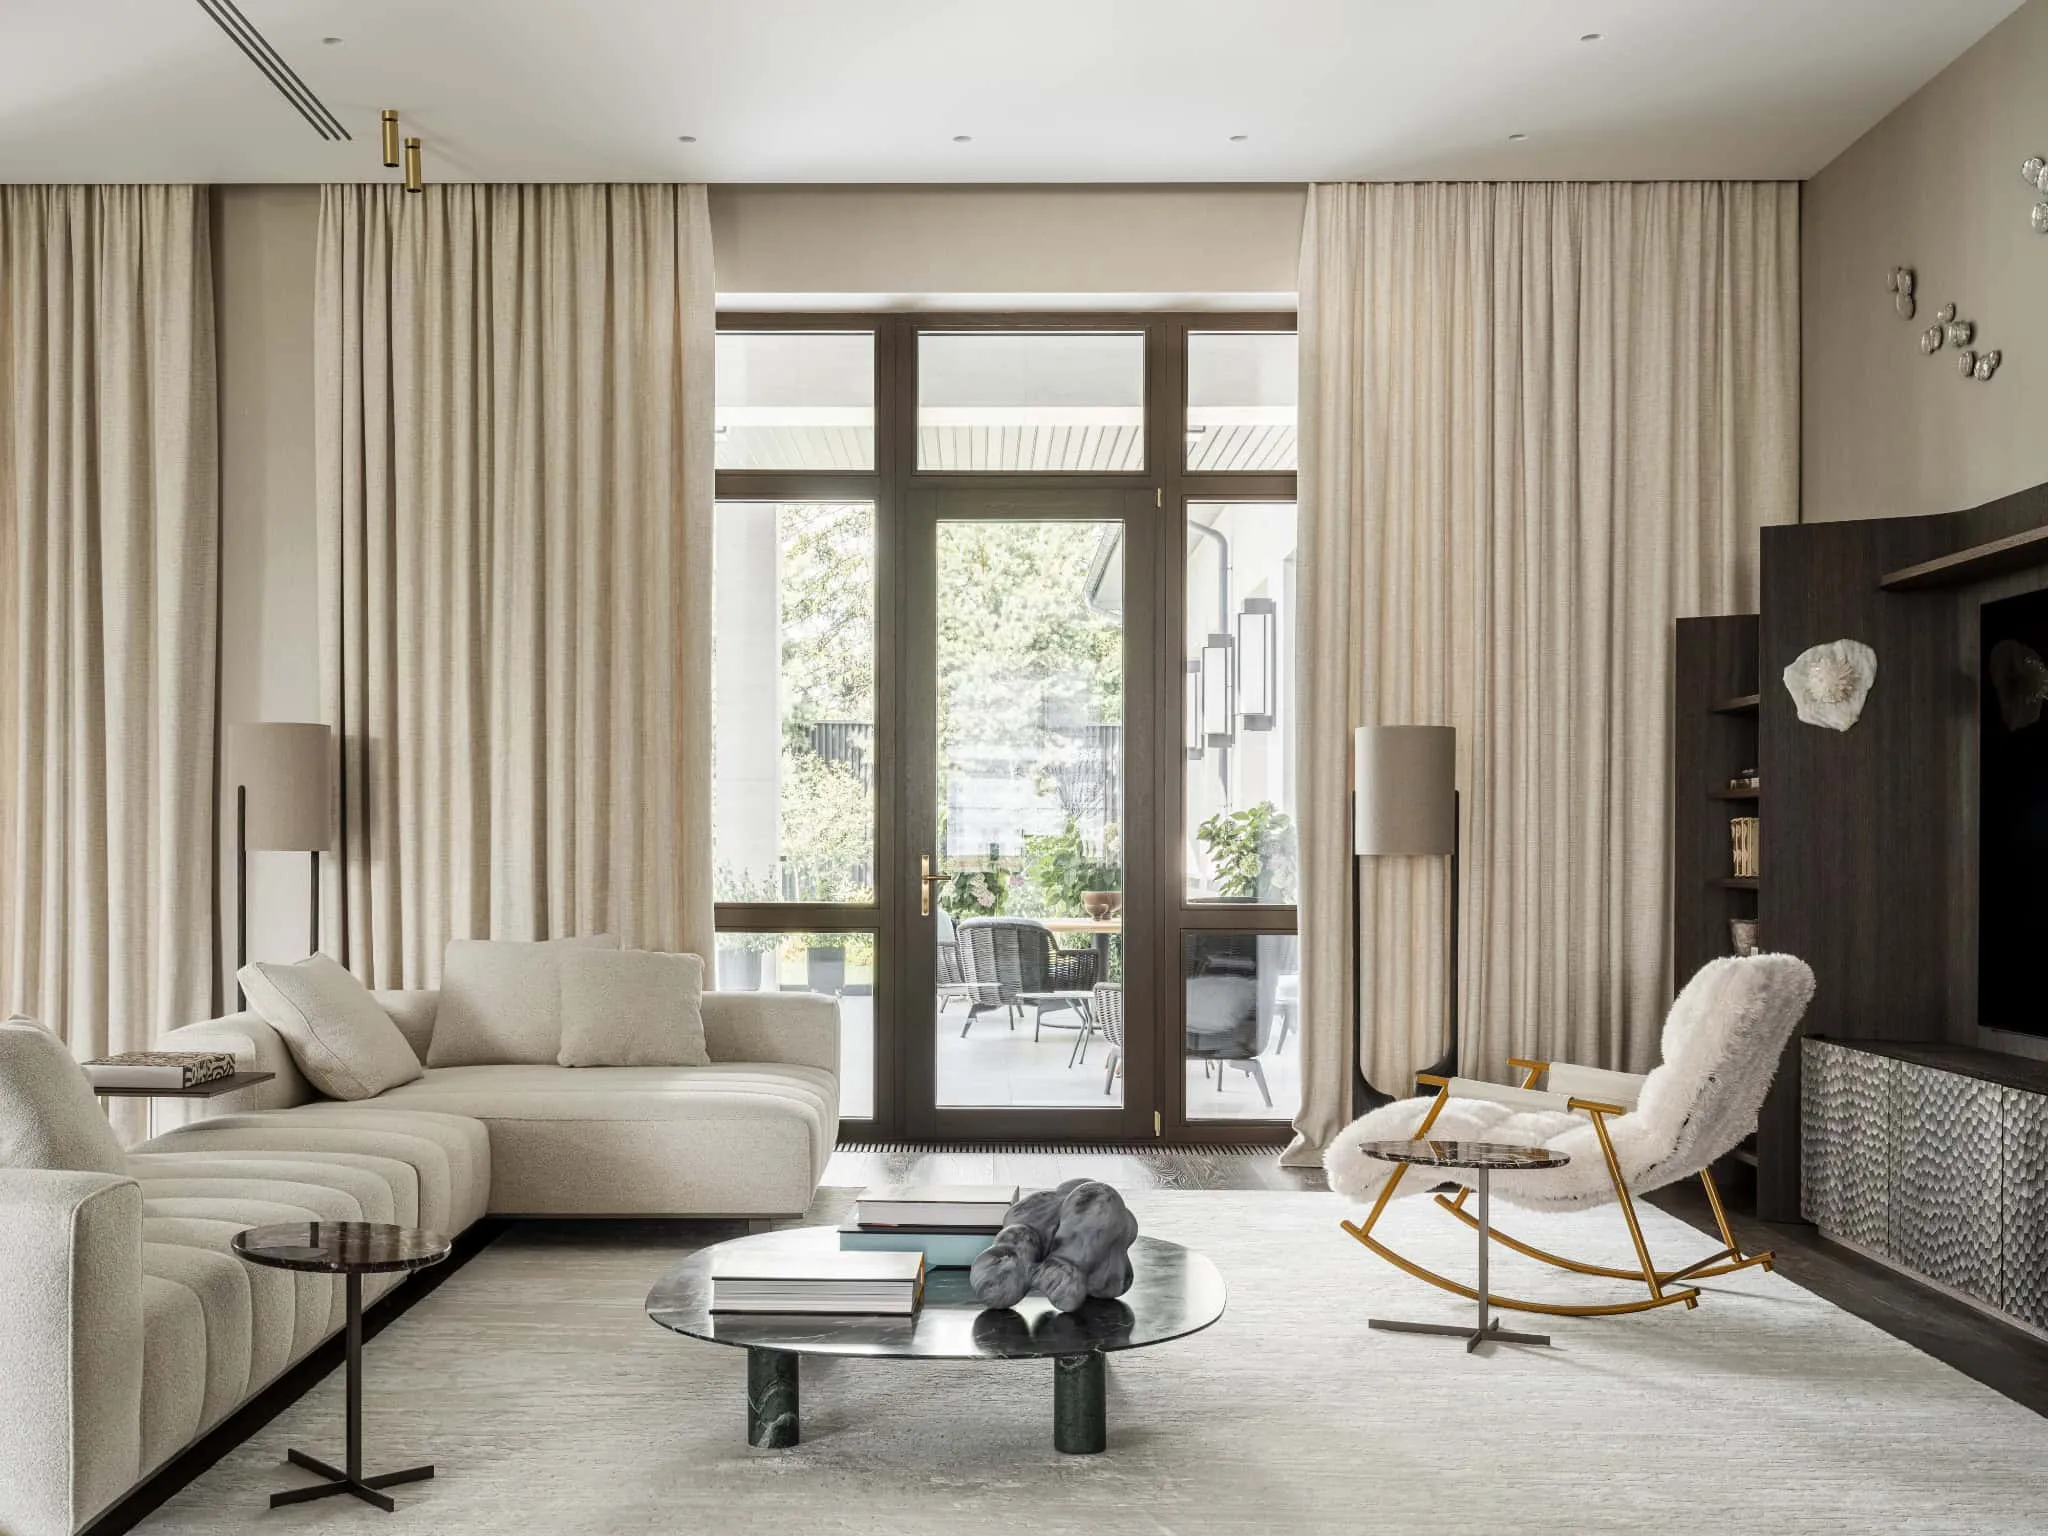 Cottage in Moscow by Ariana Ahmad: where refined design meets the art of living
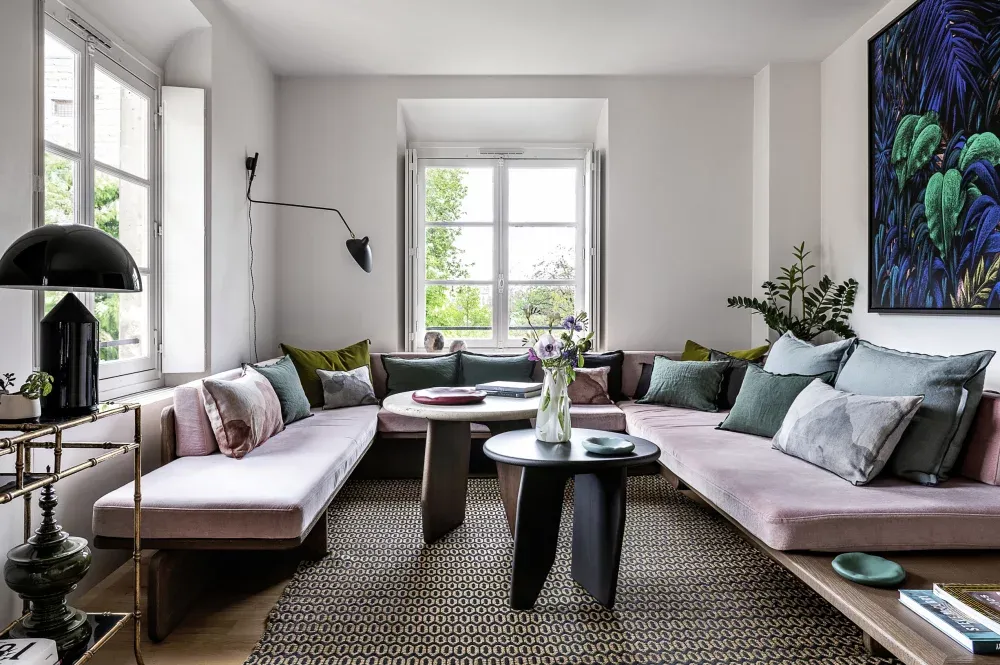 Cozy and Functional Duplex in Paris
 Cozy Bedroom with Dark Wood
 Cozy Home You'll Want to Copy