3 Ways to Create a Textured Wall in Your Home
What first comes to mind when you hear the word "walls"? Most likely, it's their color — and that's correct. But what are textured walls? What role do they play in interior design? Why and how should you use them?
If you follow interior design projects around the world, you've probably seen a design that's becoming increasingly common — textured walls. However, this is not the same texture that was typical for past decades. Today it's more refined and tactile, like those found in Mediterranean villas.
Textured walls also have certain advantages that should be considered. For example, applying a textured finish can help hide scratches and cracks on the wall that are difficult to fix yourself. Its texture effectively masks any wall imperfections, making it an ideal choice for a budget-friendly and quick solution. Another advantage is easier installation. A specialist may need more time to create a smooth, beautiful wall, but adding texture through painting is simpler and faster.
Read on if you want to learn how to add textured walls to your home and benefit from it.

1. Adding the 'Sand Whirl' Texture
Sand whirls is a style of texture that adds character to a room. It's easiest to apply with a 7-inch brush and perlite.
To add this type of texture to the wall, hold the brush by its base — it gives more control than holding the handle. Then wipe the brush against the edge of the bucket after dipping it a few inches into perlite to remove excess paint. Before applying texture to the wall, try creating a whirl pattern on an empty section of drywall. Start with a large open-bottomed circle, moving from top to bottom on the wall. Each row of brush strokes will cover the lower part of the previous one.
Then use whirls on a 5-foot section of wall, dip the brush in perlite after each swirl, then turn back to your starting point and lower one row. Continue working across the entire wall until finished, then let it dry for 24 hours. During this time, you can prime and paint the walls.
In general, if you're looking for interior wall finishing plaster, we recommend checking out information online, such as on this recommended site.
2. Faux Finish
To add texture to smooth walls, you can cover the wall with a cloth or apply paint using a sponge. The "cloth dabbing" method involves using a gathered or twisted cloth to paint the walls, creating a spotted pattern for a unique style. Similarly, using a sponge can also produce a similar but different effect. Follow these steps.
Using a roller, apply the desired color. Wait at least 24 hours for the wall to dry before applying a second coat. Then, as with the first time, repeat the process for the second layer and let it dry for no more than 24 hours. You'll need clean, lint-free cloths or a sponge (this sponge creates a more natural and uneven look compared to synthetic).

For the next layer, use slightly darker paint than your base color, or if you want a lighter topcoat compared to the base color, do the opposite. If using a roller, dip the cloth in paint from the tray to fill it. However, be careful not to soak the cloth too much. Simply twist the cloth into a ball to evenly distribute paint and apply it to the wall with moderate pressure, starting from the top.
3. The 'Sponge Brush' Method
The sponge brush texture creates an irregular line pattern, giving the space a unique style. This is a great choice if you're unsure about using a sprayer. All you need are a texture brush (also called a "sponge brush"), a roller, and joint compound for drywall.
Start by adding water to the mixture until it reaches a thick consistency. Then apply evenly to the wall using a roller. First cover two 5-foot sections, then use a brush. Apply joint compound to each side of the brush in a thin layer, then begin "sponging" the first section of wall with the brush. The texture doesn't have to follow a specific pattern, so experiment and change the angle of your brush while moving.
If you've finished one section, cover another 5-foot area with a roller. Then "sponge" those sections with the brush. Repeat until you've completed the entire room. Let the wall dry for 24 hours, then prime and paint.
Conclusion
Adding texture to a wall is an important step toward enhancing the aesthetics of your interior. There are several ways to add texture to walls, as outlined above. Overall, if you found this information useful, consider reviewing it carefully.
Need a renovation specialist?
Find verified professionals for any repair or construction job. Post your request and get offers from local experts.
You may also like
More articles:
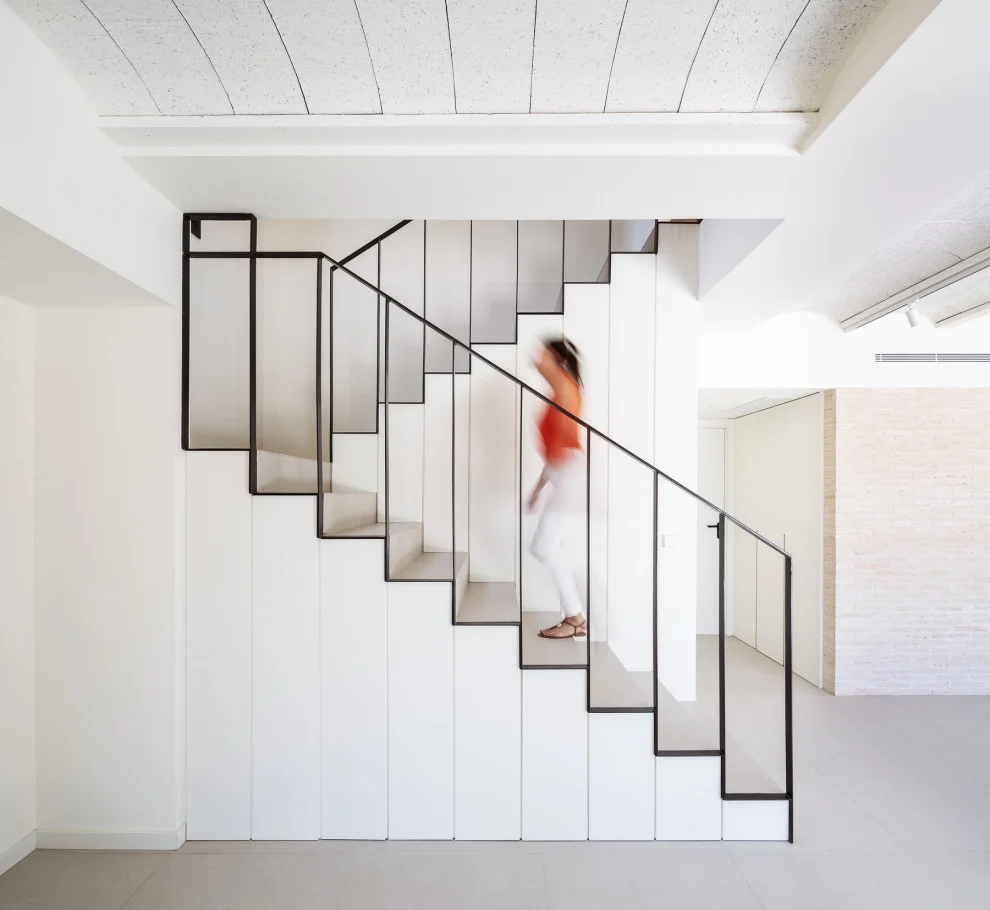 20 Stylish Maritime Staircase Projects That Impress with Elegance
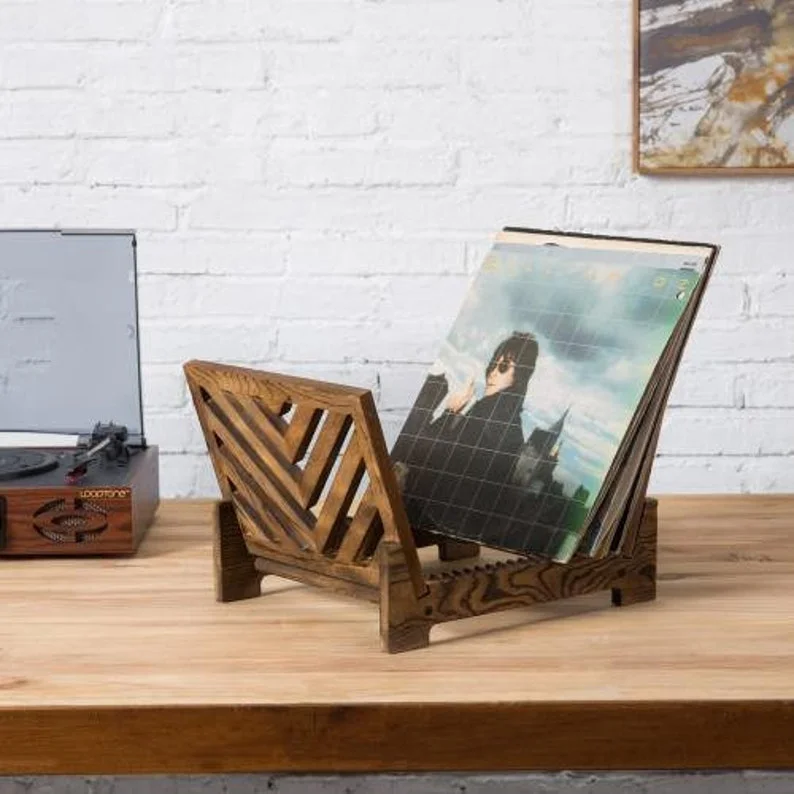 20 Stylish Vinyl Record Storage Designs for Hipsters
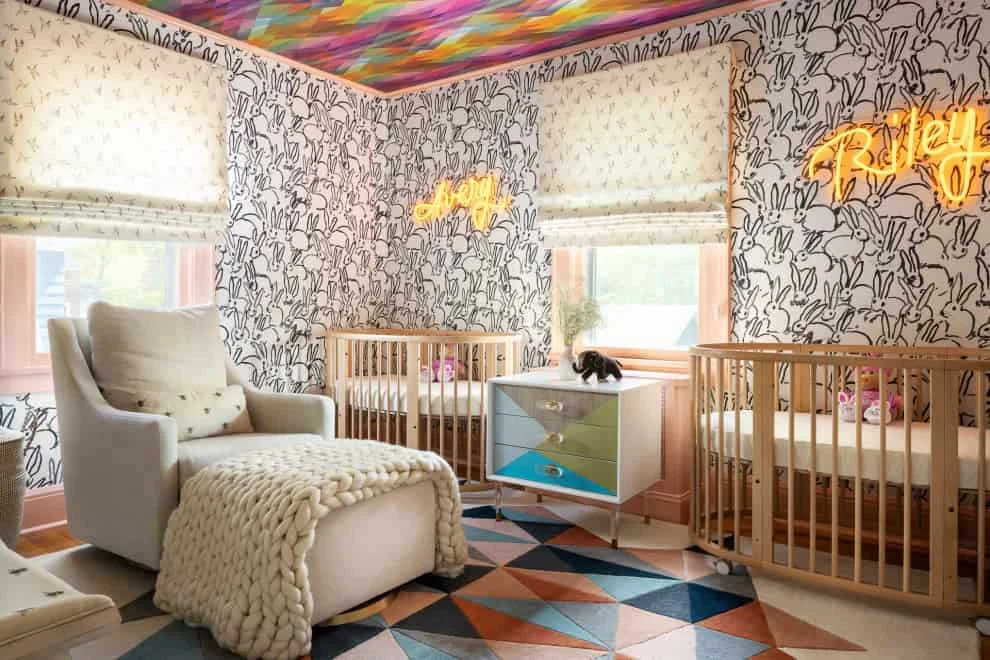 20 Sweet Eclectic Children's Room Designs with Boho Style
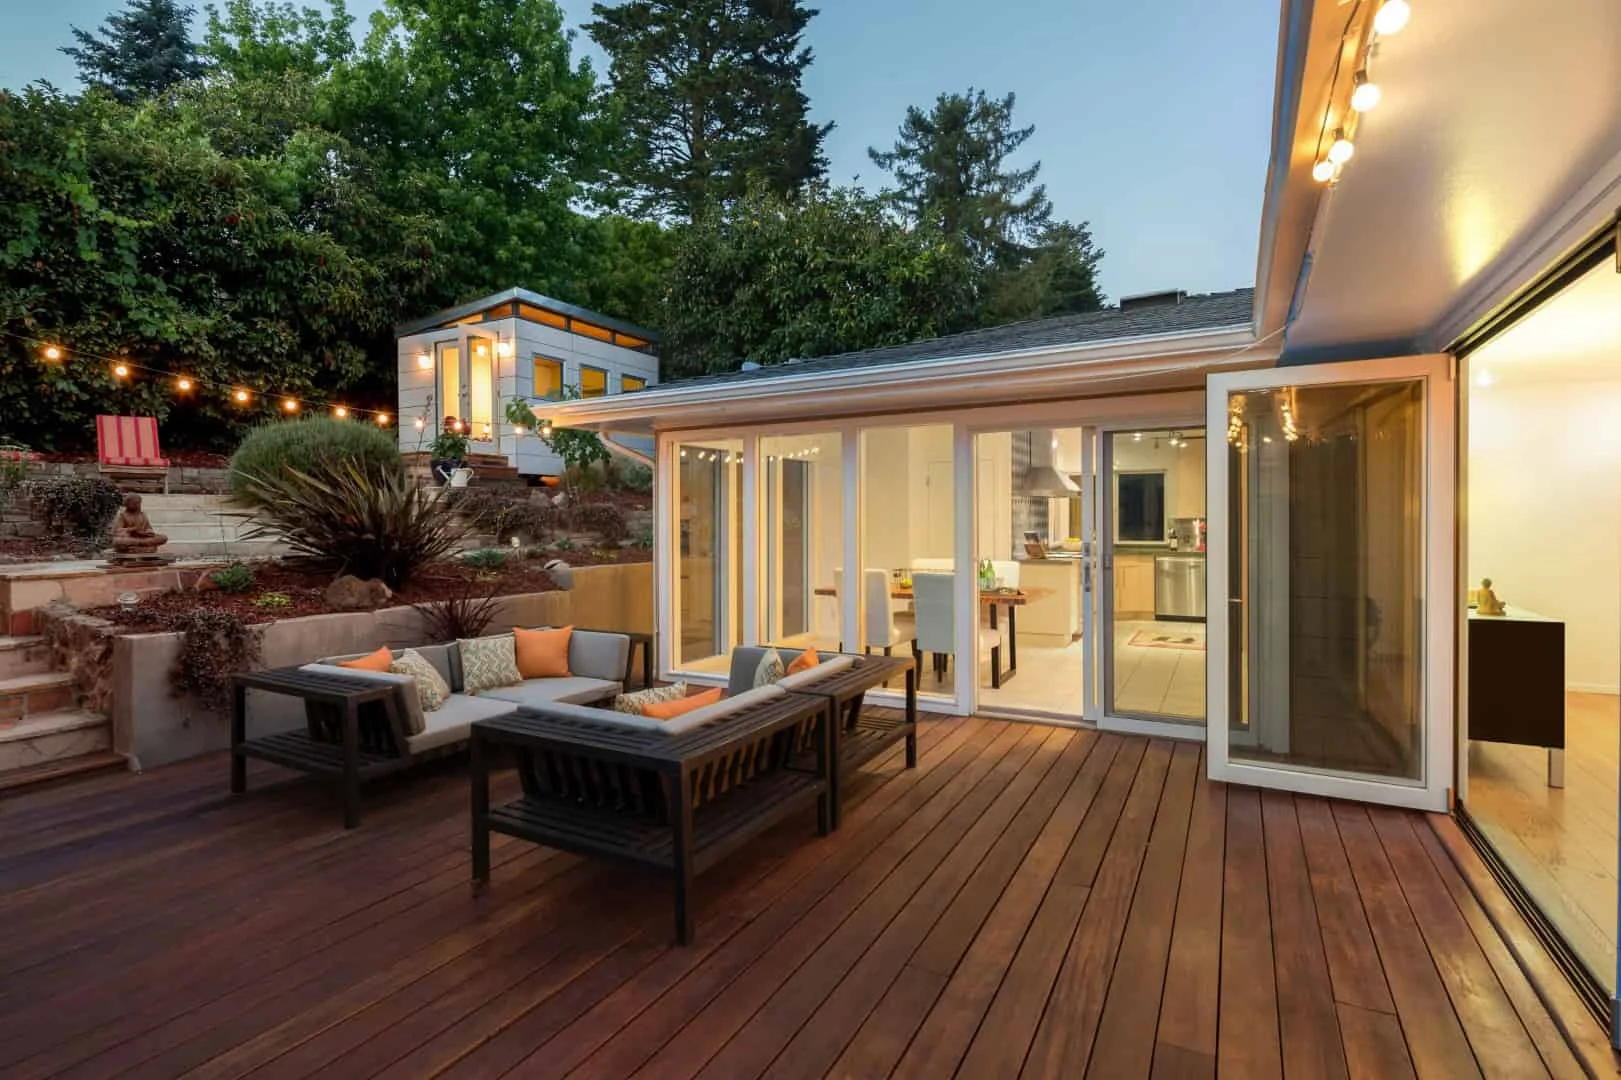 20 Transitional Terrace Projects for the Perfect Outdoor Recreation Space
 20 Magical Fall Sign Decorations You Should Have This Season
 20 Amazing July 4th Centerpiece Designs Everyone Will Talk About
 20 Stunning Bathroom Design Projects for Fall Welcome
 2022 Trend: Stone Baths for Large and Small Bathrooms