Fireplace from Gypsum Board Made by Yourself
Before Starting the Work
First, you need to decide on the location and type of fireplace: draw a plan of the fireplace placement in the interior, make necessary measurements and create scaled drawings based on them.
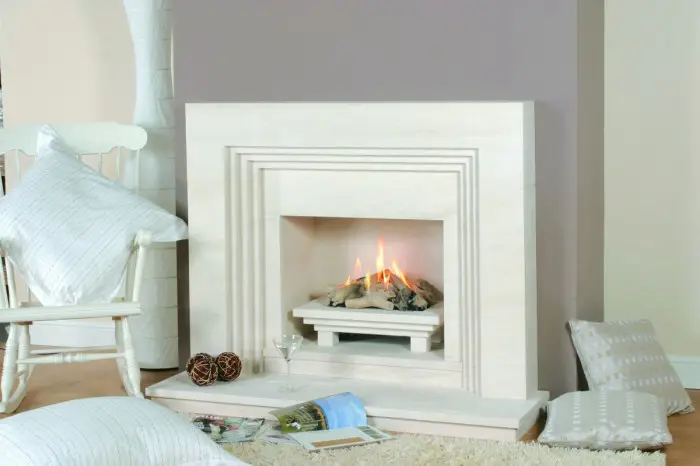
Photo 1 — Fake Fireplace from Gypsum Board
Before Starting the Work
First, you need to decide on the location and type of fireplace: draw a plan of the fireplace placement in the interior, make necessary measurements and create scaled drawings based on them.
The drawing should show not only the external appearance of the fireplace (design sketches), but also display the scheme of mounting the structure and the frame. Calculate the desired depth of the fireplace, length and height of the construction.
IMPORTANT! When doing calculations, consider the thickness of the GKL boards you are working with (too thin - 6 mm - should not be used, choose 9.5 mm or 12.5 mm).
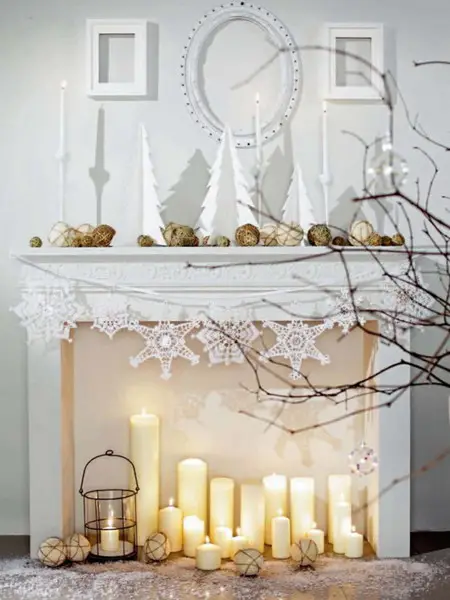
Photo 2 — A fake fireplace does not necessarily require electric imitation of a real fireplace. Traditional forms can also be used in more interesting interior design projects.
Work Sequence
Marking
Based on the working drawing, transfer the layout to the fireplace parts and its installation location, outlining the floor and walls.
Mounting the Profile
The UD profile is mounted to the floor using screws and a screwdriver. Start mounting from the plan that is parallel to the wall. Then attach the side profiles for gypsum board so they do not extend beyond the first profile, but are positioned between it and the wall.
Mounting Step
The mounting step with screws should be around 25-30 cm on average.
Installing Anchors
To properly position anchors in the gypsum board on the wall, first screw the wall profiles to the marked spots with screws, then remove the mounting and take off the profile from the wall. In this way, you get a ready hole for anchors. You can now proceed to screw the anchors into the wall.
Mounting the Profile
After installing the anchors to the wall, screw the UD profiles with a screwdriver.
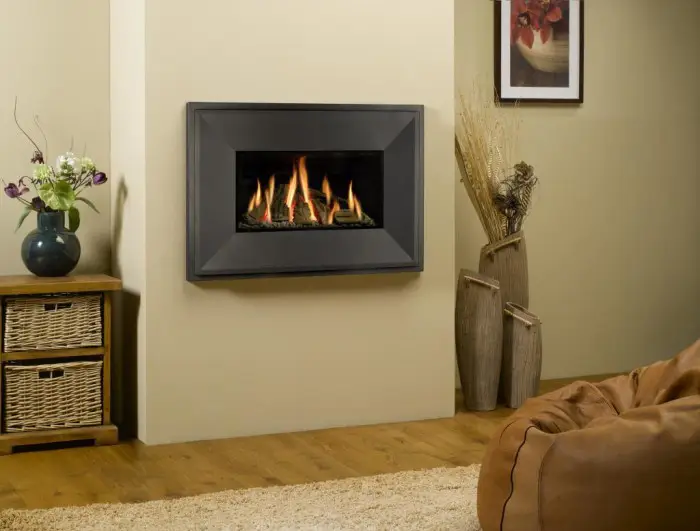
Photo 3 — A Portal for a Gypsum Board Fireplace. Non-standard Placement in a 'Suspended' State
In the case of wall-mounted profiles, first secure the side profiles and then the profile parallel to the floor.
IMPORTANT! When making the base for the gypsum board structure, check the layout marked on the wall and floor surfaces against the drawing, with a ruler and level. This is especially important for upper planers.
Marking the Fireplace Parts
After securing six main metal profiles for gypsum board on the floor and walls, proceed to mark the fireplace parts on GKL boards.
Cutting Gypsum Board
Details can be cut from a gypsum board sheet using a utility knife (from available tools): on one side of the sheet, make cuts along the layout so that the knife penetrates into the gypsum to the GKL depth. Then, place the sheet on a flat surface with the clean side up and carefully fold it, after which you can use the same utility knife to trim the untouched cardboard layer.
IMPORTANT! When cutting the sheet into parts, try to minimize their number. For example, the central part of the fireplace can be cut from one whole piece rather than assembled from four parts. To cut out the core - an opening for placing an electric fake fireplace, use a knife or a gypsum board saw.
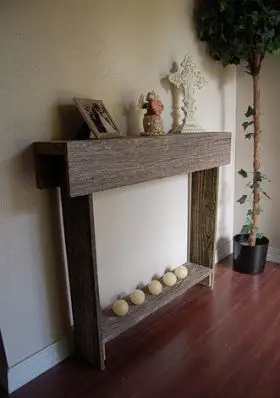
Photo 4 — In interiors, a hint of a fireplace is sometimes sufficient. An interesting solution - to install only a frame instead of the entire structure.
In our example, mounting gypsum board without a frame on the profile is done, so the profile is screwed to the back side of the sheet (step 25-30 cm).
Return briefly to working with narrow UD profiles. To mount internal parts, you need to secure 4 more profiles on the wall at appropriate points.
Cutting and Joining the Profile
Using metal shears, cut CD profiles (these profiles will connect the parts and mounting of the base, creating a strong structure). The length of the profiles must correspond to the depth of the fake fireplace with allowance for metal insertion into the UD profile. It is more convenient to work with this method if the incoming profile is slightly shortened in length. On average, you will need no more than 8-10 such pieces (imitation of a fireplace of medium size).
The front part of the fireplace, cut from gypsum board and containing profiles screwed to the back side of the sheet, is mounted to the floor, after which you can proceed to mounting intermediate guides.
Join profiles using shims and a screwdriver.
Cladding the Structure
Finally, the sides of the structure are covered with gypsum board.
After the fireplace structure is assembled, if desired, a fake chimney can be organized above the fireplace.
Fireplace Finishing is Done in Various Ways
For example, to start, close the joints of the sheets with serpentine or metal angles, spackle and sand them. After that, the fireplace can be covered with wallpaper, painted or clad with mosaic and other decorative materials requiring a flat surface (such as tile cladding).
Or close the same joints with decorative polystyrene moldings, mounting the frame of the fireplace on a glue base.
In this example, we did not consider complex fireplace forms. What is presented to you is the simplest way of organizing a decorative object in an interior. For making a fireplace on a podium, a fireplace niche of irregular shape (with an arched upper surface, for example) or a corner fireplace, you will need a more robust frame and more work with materials.
Below is a photo guide on how to make a fireplace from gypsum board by yourself (with an arched niche).
Decorative Fireplace from Gypsum Board (PHOTO)
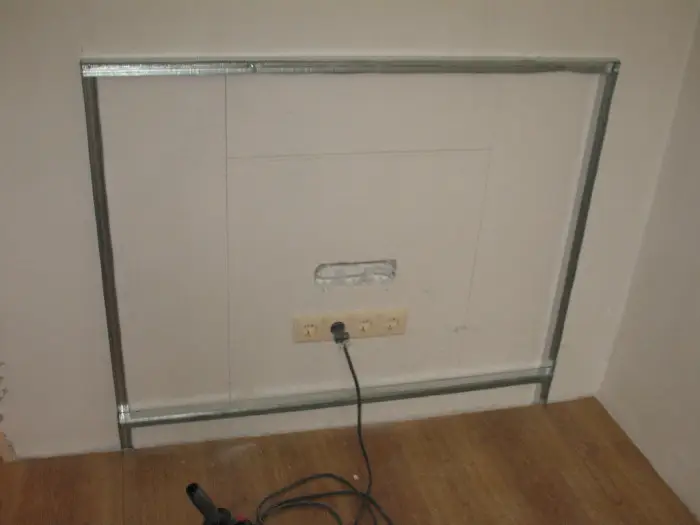
Photo 5 — Organization of the Base from UD Profiles
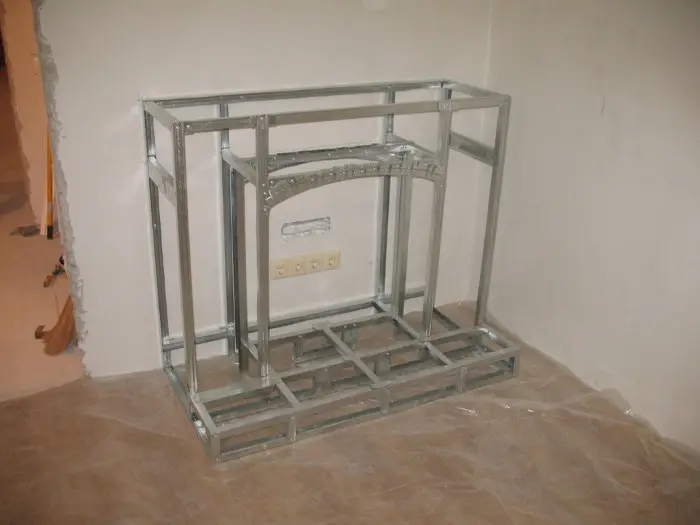
Photo 6 — Completed Frame for a Fireplace on a Low Pedestal
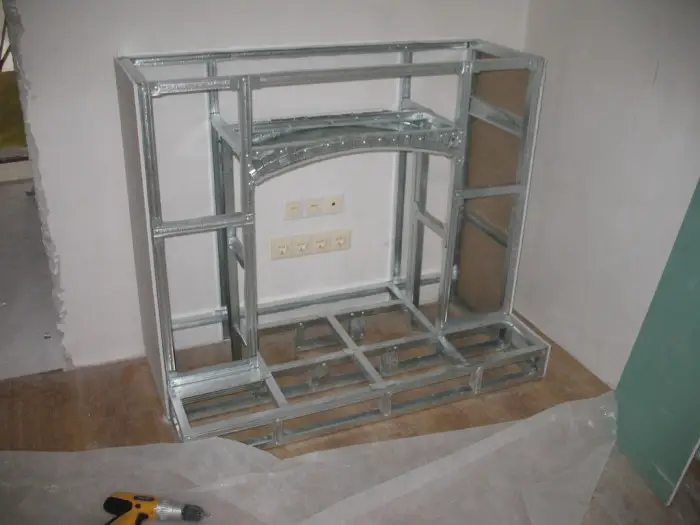
Photo 7 — Beginning of Cladding the Fireplaces Frame with Gypsum Board. Note that by the time work begins, electrical wiring has been arranged for the location of the fake fireplace, sockets and switches have been installed.
IMPORTANT! If we are talking about connecting an electric fireplace for heating the room or its imitation (simply a screen with a picture of flames), electrical wiring should be arranged in advance. When mounting the metal frame to the walls of the room, remember about the paths of electric cables to avoid accidentally damaging the electrical network with screws.
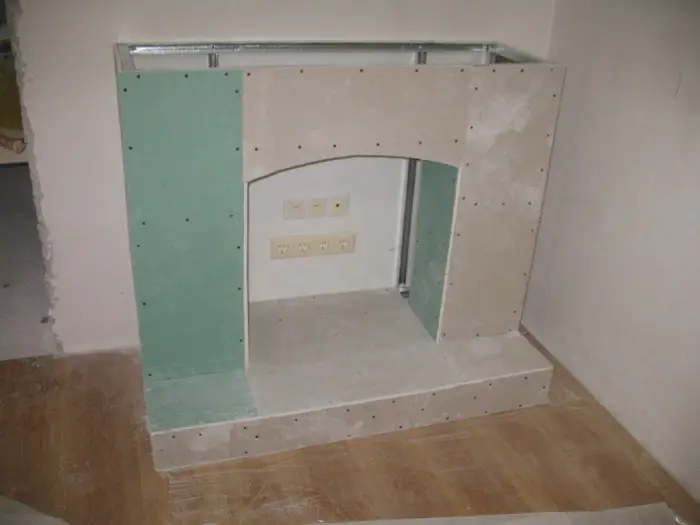
Photo 8 — Completion of Cladding the Frame with Gypsum Board. To make an arch in the niche, thinner gypsum board (from 6 to 9 mm) was used, and a specially cut profile was mounted to create the desired curve shape.
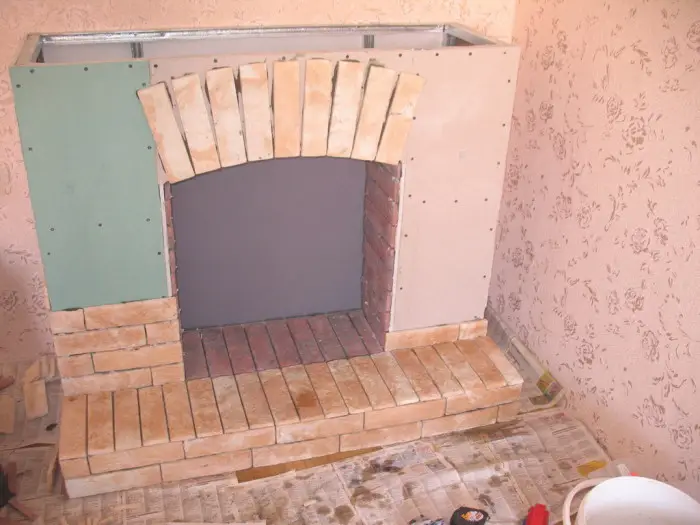
Photo 9 — Fireplace Finishing with Stone
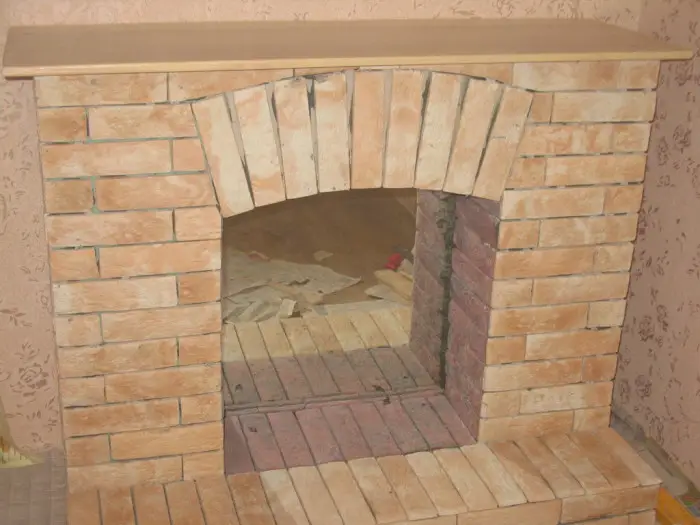
Photo 10 — Completion of Finishing Work. Note that the horizontal top surface of the fireplace is not covered with a gypsum board sheet, but with a wooden countertop.
Fireplace Finishing: Ideas (PHOTO)
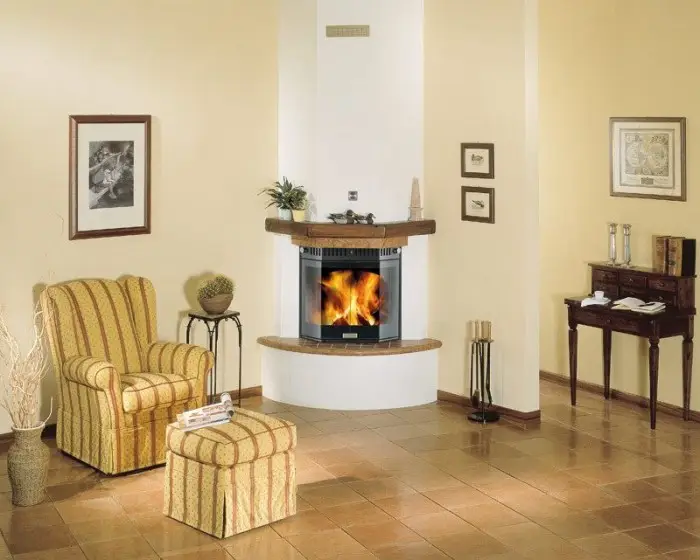
Photo 11 — Corner Gypsum Board Fireplace, Semi-Circular - Solution for Those Who Want to Hide the Room's Angularity
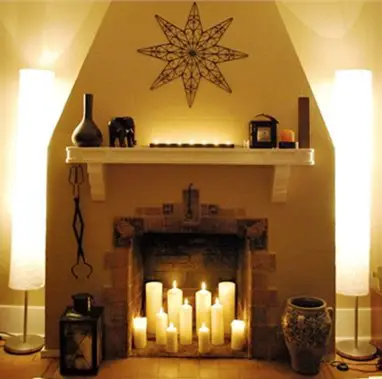
Photo 12 — Fake Fireplace with Oriental Touches
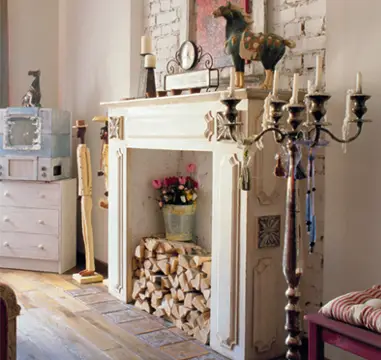
Photo 13 — Gypsum Board Fireplace in a Modern Interior
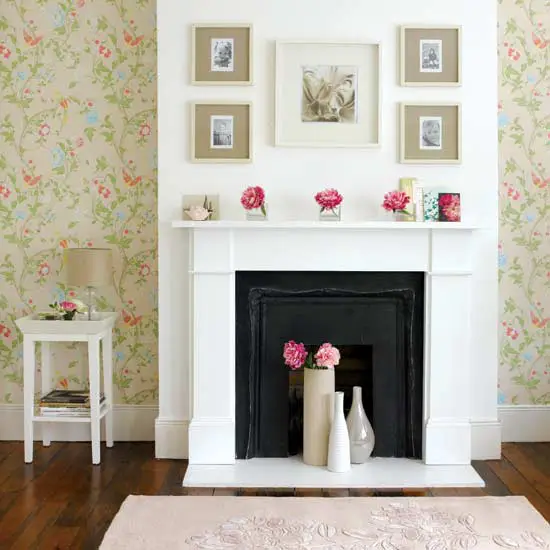
Photo 14 — Fake Fireplace - A Bright Accent in the Living Room Interior
Fireplace from Gypsum Board, VIDEO:
$ Cost of Work to Organize a Fake Fireplace from Gypsum Board (Simple Construction)
- in Moscow - from 1,800 rubles/work, about 2,100 rubles/materials;
- in Kiev - from 450 hryvnia/work, about 520 hryvnia/materials.