Installation of Metal-Plastic Windows. Brief Instruction
Removing the old window frame and glass. After removing the glass from fixed and hinged windows, grooves are made in the frame.
IMPORTANT! Do not use a metal-cutting wheel when making grooves due to the risk of wheel rupture.
Brief instruction for installing metal-plastic windows
- Removing the old window frame and glass. After removing the glass from fixed and hinged windows, grooves are made in the frame.
IMPORTANT! Do not use a metal-cutting wheel when making grooves due to the risk of wheel rupture. It is better to use a regular saw or angle grinder with a concrete cutting disc (though the latter produces a lot of dust).
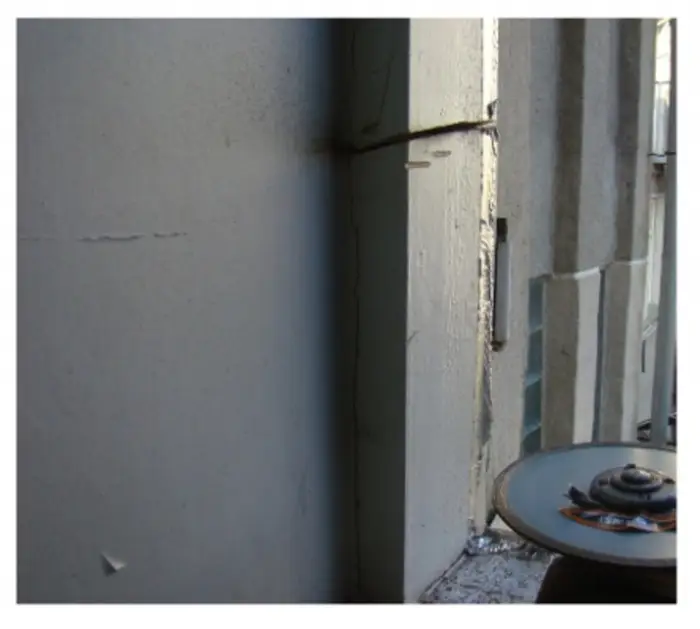
Photo 1 — Grooves in the old window frame for removal
- Remove the frame with a hammer in parts. The wooden sills are removed in the same way as the frame, concrete sills in good condition are not removed but are covered with tiles or any other coating with an insulating layer after all installation work is completed.
- Clear the window opening, prime it, and after the primer dries, mark the mounting points: indicate where to fix the window. The mounting interval should not exceed 70 cm from each side of the window. The outermost fasteners should be no more than 5-15 cm from the corners of the window frame.
- The screws used for fixing the frame must be installed in metal within the PVC profile (this is how metal-plastic windows differ from regular PVC windows, as they contain reinforcing elements). Installation of metal-plastic windows should only be done using special screws for metal (4 mm in diameter). The ends of these screws have holes that allow the fasteners to enter the material.
If you use other types of screws, you will first need to drill holes in the window frame and then insert the screws into them. If the window size exceeds 2x2 m, you will need screws with a diameter of 12 mm.
- Another mounting element is the anchor plate. Place the fasteners around the perimeter of the frame at previously marked points. Insert the frame into the window opening and mark the locations for drilling the second row of mounting holes on the wall surface. The recesses for placing anchor plates should extend into the walls by 2-4 cm, making it easier to install the window sills and sills later.
- Position the window strictly horizontally using a mounting level. For this, wooden wedges are placed under the frame where necessary.
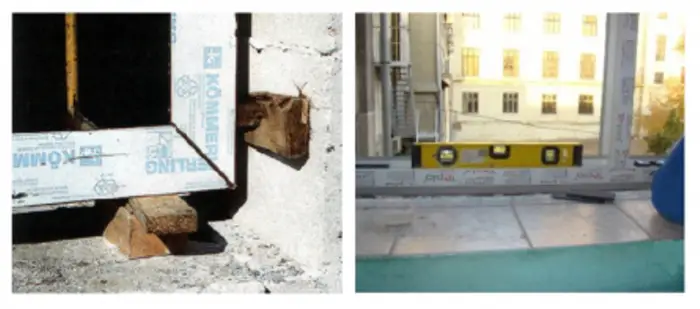
Photo 2 — Positioning the window level. Using wooden wedges
- Secure the upper anchors first, and then the side ones.
- Strengthen the external hydro-isolation using PSUL, and fix the sill with screws 4 mm in diameter and 9 mm long.
- Adjust the window hardware and place the glass units in their designated spots.
- Foam the gaps between the frame and window opening only when the windows are closed! It is forbidden to leave windows open for ventilation during installation, otherwise the installation foam will bulge the profile and cause the glass to crack or damage the window. Foaming wide gaps (2 cm and more) should be done in stages with a 1-2 hour break between steps. The foam must be protected from UV rays using special sealing film, plaster, or panels after it dries.
IMPORTANT! The window must remain closed for at least 12 hours after foaming.
- Install the sill. After taking measurements, standard-sized sill pieces are adjusted to fit the window's length and width, ensuring that the sill extends under the window and is slightly recessed into the walls on the sides.
If the measurements are accurate and the sill fits snugly under the window during fitting, you can proceed to secure it. The sill must also be leveled and supported with wooden wedges before securing it with adhesive or installation foam. In the latter case, supports or weights must be placed on the sill for at least 12 hours to prevent the expanding foam from shifting the level.
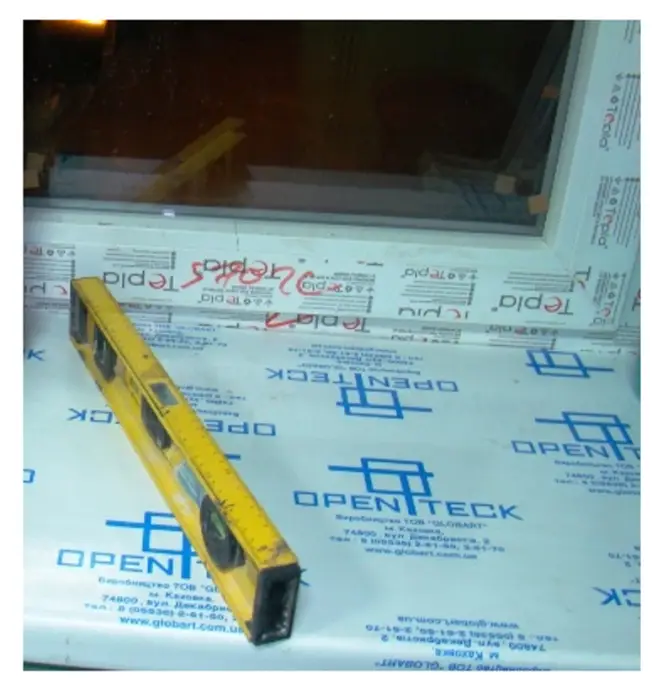
Photo 3 — Leveling the sill
- Install window hardware.
- Mount the window surrounds (techniques for installing gypsum, plastic, or plaster surrounds differ).
- Seal the joints between window elements and remove the protective film from the frame.
Installing metal-plastic windows yourself is also possible, but you must understand the technical details of the process or purchase metal-plastic windows that you can install following the manufacturer's instructions.
$ Installation of Metal-Plastic Windows. Price:
The cost of installing metal-plastic windows depends directly on the window type (fixed, hinged, or combined), wall opening type and condition, mounting joint design, season of installation, and overall work volume. On average, it is $20-30 per m².
A quote for installing metal-plastic windows must include all types of work: delivery, lifting to the floor, removal of old windows, waste disposal, window installation, sills, sills, surrounds, and more.
- Kiev – from 350 UAH per installation package;
- Moscow – from 4,100 RUB per installation package.