How a Designer Completely Redesigned the Layout and Furnished Her 83 m² Apartment
The view from the window inspired the entire interior design
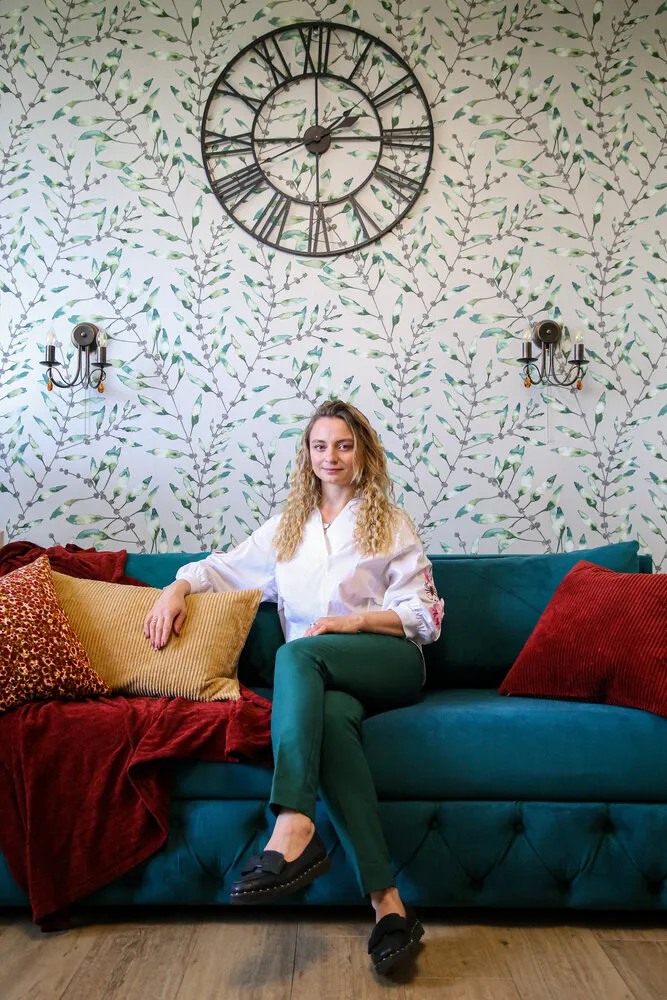
This apartment became the first implemented project of designer Maria Chikunova. Despite living alone at the time of creating the project, the space was designed with future family traditions and joys in mind. The interior also took into account all necessary solutions for comfortable living with a dog. Maria shared the details of the renovation.
Location: Zhukovsky, Moscow Region
Area: 83 m²
Ceiling Height: 3 m
Number of Rooms: 3
Bathrooms: 2
Budget: 5 million rubles
Design: Maria Chikunova
Photos: Dilia Strukova
 Designer Maria Chikunova on the Layout
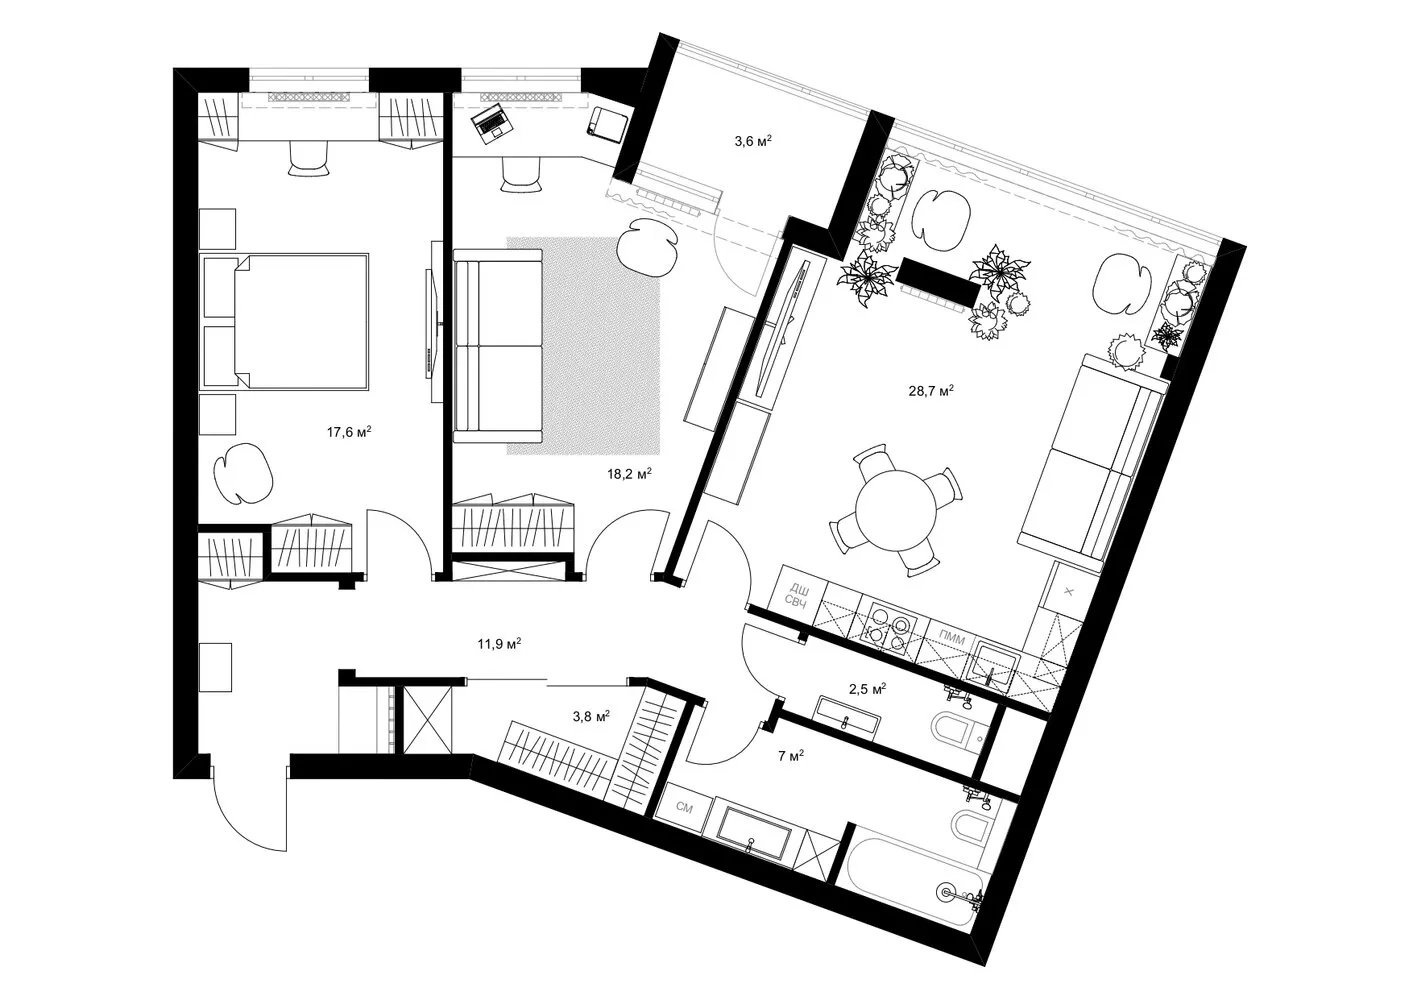
When purchasing the apartment in a new building, we had an interesting opportunity to choose the location of the entrance door. The monolithic structure allowed us to consider two options for placing the entrance.
Initially, we planned to install the door near the bathroom, but this limited options for expanding wet zones. After analyzing the situation, we decided to choose an alternative option that opened more possibilities for comfortable space planning. A niche appeared in the entrance hall, previously designated for a buffet, now conveniently holds a stroller and children's toys.
Relocating the entrance door allowed us to increase both bathrooms' sizes and make the kitchen-living room more functional. Additionally, we were able to create a spacious walk-in closet-storage for efficient item storage.
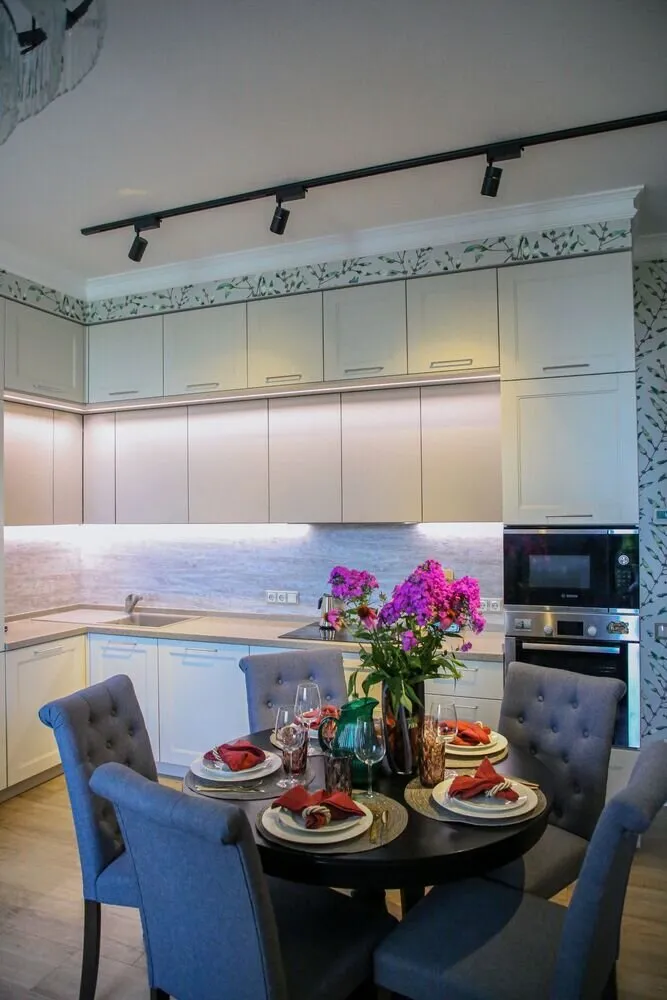
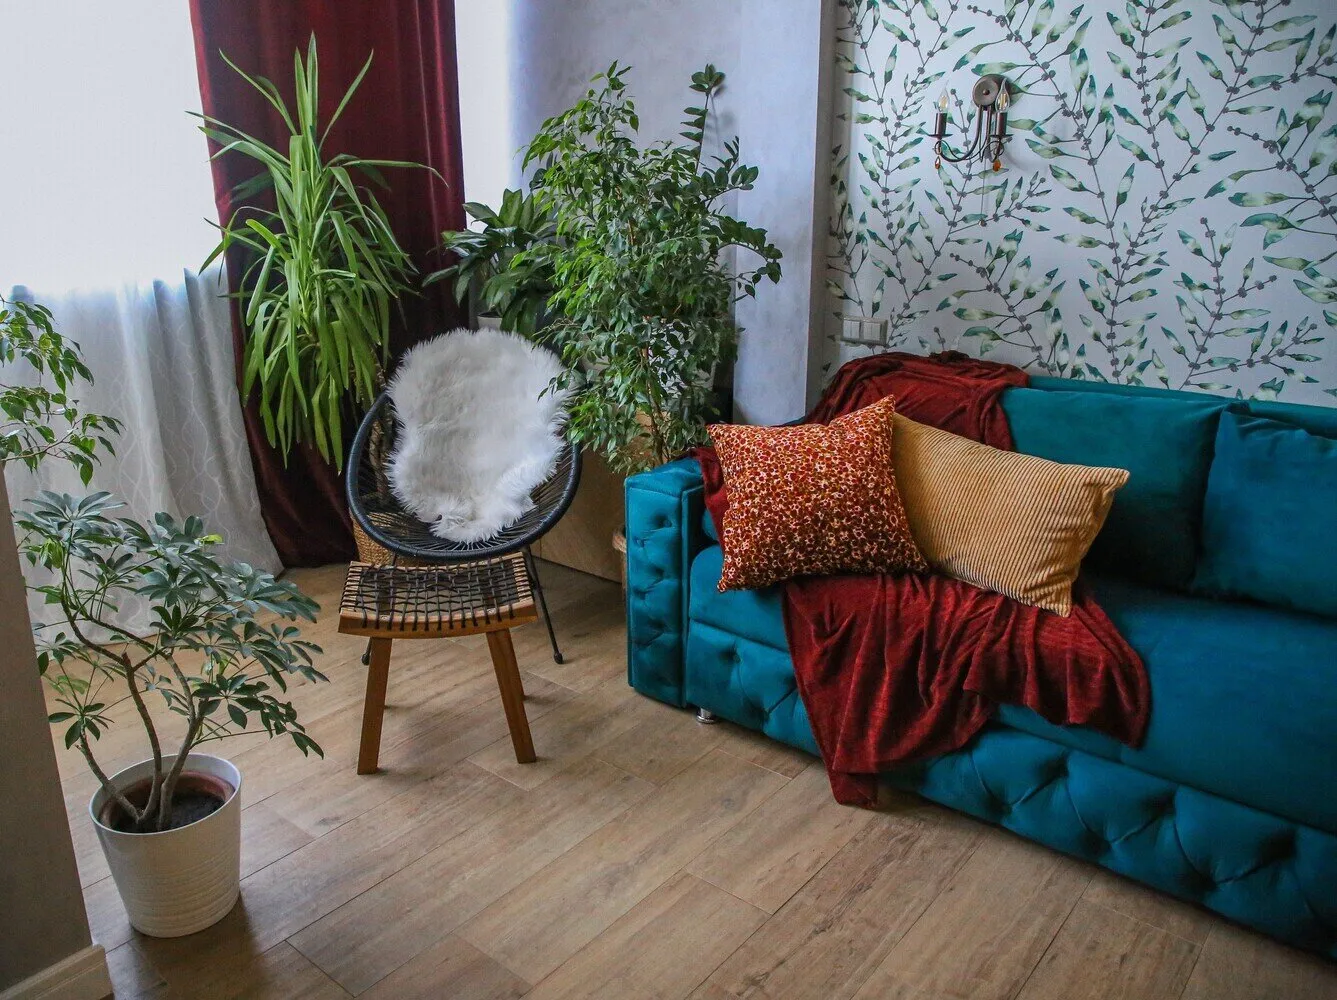
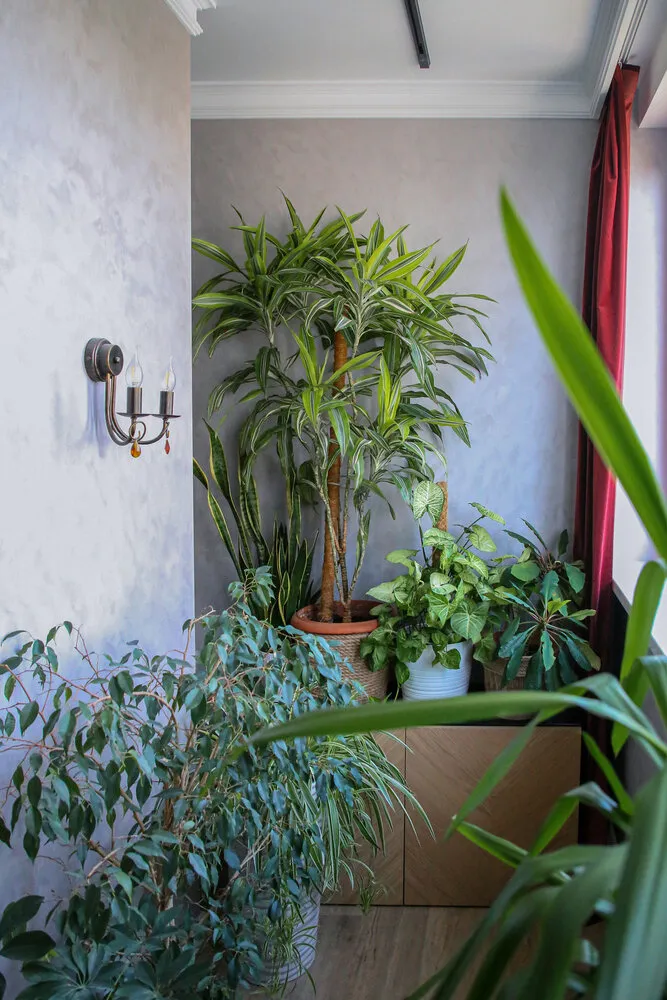
 On the Kitchen-Living Room
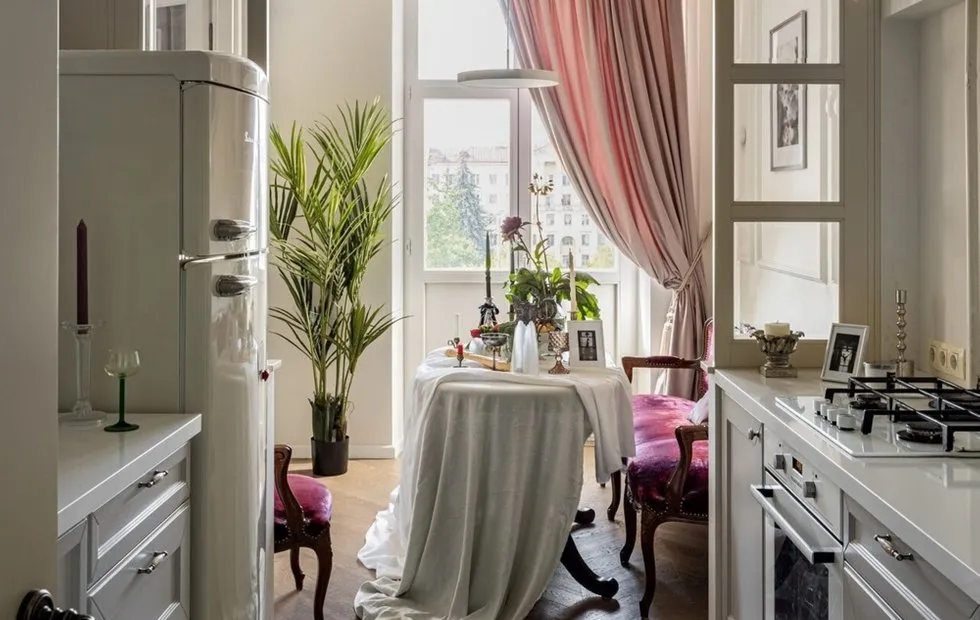
We tried to maximize the use of natural materials, as much as our budget allowed. In the kitchen-living room, like in other rooms, walls were covered with wallpapers featuring various floral patterns that will remain relevant for many years to come. The floor in the kitchen-living room was tiled with ceramic granite and a radiant heating system installed. After having a child, we started turning on the heated floor every day (this wasn't necessary before).
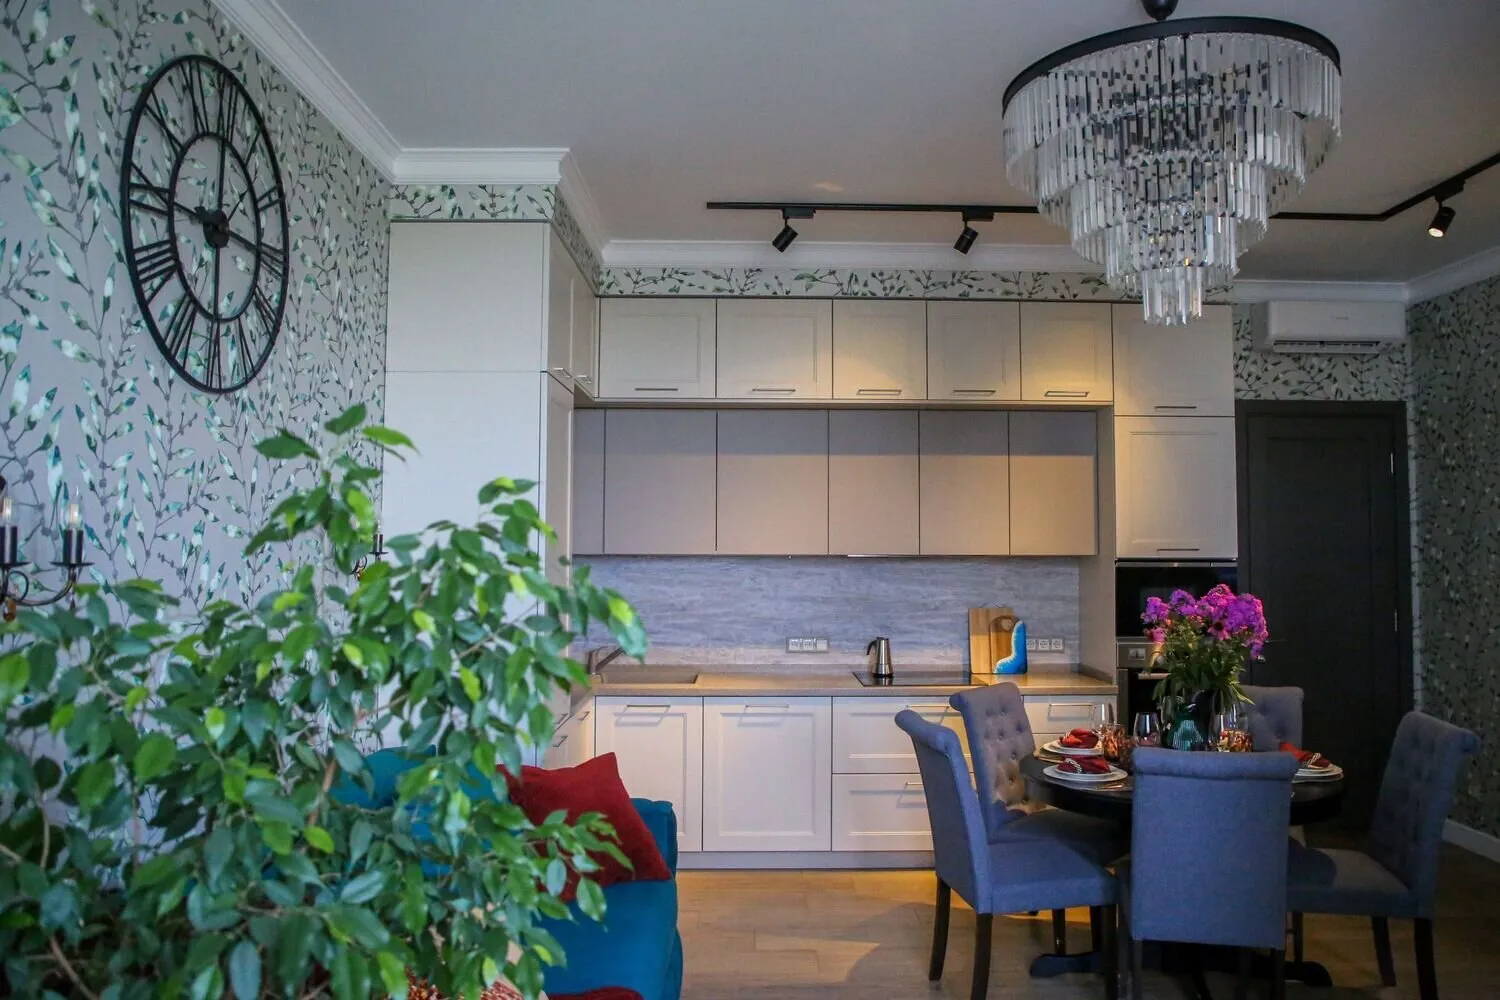
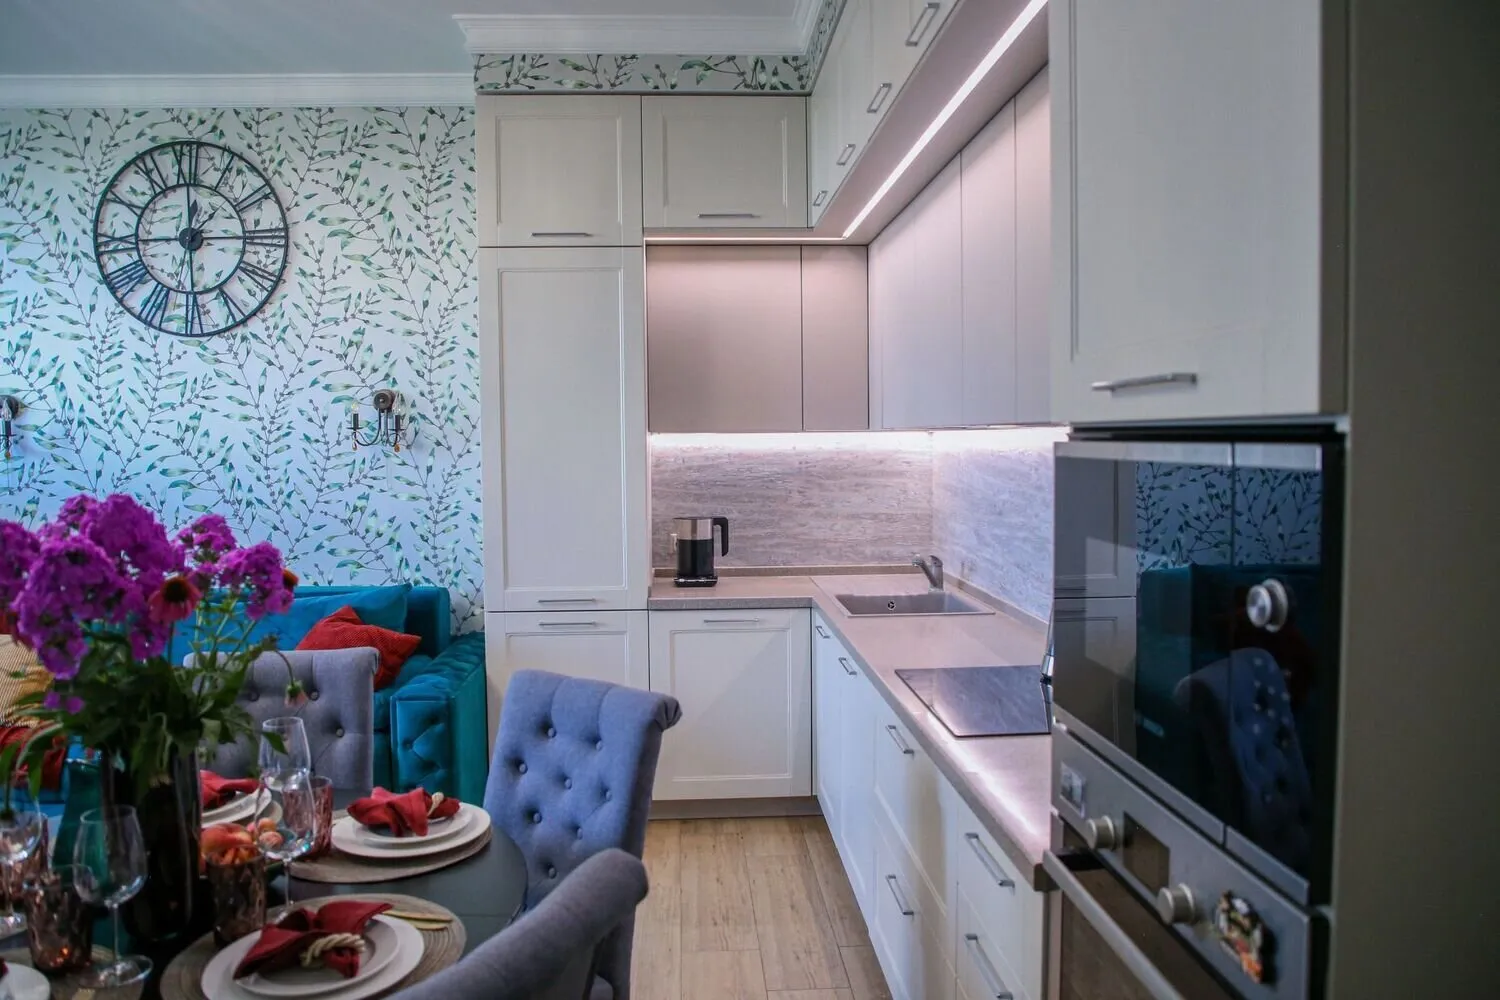
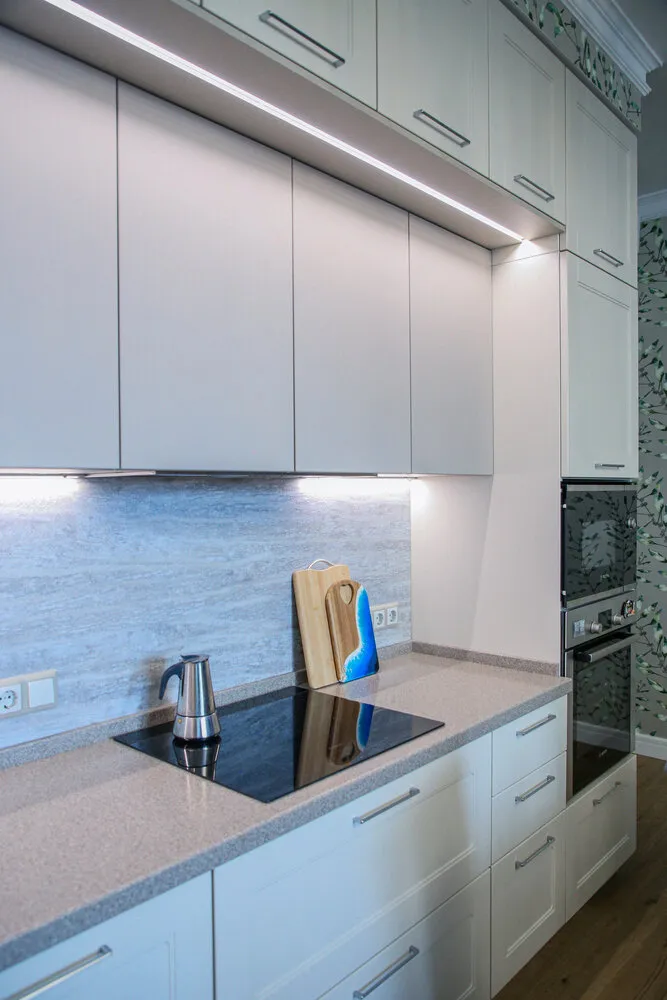
The kitchen cabinet is standard and includes everything needed: built-in refrigerator, dishwasher, induction cooktop. Below it are two deep pull-out drawers for storage. There is also a panel with an oven and microwave.
There are enough lower sections for storing dishes used in cooking, middle drawers perfectly suit for plates and dried goods, while the upper shelves are used for rarely-used appliances.

One of the highlights was a winter garden located in the kitchen-living room. We insulated part of the balcony and now enjoy growing various flowers there – they create a cozy, truly homey atmosphere.
 On the Bedroom
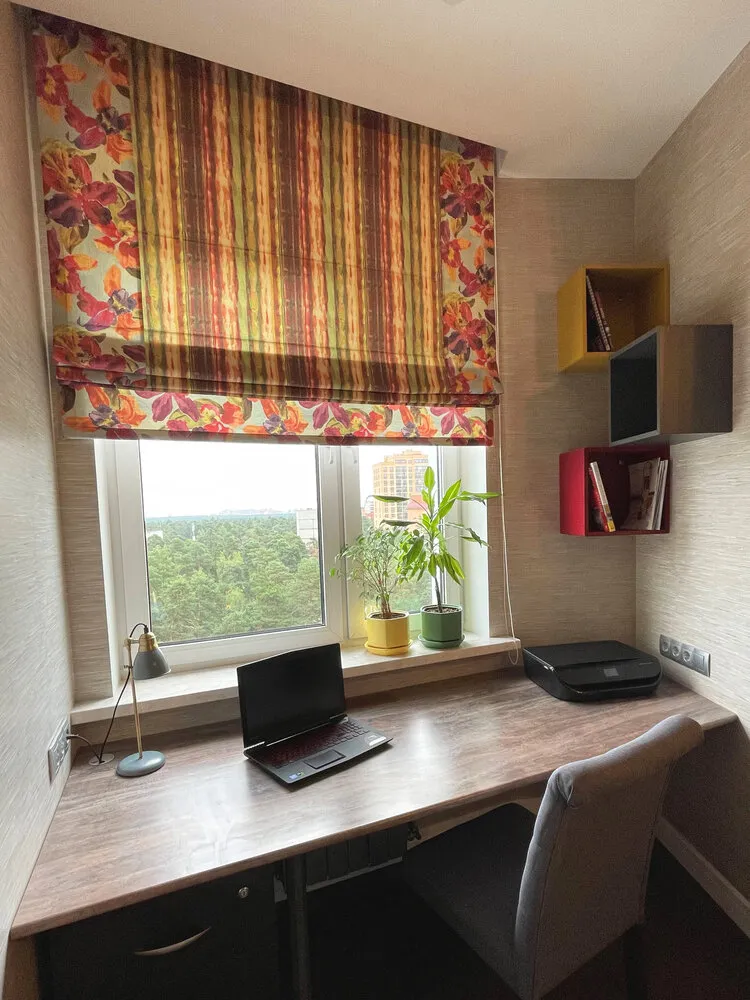
I focused on bamboo floor in the bedrooms. After researching this material, I would also use it in the kitchen. The main feature of the bedroom is a bed with an attractive soft headboard, while accent side tables in bright yellow are placed on both sides. There is also space for a rocking chair. Additionally, we managed to place a desk by the window, making the space more functional.
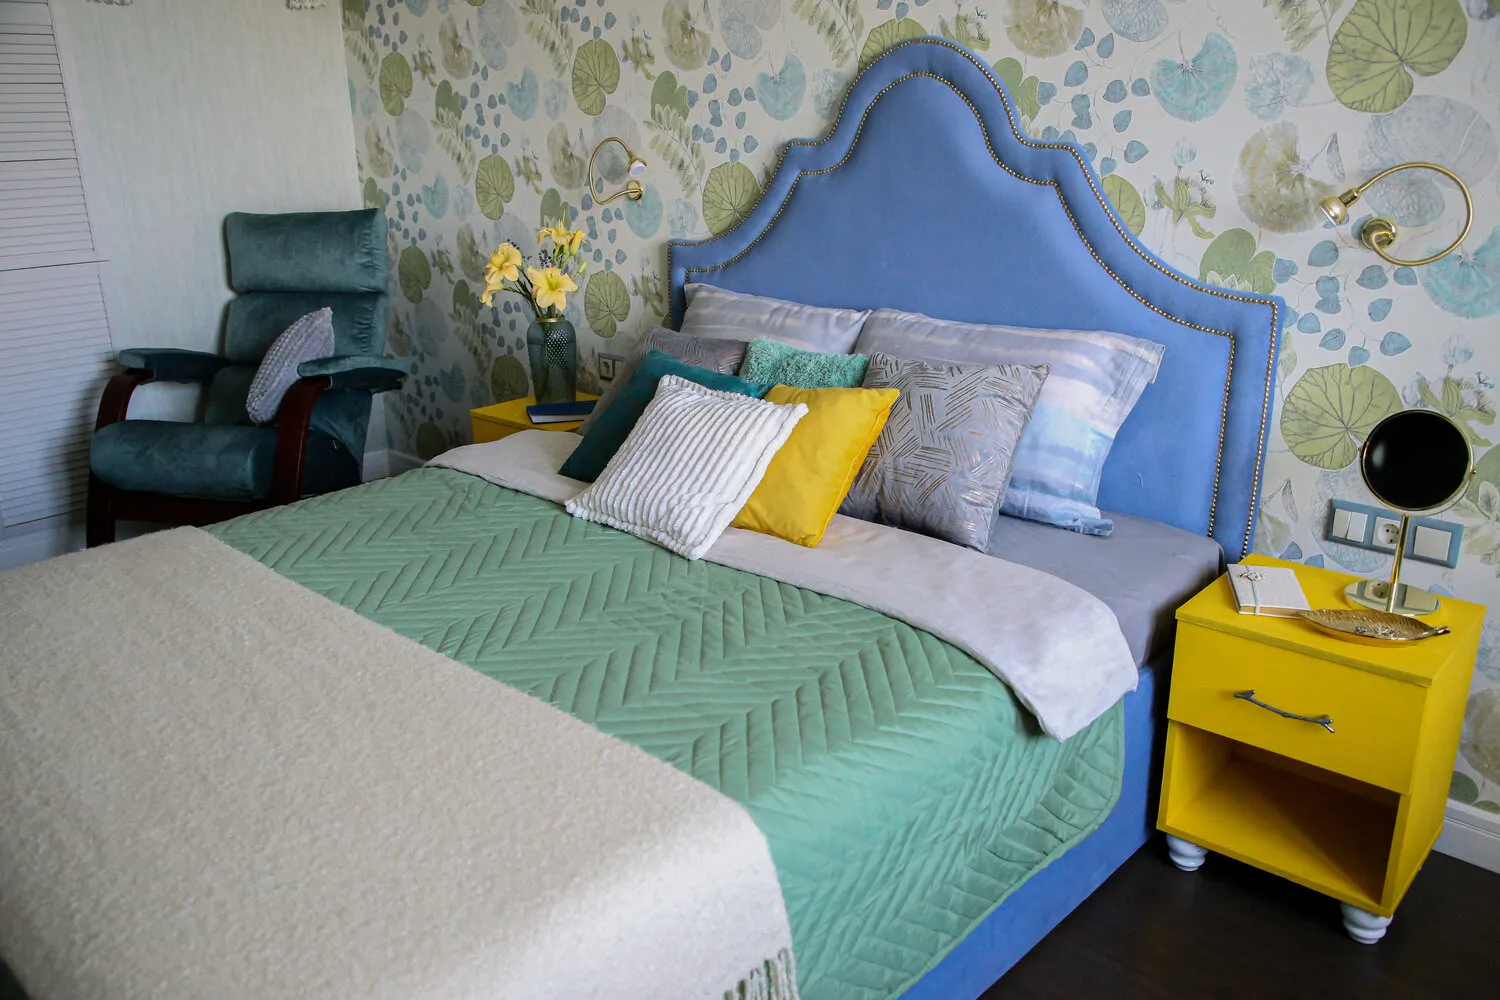
The initial layout was designed to leave as much free space in the rooms while ensuring sufficient storage systems. The bedroom has separate wardrobes for me and my husband, plus an additional wardrobe for small items. The wardrobes in the bedroom and office were built by contractors, saving 2.5 times more budget compared to custom furniture. All storage systems are designed from floor to ceiling.

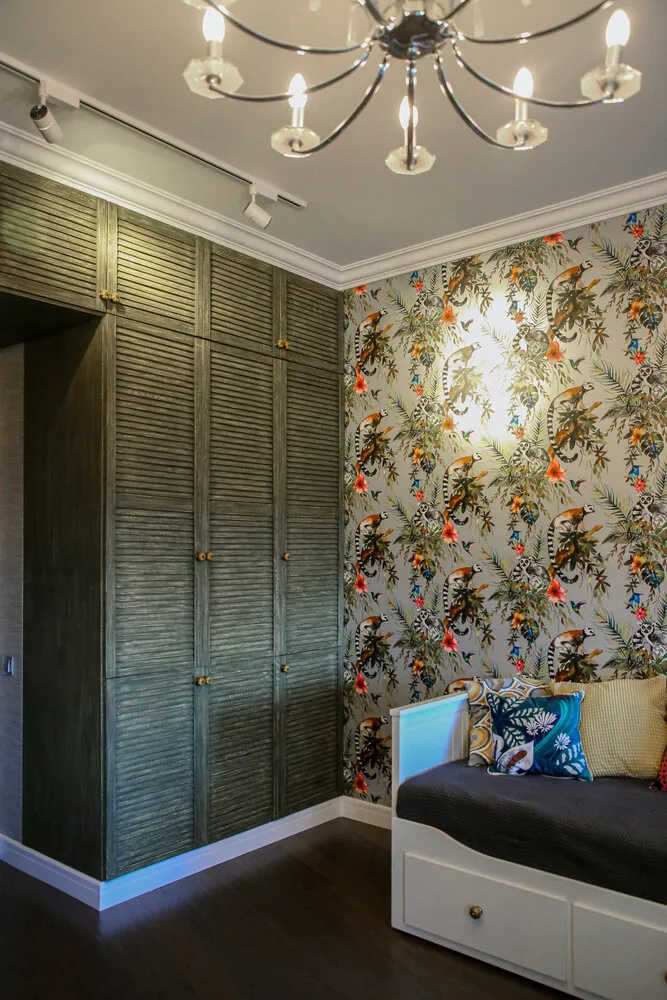
 Note the video:On the Child's Room
This room was filled with complete creative freedom. For several years, we used it as a home office. We wanted to add playful elements in the child's room while preserving the overall concept. We chose playful wallpapers with lemurs, and as a result, the room gained tropical style elements. A mirror handmade by me is located among the lemurs on the wall.
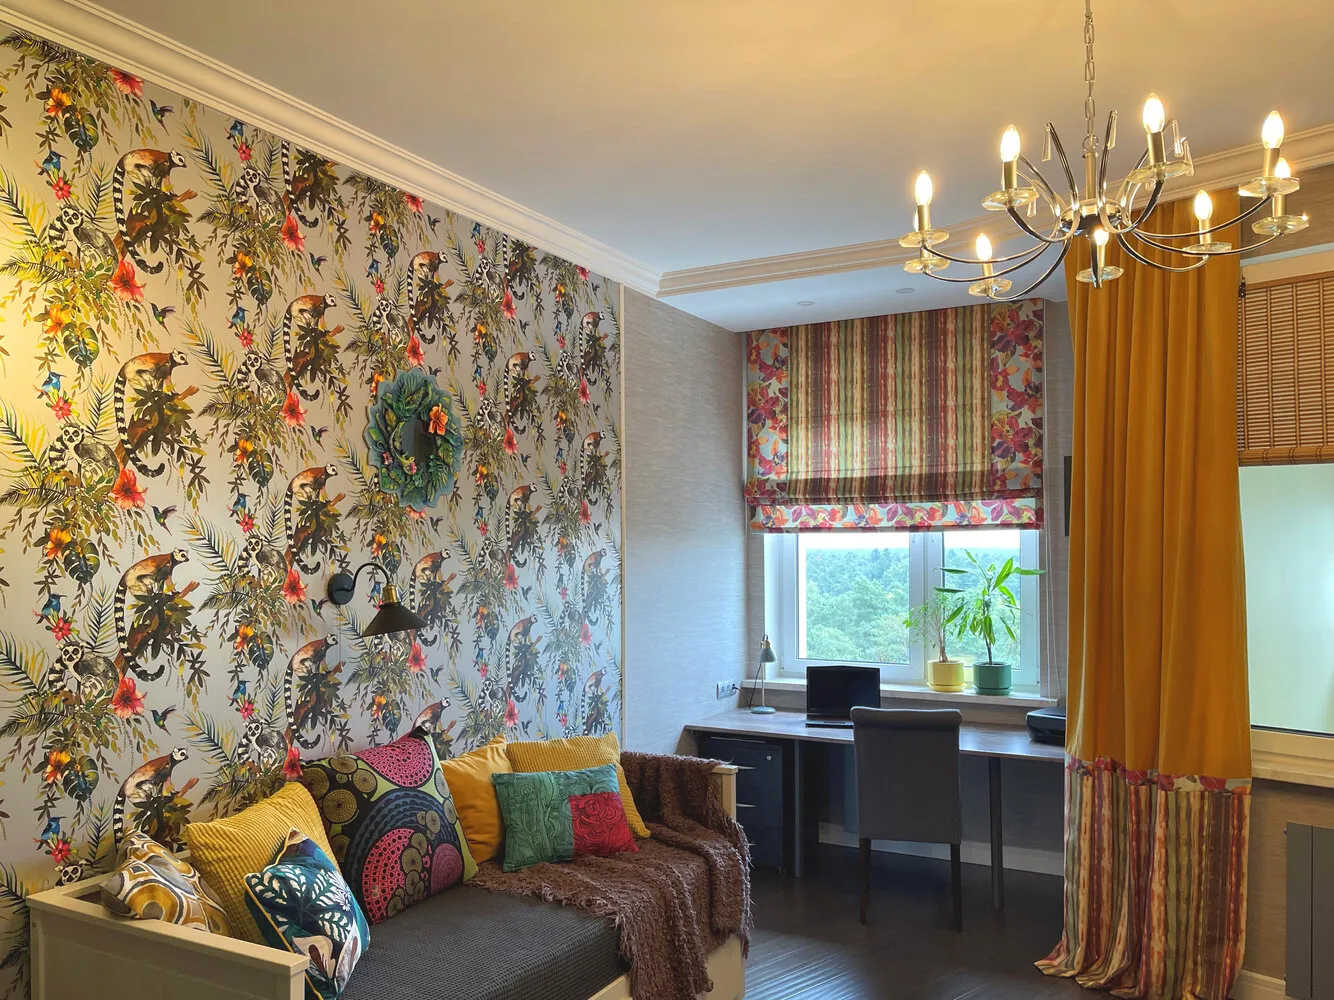
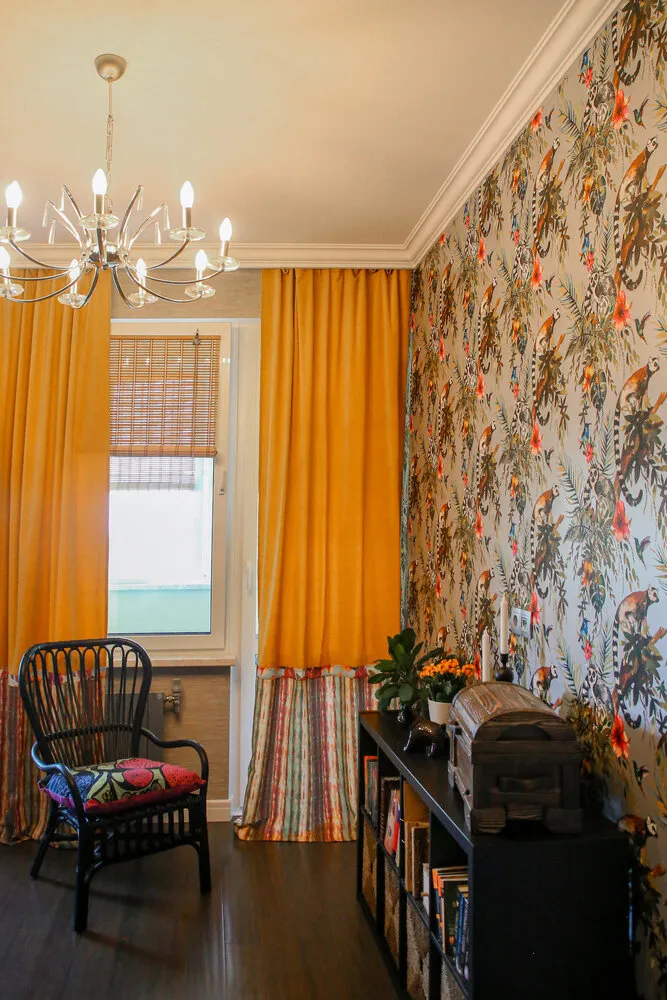
Special attention should be paid to the wardrobe around the door: its base was painted yellow, then a deep marsh color was applied and it was finished to highlight the yellow texture.
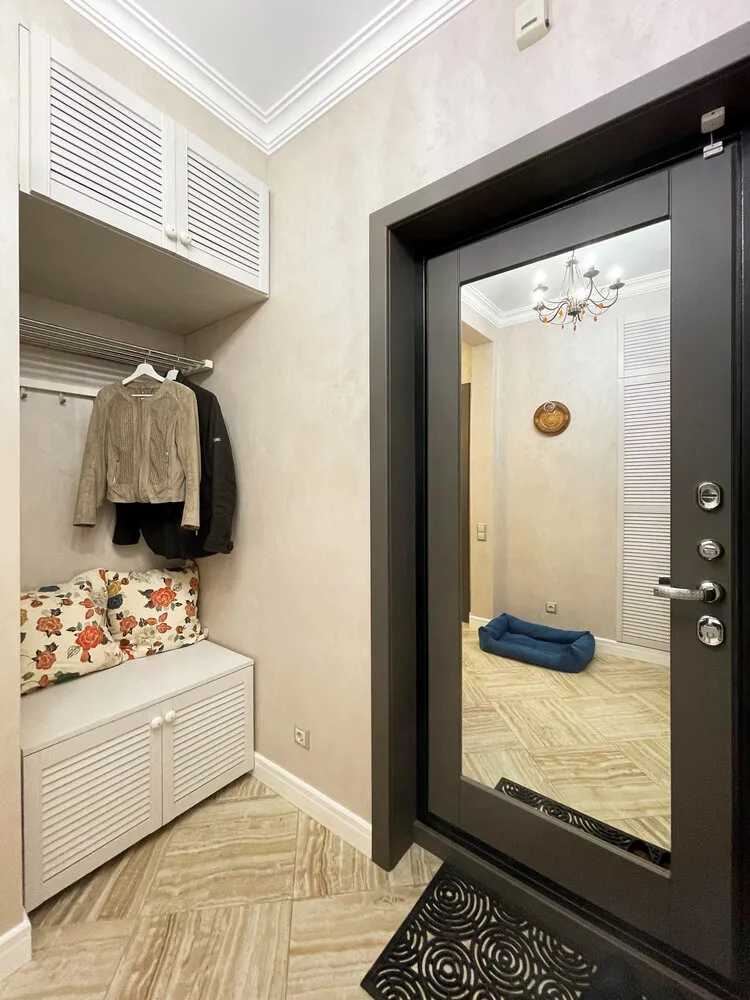
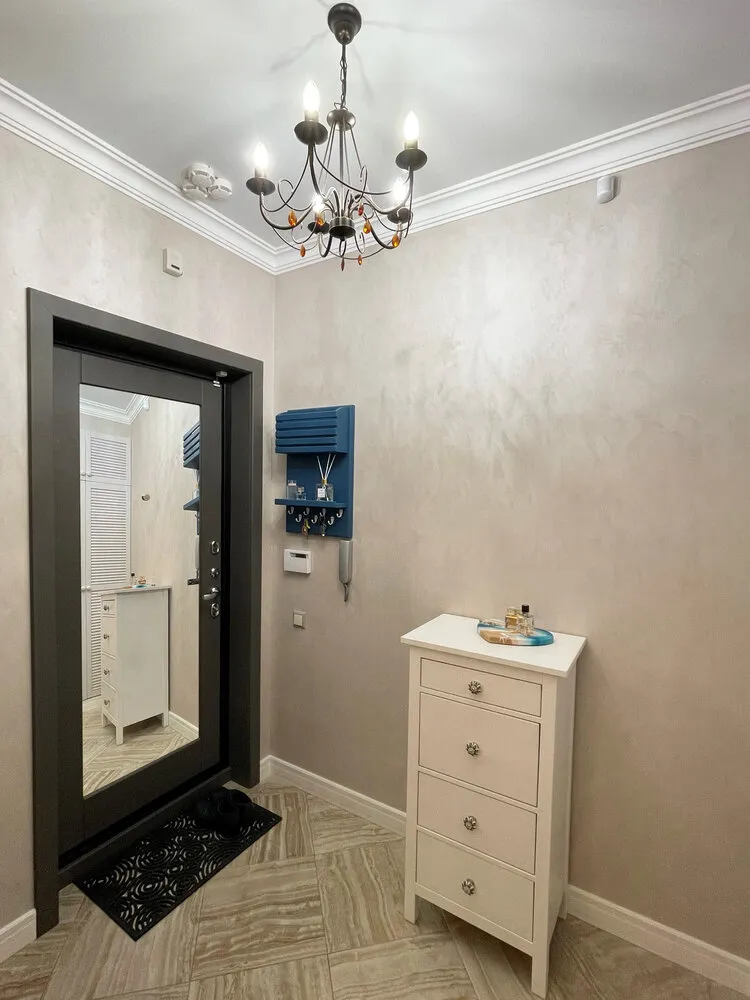
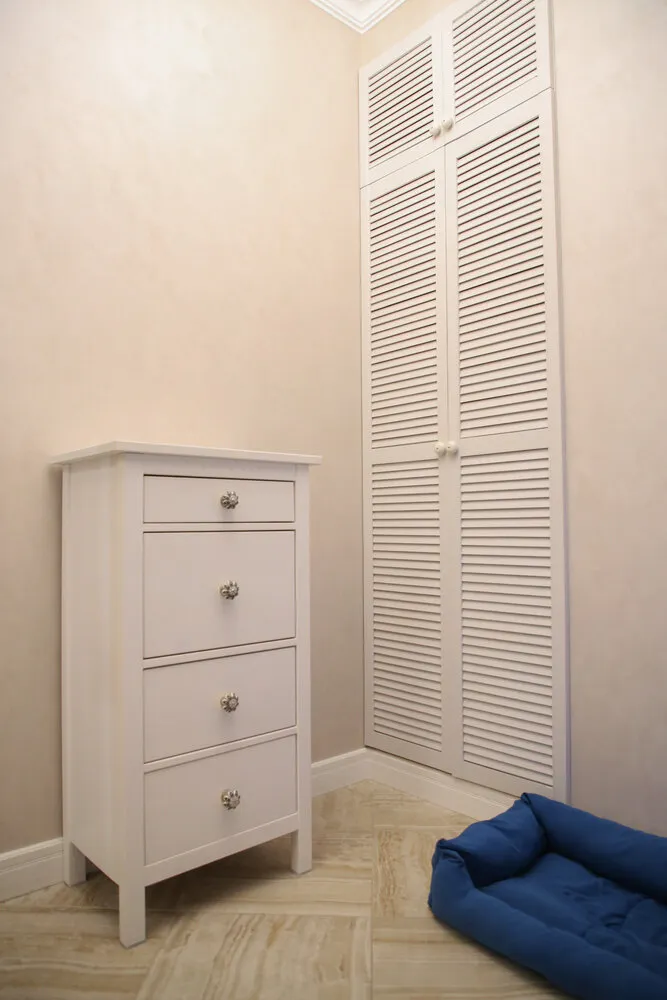
 On the Entrance Hall
For finishing the walls in the entrance hall, as well as in bathrooms, decorative plaster was used. This material is practical and easy to clean. Doors in the wardrobes in the entrance hall were also made in the form of blinds, as in other rooms. A mirror was placed on the entrance door, visually expanding the space and adding depth.
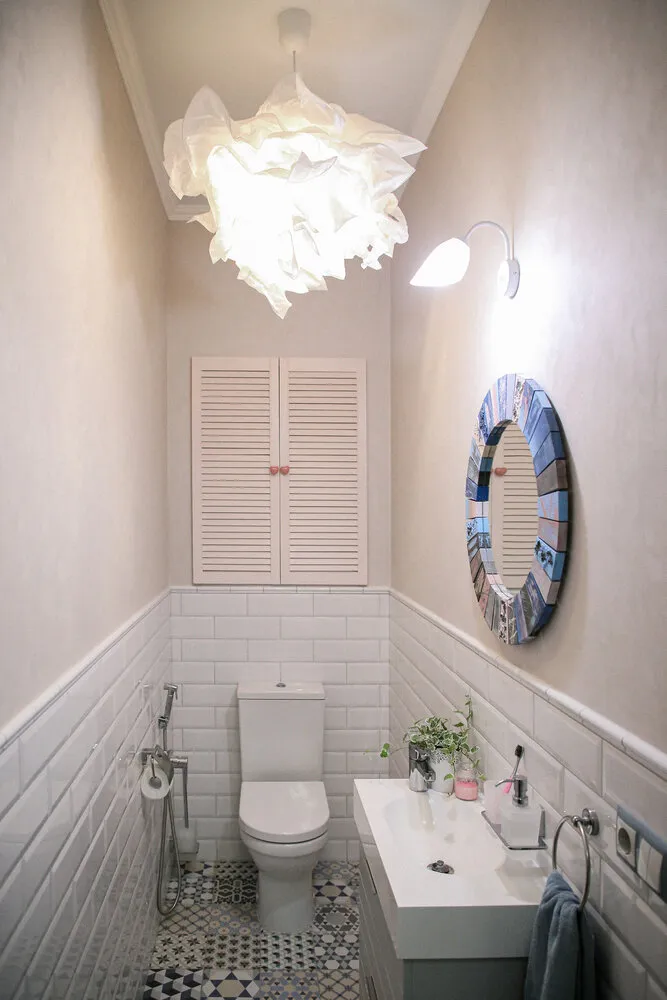
 On the Bathrooms
The bathroom layout is quite standard, except for one important change. Moving the entrance to the apartment allowed us to place a large sink with a cabinet, washing machine and storage cabinet, significantly increasing the functionality of the space.
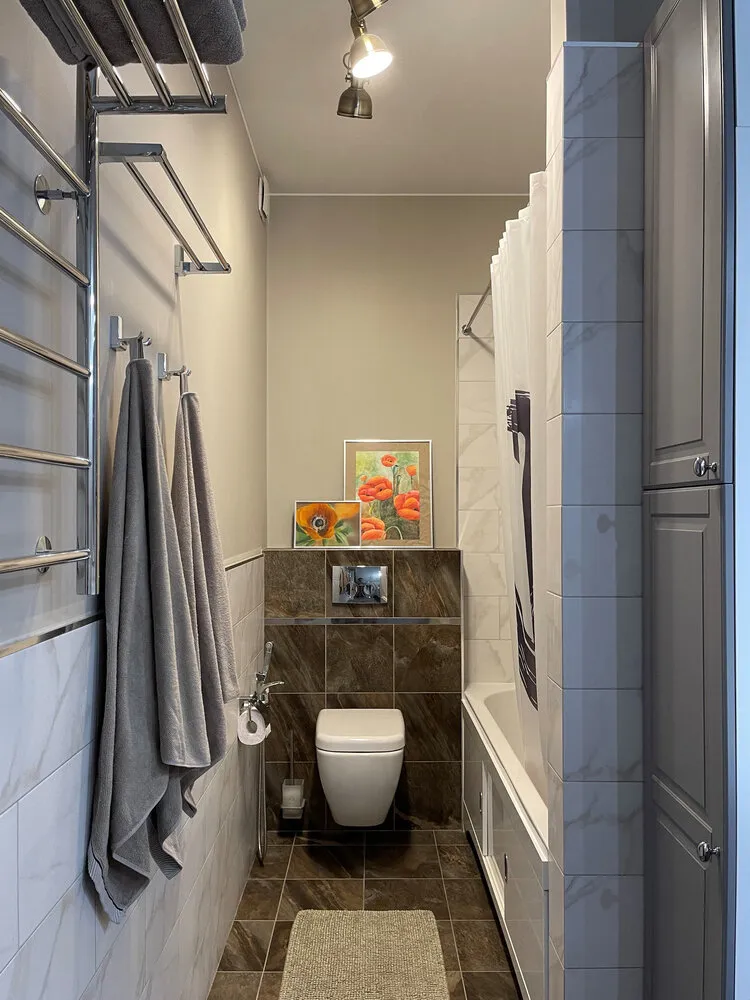
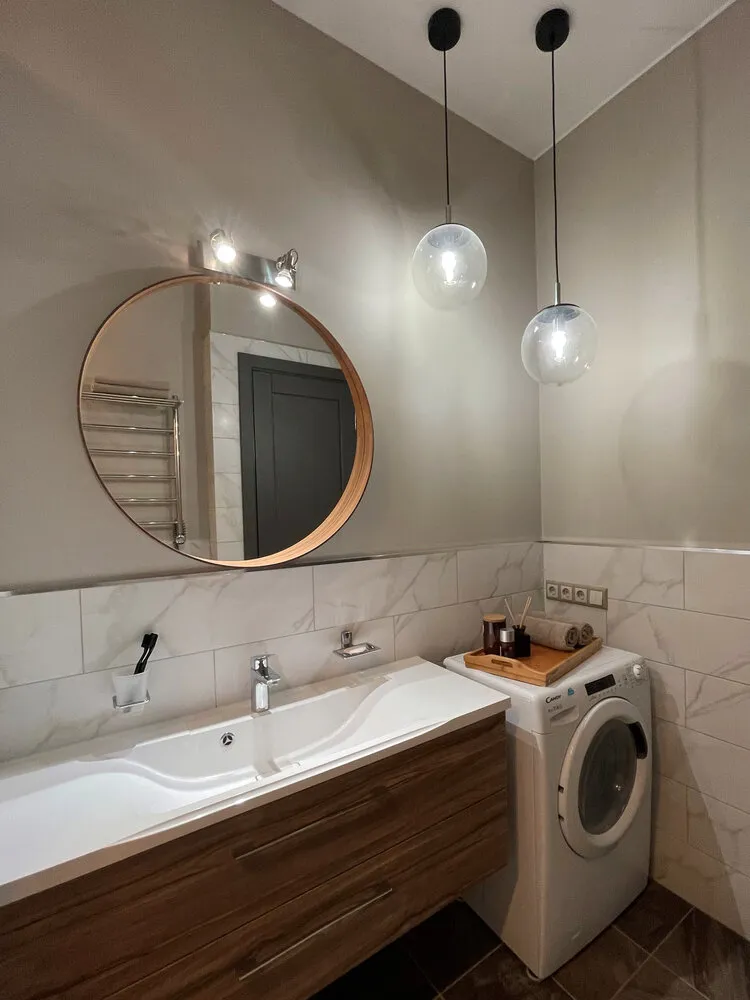
In the bathroom, tiles of a popular format at the time were laid – patchwork. However, this is not a large tile format with drawn fragments; each tile differs in color and was carefully selected according to the width of the bathroom. The mirror above the sink I also made myself.
There is an interesting story related to designing this bathroom. Initially, it was planned to paint the walls in a dusty blue shade. The sample at the salon looked so suitable that we immediately bought the full volume. However, after painting, the wall turned out to be an awful violet shade. As a result, it was decided to replace the paint with decorative plaster that matched the corridor's color. This solution created a unified interior concept. The moral is simple: always take a small volume and do test patches.
 Want your project to be published on our site? Send us photos of the interior at wow@inmyroom.ru
Need a renovation specialist?
Find verified professionals for any repair or construction job. Post your request and get offers from local experts.
You may also like

Before and After: Stylish and Budget-Friendly Bathroom Renovation in a Khrushchyovka

Autumn Detox: What Works and What's Just Marketing Hype
Repairing a Stalin-era Apartment for Half a Million Rubles: How to Preserve the Era's Spirit and Add Comfort

Secrets of Elegance: Coco Chanel's Lifestyle and Style Rules
More articles:
- Before and After: Stylish and Budget-Friendly Bathroom Renovation in a Khrushchyovka
- Autumn Detox: What Works and What's Just Marketing Hype
- Repairing a Stalin-era Apartment for Half a Million Rubles: How to Preserve the Era's Spirit and Add Comfort
- Secrets of Elegance: Coco Chanel's Lifestyle and Style Rules
 Ships and Towers: Most Unusual Houses of the 70s-80s
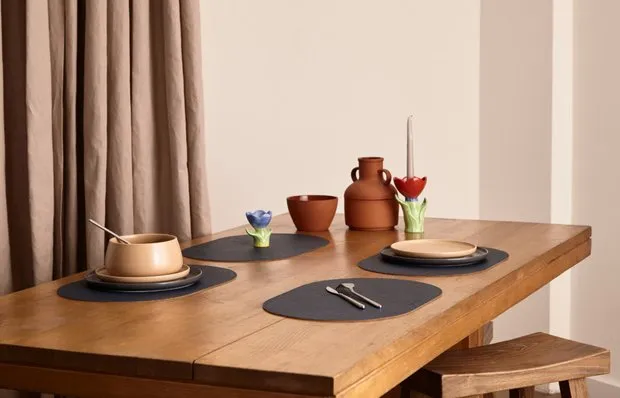 10 Trendy Finds That Will Inspire Coziness and Order
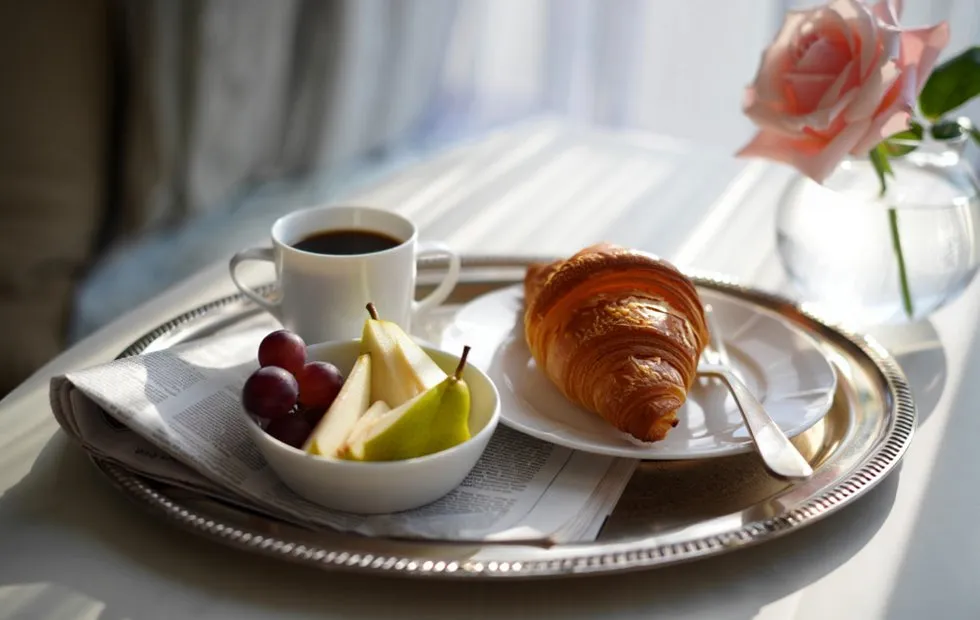 Chanel's Morning Ritual: Breakfast That Kept a Fashion Icon in Shape
 Myth or Fact: Better Soundproofing in Stalin-era Apartments