Carriage Binding DIY. Masterclass
As a technology, carriage binding was first applied in the 18th century, reaching its peak popularity by the middle of the 19th century. Interestingly, this technique was borrowed from saddle makers.
In Russia and neighboring countries, the carriage binding technique was more commonly known as 'carriage binding'. In earlier times, the interior of carriages was decorated with this binding, and today it is used to cover wall panels, decorate bed headboards, and even print wallpapers with luxurious carriage binding patterns.
Carriage Binding DIY: Step-by-Step Instructions (Photos)
Creating a decorative panel in the carriage binding technique is impossible without:
- a sheet of MDF;
- foam padding 5 cm thick;
- synthetic felt;
- a drill with a 'digitabor' bit;
- fabrics with interesting textures;
- buttons;
- decorative cords;
- a pneumatic stapler with staples.
Instructions: How to Make a Decorative Panel in the 'Carriage Binding' Technique on a Wall DIY
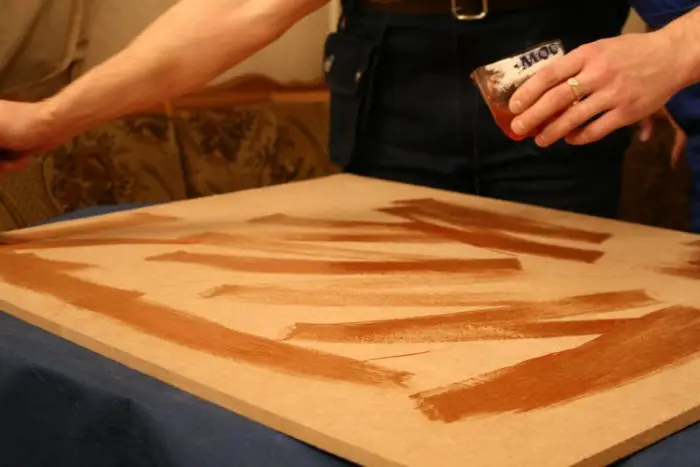
Photo 1 — Glue foam to the MDF sheet
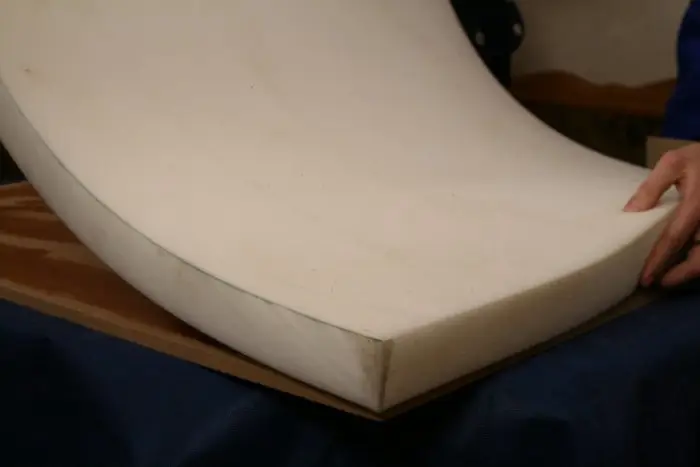
Photo 2 — Adjust foam to the size of the MDF sheet
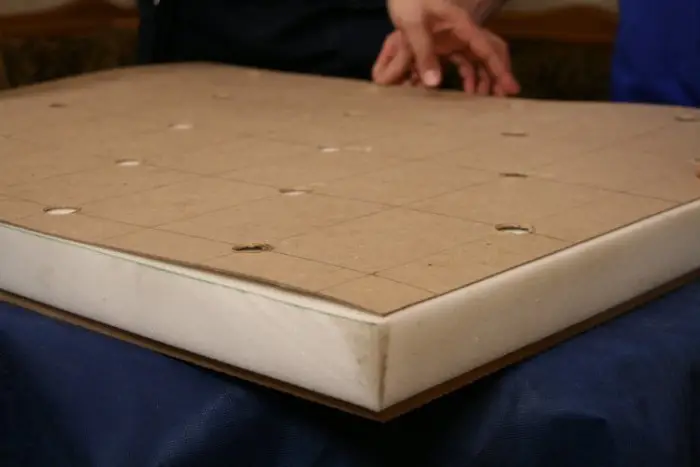
Photo 3 — Place a pattern on top of the foam — a dense paper board with markings for future button attachment points
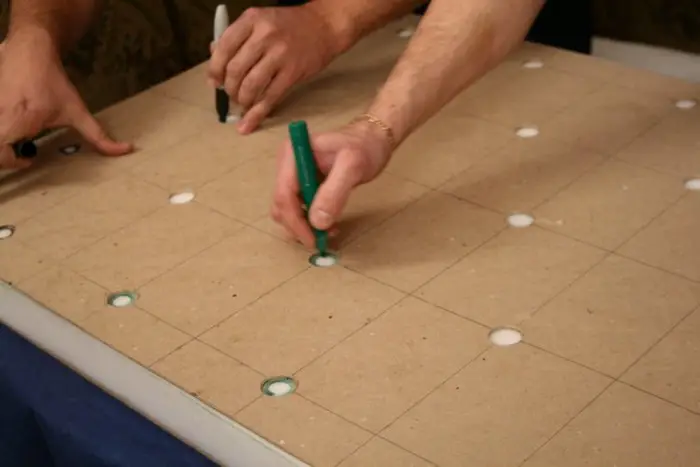
Photo 4 — Trace the button attachment points with a marker
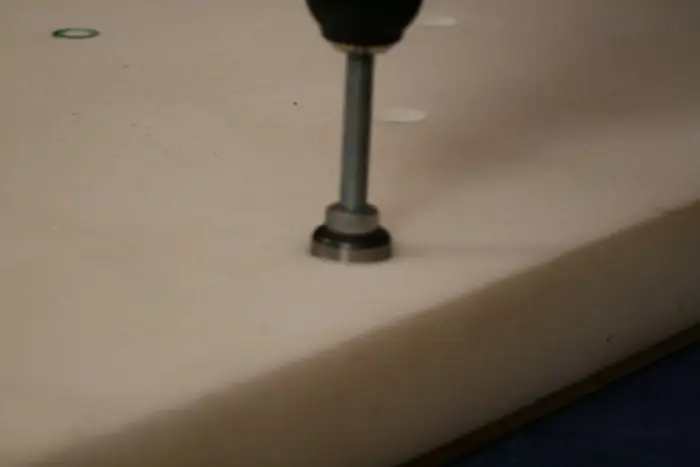
Photo 5 — Cut shallow holes with the 'digitabor' bit at marked attachment points
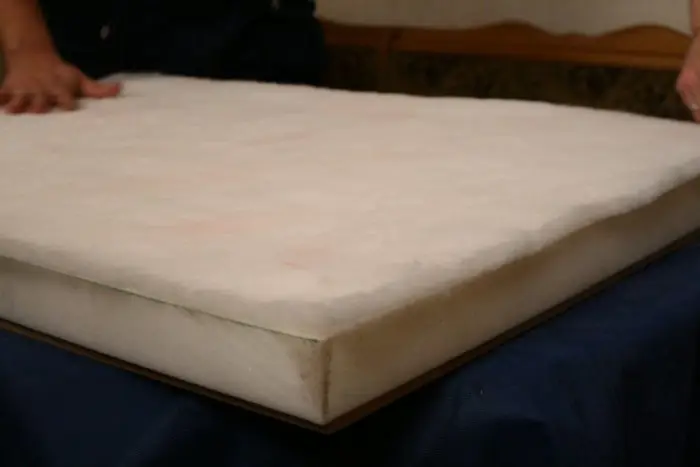
Photo 6 — Apply rubber glue to the foam and attach synthetic felt
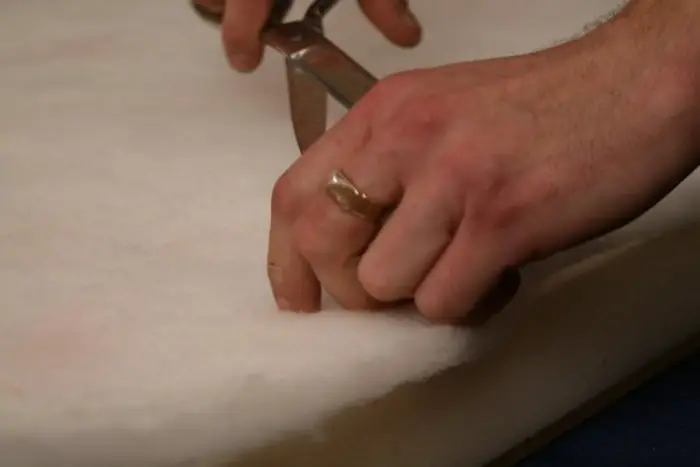
Photo 7 — Cut holes in the synthetic felt at the locations where buttons will be attached
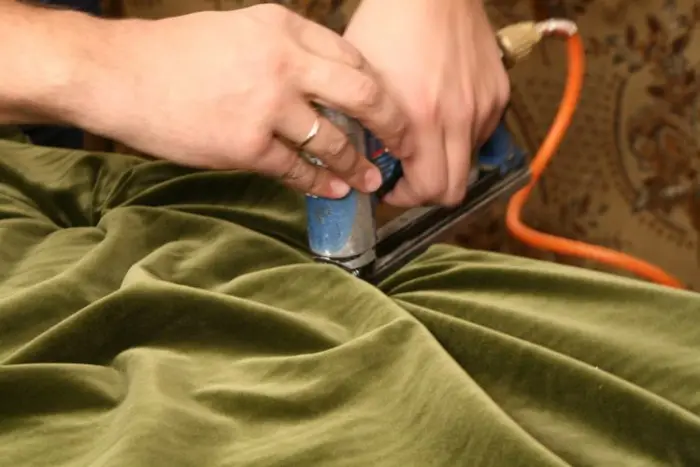
Photo 8 — Cover the panel with fabric and drill through all layers
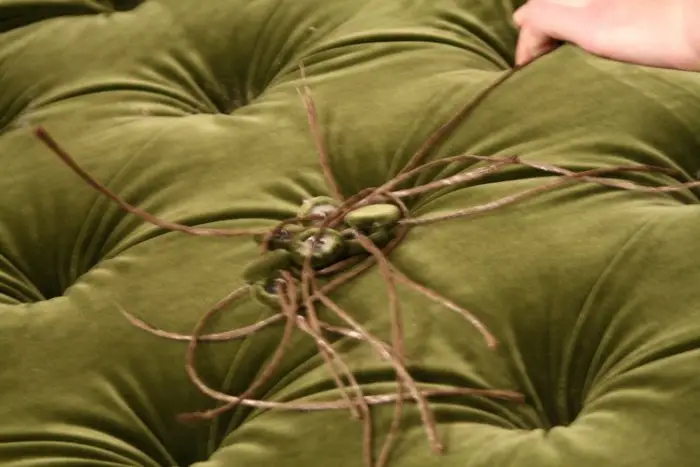
Photo 9 — Sew on the buttons and attach decorative cords to them
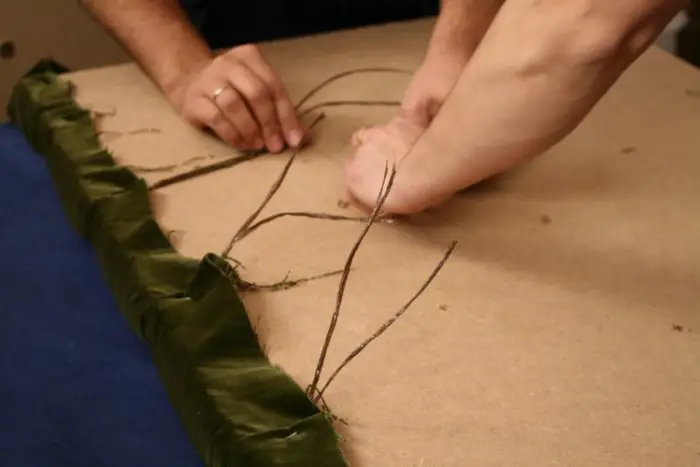
Photo 10 — Thread the cords through the back of the panel with a hook
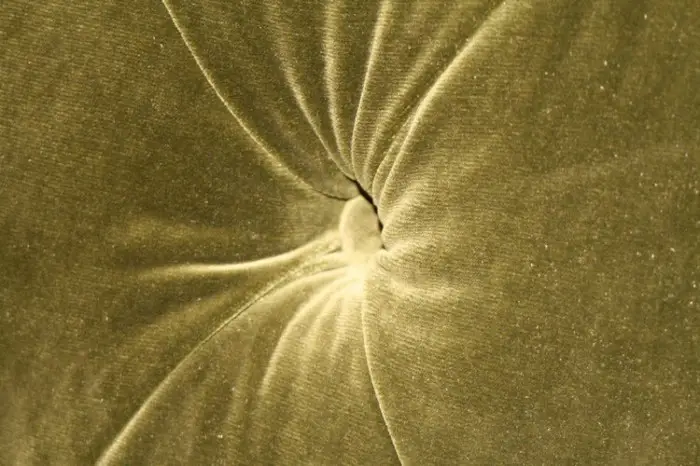
Photo 11 — Tighten the cords so that buttons fit snugly into their sockets
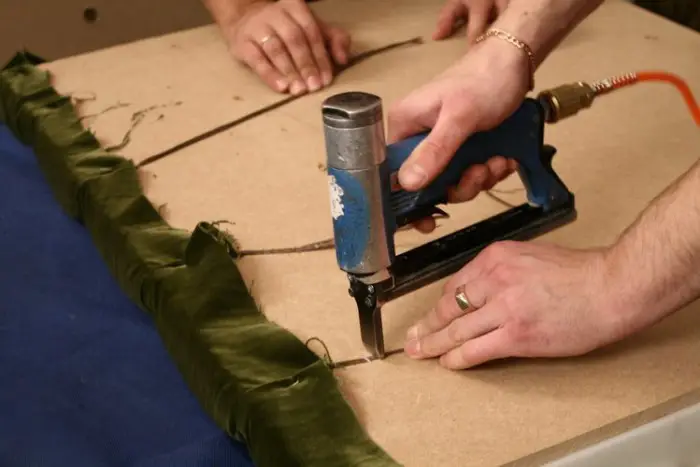
Photo 12 — Secure the cords with a pneumatic stapler
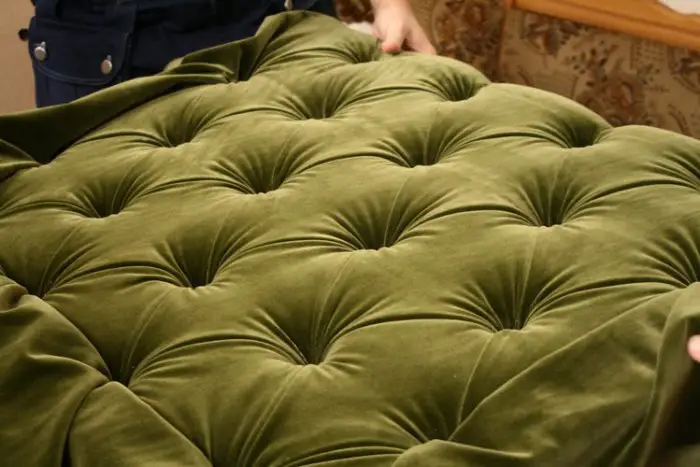
Photo 13 — The panel in the 'Carriage Binding' Technique is Ready!
Carriage Binding for Walls and More
In the technique described above, you can not only make decorative panels but also actively use it in interior design: reupholster a sofa or bed in the same style (in terms of furniture, there are no limits to using carriage binding techniques!), decorate a kitchen bench backrest or drape an entire wall in this way (as shown in the photo below).
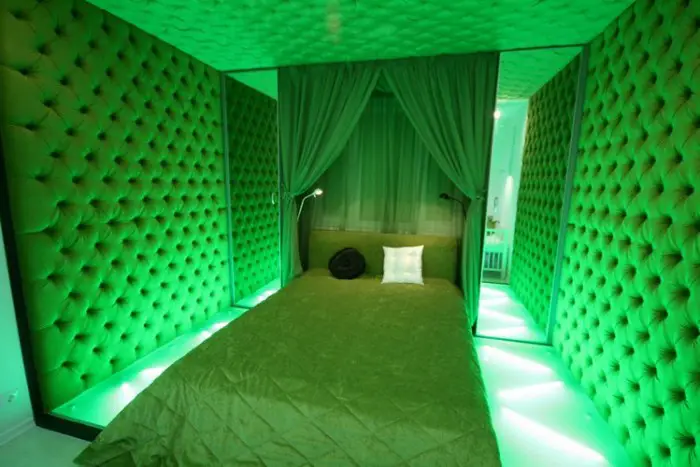
Photo 14 — Carriage Binding Technique in Bedroom Interior
Carriage Binding: VIDEO
$ Carriage Binding: Price
It should be noted that carriage binding is not a cheap pleasure, not only because of the tediousness and volume of manual labor performed by the craftsman but also due to the cost of materials: this technique does not tolerate cheap fabrics—only refined texture and noble color of the fabric will look royal!
The price can vary depending on the customer's preferences: more expensive—carriage binding with crystals, less expensive—carriage binding with simple reupholstery.
Prices for manufacturing items in the 'carriage binding' technique:
- In Moscow—980-1,150 rubles/m²;
- In Kiev—170-250 UAH/m².