Semi-Dry Floor Screed: Technology
The issue of floor screed installation becomes more acute if a large thickness screed is required on the site, and the allowed 50 mm wet method cannot bring the floor to the desired level, or when reinforcement of weakened floor slabs is needed, or when it's necessary to restore the floor surface practically from scratch after repair work involving replacement of various utilities. Wet screed is not a viable option in such cases. Ultimately, the client must receive a perfectly flat and sufficiently strong surface made from high-quality materials, and at the same time not overpay for materials, i.e., complete floor renovation at minimal budget.
The issue of floor screed installation becomes more acute if a large thickness screed is required on the site, and the allowed 50 mm wet method cannot bring the floor to the desired level, or when reinforcement of weakened floor slabs is needed, or when it's necessary to restore the floor surface practically from scratch after repair work involving replacement of various utilities. Wet screed is not a viable option in such cases. Ultimately, the client must receive a perfectly flat and sufficiently strong surface made from high-quality materials, and at the same time not overpay for materials, i.e., complete floor renovation at minimal budget.
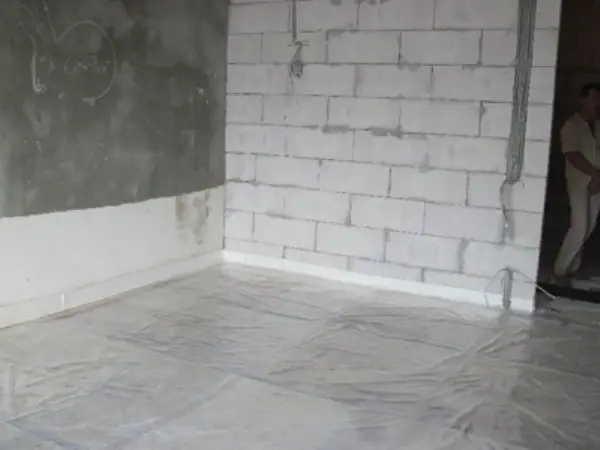
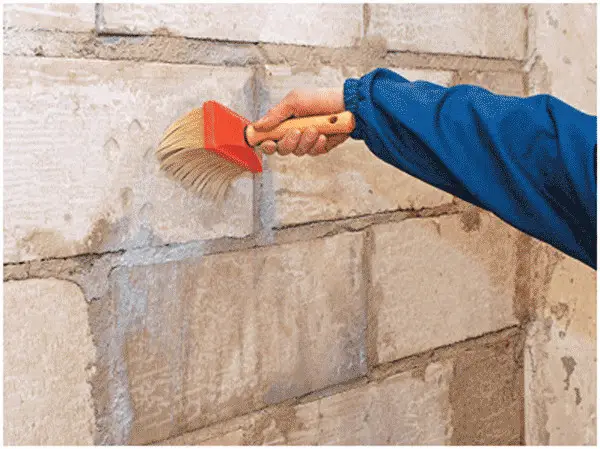
Photo 1 — Surface Preparation
Semi-Dry Floor Screed: Advantages
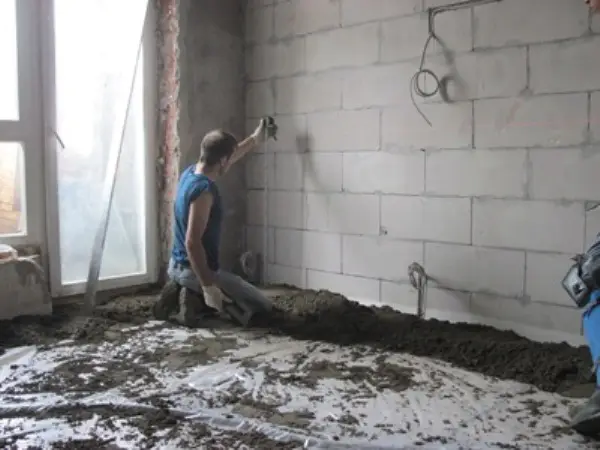
Photo 2 — Control Measurements
Disadvantages of Semi-Dry Screed
Of course, every floor screed technology has its drawbacks. However, only an unskilled master can ruin the semi-dry screed: a person unfamiliar with the technology is unlikely to execute the screed with defects. Today, the semi-dry floor screed has only positive reviews from clients.
For detailed familiarization with the technological specifics, there is a technical specification for laying semi-dry floor screed (ask the master when ordering renovation works).
Semi-Dry Floor Screed: Details
- To install a semi-dry floor screed, use a screed grade of 160–220 kg/cm²;
- This is a mechanized screed, so the delivery of the ready mixture can be made up to 80 meters in height and horizontally up to 150 meters;
- When installing a warm floor system, the heating cable can be laid during screed pouring without additional time or material costs;
- After the work is completed, the floor can withstand light loads (e.g., walking by residents or pets) within 12 hours, and finishing works can begin after 94 hours;
- The technology of semi-dry floor screed can be used for installing a soft roofing base — the weight of the screed allows it;
- Regardless of whether the screed thickness is applied on-site and whether it is reinforced with fiberglass, the semi-dry method remains cost-effective and competitive.
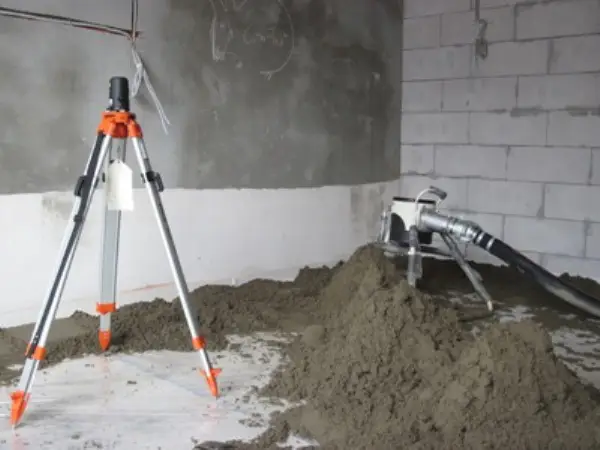
Photo 3 — Mortar Delivery
Semi-Dry Screed with Fiberglass
Components of the floor screed installation process:
To obtain the maximum strength of a cement stone in the cement-sand mixture, the water content should be sufficient only for cement hydration. The water proportion in the screed composition is determined based on the placement location. On average, it's 0.3:1. The mixture is prepared on the construction site.
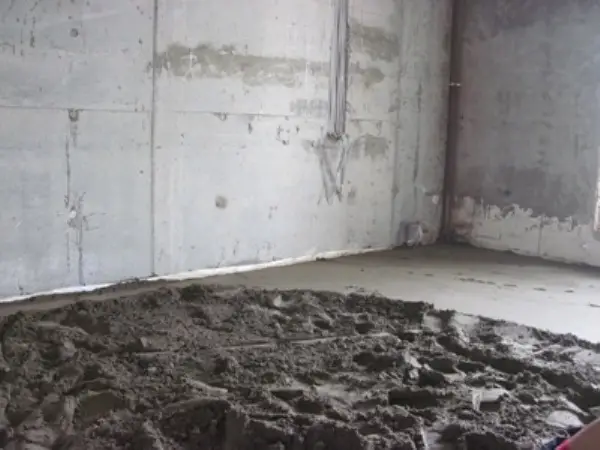
Photo 4 — Screed Laying
Materials and Equipment for Semi-Dry Screed
- standard moisture sand, particle size up to 5 mm, fineness modulus – 2.6–3;
- EURO cement PC500D0;
- fiberglass VSM (construction micro-reinforcing fiber);
- additive-plasticizer "ArmMiks Thermoplastic" (can also use "ArmMiks Superplast").
The mixture is mixed using a special machine — a pneumatic mixer (hand mixing with the same quality result is difficult).
Semi-Dry Floor Screed Technology: How to Make the Mixture?
- Add sand to the operating mixer (volume 120 liters);
- Add between 120 and 150 grams of fiberglass;
- Add 50 kg of cement;
- Pour 15 liters of water mixed with the specified superplasticizer (calculation: 1 liter per 1 m³ of mixture);
- The machine mixes the composition for 3 to 5 minutes.
The mixture is ready for use.
The mixture is delivered to the pouring site via hoses. The maximum allowable distance for delivering the mixture is 70 meters in height and 120 meters horizontally.
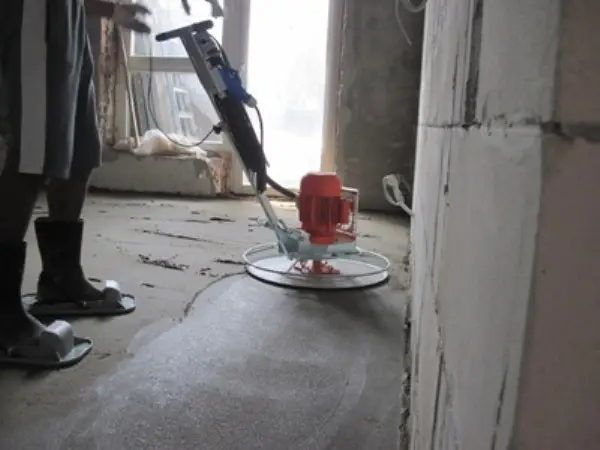
Photo 5 — Screed Finishing with Trowel Machine
Installation of Semi-Dry Floor Screed: Work Description
Masts are installed on the floor surface according to standard procedure. The mixture delivered by compressed air is evenly distributed over the floor surface and troweled using special trowel machines.
Hydro-isolation of floor slabs can be improved by treating the joints with dry mixture "ArmMiks-SHB Gidroshchukaturka" before starting work with the mixture. Sound-insulating tape is laid along the walls.
The finished screed, laid according to masts, is troweled using a special smoothing machine.
To remove moisture from the finished screed surface, a special primer "ArmMiks Hydrophobic" is applied.
The screed is ready!
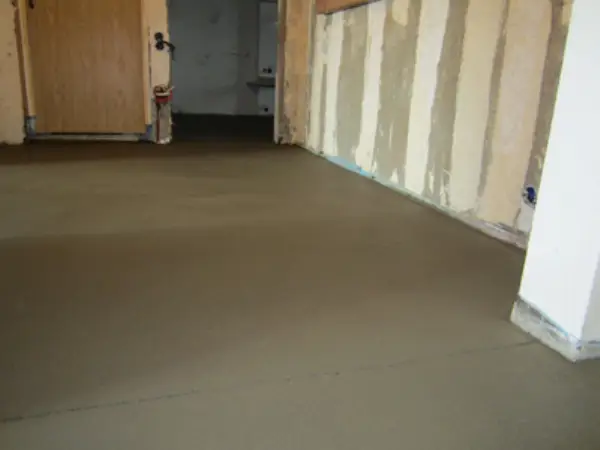
Photo 6 — Result
To cure the so-called cement stone, it is necessary to cover the screed with polyethylene film for several days and ensure regular ventilation in the room.
The floor surface is ready for light pedestrian load after 12 hours and for finishing work after 94 hours. For laying laminate or linoleum, wait 2 weeks; for parquet installation, wait 20 days. This floor can also be painted: after 14 days, you can apply special paint for concrete floors.
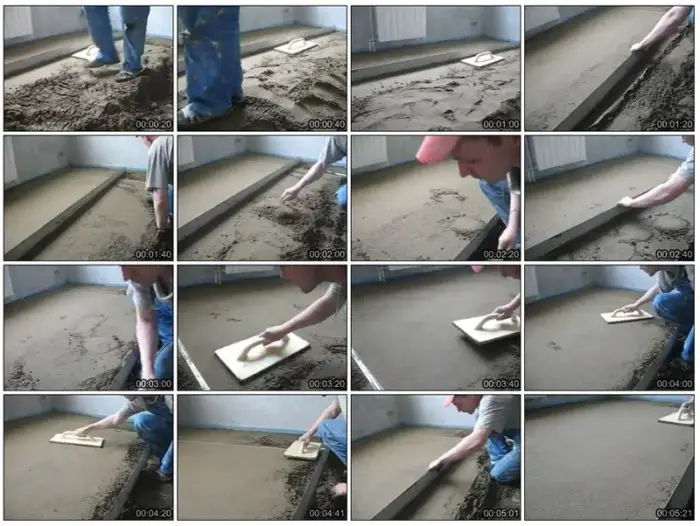
Photo 7 — Step-by-Step Installation of Semi-Dry Floor Screed
Semi-Dry Floor Screed: VIDEO
$ Material Cost
- plasticizer ArmMiks Superplast – $25/10 liters;
- fiberglass – from $4.1/kg;
- "ArmMiks Cleaner" composition for improved adhesion – $20.3/10 liters;
- "Thermosound Isol" material – $6.4/m²;
- EURO cement PC500D0 – from $4.3/30 kg;
- sand – from $0.9/50 kg.
Using a calculator, the total cost of materials comes to approximately $120.
$ Semi-Dry Floor Screed: Master Labor Cost
- In Moscow – from $210/m²;
- In Kiev – from 45 UAH/m².