How to Transform an IKEA Shelf into a Kitchen Island
Unable to find the perfect kitchen island in stores, a British blogger decided to make it herself from an IKEA shelf "KALLAX". It turned out so simple that you can easily replicate it
British lifestyle blogger Jean Lu Meredith loves customizing IKEA furniture. One of her most successful finds was a kitchen island made from the KALLAX shelf. For this transformation, she involved her husband. Their goals were ambitious but interesting: Make the island as compact and functional as possible, expand the workspace without cluttering the kitchen area. Give it mobility so that it can be moved during cleaning or when guests arrive. Find the optimal height to make cooking and relaxing at the island comfortable during parties. Stay within a budget of up to £100. 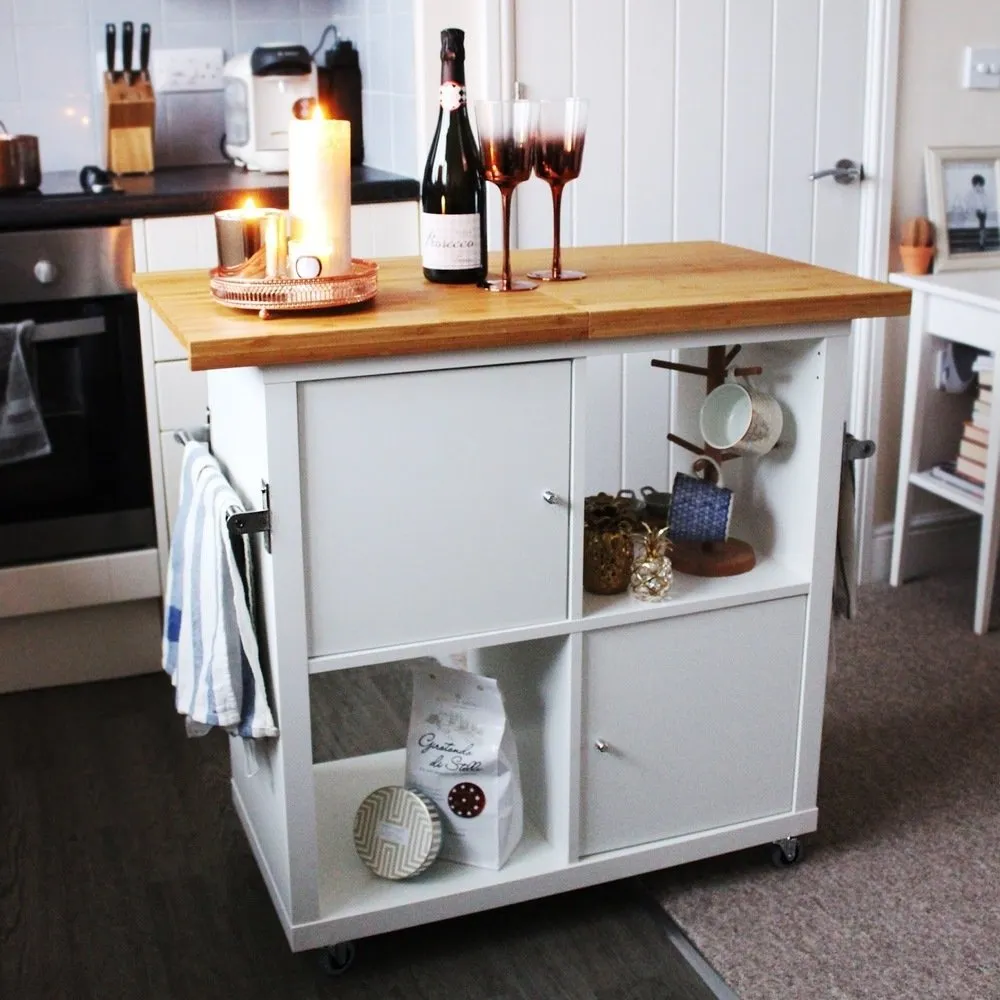 Step 1: Choose the base and make a shopping list For the base, Jean Lu Meredith chose a simple square KALLAX shelf. Other components were selected to match it:
 Step 3: Attach the rails On both sides of the unit, attach the KUNGSFORS rails. You can hang towels and kitchen utensils conveniently on them. Before installation, experiment with the height to find the most comfortable one for yourself.
Step 4: Assemble the countertop Instead of a solid countertop, use two light and sturdy cutting boards "LÄMMLIG". Don't forget to treat the wood with special oil and refresh the layer every few months. If one of the improvised countertop parts breaks down, it's easy to replace with a new one.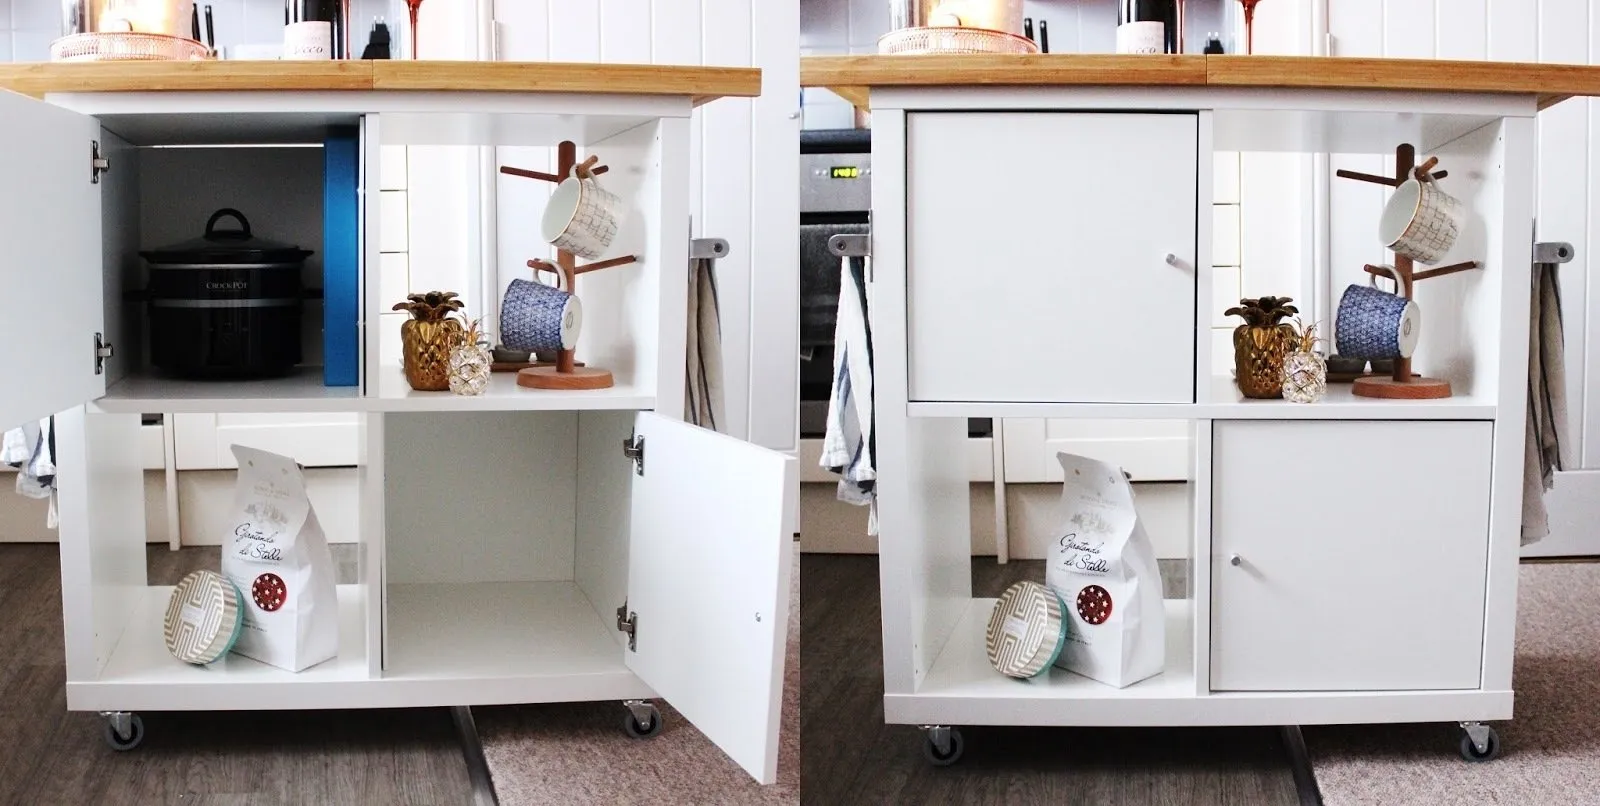 You can install drawers with doors or sliding drawers – the choice is yours.
 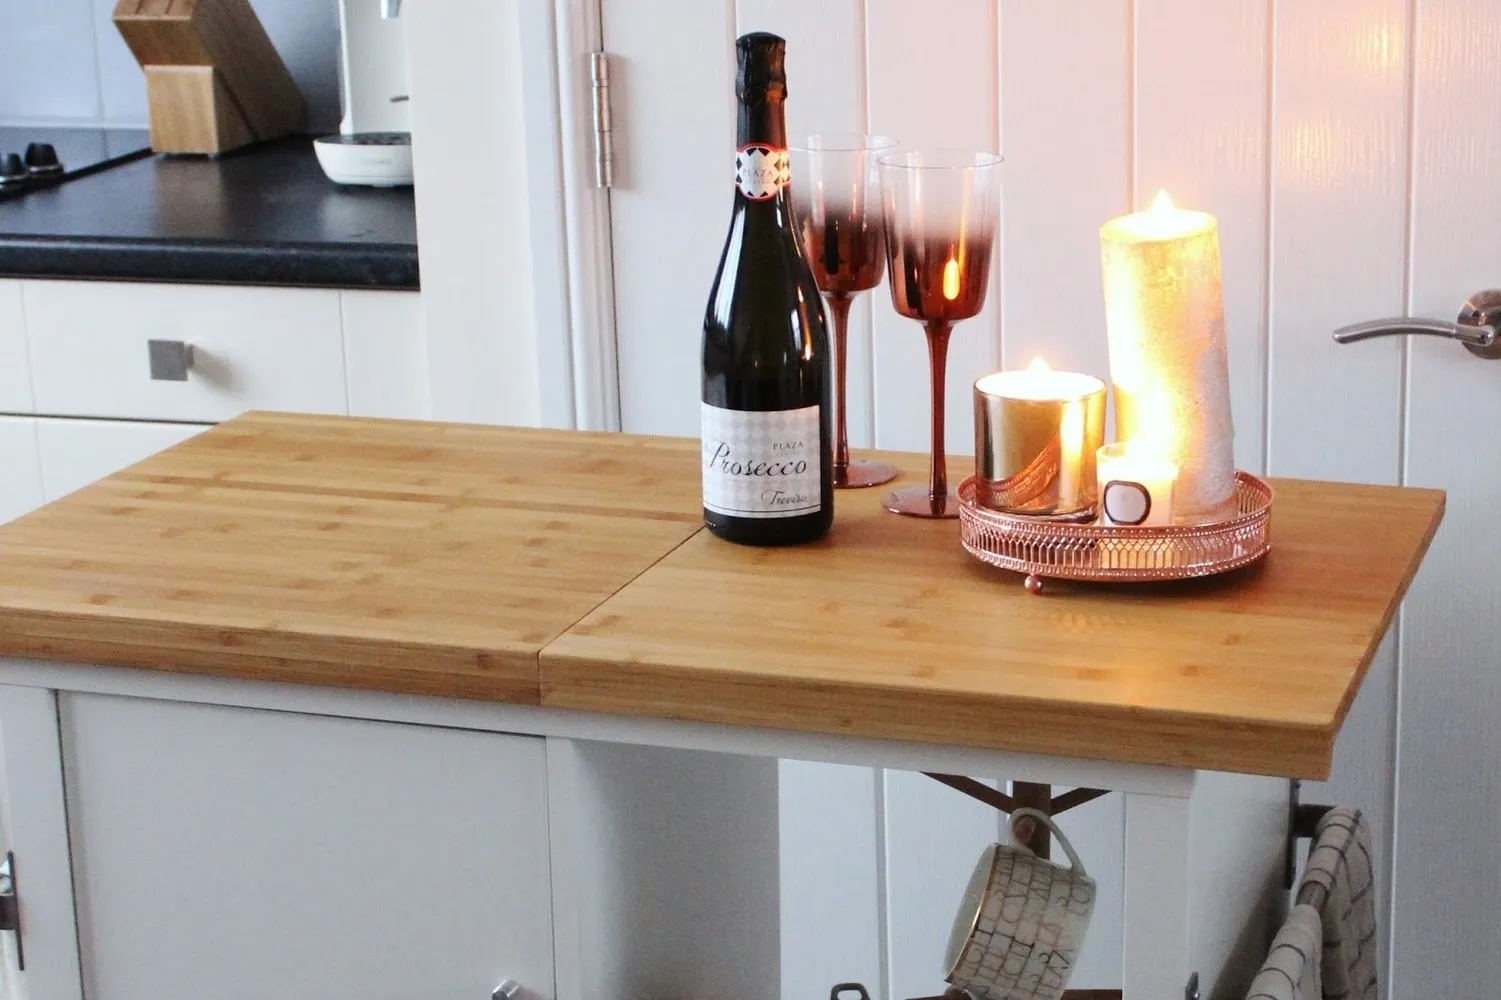 This island can be used not only as an additional work surface but also as a bar counter during parties.
Step 1: Choose the base and make a shopping list For the base, Jean Lu Meredith chose a simple square KALLAX shelf. Other components were selected to match it:- white KALLAX shelf,
- white door insert for KALLAX (x2),
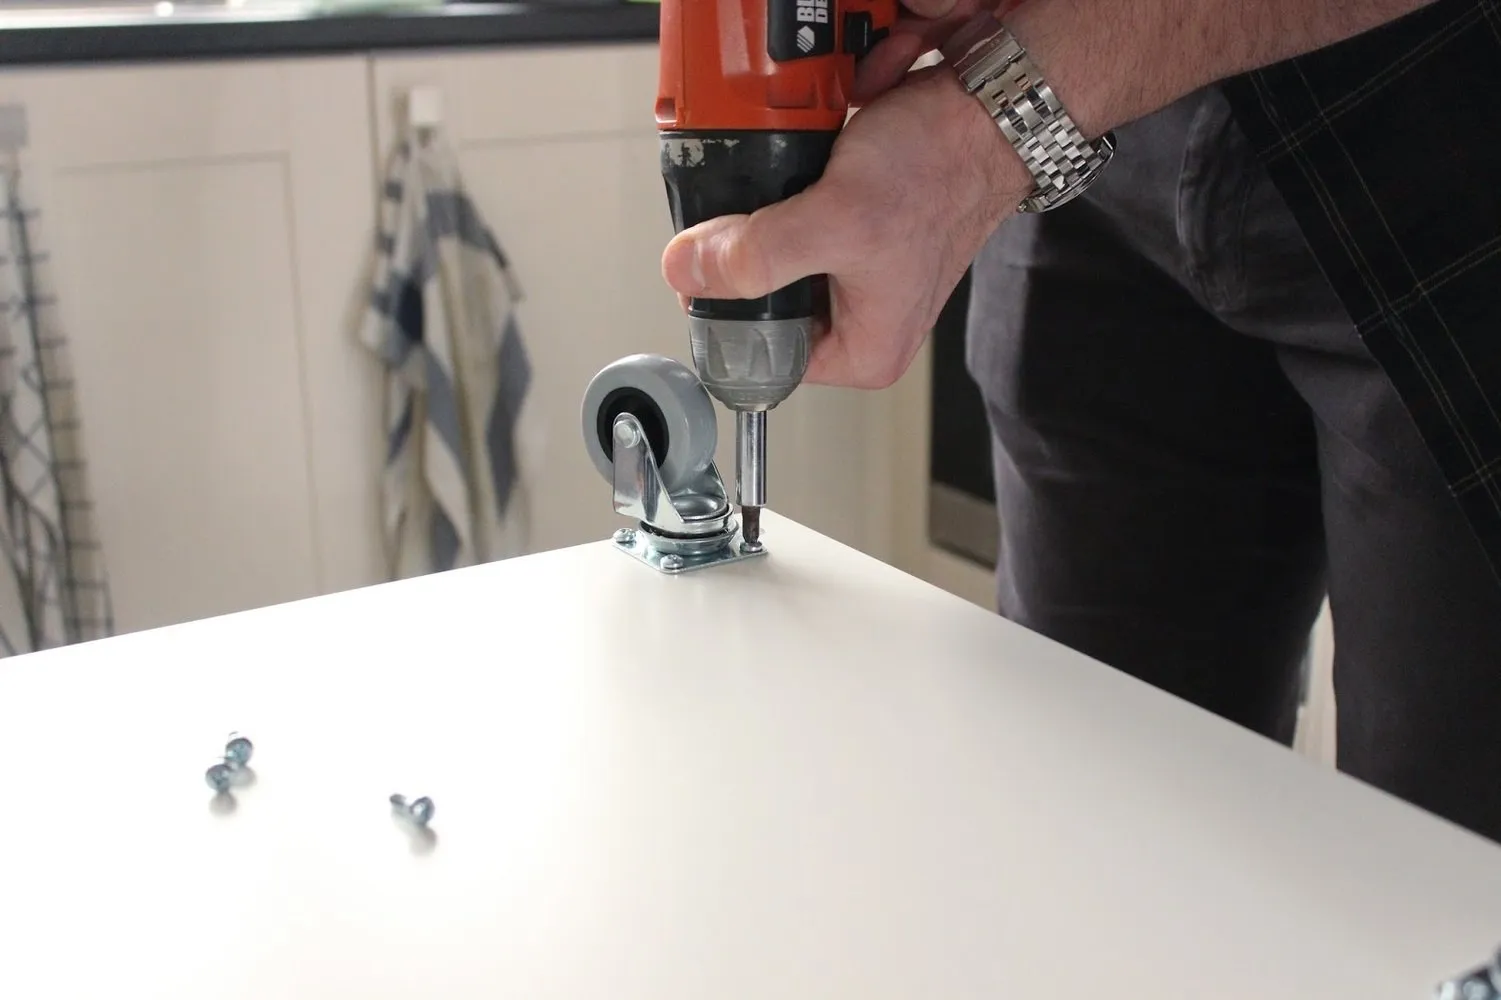
- set of four wheels "RILL",
- 40 cm rail "KUNGSFORS" (x2),
- cutting board "LÄMMLIG" (x2),
- wood treatment oil "SHIGG".
Step 3: Attach the rails On both sides of the unit, attach the KUNGSFORS rails. You can hang towels and kitchen utensils conveniently on them. Before installation, experiment with the height to find the most comfortable one for yourself.Step 4: Assemble the countertop Instead of a solid countertop, use two light and sturdy cutting boards "LÄMMLIG". Don't forget to treat the wood with special oil and refresh the layer every few months. If one of the improvised countertop parts breaks down, it's easy to replace with a new one.
 Step 5: Insert the drawers To add storage space that's often lacking on small kitchens, Jean Lu Meredith inserted drawer units with doors into two of the unit's openings. You can store pots, pans, and household appliances there. As for your favorite dishes, keep them visible by leaving two shelves open.
You can install drawers with doors or sliding drawers – the choice is yours. This island can be used not only as an additional work surface but also as a bar counter during parties.Need a renovation specialist?
Find verified professionals for any repair or construction job. Post your request and get offers from local experts.
You may also like
More articles:
 22 Tips from IKEA for Home Ecology and Budget Saving
 How to Find Space for a Bedroom in a Panel Studio
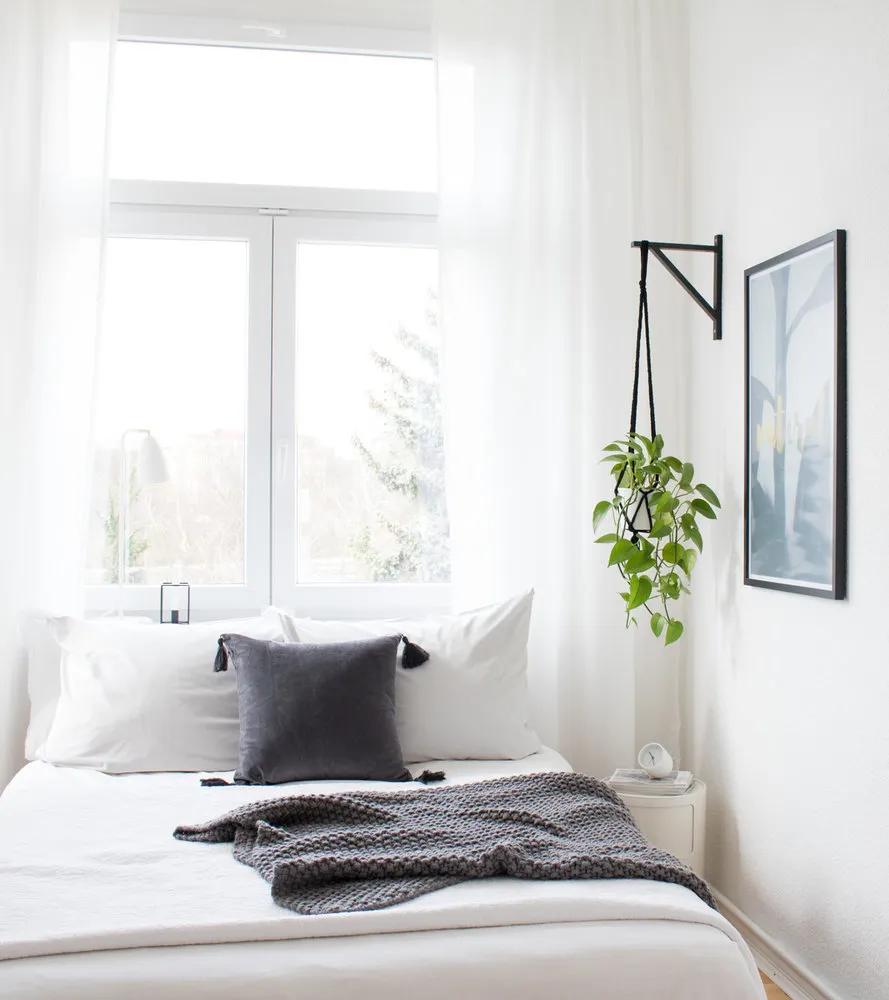 Checklist: What to Do at Home Before Going on Vacation
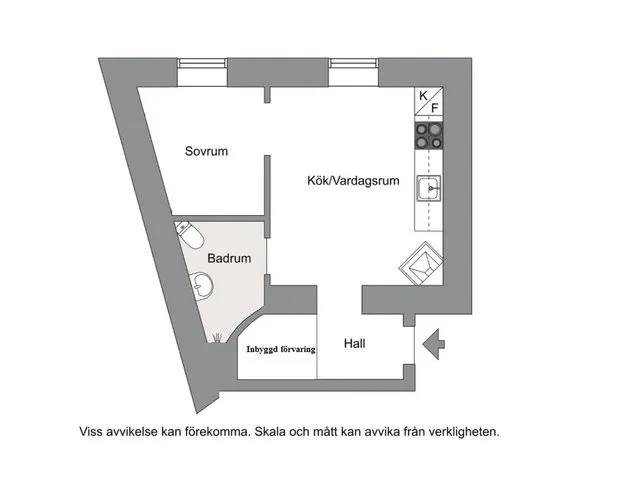 6 Ways to Fix Layout Mistakes in Small Apartments
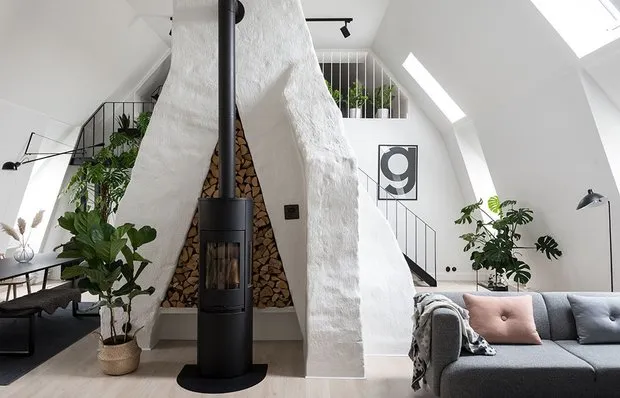 How an Old Attic Was Transformed Into a Cozy Apartment
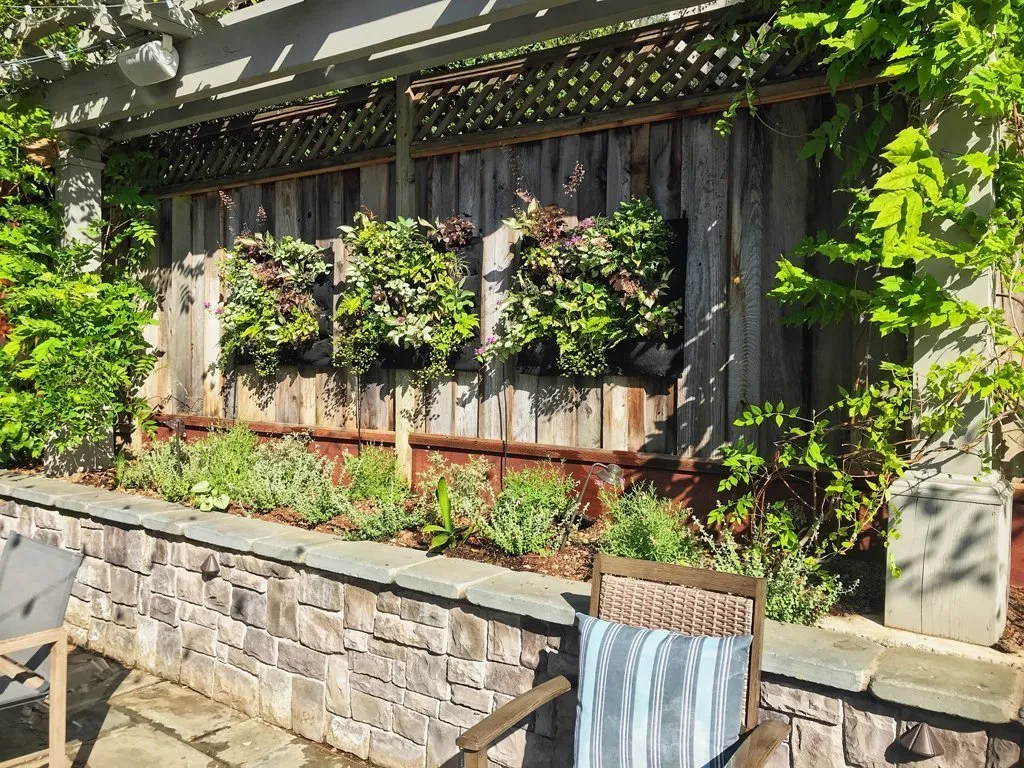 Vertical Garden Ideas for Your Garden: 10 Cool Concepts
 8 Habits That Annoy Everyone: What to Do If Your Roommates Are Irritating
 Neighbors on the dacha: how to resolve conflicts?