Log cabins from timber – from design to finishing
You can browse countless options for standard or exclusive log cabins in the Gallery section.
Of course, photos cannot fully convey the charm of the exterior, the comfort of the interior, but they do allow you to form a clear idea of modern projects available for use.
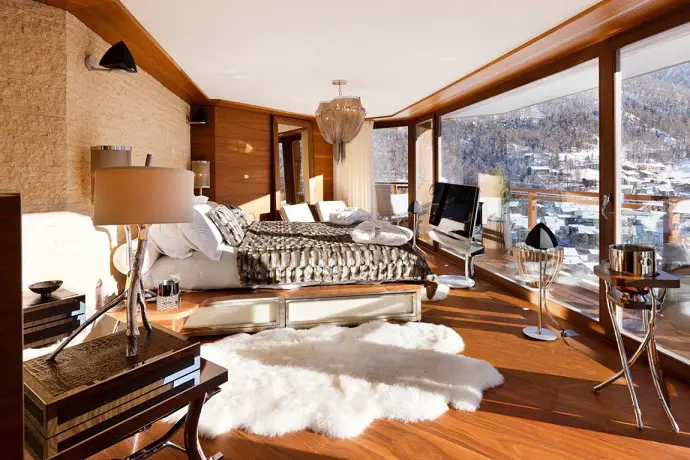
Photo 2 – Modern log cabin interior
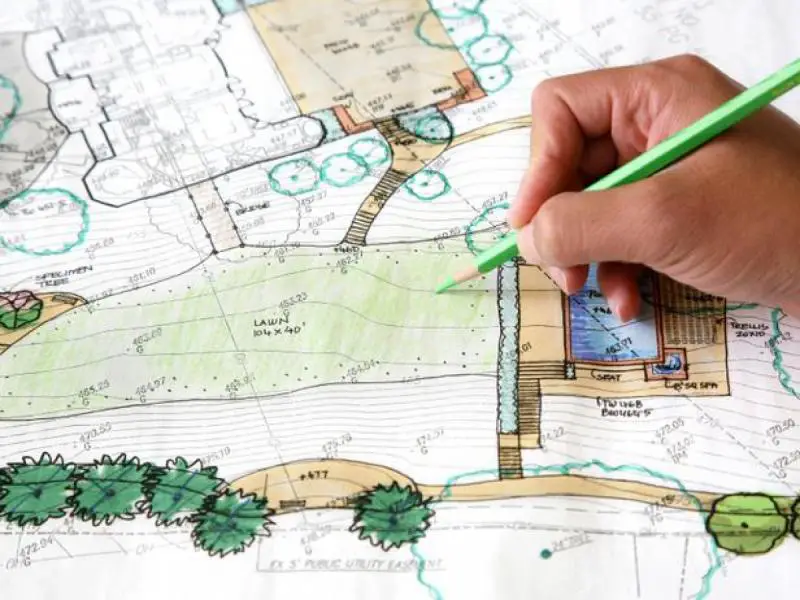
Design sketches can be used to create your own unique log cabin.
What to build the cabin from
A log cabin can be built using seasoned, cleaned, and dried timber: profiled timber, which already has convenient grooves and profiles, and mortise joints pre-cut for end joints. A suitable alternative is round-sawn logs.
Dimensions
Timber dimensions are determined based on:
- regional climate conditions. The lower the average winter temperature, the thicker the timber should be;
- project design decisions;
- budget availability.
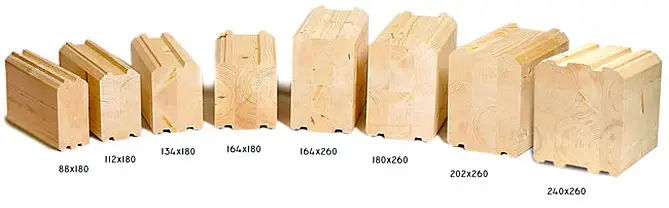
Photo 3 – Timber dimensions
The most commonly used timber sizes are 100x150 mm and 200x200 mm. These are used to build cabins of sizes such as 6x6 m, 6x9 m, etc.
Building a log cabin yourself
Using the useful and informative sections of the website, you can build a log cabin yourself.
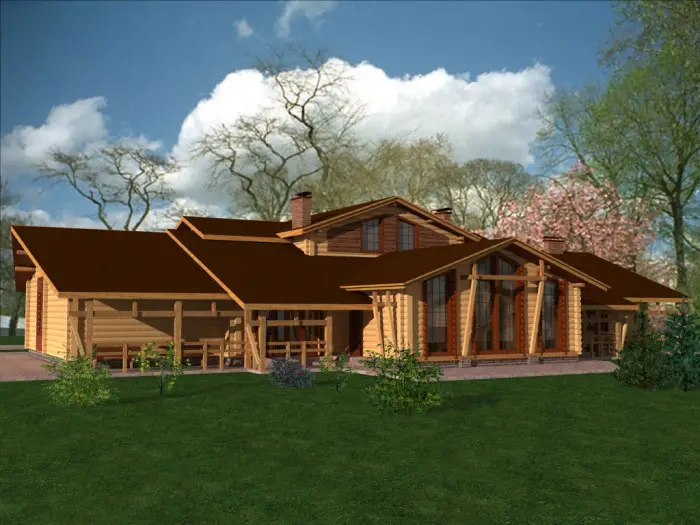
Photo 4 – Unique log cabin design
If you purchase high-quality profiled timber for a custom-designed project, assembly can follow this sequence:
- foundation;
- waterproofing layer (rubberoid);
- subfloor boards;
- insulation layer;
- anchor course;
- inter-wall insulation;
- subsequent courses with alternating layers of inter-wall insulation material.
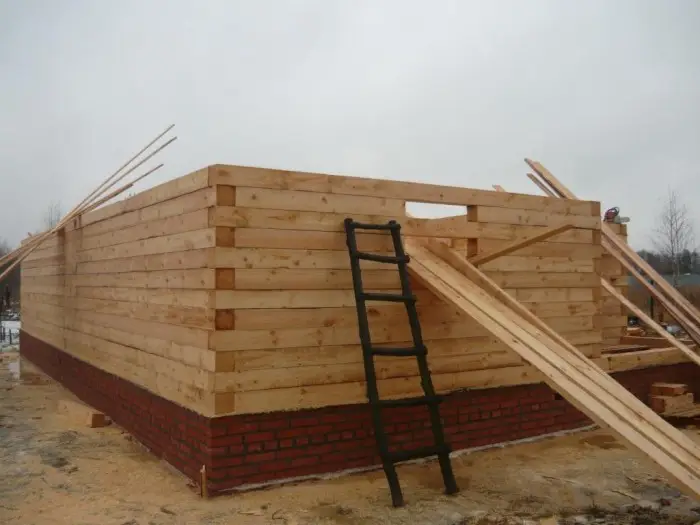
Photo 5 – Cabin assembly
After laying all courses, roof sheathing is installed and the roof is mounted. The roof can be made from standard rubberoid or modern roofing materials such as tiles, metal roofing, etc.
After the cabin is assembled, openings are made.
IMPORTANT! Door panels and window glass must be installed after the structure has settled.
After the frame is completed, chinking – stuffing insulation into joints – is performed. Chinking is done with a special tool from both inside and outside the cabin.
Once chinking is finished, the cabin is left to settle, which takes from 6 months to 2 years.
After settling, finished cabins require finishing work.
Finishing the log cabin
First step – final chinking. This is required if natural moss or traditional packing material (paku) was used as inter-wall insulation.
If rolled jute fiber was used during assembly, chinking is not necessary.
Planing and painting the log cabin
Planing of logs/timber and subsequent painting are required. Planing is conveniently done with a grinder using coarse and fine-grit attachments.
Angles of the cabin can be refined with a chisel.
After planing, wood must be treated with wood preservatives and fire retardants. Then painting or lacquering can be done.
IMPORTANT! Planing, treatment, and painting must be done on both exterior and interior surfaces of the cabin.
Full finish (“turnkey”) service
If the cabin is fully finished (“turnkey”), the process must include:
- installation of a finished floor;
- insulation of floors, walls, and roof (as needed);
- cladding of interior surfaces with materials such as boards, tongue-and-groove, gypsum board, plastic, etc.;
- installation of plumbing;
- plumbing and utility connections.
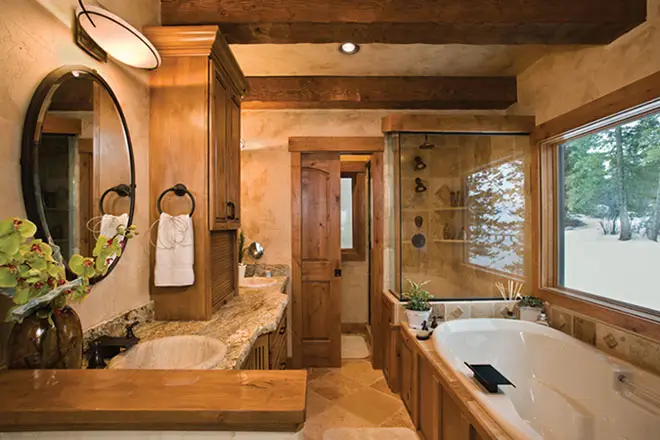
Photo 6 – Finished log cabin
In addition to standard services, you can order any additional services. For a complete list, contact specialized construction companies. You may also read reviews from log cabin owners.
For example, certain log cabins can be extended with attic roofs or overhanging terraces. You can also build and install gazebos, wells, and other structures on the property.
How to clad a log cabin with tongue-and-groove boards
Cladding with tongue-and-groove boards can be done using several methods:
- with substructure (studs) installation;
- without substructure installation.
Methods of fastening also vary. For more information, please consult the section on log cabin finishing.
Interior cladding can also be done with other materials. If budget allows, panels made from valuable wood species can be used. Plastic and gypsum board are also viable options.
Read more: Building a 6x6 meter log cabin.
Siding for log cabins
If the cabin was built from timber, you can externally clad it with siding. This offers several advantages:
- additional protection from weather elements;
- extra insulation;
- ability to choose attractive color options;
- ease of repair and maintenance.
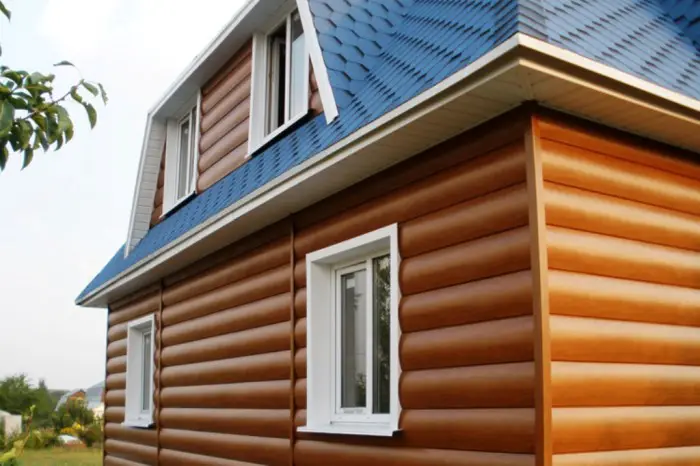
Photo 7 – Siding for log cabin
$ Siding for log cabins – price
Prices for siding panels “to look like logs” start from $15 per square meter. The material imitates natural wood and comes in various attractive colors.
Small log cabin house
You can build a small log cabin house of any size using natural timber. For example, a small 3x4 meter cabin is ideal for a weekend cottage or a sauna.
Install a small log cabin quickly by purchasing a ready-made kit.
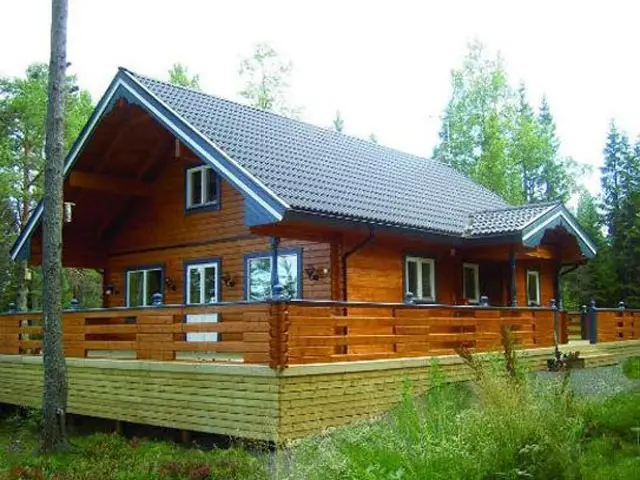
Photo 8 – Small log cabin house
$ Small log cabins – price
A small cabin costs relatively little. A complete 3x3 meter structure, including delivery, unloading, and installation, starts from $3,000. Finishing work is not included in this price.
Buy a log cabinTo purchase your desired log cabin, you will need:
- choose the material it will be built from;
- select the layout and design of your future structure;
- order manufacturing and professional installation through a licensed construction company.
IMPORTANT! Contact licensed construction companies with proven experience. When ordering a cabin, formalize your partnership through official agreements.